Put me down for clearing the whole sidequest, provided it doesn't become too tedious or uninteresting. I admit at this point my memory of how the rest of the game goes isn't as clear as the first half, so I don't recall how extensive some of the sidequests get.

-
Welcome to Talking Time's third iteration! If you would like to register for an account, or have already registered but have not yet been confirmed, please read the following:
- The CAPTCHA key's answer is "Percy"
- Once you've completed the registration process please email us from the email you used for registration at percyreghelper@gmail.com and include the username you used for registration
Once you have completed these steps, Moderation Staff will be able to get your account approved.
You are using an out of date browser. It may not display this or other websites correctly.
You should upgrade or use an alternative browser.
You should upgrade or use an alternative browser.
Make a Memory: Let's Play Wild Arms 3
- Thread starter gogglebob
- Start date
-
- Tags
- let's play wild arms
With Chapter 43, this LP is now my longest Let’s Play of one continuous game. Mind you, it is not yet the largest (as Wild Arms 2 contained about 1,500 more screenshots at its culmination), nor larger than the combined chapters of all Xenosaga games (60 chapters, and that was one continuous story over three[ish] games), but, hey, still a milestone. And I note this in particular because there is still a lot more Wild Arms 3 to go…
And this milestone premieres on January 31, Dune Day. The sand sea, Dune, was named by a midwife, a profession in which naming is half of a job description. So the midwife strikes again, riding the waves of the Dune.
Chapter 43: Love and Lust (and Sea Serpents)
Previously on Wild Arms 3: The demons attack! With the party now completely aware of Siegfried and the Prophets menacing the world once again, a counter offensive must be launched! And in order to do that, they’ve got to do… stuff.
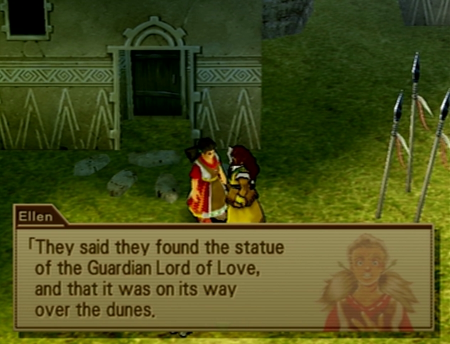
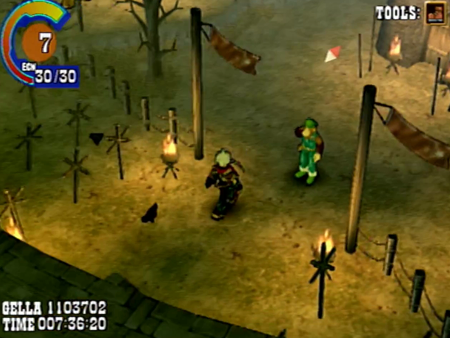
As I am tired of mentioning, this portion of the game is primarily fueled by NPC gossip. Baskar, naturally, has a lot of leads on the Guardian Lords. Ellen has been good to Gallows since the game started, so striking up a conversation while Gallows leads will point you toward Jolly Roger.
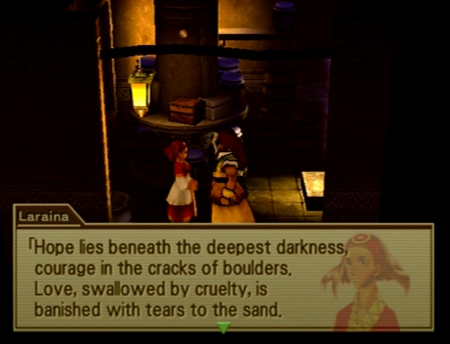
It all sounds metaphorical, but these are exact directions to the four lords. Just keep an eye out for deepest darknesses and ends to prosperity.
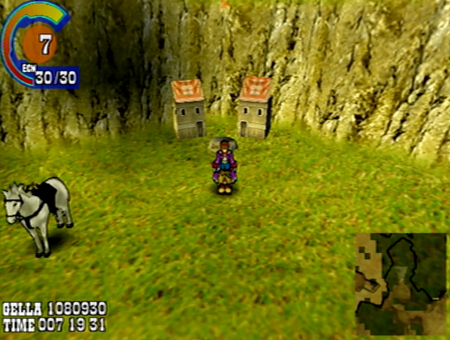
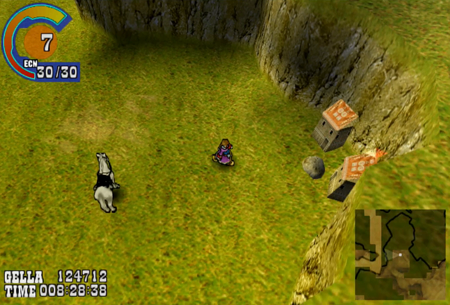
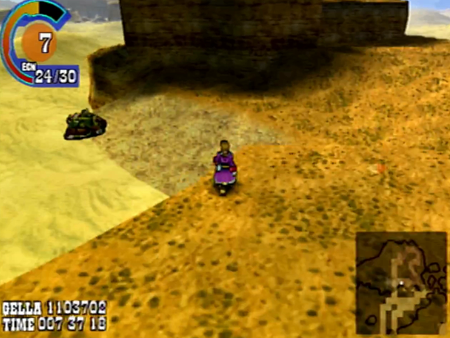
Anywho, that Jolly Roger clue was pretty blatant, and it’s a short walk over there…
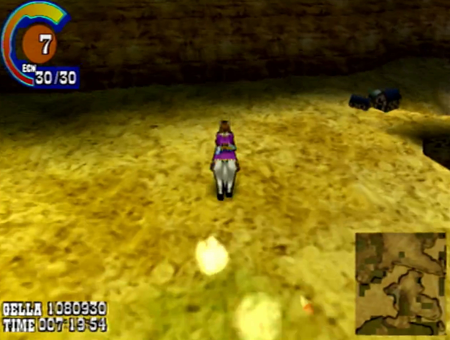
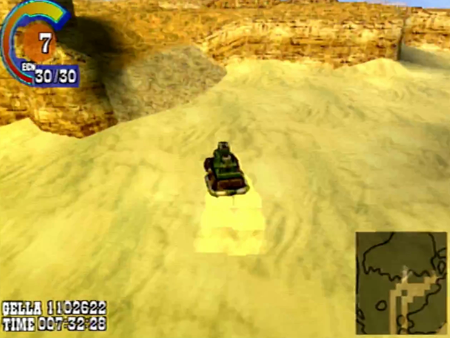
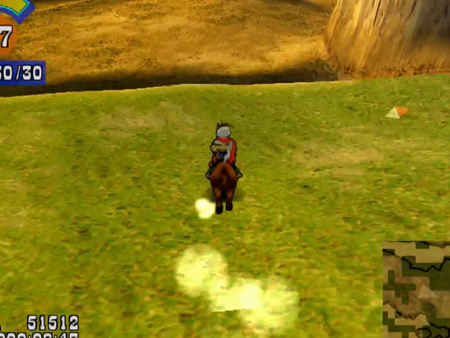
Particularly when you’ve got a horse.
I appreciate that many different NPCs provide the same basic clues, but in different ways.
But we
And that’s it for today. We’ve got a pair of Guardian Lords, and we are not afraid to use ‘em.
Next time on Wild Arms: Come fly with me.
And this milestone premieres on January 31, Dune Day. The sand sea, Dune, was named by a midwife, a profession in which naming is half of a job description. So the midwife strikes again, riding the waves of the Dune.
Chapter 43: Love and Lust (and Sea Serpents)
Previously on Wild Arms 3: The demons attack! With the party now completely aware of Siegfried and the Prophets menacing the world once again, a counter offensive must be launched! And in order to do that, they’ve got to do… stuff.
“It was about three months ago, right when you took your first step outside. They said they found the statue of the Guardian Lord of Love, and that it was on its way over the dunes. But before it arrived in Jolly Roger, the ship ran into a dune beast, and was reduced to scrap in a matter of seconds. The ravaged vessel's skeleton is either at the bottom of the dunes, or in the belly of that horrible beast.”
As I am tired of mentioning, this portion of the game is primarily fueled by NPC gossip. Baskar, naturally, has a lot of leads on the Guardian Lords. Ellen has been good to Gallows since the game started, so striking up a conversation while Gallows leads will point you toward Jolly Roger.
“Hope lies beneath the deepest darkness, courage in the cracks of boulders. Love, swallowed by cruelty, is banished with tears to the sand. Meanwhile, desire lies the end of mankind's prosperity. Where do our thoughts and emotions go? As long as our souls are parched and fatigued, the guardian lords' strength is lost.”
It all sounds metaphorical, but these are exact directions to the four lords. Just keep an eye out for deepest darknesses and ends to prosperity.
Anywho, that Jolly Roger clue was pretty blatant, and it’s a short walk over there…
Particularly when you’ve got a horse.
I appreciate that many different NPCs provide the same basic clues, but in different ways.
But we
are looking for love.
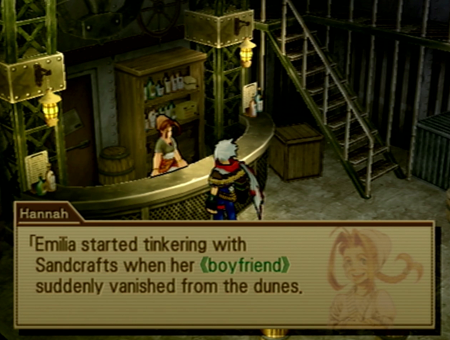
Hi, Emilia! We heard about a sandcraft crash, and thought of our favorite sandcraft mechanic.
… Only sandcraft mechanic.
Did a sandcraft kill your dad, and now you want revenge?
Oh man! I was close!
She makes it sound like this location isn’t like five feet outside of Jolly Roger.
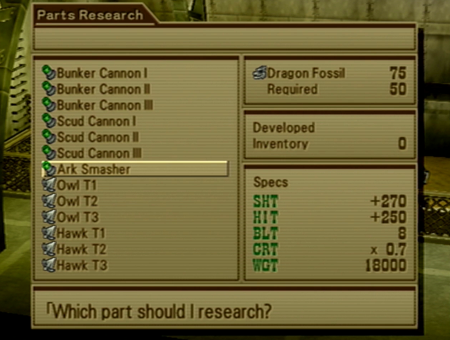
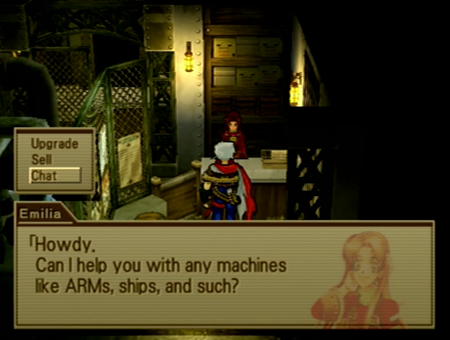
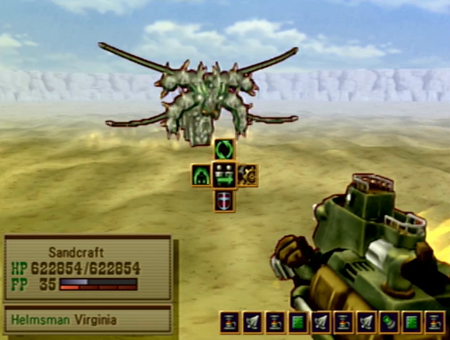
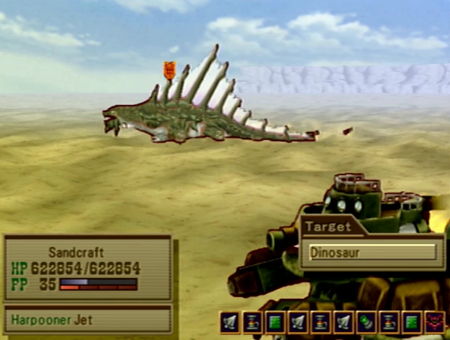
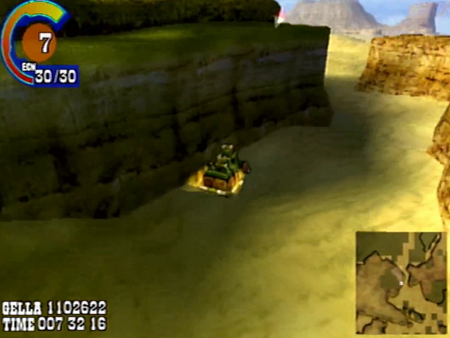
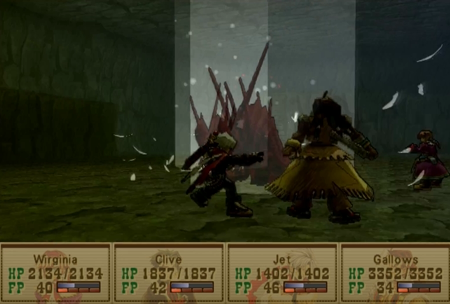
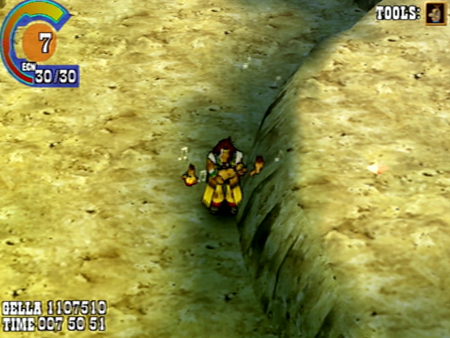
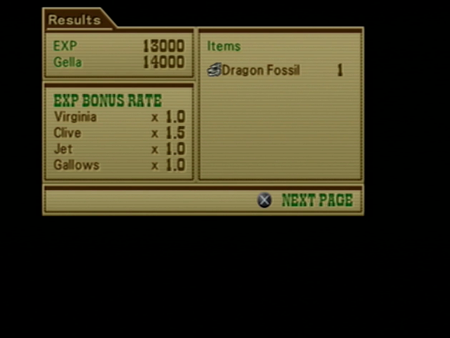
So here’s what we are going to do: buy the biggest, baddest gun on the planet. Secret Sandcraft tip: there is never a reason to upgrade your cannon before this quest, and you don’t need to upgrade anything else, either. Just buy the Ark Smasher, and, if you don’t have enough Dragon Fossils, farm those suckers at will. Practically every third monster drops them.
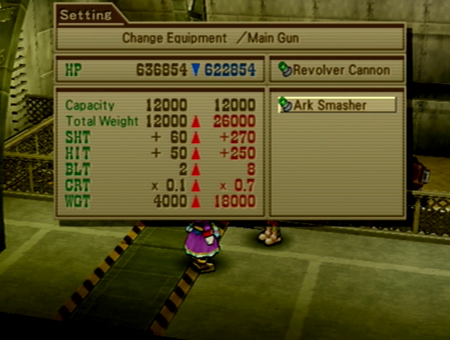
See those numbers? We’re going to be okay.
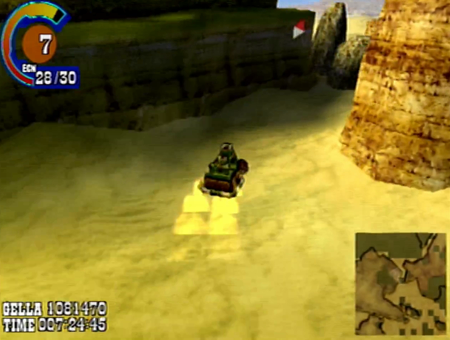
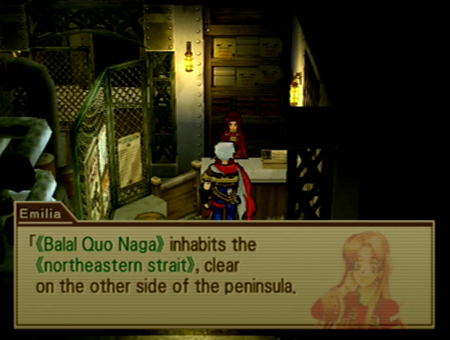
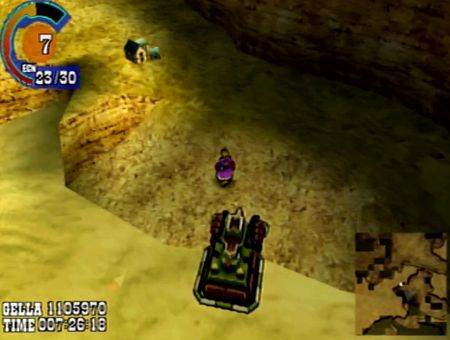
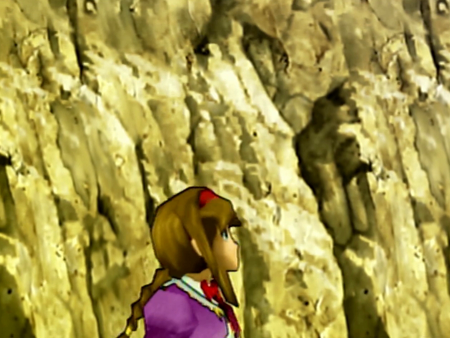
The bullet naga is hiding over here. It is a remarkably quick trip from Jolly Roger, and I must wonder how many Sandcraft pilots Emilia threw at this problem before we came along.
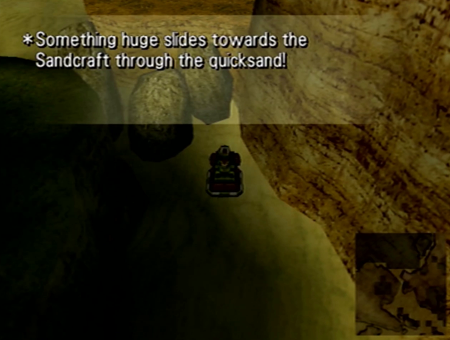
Probably nothing to worry about.
Or not.
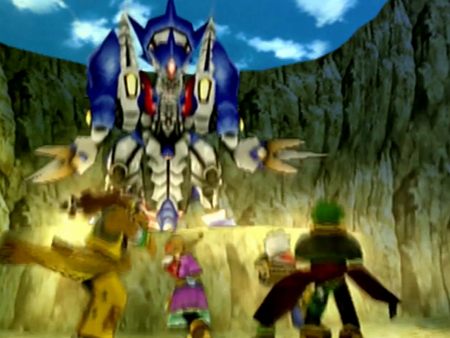
Ladies and gentlemen, the one required Sandcraft fight in this entire game.
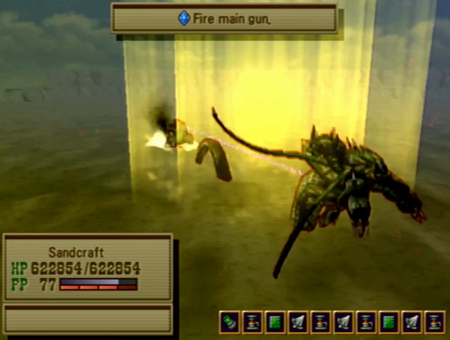
But when you have the best cannon around.
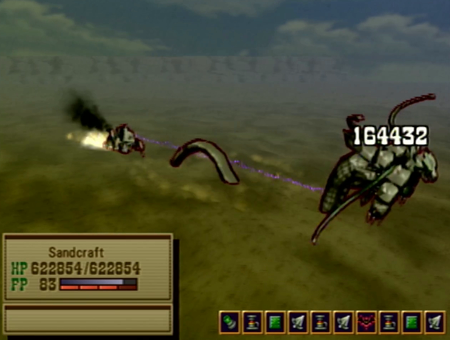
It is over pretty quickly.

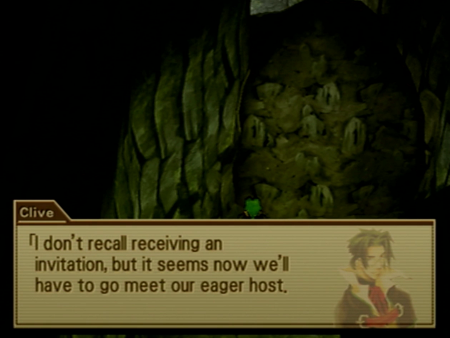
Alright, let’s talk the straight dope about Balal Quo Naga.
… She sucks.
I tested all this on the normal playthrough, so understand that this is all fact, not conjecture (or 20-year-old Gamefaqs “knowledge”). Balal Quo Naga is a very limited boss fight.
Balal Quo Naga has three significant abilities:
1. A basic attack
2. “Critical Heal”, which tops off her HP
3. “Current Spark”, which presumably electrifies the sand (?), and will absolutely obliterate your HP
And those last two abilities are the real doozies. Thanks to the high odds of either of those skills being utilized, every one of Balal Quo Naga’s turns are about a 50% chance of the battle being reset to start (whether because you are dead, or she is now at full health). So you are forced into defeating Balal Quo Naga in a turn or two, because anything more is literally impossible.
And speaking of impossible, it is impossible to win this fight with the default Sandcraft cannon. Mind you, there is probably some once-in-a-lifetime RNG situation wherein Naga only uses her physical attack (she also has a speed boost ability that, like all buffs in WA3, ultimately does nothing), but the reality is that she will use Critical Heal or Current Spark pretty often, and you cannot outpace her healing with a basic cannon. You must upgrade your Sandcraft to a stronger cannon, and, to be absolutely clear, alternative part upgrades will not cut it. The cannon upgrade line is the only one that will boost your attack sufficiently to overcome her healing, and anything else is literally a waste. Having more HP or speed sounds nice, but that full heal of hers will just drag the fight out into infinity.
So the actual “battle” is 90% prep (buy/equip a better cannon), and then simply using the “fire all ammo at once” command to do as much damage in one turn as possible. One way or another, the fight is over in a round or two.
So why does this suck? Well, because this fight is mandatory, and there is still a whole Wild Arms 3 game around it.
The Sandcraft does not “naturally” level. You must use dragon fossils (and only dragon fossils) to upgrade it. This means that if you have somehow missed a cache of dragon fossils, this is going to be an impenetrable roadblock. Additionally, you could spend your dragon fossils on something useless (like elemental ammo, which sounds like it could be useful, but never is), meaning you could be collecting dragon fossils like a good player, but still be dragon-fossil-poor enough to not be able to afford this cannon when you need it. Anyone that has played WA3 before likely remembers to focus on cannon maintenance, but, for a new player, Emilia’s advice for upgrading (available earlier in the game) has her outright state…
(As seen in Part 27, true believers! - Giggling Goggle Bob)
And this advice will not work in the one mandatory Sandcraft battle.
Anywho, the point of all this is that if you “approach” this battle the wrong way, you will eventually just learn that you have to perform the dreaded grinding of enemy drops for more dragon fossils if you want to proceed. And, while we are doing this quest “early” for a playthrough, nobody likes to be told to come back later, particularly if the related goal is obscured by the boss appearing to be really strong. There is no strategy here! Just come back with a bigger gun!
And we’ll get to Part 2 of why this all sucks in a minute…
Sorry. All that ranting disturbed the local rocks.
This is a lie and you know it.
And we get designer luggage out of the deal.
So whether you are trying to find love or not, this is a mandatory quest. Defeating snakey opens up the inner sea area, and you need access to that bay to (finally) find your airship.
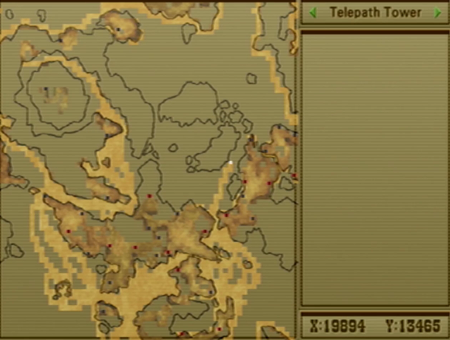
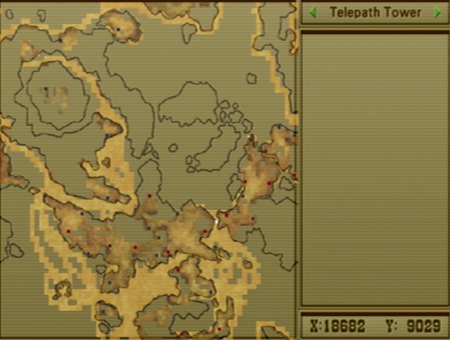
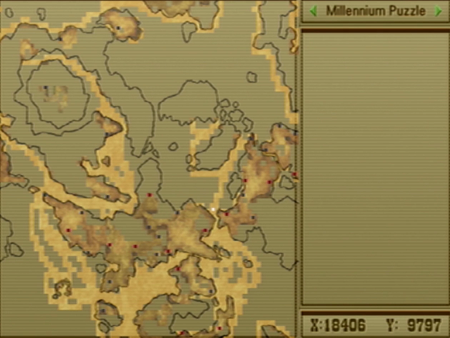
You don’t have to do this now in the plot (if you’re really paying attention, you can see the area from Clive’s map scrap now, and it is outside the inner sea), but it is eventually a requirement.
Keep in mind that the inner sea has much more difficult Sandcraft battles… but since you must defeat the Sandcraft boss to even get here, you shouldn’t have an issue. And that’s the other problem! You must upgrade your cannon to destructive levels for Balal Quo Naga, so literally every creature you encounter after defeating BQN has one easy answer: use your big-ass gun. The inner sea monsters are supposed to be the most dangerous titan mobs in the game, but they are all trivial, because you have to have a crazy cannon to see them in the first place. So Balal Quo Naga incidentally destroys any potential challenge to Sandcraft traveling, and thus makes every future encounter that much more pointless.
Mind you, we won’t have to rely on the Sandcraft for much longer…
Back to Jolly Roger for now, though.
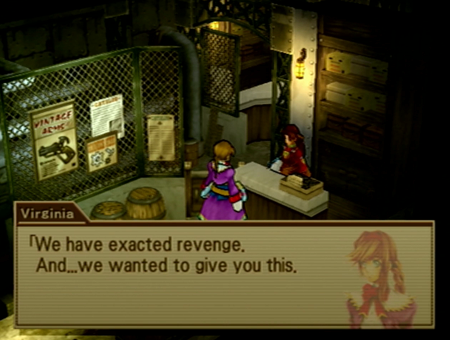
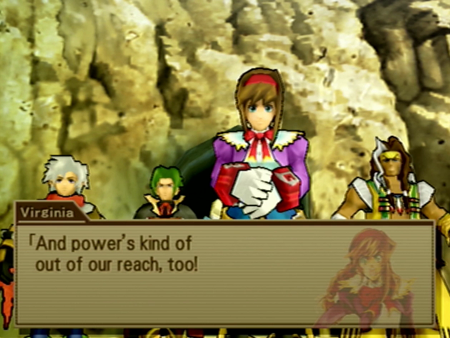
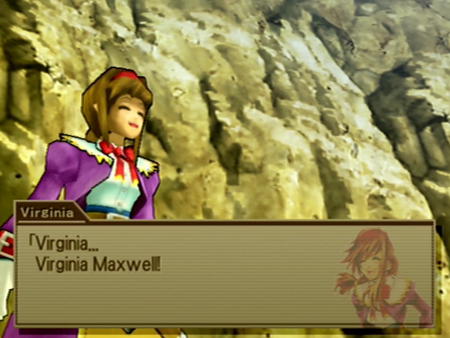
Each of the protagonists have slightly different dialogue here, but I appreciate that Virginia sounds unusually bloodthirsty. I like to think that she immediately made herself the heroine of this tale of lost love and sea monsters, and was already muttering “All my means are sane, my motive and my object mad,” on the way back into port.

Anywho, here’s your prize, guys.
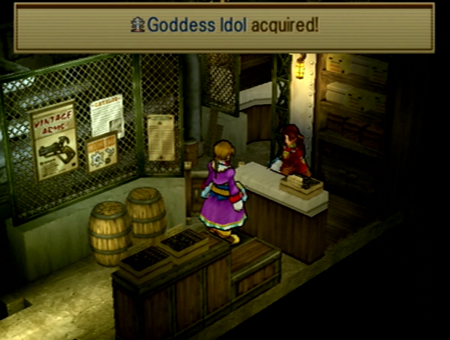
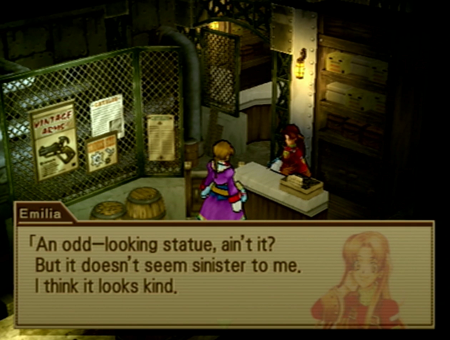
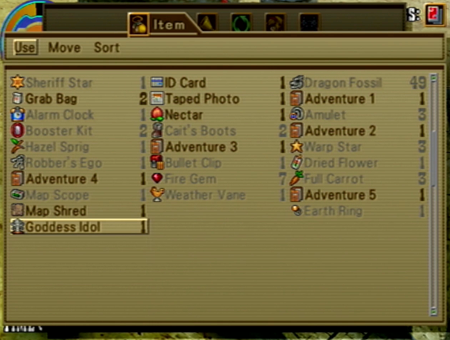
In previous Wild Arms titles, each of the Guardian Lords were manifestly tied to your protagonists. This time, the Guardian Lords are free agents, and the best you get for “human interaction” is exclusively Emilia “earning” the Goddess Idol. The other three are totally divorced from people. Well, living people, at least.

What does Emilia think is going to happen here? Does she know it can summon a Guardian? Or is she just imagining this hunk of rock really impressing Virginia’s mail person?

Remember where we got our first set of Guardians? Well guess where we will find our last set of Guardians.
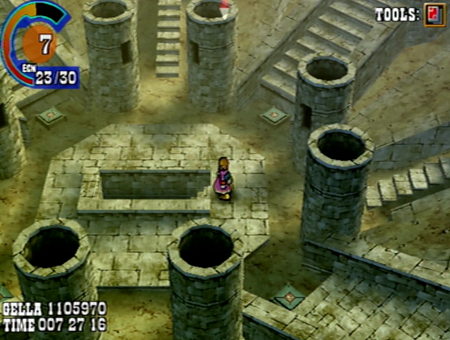
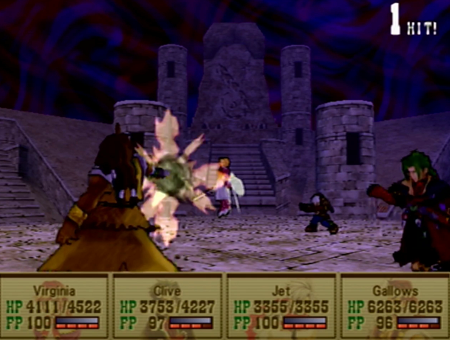
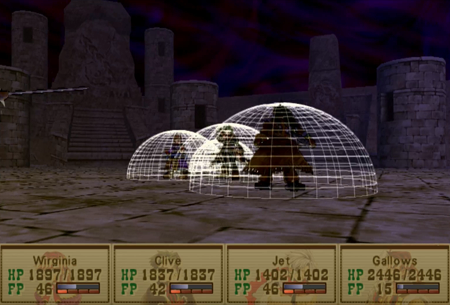
Right past the entrance is this familiar arena.
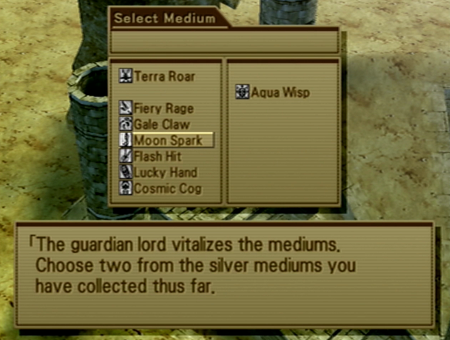
But now that we have the Radical Sneakers, we can jump up to four all-new altars.

Gallows is the only character that can identify the various runes. You don’t have to stick Gallows in the lead to activate these battles, though, if you know the (consistent between games) Guardian Lord symbols because you are some kind of nerd.
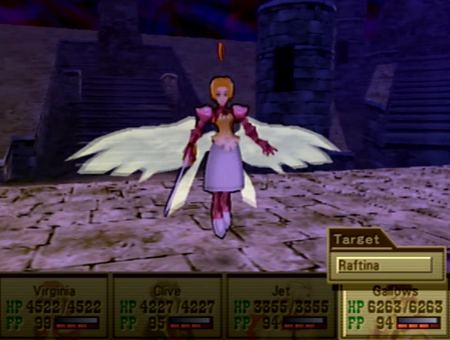
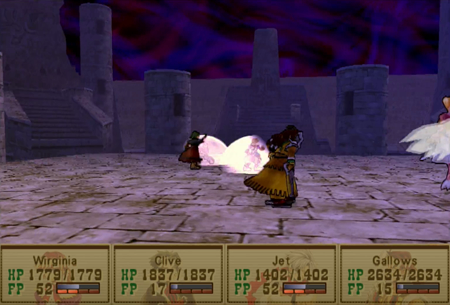
To start your boss fight, please select the appropriate sculpture.
I need an adult.
Yeah! Let’s shoot limitless kindness and passion with bullets!
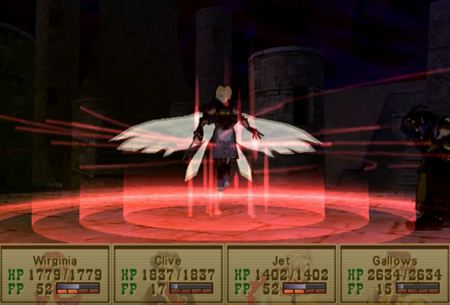
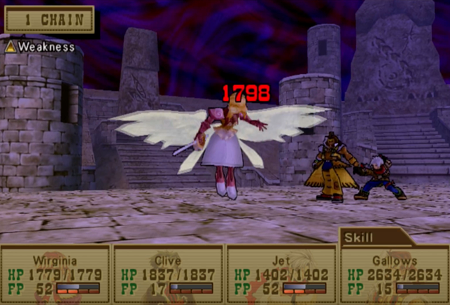
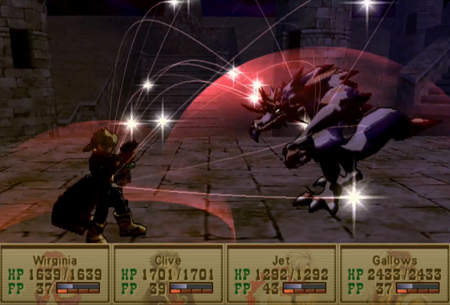
Raftina is consistently an “angel woman” throughout Wild Arms. Here, she is a little more Valkyrie than some interpretations.
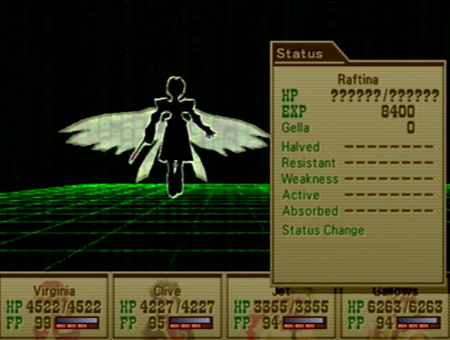
Nothing to write home about.
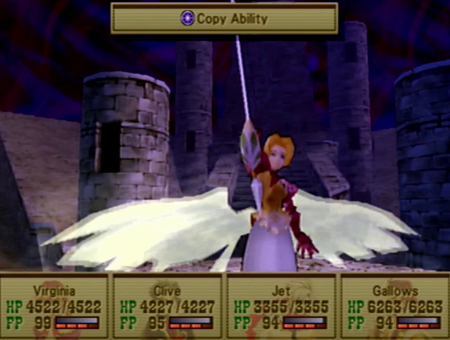
Like the earlier Guardian fights, all the Guardian Lords use the magic and abilities you will receive upon victory. Unlike the original Guardian fights, though, the Guardian Lords have much more interesting skills.
Raftina does not play fair. First, she copies all your elemental attacks for herself, and then she hits you with an uncurable status malady that makes you weak to those same elemental attacks.
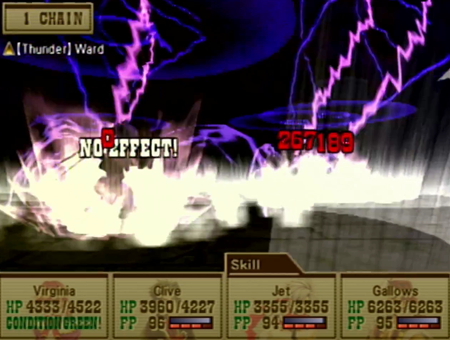
Given your party cannot naturally gain weaknesses from equipment or other means, this is the only place in the game you will see a “monster” hit you for extra elemental damage.
But once you get past her powerful magic, there is not much to this fight.
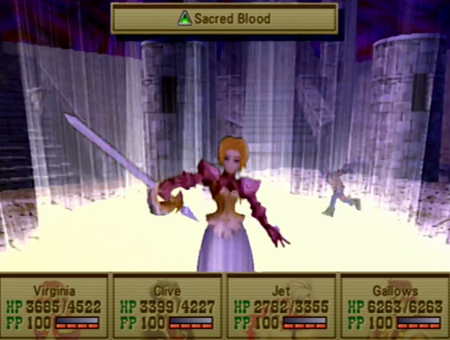
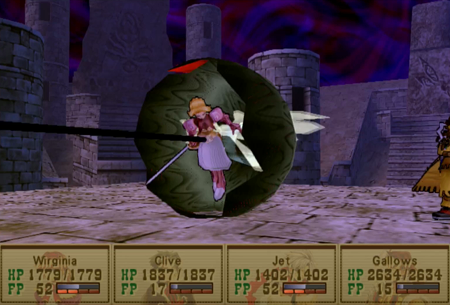
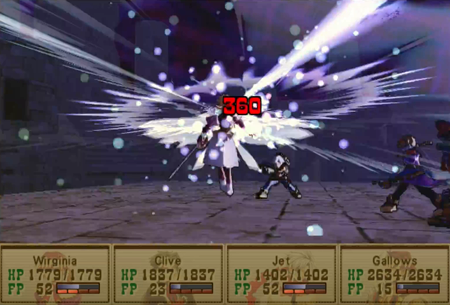
Except her summon “attack”, of course.

Sacred Blood will not hurt your party, but it will heal Raftina for an insane 4,000 HP. This could easily wipe out all of your damage gains across the battle.
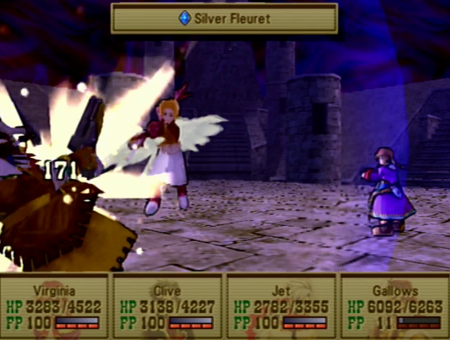
And then she remembers she has a sword every once in a while.
Nothing difficult about this fight in New Game +, but let’s take a peak over in “real” PS5 land.
Clive, our heaviest hitter, can only pull off 930 damage at best. Other party members are focused on healing, and Jet… Jet tries, at least. But this means Raftina could undo four rounds of damage with a single summon.
And Raftina don’t play. Those elemental weakness attacks routinely eat off 30-50% of our entire party’s HP. While one party member is likely to have an elemental nullifier equipped, she cycles through the different elements, so no one is ever 100% safe.
Just keep taunting us, Goddess.
So how do we overcome this early in the game on a “normal” playthrough? Easy! Cast Reflect on the whole party the exact moment the battle starts.

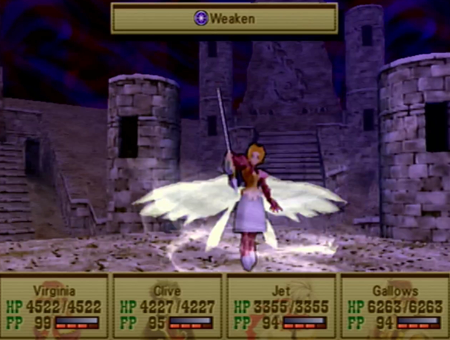
Then, when Raftina casts Weaken…
It will bounce off, and inflict her with the permanent weakness to every elemental attack.
Oh, you gonna get it.
Now she will suffer a lot more damage from our mages (more if you double back with an ability obtained at the end of this update), and, if you keep layering on the reflect magic, will routinely suffer bounced magic damage, too.
Now this is a lot more manageable, regardless of when she heals.
Virginia was doing, like, 50 HP damage before this…
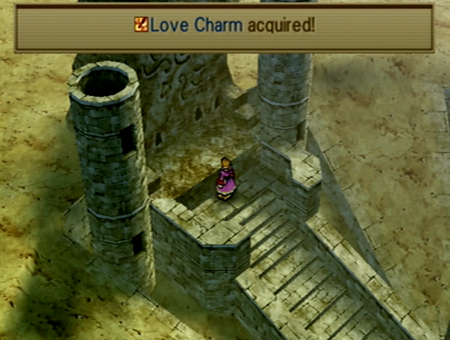
So we earned our love.
Each of the Guardian Lords also up the stats of two other “lesser” Guardians. This is basically a way for the Guardians that you earned back at the start of the game to have equipment bonuses that are relevant for the end game.
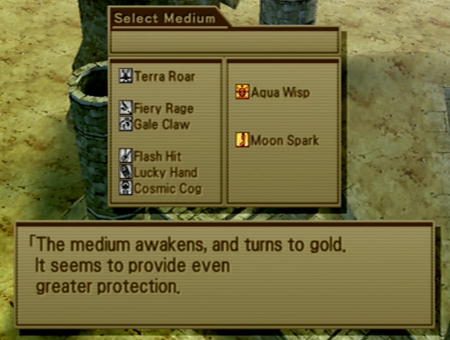
The lesser Guardians only get stat boosts, no new skills or whatever. However, it is nice to see that gold shimmering back.

You can get all the Guardian Lords in rapid succession, so it doesn’t matter too much who gets upgraded first. That said, I aim for my mages, as Gallows’s always-useful healing magic is based on stats that can be Guardian-upgraded.
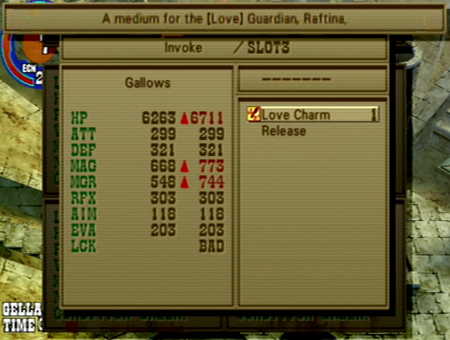
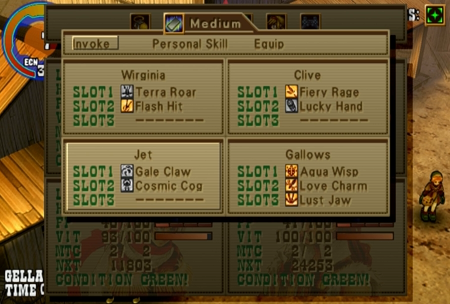
And speaking of stat boosts, we’re going to toss Virginia the Love Charm, as HP and Magic boosts are right up her alley.
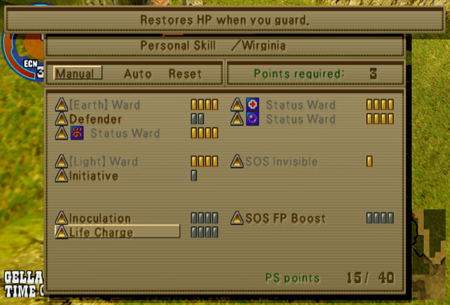
Inoculation protects against all status ailments that last after the battle, like poison or disease. It does not protect against “temporary” status ailments, like paralysis. SOS FP Boost will activate at critical HP, and kick your FP up to 100 at max level. This is situational, but a literal life saver when you need it. And Life Charge restores HP on guard, which is useful in a game where you have to defend to refill your ammo.
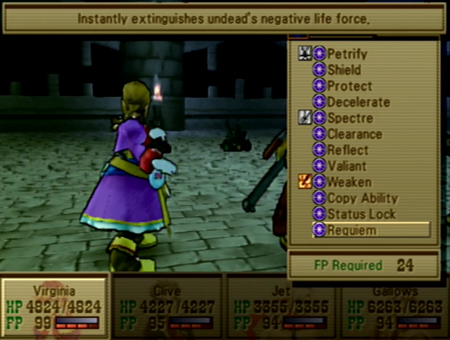
Weaken and Copy Ability should be very familiar after the last battle. Copy Ability winds up as a sort of “Blue Magic” for Wild Arms 3, but learned abilities do not last past a single battle. Boo. Status Lock is a support spell that will block all status maladies save instant death (and works well with another Guardian Lord spell we’ll earn eventually). Requiem is a 100% effective instant death spell that only impacts the undead. There are some enemy mobs that this will wreck.
And now we can utilize Raftina’s healing summon for ourselves. Note all the sword slashing that does absolutely nothing to damage anybody.
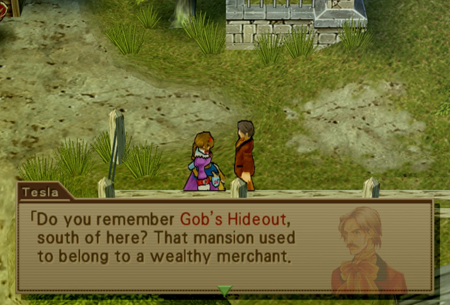
Next Guardian Lord! Stop back at Virginia’s home, and a few NPCs (including Fake Dad) will call attention to Virginia’s first dungeon.
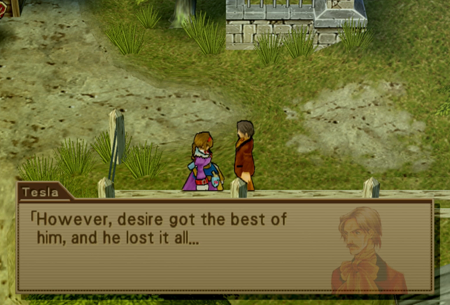
Desire, you say?
So many flashbacks this update! - Gargantuan Goggle Bob
There was that book we read back during Virginia's opening...
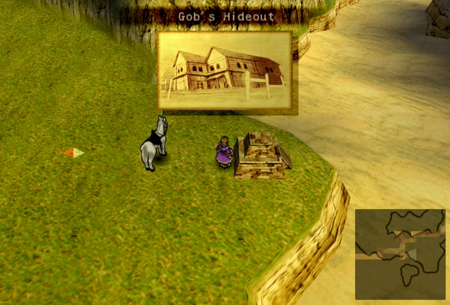
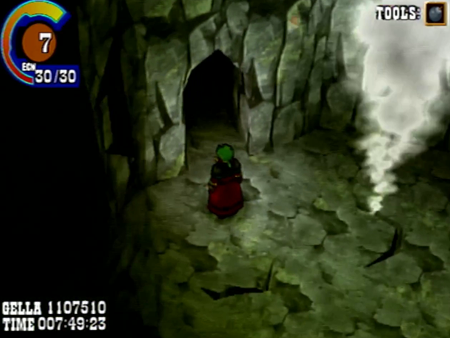
Always time to revisit an old haunt.
Remember how Virginia snuck in the back when she first raided the place? Well, that was literal. Returning to Gob’s Hideout sticks you at the “real” entrance, which is basically where the adventure ended last time.
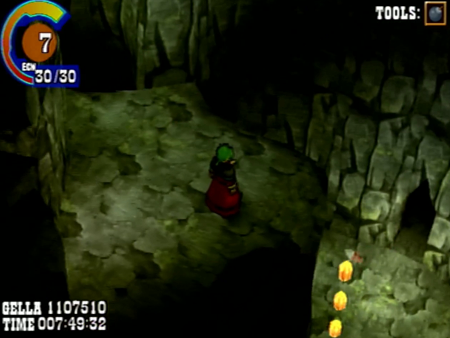
Not much new here.
The encounters are still basic gobs that are intended to fight a Level 1 solo character.

But there is this door that we were never able to open…

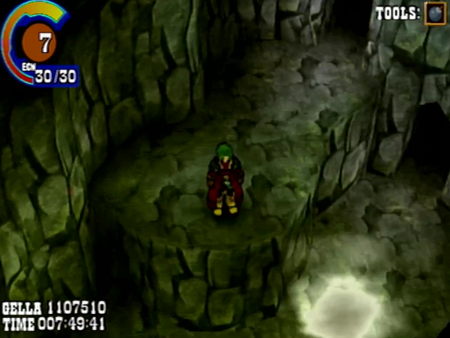
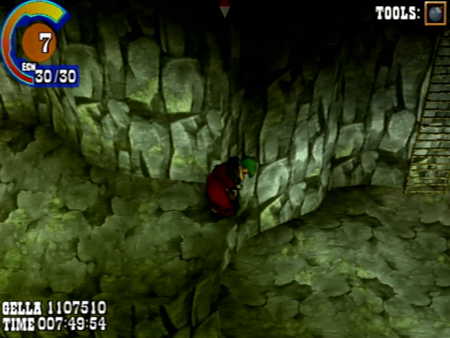
And up in the “roof” area where we first learned about sneaking…
Radical Sneakers will allow us to reach a ladder…
New area!
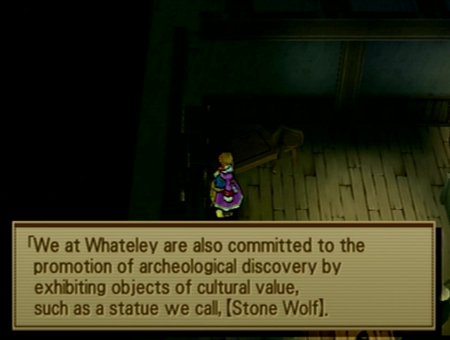
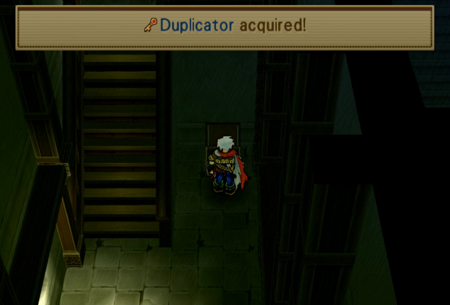
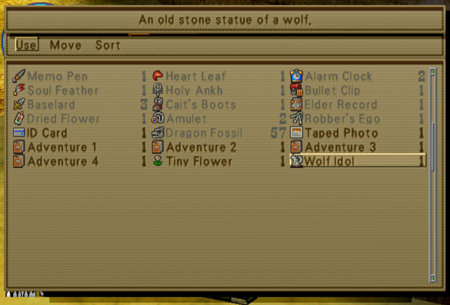
Most important is a shiny new statue. That’s right: no boss, no secret dungeon, no Sandcraft fight, no minigame; you obtain the Wolf Idol for the exclusive reason of remembering this dungeon from the absolute start of the game exists.
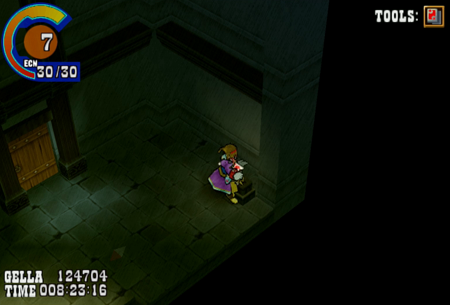
And some treasure!
And this switch unlocks that door…
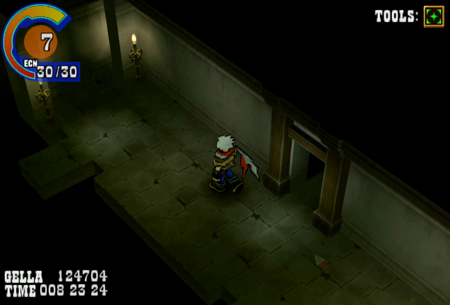
Thus completing the loop. Now we’re officially done here.
With the Wolf Idol hidden here, a migrant seal hidden in Jet’s dungeon, and a hidden boss in Clive’s opening (we'll see that monster soon enough), there is a good reason to eventually revisit all the prologue dungeons.

So back at Gallows’s first dungeon…
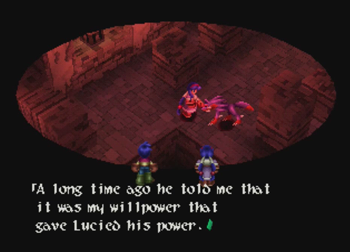
Lucy has a storied past in Wild Arms. In Wild Arms 1, Luceid was the one and only Guardian to side with the demons, presumably acknowledging that the bad guys just wanted it more. Luceid thus winds up as a recurring boss (half of one), and eventually performs some kind of magical sword merge with Boomerang, her designated demon buddy. She never formally joins the good guys (outside of the remake made after WA3), but there is some kind of implied understanding achieved when you beat Boomerang back to the fires of Hell (he’s weirdly happy about it, and if Boomerang Flash is happy, Luceid is happy).
Also, fun fact, this technically made her a subordinate of a subordinate of Siegfried.
In Wild Arms 2, Luceid is the legendary companion of the legendary Sword Magess/Saint. He is initially presented as the one Guardian that physically manifested during the Blaze of Disaster (event) and helped the Sword Magess repel the Blaze of Disaster (demon); but it is eventually revealed that he manifested for Anastasia because she really wanted this whole Disaster thing to work out well for her friends and family, and he more or less was along for the ride. Anastasia didn’t even ask for Luceid’s help! He just kind of showed up!
That is all in the past of Wild Arms 2, though, so in the present, he manifests, and “merges” with Ashley’s demon/hero form for a powerup.

From a gameplay perspective, this meant another game where Luceid does not join the party like “other” Guardians.
But he is a controllable party member for one dungeon, and is at least spiritually involved every time you use Ashley’s lightsaber.
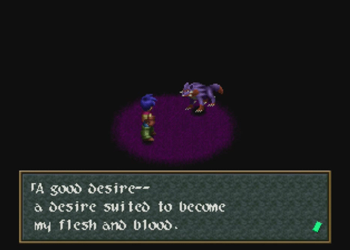
Oh, and Luceid, as a proper physical manifestation of Desire, switches gender according to their partner’s sexual preferences. A wolf has to keep busy somehow….
Now we’ve got a bittersweet return for Luceid. On one hand, Luceid has now formally been promoted to Guardian Lord status, which was previously limited to a set of three Guardians. Additionally, for the first time in the franchise, Luceid is an actual usable/summonable medium. This is huge, as that was a major… desire… of fans for the entirety of the Playstation 1 Wild Arms titles. Unfortunately, the tradeoff is that Luceid, formally the most interesting Guardian by a wide margin, barely has any legitimate impact on the plot. They’re just kind of there, and this “position” could be filled by the cat god just as much as the wolf one. And the whole “Desire” aspect… well, I hate to judge, but it sure seems like Luceid would be a more suitable companion for Janus or the Prophets. Those guys want to succeed so badly…
Good to see our Guardian of Desire promoted, but sad that they dropped their characterization to do it.
And since we are talking about Luceid anyway, going to note that Luceid is never again seen in the franchise, except maybe as a playable character in Wild Arms XF. Throughout the story, Tony is heavily implied by actions and NPCs to be the last physically manifested Guardian, Luceid. Unfortunately, Tony can neither confirm nor deny his status as a Guardian, as he is a dog. Whatever the case, he’s a good boy.
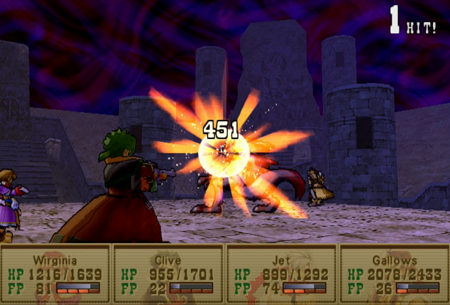
But none of that matters for this matter. What’s important is that this wolf has a drain spell, and if you are particularly underleveled or unlucky, that could make this fight take forever.
Other than that, it is a pretty straightforward war of attrition with Luceid. Complete with the literal easiest dungeon in the game hiding his idol, Luceid probably should be obtained first.
Luceid also uses the most conditional spell in the game, and, considering how often it does zero damage, it is basically a free turn for your gang.
Summon can do some damage, but if you are protected against dark, you’ll be fine.
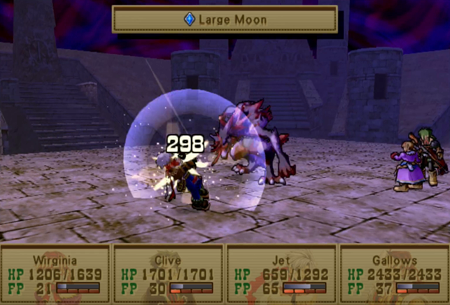
Full moon? Crescent Moon? “Large Moon” isn’t really a thing.
We are still not exactly doing a lot of damage here, but since Luceid doesn’t heal (all that much), this battle of attrition ends eventually.

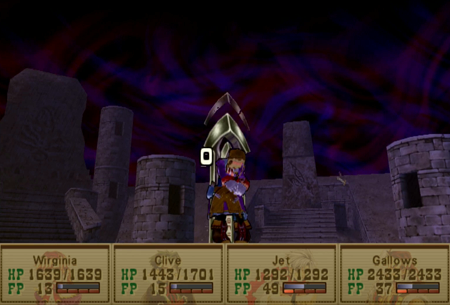
I desire you to get in my pocket.
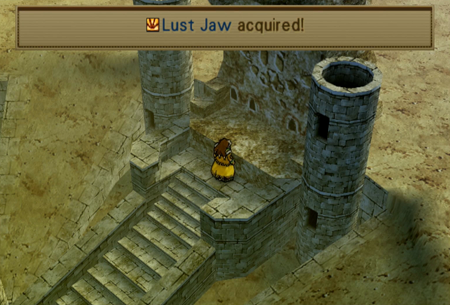
Getting all deviantart in here.

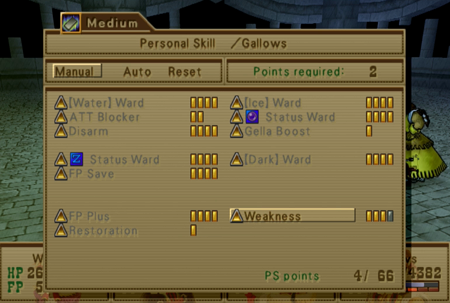
This is going straight on Gallows. Magic attack upgrade is great, and our best mage needs the other big benefit of Lust Jaw…
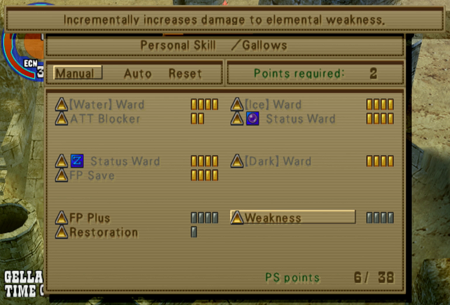
FP Plus means you earn extra FP per action… though I never really noticed that significant of a boost. It is good, just not like “difference between life and death” good. All status ailments for everyone are cleared when FP reaches 100, but Restoration will clear ailments at increments of 25, meaning most any ailment (save misery, which impacts earning FP) will be cured quickly.
But Weakness? Now there is the sweetest plum.
So magic in Wild Arms 3 is not all that exciting, but it can be exciting.
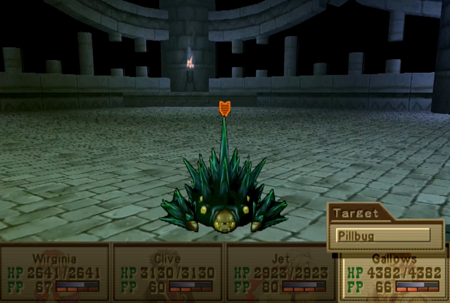
We’re going to use this poor Level 1 pillbug as an example.

If you hit a monster with “general” magic, it does damage that is generally less than your typical physical attack. It varies between the characters (Virginia and Gallows are better magic users, Jet and Clive are worse) but offensive magic is generally ineffective compared to proper ARMs maintenance. However, when you hit a weak point…
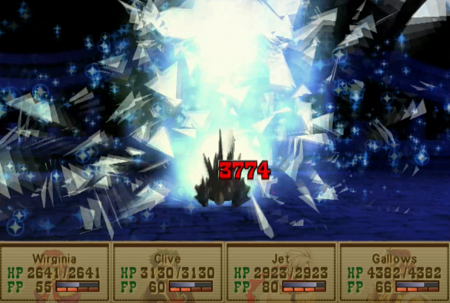
Then elemental magic shines. Same caster, same level in this shot, but Pillbug is weak to ice. See the numerical difference? At this point in the game, hitting a same-level monster’s weakness is enough to kill ‘em in one shot. This is significant, as, when it comes to regular attacks, Clive (your strongest member) is the only fighter that has a prayer of one-shotting a monster. Mind you, this seems to be deliberately balanced with how you generally face a maximum of four opponents at a time, so your average battle takes a round or two, thus allowing everyone involved to do something fun. The fights are sensible, not complete pushovers, and allow your magic users to be useful with knowing/hitting weaknesses.
However, Weakness changes the game. Weakness will, at maximum level, deal 100% extra damage per hit.
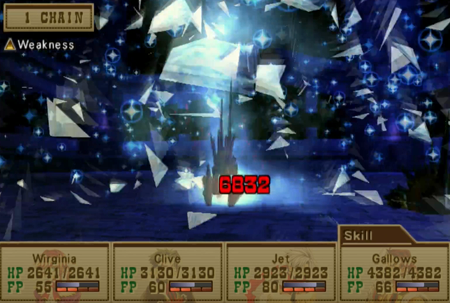
This means that “can one-shot a common monster” turns into “can deal more damage than everyone in the party”. In fact, equipping this ability on Gallows is step one of two of turning two of your party members into absolute destroyers. And we’ll get to how we pump up the other guy soon enough…
Oh, and if you are curious about what to do in situations where a monster/boss/super boss does not have an elemental weakness, we have a solution for that: remember how Goddess had an ability where you can “inflict” an opponent with a weakness? Well, I haven’t found an adversary that is strong to that status effect yet…
And on a “tested and approved” note, I have completed a number of optional battles on the “real” playthrough and the new game plus playthrough at this point. I am not going to chronicle both playthroughs side by side, but I can tell you the battles where I am “normal” levels, but focus on using Weakness and the other upcoming ability go a lot faster than battles where I am level 100 but not using those abilities. Literal game changer, even more effective than gaining 40 levels.

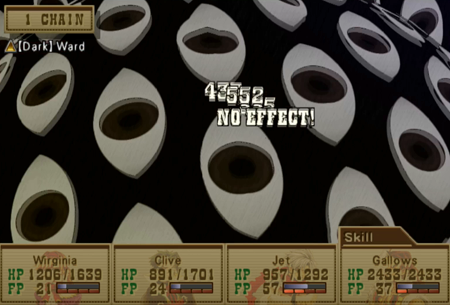
Anywho, more Magic! Dark Matter is a generic dark attack, so now we finally have all the elements available for hitting weaknesses. Lifedrain is a risky drain attack that can be pretty effective when your caster needs a fill up… but it has a high rate of missing. Curse makes an opponent more susceptible to status ailments, which is gorram useless for obvious reasons.
Dark Luceid has a completely useless description (pictured), and is very situational. Also, I have no idea if it even works like it supposed to. Theoretically, it should do damage as determined by how many elemental resistances the target has. Like, if a monster is strong against ice and water magic, it should do 2x damage, but if it is strong against ice, water, and thunder magic, it does 3x damage. That said, I have only ever seen Dark Luceid do zero damage, or craptillion damage. And it isn’t a matter of it “missing”, the craptillion damage situations are consistent, just exclusively against monsters that have every resistance. Even in the battle you just saw, Virginia received zero damage from Dark Luceid, and she definitely had Earth and Light resistances equipped at the time. And you would think the magic being used by the boss would work correctly! But it only ever seems to work if a creature has ridiculous defenses from the get-go.
So anyway, you’ll see Dark Luceid be effective, like, twice in Wild Arms 3. And you’ll be happy those two times.

Luceid’s summon is visually endearing, but otherwise forgettable. It is a hit-all darkness attack. Guess it would be useful against a party of angels.
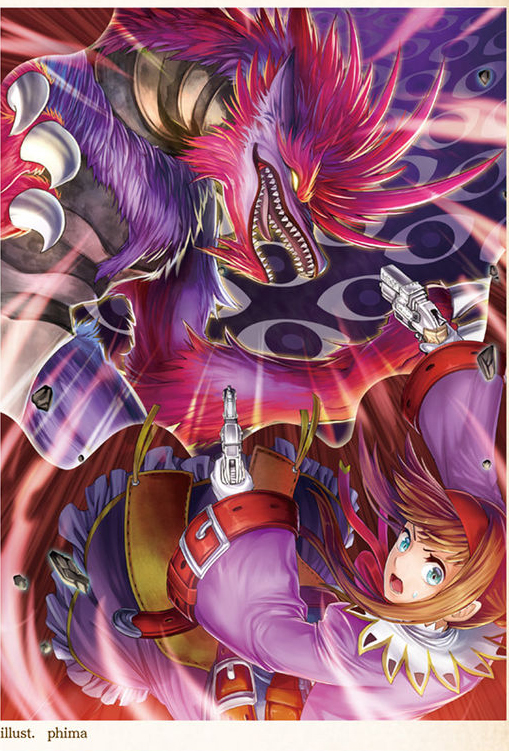
Technically, that one bit of Luceid art from the art book is exactly based on this summon (or the fight we just saw).
Hi, Emilia! We heard about a sandcraft crash, and thought of our favorite sandcraft mechanic.
… Only sandcraft mechanic.
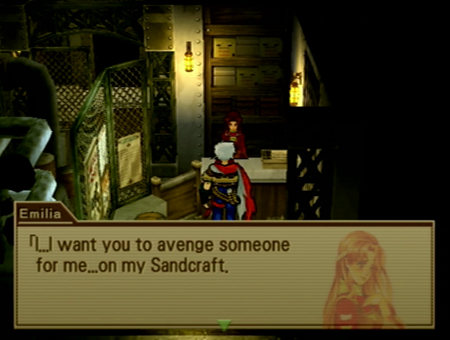
Did a sandcraft kill your dad, and now you want revenge?
Oh man! I was close!
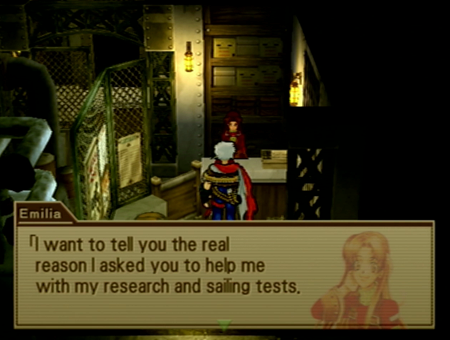
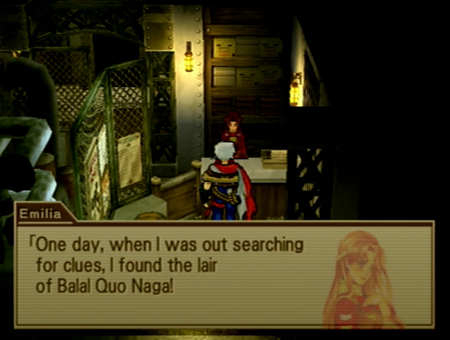
So you and Mario… weren’t into bondage? Just need to confirm all the facts here, ma'am.“Let me explain. Surely you've heard about the merchant ship that got attacked by a gargantuan, and how many people perished. Well, three months ago, the ship carrying my sweetheart disappeared. Since then, I've been too busy to cry. I devoted myself to researching a new kind of vessel with more speed and firepower. One day, when I was out searching for clues, I found the lair of the Balal Quo Naga! Please...take my Sandcraft and go slay the beast! You must avenge my Mario, restore peace to the region, and deliver our souls from bondage!”
She makes it sound like this location isn’t like five feet outside of Jolly Roger.
So here’s what we are going to do: buy the biggest, baddest gun on the planet. Secret Sandcraft tip: there is never a reason to upgrade your cannon before this quest, and you don’t need to upgrade anything else, either. Just buy the Ark Smasher, and, if you don’t have enough Dragon Fossils, farm those suckers at will. Practically every third monster drops them.
See those numbers? We’re going to be okay.
The bullet naga is hiding over here. It is a remarkably quick trip from Jolly Roger, and I must wonder how many Sandcraft pilots Emilia threw at this problem before we came along.
Probably nothing to worry about.
Or not.
Ladies and gentlemen, the one required Sandcraft fight in this entire game.
But when you have the best cannon around.
It is over pretty quickly.
Alright, let’s talk the straight dope about Balal Quo Naga.
… She sucks.
I tested all this on the normal playthrough, so understand that this is all fact, not conjecture (or 20-year-old Gamefaqs “knowledge”). Balal Quo Naga is a very limited boss fight.
Balal Quo Naga has three significant abilities:
1. A basic attack
2. “Critical Heal”, which tops off her HP
3. “Current Spark”, which presumably electrifies the sand (?), and will absolutely obliterate your HP
And those last two abilities are the real doozies. Thanks to the high odds of either of those skills being utilized, every one of Balal Quo Naga’s turns are about a 50% chance of the battle being reset to start (whether because you are dead, or she is now at full health). So you are forced into defeating Balal Quo Naga in a turn or two, because anything more is literally impossible.
And speaking of impossible, it is impossible to win this fight with the default Sandcraft cannon. Mind you, there is probably some once-in-a-lifetime RNG situation wherein Naga only uses her physical attack (she also has a speed boost ability that, like all buffs in WA3, ultimately does nothing), but the reality is that she will use Critical Heal or Current Spark pretty often, and you cannot outpace her healing with a basic cannon. You must upgrade your Sandcraft to a stronger cannon, and, to be absolutely clear, alternative part upgrades will not cut it. The cannon upgrade line is the only one that will boost your attack sufficiently to overcome her healing, and anything else is literally a waste. Having more HP or speed sounds nice, but that full heal of hers will just drag the fight out into infinity.
So the actual “battle” is 90% prep (buy/equip a better cannon), and then simply using the “fire all ammo at once” command to do as much damage in one turn as possible. One way or another, the fight is over in a round or two.
So why does this suck? Well, because this fight is mandatory, and there is still a whole Wild Arms 3 game around it.
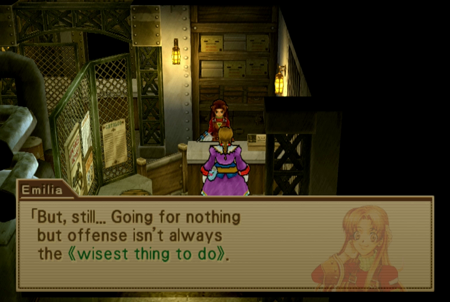
The Sandcraft does not “naturally” level. You must use dragon fossils (and only dragon fossils) to upgrade it. This means that if you have somehow missed a cache of dragon fossils, this is going to be an impenetrable roadblock. Additionally, you could spend your dragon fossils on something useless (like elemental ammo, which sounds like it could be useful, but never is), meaning you could be collecting dragon fossils like a good player, but still be dragon-fossil-poor enough to not be able to afford this cannon when you need it. Anyone that has played WA3 before likely remembers to focus on cannon maintenance, but, for a new player, Emilia’s advice for upgrading (available earlier in the game) has her outright state…
(As seen in Part 27, true believers! - Giggling Goggle Bob)
“Of course, I can increase its firepower with more dragon fossils. But, still...Going for nothing but offense isn't always the -wisest thing to do-. Of course, the most obvious strategy is to come out with your main gun blazing. But the best way to beat your opponents is to use your head.
It's not good just to fire your main gun all the time. The key to winning is in the use of the harpoon and the flash bombs. You have to wait until the moment comes where you can use your main gun to its full potential.”
And this advice will not work in the one mandatory Sandcraft battle.
Anywho, the point of all this is that if you “approach” this battle the wrong way, you will eventually just learn that you have to perform the dreaded grinding of enemy drops for more dragon fossils if you want to proceed. And, while we are doing this quest “early” for a playthrough, nobody likes to be told to come back later, particularly if the related goal is obscured by the boss appearing to be really strong. There is no strategy here! Just come back with a bigger gun!
And we’ll get to Part 2 of why this all sucks in a minute…
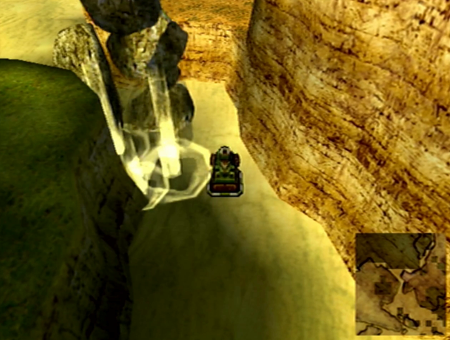
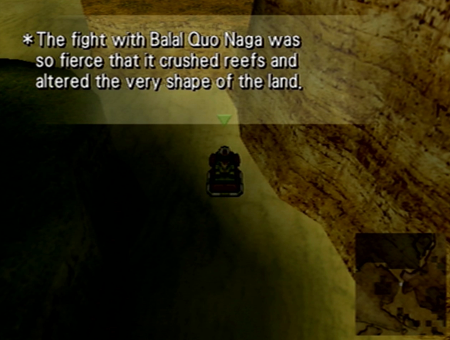
Sorry. All that ranting disturbed the local rocks.
This is a lie and you know it.
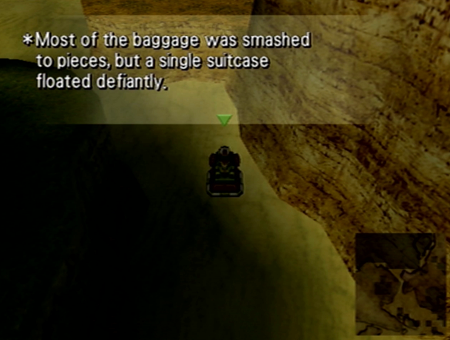
And we get designer luggage out of the deal.
So whether you are trying to find love or not, this is a mandatory quest. Defeating snakey opens up the inner sea area, and you need access to that bay to (finally) find your airship.
You don’t have to do this now in the plot (if you’re really paying attention, you can see the area from Clive’s map scrap now, and it is outside the inner sea), but it is eventually a requirement.
Keep in mind that the inner sea has much more difficult Sandcraft battles… but since you must defeat the Sandcraft boss to even get here, you shouldn’t have an issue. And that’s the other problem! You must upgrade your cannon to destructive levels for Balal Quo Naga, so literally every creature you encounter after defeating BQN has one easy answer: use your big-ass gun. The inner sea monsters are supposed to be the most dangerous titan mobs in the game, but they are all trivial, because you have to have a crazy cannon to see them in the first place. So Balal Quo Naga incidentally destroys any potential challenge to Sandcraft traveling, and thus makes every future encounter that much more pointless.
Mind you, we won’t have to rely on the Sandcraft for much longer…
Back to Jolly Roger for now, though.
Each of the protagonists have slightly different dialogue here, but I appreciate that Virginia sounds unusually bloodthirsty. I like to think that she immediately made herself the heroine of this tale of lost love and sea monsters, and was already muttering “All my means are sane, my motive and my object mad,” on the way back into port.
Literally the only thing that survived that whole… everything… was a suitcase containing the Goddess of Love statue. While you could make the argument that the statue is inert and just happened to survive for plot purposes, there sure is evidence that Goddess decided Emilia and Mario’s love was true, and Emilia’s heart needs to Celine Dion along to love again.“I just wanted proof that Mario was still alive. But, if that's not possible...Then I wanted proof that he died. Because I love him. That's why I didn't want our souls tied to the past. I wanted a blade to cut away the past so I could live in the present. Besides, Mario hated being hesitant over the same thing all the time. Thank you...for avenging his death. And for bringing back one of his things. There's something inside that I want you to have.”
Anywho, here’s your prize, guys.
In previous Wild Arms titles, each of the Guardian Lords were manifestly tied to your protagonists. This time, the Guardian Lords are free agents, and the best you get for “human interaction” is exclusively Emilia “earning” the Goddess Idol. The other three are totally divorced from people. Well, living people, at least.
What does Emilia think is going to happen here? Does she know it can summon a Guardian? Or is she just imagining this hunk of rock really impressing Virginia’s mail person?
Remember where we got our first set of Guardians? Well guess where we will find our last set of Guardians.
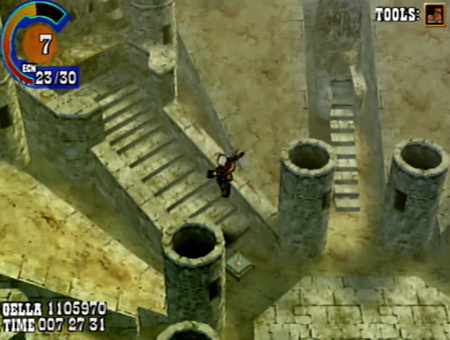
Right past the entrance is this familiar arena.
But now that we have the Radical Sneakers, we can jump up to four all-new altars.
Gallows is the only character that can identify the various runes. You don’t have to stick Gallows in the lead to activate these battles, though, if you know the (consistent between games) Guardian Lord symbols because you are some kind of nerd.
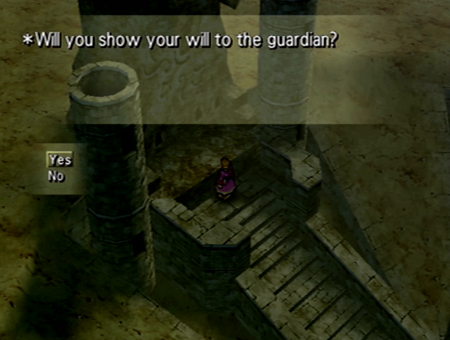
To start your boss fight, please select the appropriate sculpture.
I need an adult.
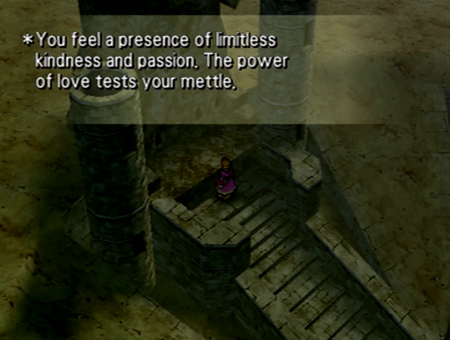
“The visions in your minds are bound together. A faint light purges your soul of stagnation. You feel a presence of limitless kindness and passion. The power of love tests your mettle. The bearer of the Ark Scepter's light must have the strength to fight that which has no form. Fight, and show your strength to Raftina!”
Yeah! Let’s shoot limitless kindness and passion with bullets!
Raftina is consistently an “angel woman” throughout Wild Arms. Here, she is a little more Valkyrie than some interpretations.
Nothing to write home about.
Like the earlier Guardian fights, all the Guardian Lords use the magic and abilities you will receive upon victory. Unlike the original Guardian fights, though, the Guardian Lords have much more interesting skills.
Raftina does not play fair. First, she copies all your elemental attacks for herself, and then she hits you with an uncurable status malady that makes you weak to those same elemental attacks.
Given your party cannot naturally gain weaknesses from equipment or other means, this is the only place in the game you will see a “monster” hit you for extra elemental damage.
But once you get past her powerful magic, there is not much to this fight.
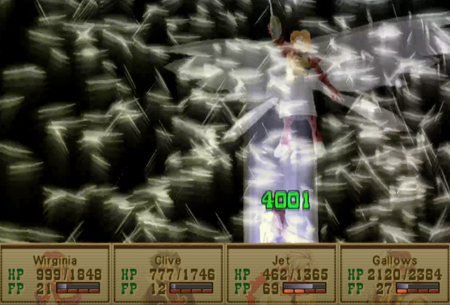
Except her summon “attack”, of course.
Sacred Blood will not hurt your party, but it will heal Raftina for an insane 4,000 HP. This could easily wipe out all of your damage gains across the battle.
And then she remembers she has a sword every once in a while.
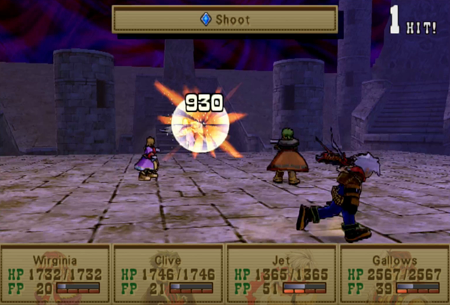
Nothing difficult about this fight in New Game +, but let’s take a peak over in “real” PS5 land.
Clive, our heaviest hitter, can only pull off 930 damage at best. Other party members are focused on healing, and Jet… Jet tries, at least. But this means Raftina could undo four rounds of damage with a single summon.
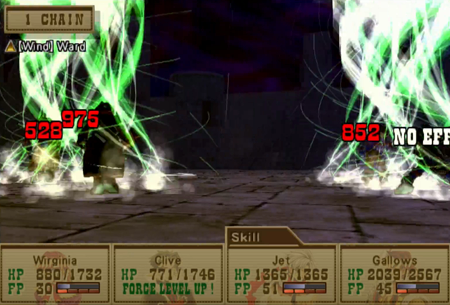
And Raftina don’t play. Those elemental weakness attacks routinely eat off 30-50% of our entire party’s HP. While one party member is likely to have an elemental nullifier equipped, she cycles through the different elements, so no one is ever 100% safe.
Just keep taunting us, Goddess.
So how do we overcome this early in the game on a “normal” playthrough? Easy! Cast Reflect on the whole party the exact moment the battle starts.
Then, when Raftina casts Weaken…
It will bounce off, and inflict her with the permanent weakness to every elemental attack.
Oh, you gonna get it.
Now she will suffer a lot more damage from our mages (more if you double back with an ability obtained at the end of this update), and, if you keep layering on the reflect magic, will routinely suffer bounced magic damage, too.
Now this is a lot more manageable, regardless of when she heals.
Virginia was doing, like, 50 HP damage before this…
So we earned our love.
Each of the Guardian Lords also up the stats of two other “lesser” Guardians. This is basically a way for the Guardians that you earned back at the start of the game to have equipment bonuses that are relevant for the end game.
The lesser Guardians only get stat boosts, no new skills or whatever. However, it is nice to see that gold shimmering back.
You can get all the Guardian Lords in rapid succession, so it doesn’t matter too much who gets upgraded first. That said, I aim for my mages, as Gallows’s always-useful healing magic is based on stats that can be Guardian-upgraded.
And speaking of stat boosts, we’re going to toss Virginia the Love Charm, as HP and Magic boosts are right up her alley.
Inoculation protects against all status ailments that last after the battle, like poison or disease. It does not protect against “temporary” status ailments, like paralysis. SOS FP Boost will activate at critical HP, and kick your FP up to 100 at max level. This is situational, but a literal life saver when you need it. And Life Charge restores HP on guard, which is useful in a game where you have to defend to refill your ammo.
Weaken and Copy Ability should be very familiar after the last battle. Copy Ability winds up as a sort of “Blue Magic” for Wild Arms 3, but learned abilities do not last past a single battle. Boo. Status Lock is a support spell that will block all status maladies save instant death (and works well with another Guardian Lord spell we’ll earn eventually). Requiem is a 100% effective instant death spell that only impacts the undead. There are some enemy mobs that this will wreck.
And now we can utilize Raftina’s healing summon for ourselves. Note all the sword slashing that does absolutely nothing to damage anybody.
Next Guardian Lord! Stop back at Virginia’s home, and a few NPCs (including Fake Dad) will call attention to Virginia’s first dungeon.
Desire, you say?
So many flashbacks this update! - Gargantuan Goggle Bob
There was that book we read back during Virginia's opening...
Always time to revisit an old haunt.
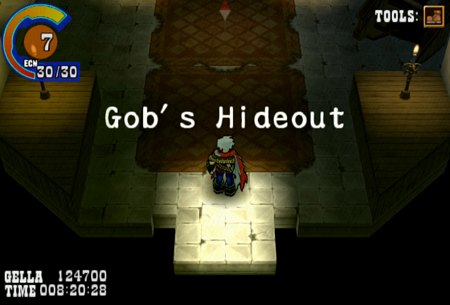
Remember how Virginia snuck in the back when she first raided the place? Well, that was literal. Returning to Gob’s Hideout sticks you at the “real” entrance, which is basically where the adventure ended last time.
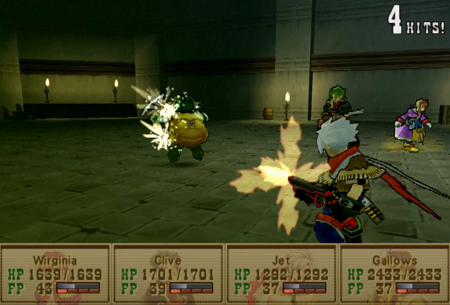
Not much new here.
The encounters are still basic gobs that are intended to fight a Level 1 solo character.
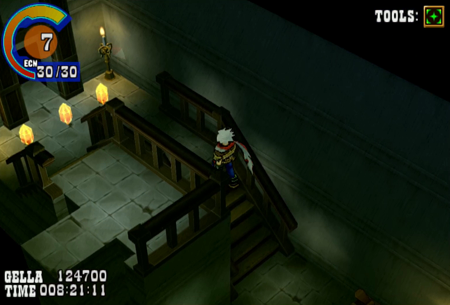
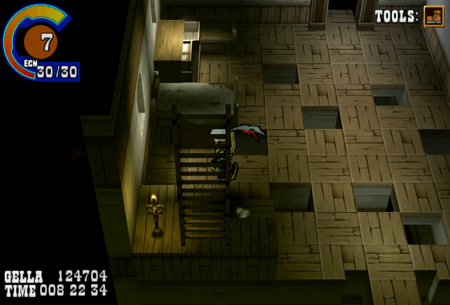
But there is this door that we were never able to open…
And up in the “roof” area where we first learned about sneaking…
Radical Sneakers will allow us to reach a ladder…
New area!
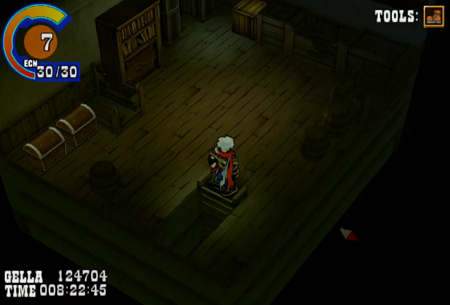
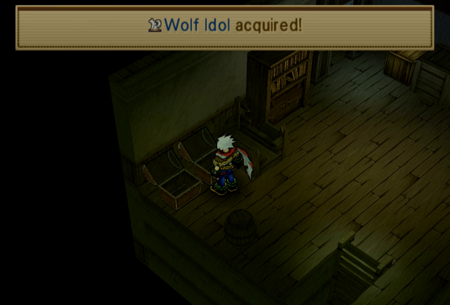
Most important is a shiny new statue. That’s right: no boss, no secret dungeon, no Sandcraft fight, no minigame; you obtain the Wolf Idol for the exclusive reason of remembering this dungeon from the absolute start of the game exists.
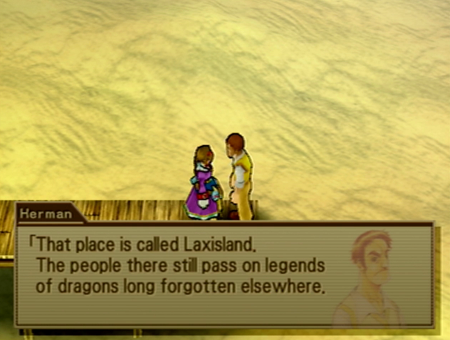
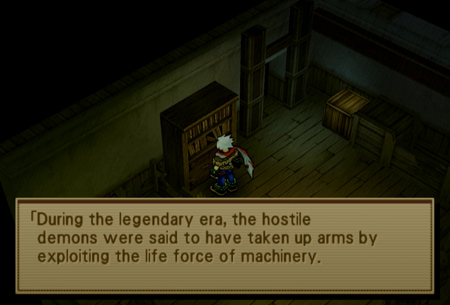
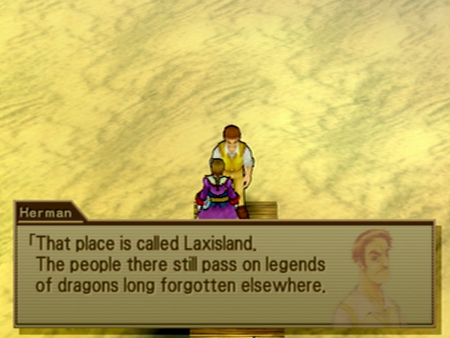
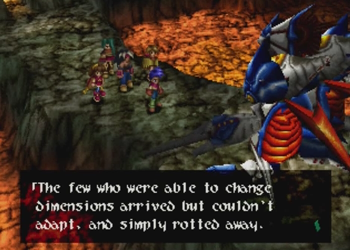
And lore! That we mostly already know!“During the legendary era, the hostile demons were said to have taken up arms by exploiting the life force of machinery. These weapons were considered to be an entity between machinery and living organisms, possessing the power to tear the sky and shatter the earth. These weapons were called dragons. It was as if they possessed a will of their own, synchronizing with the demons as if part of their limb. But as time passed...The demons disappeared, and the great war subsided on Filgaia. The few remaining dragons were deemed insignificant, and lay dormant as they began to decay. These dragons exist today as fossil resources proving beneficial to the people of today. They are found in trains and ships and other machinery, but they are most commonly used in ARMs, which is quite ironic. There is still much we do not know about dragons and a thorough analysis is needed. Dragon fossils can be mined west of Jolly Roger in a mining shaft. There are rumors however, of a living dragon found further south of Boot Hill around the Laxisland area. If these rumors of a living dragon are true, it may possess even greater powers than the fossils and prove much more useful to mankind. On the other hand...”
And some treasure!
And this switch unlocks that door…
Thus completing the loop. Now we’re officially done here.
With the Wolf Idol hidden here, a migrant seal hidden in Jet’s dungeon, and a hidden boss in Clive’s opening (we'll see that monster soon enough), there is a good reason to eventually revisit all the prologue dungeons.
So back at Gallows’s first dungeon…
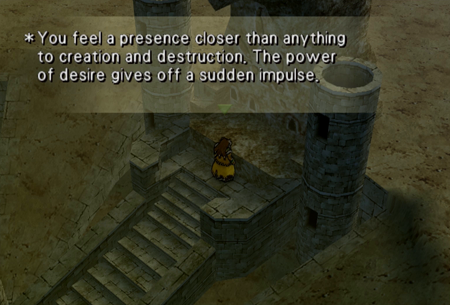
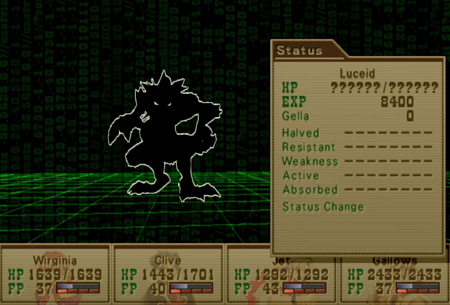
Seeing Luceid in battle is a Wild Arms tradition.“The visions in your mind are bound together. The ripples spread quietly, but cover your minds. You feel a presence closer than anything to creation and destruction. The power of desire gives off a sudden impulse. The bearer of the Ark Scepter's light must have the strength to fight that which has no form. Fight, and show your strength to Luceid!”
Lucy has a storied past in Wild Arms. In Wild Arms 1, Luceid was the one and only Guardian to side with the demons, presumably acknowledging that the bad guys just wanted it more. Luceid thus winds up as a recurring boss (half of one), and eventually performs some kind of magical sword merge with Boomerang, her designated demon buddy. She never formally joins the good guys (outside of the remake made after WA3), but there is some kind of implied understanding achieved when you beat Boomerang back to the fires of Hell (he’s weirdly happy about it, and if Boomerang Flash is happy, Luceid is happy).
Also, fun fact, this technically made her a subordinate of a subordinate of Siegfried.
In Wild Arms 2, Luceid is the legendary companion of the legendary Sword Magess/Saint. He is initially presented as the one Guardian that physically manifested during the Blaze of Disaster (event) and helped the Sword Magess repel the Blaze of Disaster (demon); but it is eventually revealed that he manifested for Anastasia because she really wanted this whole Disaster thing to work out well for her friends and family, and he more or less was along for the ride. Anastasia didn’t even ask for Luceid’s help! He just kind of showed up!
That is all in the past of Wild Arms 2, though, so in the present, he manifests, and “merges” with Ashley’s demon/hero form for a powerup.
From a gameplay perspective, this meant another game where Luceid does not join the party like “other” Guardians.
But he is a controllable party member for one dungeon, and is at least spiritually involved every time you use Ashley’s lightsaber.
Oh, and Luceid, as a proper physical manifestation of Desire, switches gender according to their partner’s sexual preferences. A wolf has to keep busy somehow….
Now we’ve got a bittersweet return for Luceid. On one hand, Luceid has now formally been promoted to Guardian Lord status, which was previously limited to a set of three Guardians. Additionally, for the first time in the franchise, Luceid is an actual usable/summonable medium. This is huge, as that was a major… desire… of fans for the entirety of the Playstation 1 Wild Arms titles. Unfortunately, the tradeoff is that Luceid, formally the most interesting Guardian by a wide margin, barely has any legitimate impact on the plot. They’re just kind of there, and this “position” could be filled by the cat god just as much as the wolf one. And the whole “Desire” aspect… well, I hate to judge, but it sure seems like Luceid would be a more suitable companion for Janus or the Prophets. Those guys want to succeed so badly…
Good to see our Guardian of Desire promoted, but sad that they dropped their characterization to do it.
And since we are talking about Luceid anyway, going to note that Luceid is never again seen in the franchise, except maybe as a playable character in Wild Arms XF. Throughout the story, Tony is heavily implied by actions and NPCs to be the last physically manifested Guardian, Luceid. Unfortunately, Tony can neither confirm nor deny his status as a Guardian, as he is a dog. Whatever the case, he’s a good boy.
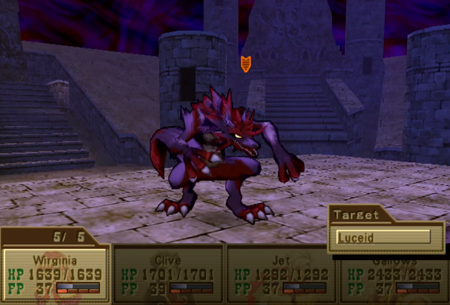
But none of that matters for this matter. What’s important is that this wolf has a drain spell, and if you are particularly underleveled or unlucky, that could make this fight take forever.
Other than that, it is a pretty straightforward war of attrition with Luceid. Complete with the literal easiest dungeon in the game hiding his idol, Luceid probably should be obtained first.
Luceid also uses the most conditional spell in the game, and, considering how often it does zero damage, it is basically a free turn for your gang.
Summon can do some damage, but if you are protected against dark, you’ll be fine.
Full moon? Crescent Moon? “Large Moon” isn’t really a thing.
We are still not exactly doing a lot of damage here, but since Luceid doesn’t heal (all that much), this battle of attrition ends eventually.
I desire you to get in my pocket.
Getting all deviantart in here.
This is going straight on Gallows. Magic attack upgrade is great, and our best mage needs the other big benefit of Lust Jaw…
FP Plus means you earn extra FP per action… though I never really noticed that significant of a boost. It is good, just not like “difference between life and death” good. All status ailments for everyone are cleared when FP reaches 100, but Restoration will clear ailments at increments of 25, meaning most any ailment (save misery, which impacts earning FP) will be cured quickly.
But Weakness? Now there is the sweetest plum.
So magic in Wild Arms 3 is not all that exciting, but it can be exciting.
We’re going to use this poor Level 1 pillbug as an example.
If you hit a monster with “general” magic, it does damage that is generally less than your typical physical attack. It varies between the characters (Virginia and Gallows are better magic users, Jet and Clive are worse) but offensive magic is generally ineffective compared to proper ARMs maintenance. However, when you hit a weak point…
Then elemental magic shines. Same caster, same level in this shot, but Pillbug is weak to ice. See the numerical difference? At this point in the game, hitting a same-level monster’s weakness is enough to kill ‘em in one shot. This is significant, as, when it comes to regular attacks, Clive (your strongest member) is the only fighter that has a prayer of one-shotting a monster. Mind you, this seems to be deliberately balanced with how you generally face a maximum of four opponents at a time, so your average battle takes a round or two, thus allowing everyone involved to do something fun. The fights are sensible, not complete pushovers, and allow your magic users to be useful with knowing/hitting weaknesses.
However, Weakness changes the game. Weakness will, at maximum level, deal 100% extra damage per hit.
This means that “can one-shot a common monster” turns into “can deal more damage than everyone in the party”. In fact, equipping this ability on Gallows is step one of two of turning two of your party members into absolute destroyers. And we’ll get to how we pump up the other guy soon enough…
Oh, and if you are curious about what to do in situations where a monster/boss/super boss does not have an elemental weakness, we have a solution for that: remember how Goddess had an ability where you can “inflict” an opponent with a weakness? Well, I haven’t found an adversary that is strong to that status effect yet…
And on a “tested and approved” note, I have completed a number of optional battles on the “real” playthrough and the new game plus playthrough at this point. I am not going to chronicle both playthroughs side by side, but I can tell you the battles where I am “normal” levels, but focus on using Weakness and the other upcoming ability go a lot faster than battles where I am level 100 but not using those abilities. Literal game changer, even more effective than gaining 40 levels.
Anywho, more Magic! Dark Matter is a generic dark attack, so now we finally have all the elements available for hitting weaknesses. Lifedrain is a risky drain attack that can be pretty effective when your caster needs a fill up… but it has a high rate of missing. Curse makes an opponent more susceptible to status ailments, which is gorram useless for obvious reasons.
Dark Luceid has a completely useless description (pictured), and is very situational. Also, I have no idea if it even works like it supposed to. Theoretically, it should do damage as determined by how many elemental resistances the target has. Like, if a monster is strong against ice and water magic, it should do 2x damage, but if it is strong against ice, water, and thunder magic, it does 3x damage. That said, I have only ever seen Dark Luceid do zero damage, or craptillion damage. And it isn’t a matter of it “missing”, the craptillion damage situations are consistent, just exclusively against monsters that have every resistance. Even in the battle you just saw, Virginia received zero damage from Dark Luceid, and she definitely had Earth and Light resistances equipped at the time. And you would think the magic being used by the boss would work correctly! But it only ever seems to work if a creature has ridiculous defenses from the get-go.
So anyway, you’ll see Dark Luceid be effective, like, twice in Wild Arms 3. And you’ll be happy those two times.
Luceid’s summon is visually endearing, but otherwise forgettable. It is a hit-all darkness attack. Guess it would be useful against a party of angels.
Technically, that one bit of Luceid art from the art book is exactly based on this summon (or the fight we just saw).
And that’s it for today. We’ve got a pair of Guardian Lords, and we are not afraid to use ‘em.
Next time on Wild Arms: Come fly with me.
ALSO! For anyone that would like some "live" Wild Arms 3 nonsense, I am going to attempt The Abyss this evening on my twitch channel. This is mainly an excuse to have some company for the misery... but still! If anyone is following the LP carefully, I can safely say the actual gameplay will not spoil anything ahead of this LP, though commentary may spoil future WA3 revelations/other games. Or a lot of Aqua Teen Hunger Force Episodes. We tend to get off topic...
Regardless! Live stream tonight of WA3's Abyss at 8:30 PM EST at twitch.tv/gogglebobblog . The video will appear in this LP in about another five updates if you miss out, though.
Regardless! Live stream tonight of WA3's Abyss at 8:30 PM EST at twitch.tv/gogglebobblog . The video will appear in this LP in about another five updates if you miss out, though.
Full moon? Crescent Moon? “Large Moon” isn’t really a thing.
So you say, but...

We’re going to use this poor Level 1 pillbug as an example.
Pillbug Schmillbug, I know Lavos when I see it!
That's less of a "Large Moon" and more of an "Angry Moon"...
But we are not here to talk about moons! We are here to talk about Wild Arms 3 on February 7, Makeup Day. There was a man who loved makeup. With his makeup on, he looked better than any girl around him. He even tried out for the Miss Filgaia contest, but was found out once he gave his speech in his really DEEP voice...
Chapter 44: You Gotta Fly
Previously on Wild Arms 3: We acquired two out of four god-gods, and opened up a brand new shipping route thanks to serpentcide. Now we will… Uh…
Oh! Right! We should go find that dragon!
A healthy number of NPCs across the world are currently chattering about Laxisland and it being some kind of dragon hub. This should lead our intrepid adventurers down the newly opened strait to find our newest (and kinda final) town.
Laxisland is only available by slaying Balal Quo Naga and accessing the inner sea. On a related note, Laxisland and its related dungeon are the only locations of interest that are available after opening the inner sea.
Land ahoy.
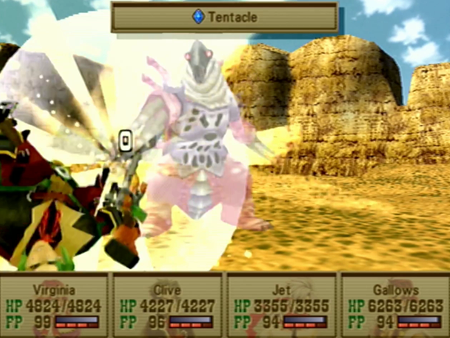
Freaky, semi-transparent tentacle monsters stalk the area. We are sequence breaking a tiny bit here: the game suggests visiting this area all over the place, but it is technically not required until after you complete another three plot dungeons. This means the local monsters may be outside of your level-based comfort range.

However, thanks to WA3’s VIT and encounter systems, individual monster battles are not too draining when you are “underleveled”. Would not want to face a boss with that kind of disparity, though.

Welcome to
And that’s everything you need to know about our new airship. The world is now a dragon snack!
Next time on Wild Arms: We learned how to commune with a living weapon, so now let’s shoot monsters for money.
But we are not here to talk about moons! We are here to talk about Wild Arms 3 on February 7, Makeup Day. There was a man who loved makeup. With his makeup on, he looked better than any girl around him. He even tried out for the Miss Filgaia contest, but was found out once he gave his speech in his really DEEP voice...
Chapter 44: You Gotta Fly
Previously on Wild Arms 3: We acquired two out of four god-gods, and opened up a brand new shipping route thanks to serpentcide. Now we will… Uh…
Oh! Right! We should go find that dragon!
A healthy number of NPCs across the world are currently chattering about Laxisland and it being some kind of dragon hub. This should lead our intrepid adventurers down the newly opened strait to find our newest (and kinda final) town.
Laxisland is only available by slaying Balal Quo Naga and accessing the inner sea. On a related note, Laxisland and its related dungeon are the only locations of interest that are available after opening the inner sea.
Land ahoy.
Freaky, semi-transparent tentacle monsters stalk the area. We are sequence breaking a tiny bit here: the game suggests visiting this area all over the place, but it is technically not required until after you complete another three plot dungeons. This means the local monsters may be outside of your level-based comfort range.
However, thanks to WA3’s VIT and encounter systems, individual monster battles are not too draining when you are “underleveled”. Would not want to face a boss with that kind of disparity, though.
Welcome to
dragon country.
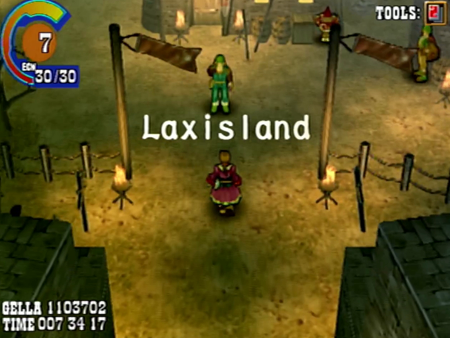
Laxisland is the last town we will see in this Let’s Play in a very “technically” sense. There is one more town available that we have officially seen (but did not get to explore), and there is another area that is something of a quasi-town (insomuch as there are no random monster encounters). Other than those guys, just taking a moment here to note how sparsely populated Filgaia has gotten…
Laxisland and The Fraternal Order of Bobs welcome you. Try to survive the experience.
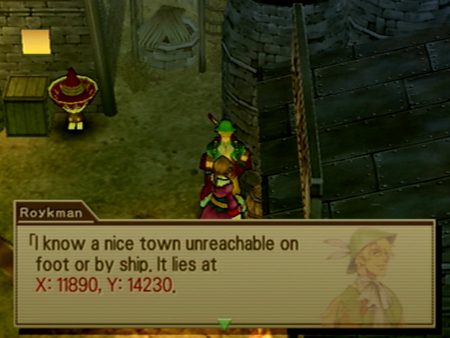
Our omnipresent merchant Roykman gives us directions to the other last town. Gawrsh, wonder if we’ll be acquiring a new mode of transportation soon.
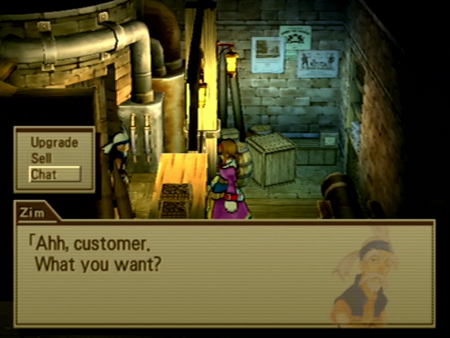
The local ARMs shop is essential.
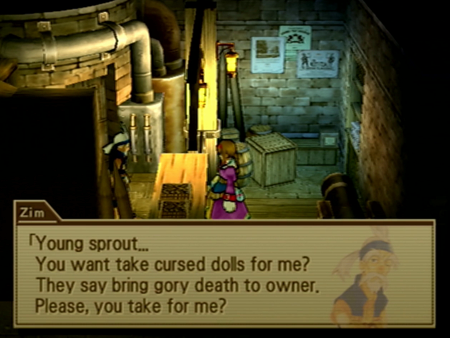
I’m… sorry? Uh… is something lost in translation here, Zim? You want me to own dolls that kill the owner?
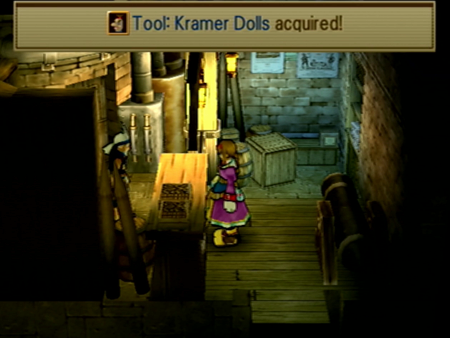
Nobody lives forever!
So the Kramer Dolls continue the tradition of Wild Arms granting a musical tool that summons monsters. In Wild Arms (1), Jack acquired the ugliest guitar that played the worst song, and it awakened demons whenever played. In Wild Arms 2, secret playable character Marivel earned the Microphone, and it allowed her to sing a Kirby-esque ditty that roused rumbles.
Now Gallows has a “doll” that generates a little band. When used in a town or “safe” area, it does nothing. When used in a dungeon, it will immediately instigate a random encounter. When used next to a super boss, it means you gonna fight a super boss.
An important thing worth noting here is that in both Wild Arms and Wild Arms 2, the “fight super bosses” tool was not accessible until the game was nearly complete. Jack’s Guitar was in the absolute final dungeon, and Marivel’s My Mike was the secret third tool that could only be found by completing a secret dungeon (to get Marivel’s second tool) available only to the secret character (Marivel), and then revisiting a dungeon that would otherwise have no reason to ever be revisited… And you could only do all this after about 80% of the plot was completed. In Wild Arms 3, the Kramer Dolls are plot mandated comparatively early in the game, and, if you know to head over here immediately, you can nab ‘em like 60% of the way through.
What does this all mean? Well, we can tackle nearly all the optional bosses well before the end of the game…
And we will address that soon, but let’s nab some more dragon lore while we are here.
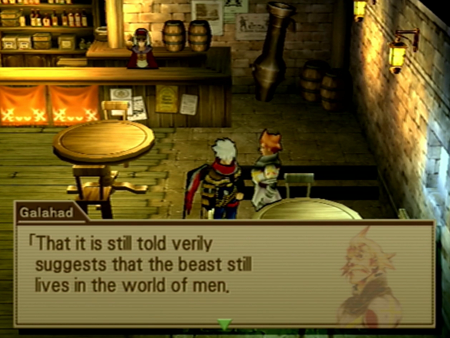
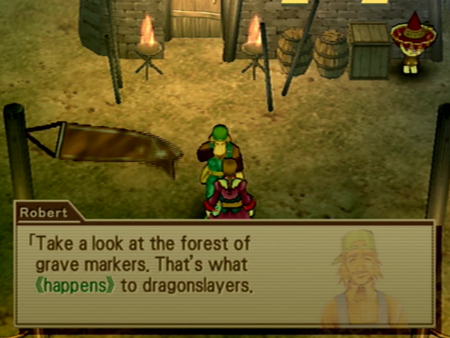
I like that Wild Arms 3 has a random knight running around. The Huskarls would be proud (if we didn’t kill them).
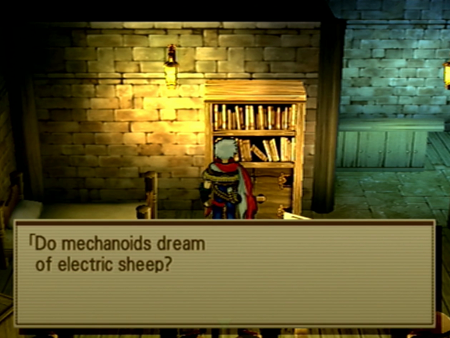
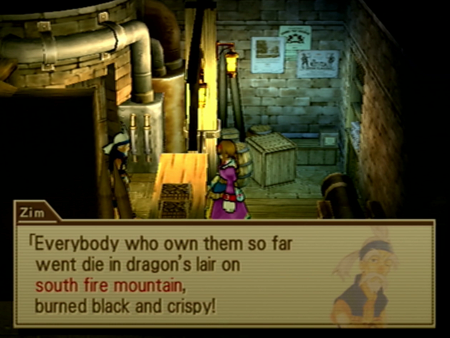
So the NPCs in Laxisland are almost unanimously focused on three things:
1. There is a dragon in the mountains to the south
2. The dragon kills everybody
3. To tame the dragon, you must know what a dragon wants
There will be a quiz on this later. Fail and die.
I am not kidding.
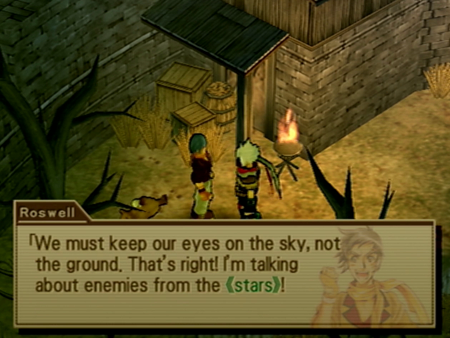
And I note that the NPCs are almost unanimously focused on dragons because we have got Roswell here focused on aliens. Ha ha. Silly Roswell. Aliens will never be relevant in this guns and sorcery JRPG.
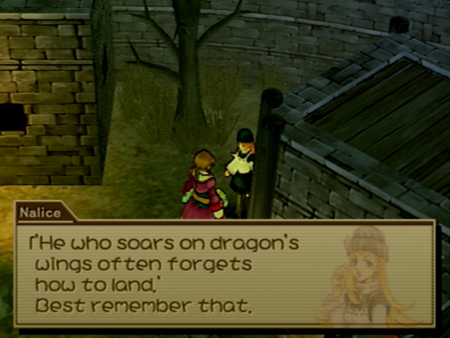
Love your hat, Nalice. I think it is namazing.
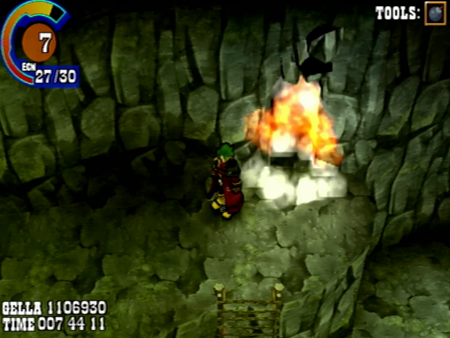
Enough of Laxisland. Watch those open flames, guys!
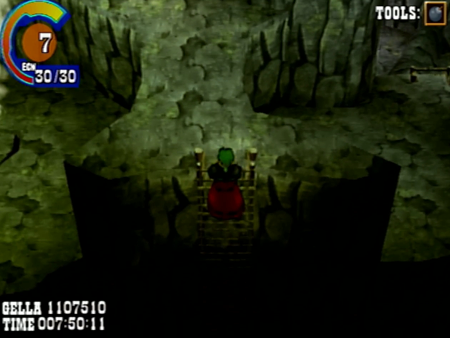
The obvious thing to do here would be to head over to the unavoidable dragon dungeon.
But we got a new tool, and I am fixing to use it.
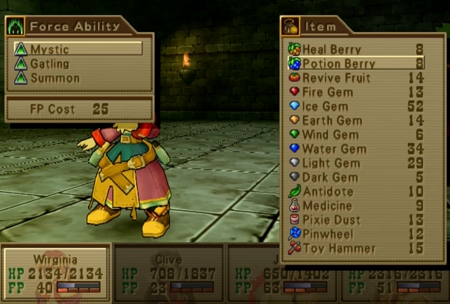
This little sojourn is happening on the “real”, Playstation 5-based playthrough. No “cheating” has happened on this save file… so I’m going to have to earn some cheating…

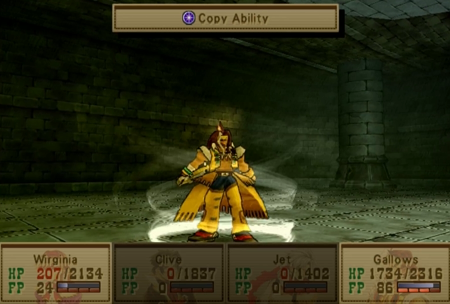
We are very deliberately equipping Gallows with the Luceid-based Weakness ability, the Schturdark water element invulnerability ability, and the Goddess Raftina medium for its Copy Ability spell. Schturdark’s Attack Blocker and Luceid’s other skills (FP Plus, Restoration) will also be helpful.
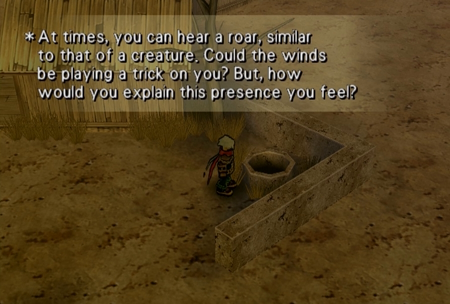
Since our first visit to the town of Little Twister back at the start of Chapter 2, this well has taunted us with warnings of a creature.
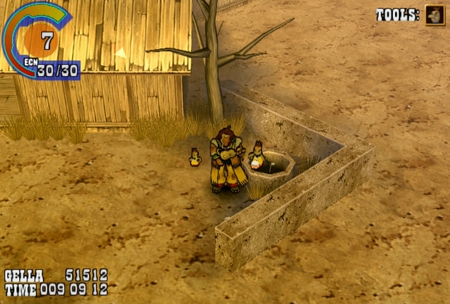
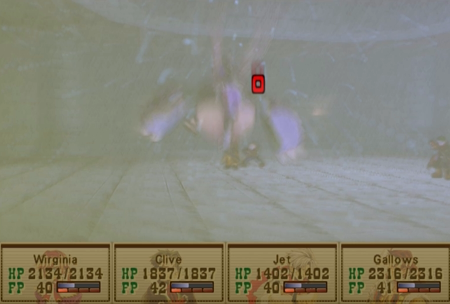
Let’s play a little ditty to wake ‘em up.
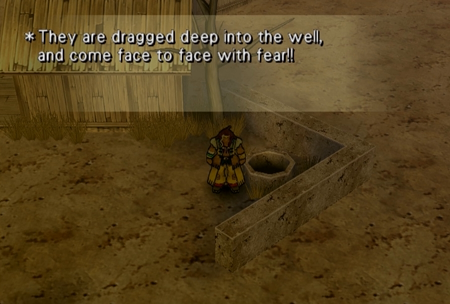
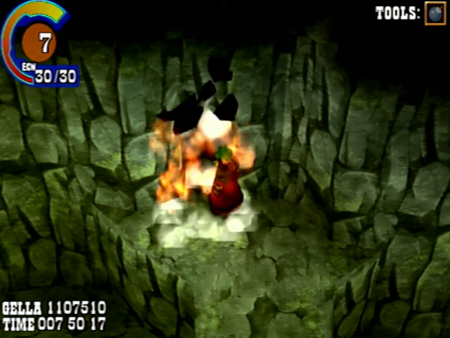
Yay! Fear!
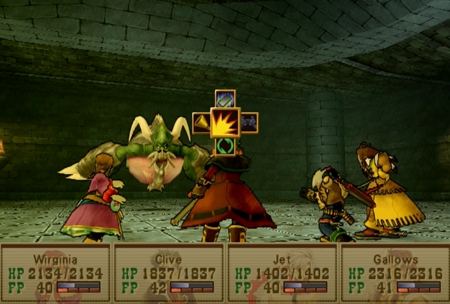
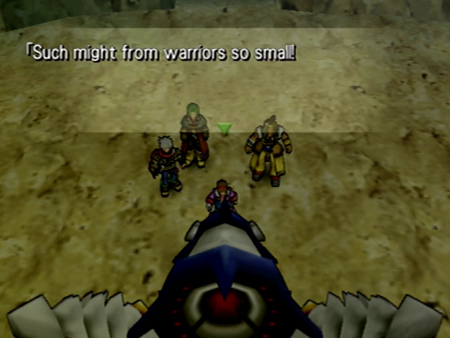
Say hello to our first super boss.
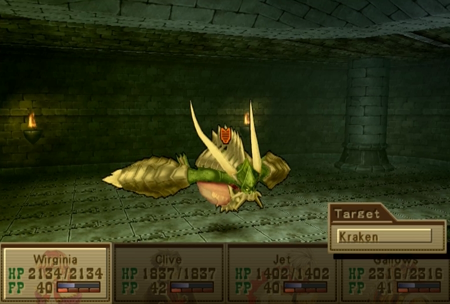
Kraken I do not believe has distinctly appeared as a “relevant” monster in any previous Wild Arms titles, but its general positioning and appearance is reminiscent of secret “super” boss Gatlorg in Wild Arms 2. I must put “super” in quotes for Gatlorg because he was kind of a wiener of a super boss. However, there is another connection we will see shortly…
So we are super under-leveled for this fight. Virginia, one of our better magic casters, just hit Kraken’s weakness, and it did a whopping zero damage. Did not even break the effectiveness barrier…
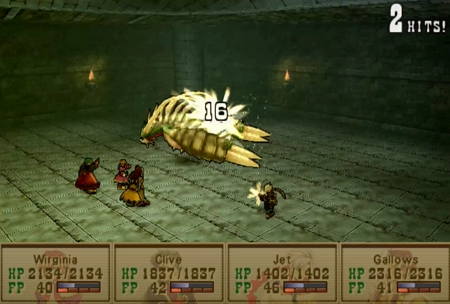
Not looking too promising with physical attacks, either.
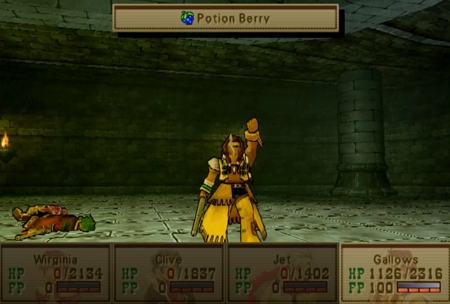
Meanwhile, Kraken has a physical attack that absolutely will fell the majority of our party in one hit. Some characters weather two blows if they’re lucky, and Gallows can survive three hits with barely enough HP to endure because of his surprisingly high defense/HP.
And we’ve got a grand total of 8 potion berries to attempt survival here. Was picking this fight a misstep?
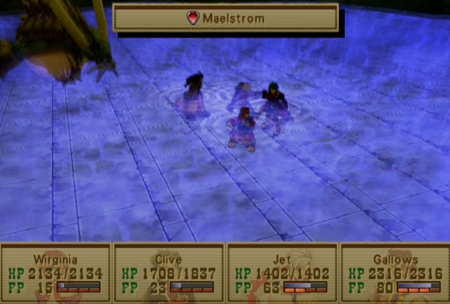
Maelstrom seemingly seals the deal on that question. This is the strongest water attack in the game, and our party is literally going to drown in it.
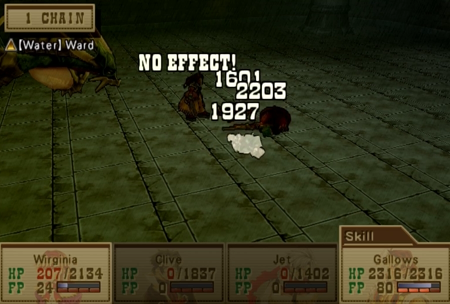
Clive and Jet have miserable magic resistance, so this move eats off more than their maximum HP. Virginia barely lives thanks to her mage-y defenses. And Gallows? Well, Gallows is completely unaffected, as he has water ward equipped.
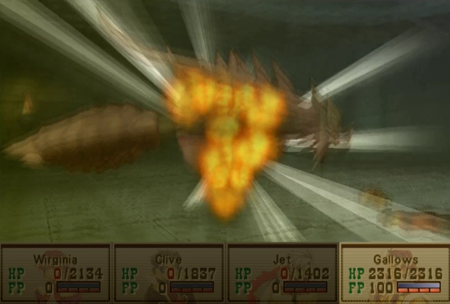
Now here’s the thing: Gallows has the best magic attack in our party, and he has Weakness equipped. Virginia literally cannot do any damage, but Gallows can eat off 2000 HP with a decent hit thanks to Weakness. Good thing he’s the one that survived, eh?
And speaking of hitting Kraken…
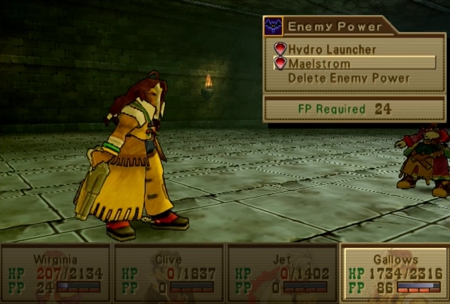
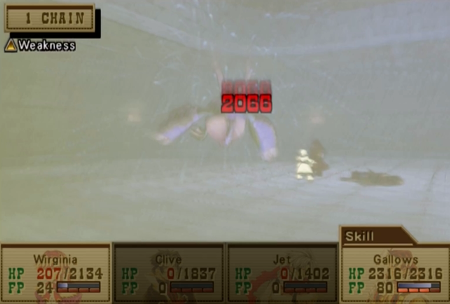
Copy Ability (which, at this point in the game, you likely need to build up some FP during the battle to use in the first place) allows you to steal Kraken’s two chief water spells, Hydro Launcher and Maelstrom. Maelstrom is the strongest water spell…
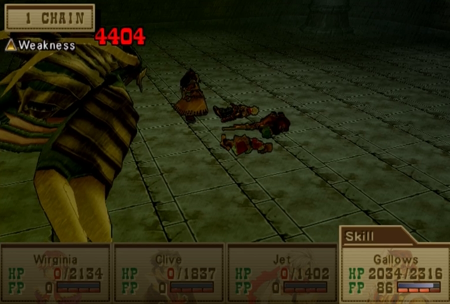
And Kraken, its user, is inexplicably weak to water element attacks.
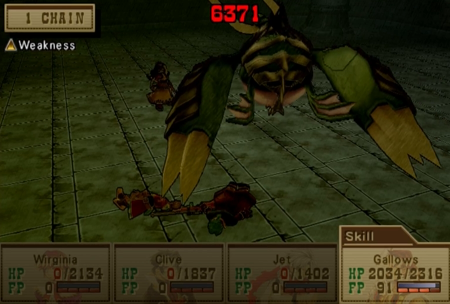
And now it is just a matter of praying the RNG doesn’t (literally) murder you.
The only way Kraken can damage Gallows now is with a physical attack. All of Kraken’s other abilities are water-based, and Gallows is completely immune to water. Gallows can survive three physical attacks… though Kraken is capable of getting a critical hit that would be homicide at anything but full health. Just to be on the safe side, it is a good idea to top off Gallows whenever possible.
That said, I can state that I completely ran out of Potion Berries, and it came down to the wire. Even with hitting that weakness (nearly) every round, it took something like thirteen turns (after the initial setup phase). That is forever in Wild Arms 3 battle time!
But it is all worth it.
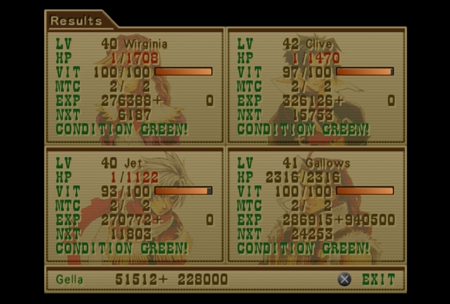
Couple of things happened here: for one thing, Gallows was the only one to survive. If I were really paying attention, I would have attempted to revive the whole party before the final hit. Unfortunately, I was not counting Kraken’s HP, and I was happy a single party member survived at all…
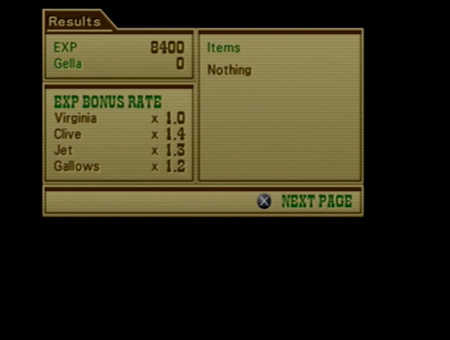
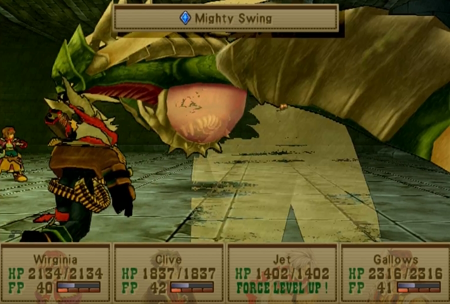
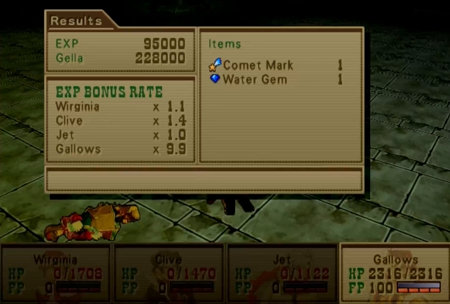
You will also note in the previous screenshot that, thanks to using the Ward Water and Weakness skills so many times, Gallows received a 9.9 multiplier on his earned experience. And this is a super boss, so the exp reward was always going to be substantial...
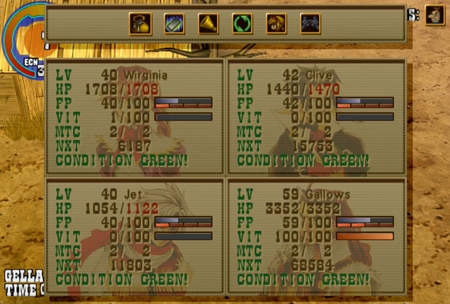
So Gallows jumps from level 41 to level 59. Our slacker is now the most accomplished drifter on the team!
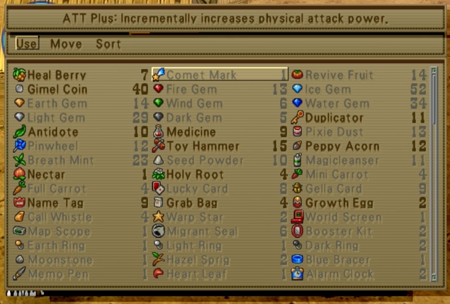
But that is not why I tackled Kraken so early. Our prize here is the Comet Mark (amusingly enough taking the inventory slot where our Potion Berries used to be) , which “incrementally increases physical attack power”. This is the other weird/deliberate connection between Kraken and Wild Arms 2’s Gatlorg: Gatlorg previously dropped the Power Boost, which was an accessory that enhanced your physical attack.
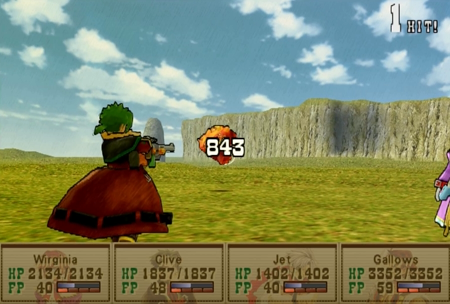
If you remember that from Wild Arms 2, you might ignore the Comet Mark, as the Power Boost did boost your physical attack, but not in any way that was memorable. Let’s see if that is the case in Wild Arms 3. Here is Clive gunning down a balloon without the Comet Mark.
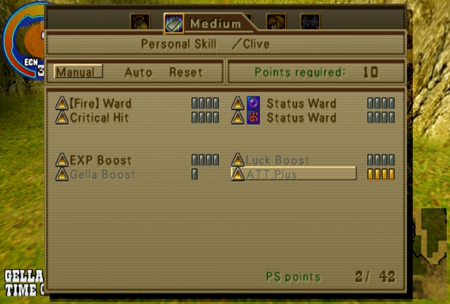
Comet Mark confers the ATT Plus ability. It requires a whopping 10 PS points per each of its four levels. This means that, at level 42, Clive can only equip ATT Plus if he wants to use it at max power.
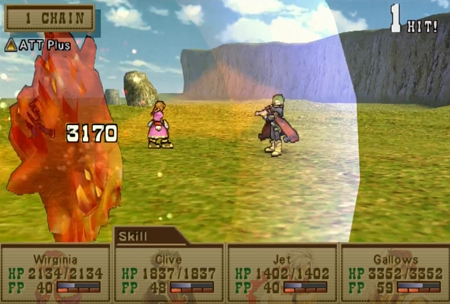
But it is well worth it. Approximately 800 damage versus over 3,000? I don’t know the exact computation on how ATT Plus works, but it sure looks like it does something like four times extra damage.

And additional bonus: since it is technically a skill that activates every time Clive uses the attack command, he gets a bonus 0.1x multiplier every time he shoots an opponent. As you saw with Gallows last fight, that can add up quickly.
So that’s the story of how I got the “weak” version of my WA3 party to be The Drifter Destroyers. From this point on, Gallows can use Weakness (possibly combined with Virginia assisting with Raftina's ability to inflict an opponent with a weakness), and Clive can use ATT Plus, and both of them will be doing about 2-4 times the amount of damage they would normally be doing at this point in the game. Virginia will be available for healing duty, and Jet… well… Jet just has to look pretty.
And Let’s Play bonus: since these are both PS abilities, I can turn the attack bonuses off if I ever want to play it straight.
... Well, I guess Gallows is permanently nearly twenty levels ahead now… But still!
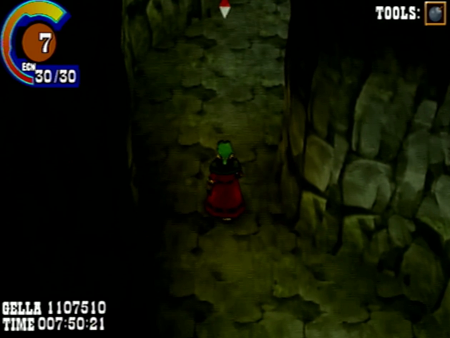
High off the fumes of a defeated Kraken, we now resume our dragon slaying already in progress.
Let’s rescue Daphne once and for all.
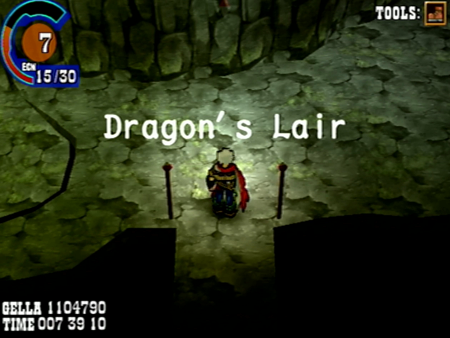
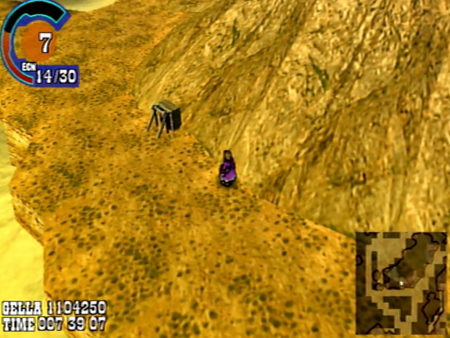
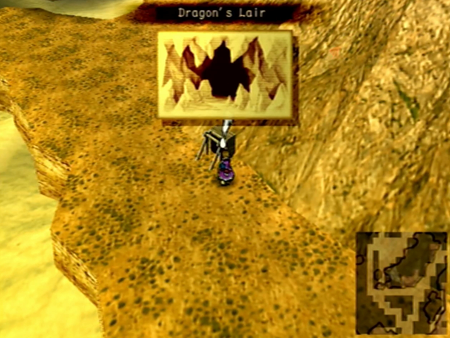
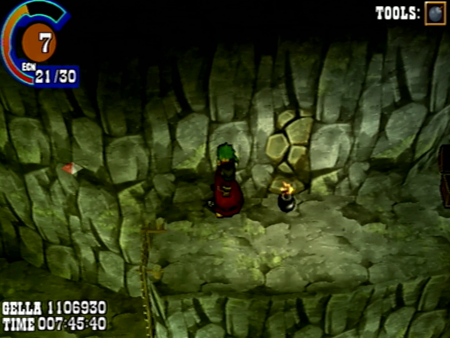
As previously mentioned, this area is technically optional at this point, but is heavily clued as somewhere you want to visit immediately. Likely as a result of this design, Dragon’s Lair is more cerebrally difficult than level-gated difficult.

Without being a teleporter maze, Dragon’s Lair is Wild Arms 3’s teleporter maze. Every room has a pile of exits and entrances, and you have to sus out the exact route through these ups and downs to not accidentally exit the place and reset the whole dungeon.
And you have to endure the whole thing while watching your HP get chipped away by monsters.
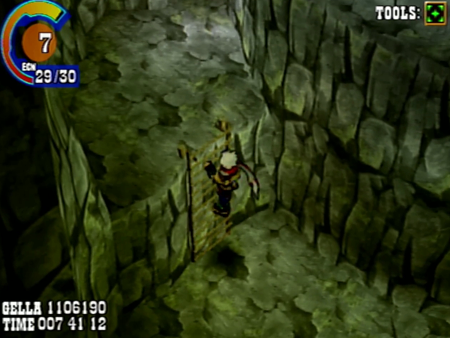
Aiming for a ladder to the east seems like a good start.
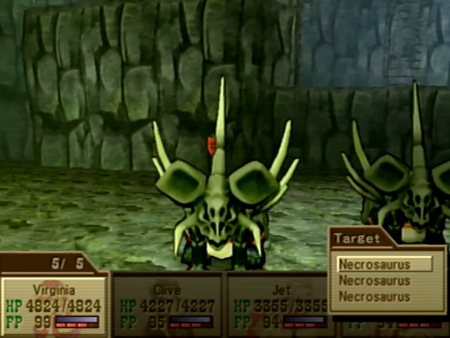
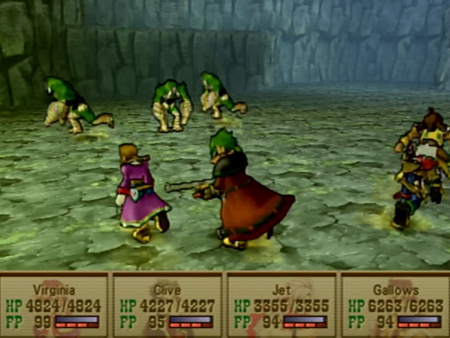
Oh! Our first undead opponent since we acquired Raftina.
Using Requiem will obliterate these creatures immediately. If they are all attacking as a group (as in it reads Necrosaurus A B C, unlike the picture one back), using Gallows’s Extend ability with Requiem will wipe out the whole encounter in a turn. Alas, there doesn’t seem to be any rhyme or reason to when monsters are grouped together…
Back to dungeoning.
Back to monster chests.

Imitators are upgraded mimics, but they are fairly ineffective.
I think we are past where trapped chests are high risk/high reward, and are mostly just trolling at this point.
Anywho, may as well blow up some walls to make progress.
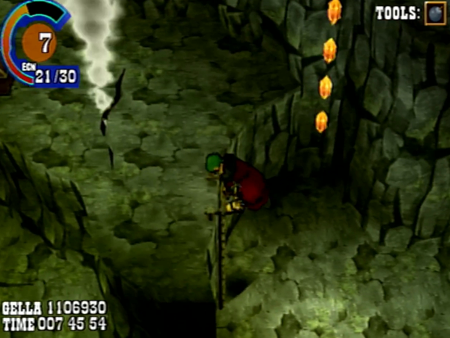
And, in what feels like a completely backwards move, you occasionally have to throw yourself down a pit to make progress.
See? We fell near the entrance, but up on a cliff that would be otherwise inaccessible.
If we were to jump down and enter that doorway in the picture, it would mean leaving the dungeon.
But we are trudging forward and blasting unusual looking rocks.
Here’s another hole that is made for us.
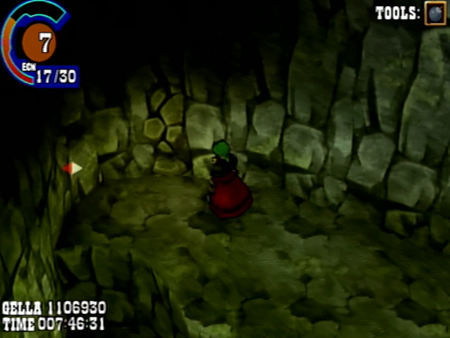
And another wall that is made for bombs.
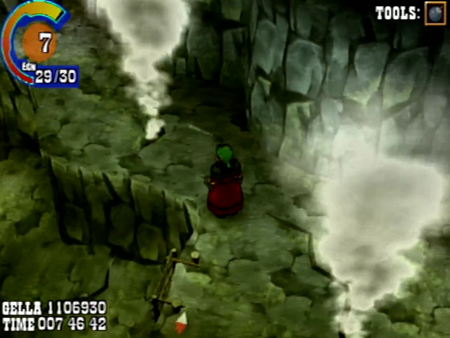
Watch those steam jets. They could eat off a whole, like, 3 HP.
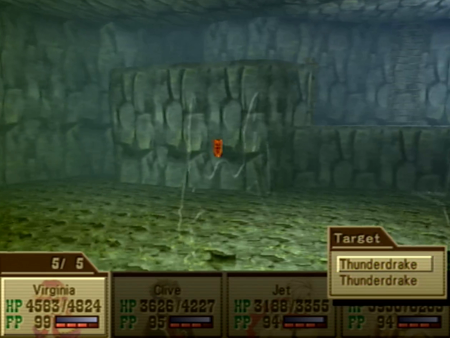
In fitting with the “puzzle” theme of this dungeon, some of the encounters are very puzzle-y.
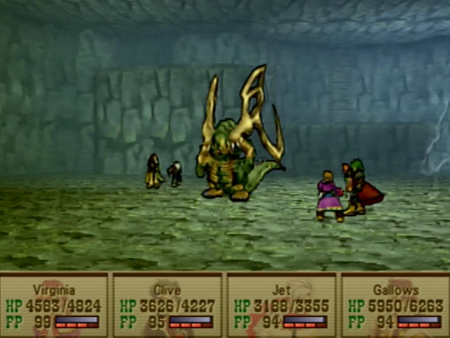
Thunderdrakes are completely immune to physical attacks, and will only take damage from magic. Unless…
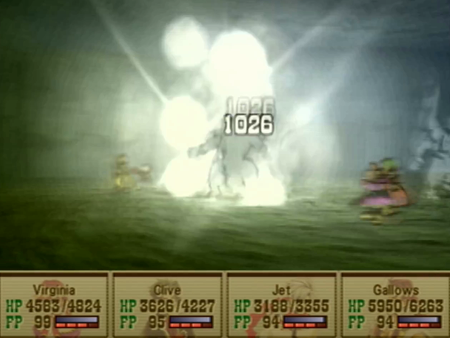
You hit ol’ Thunderdrake with thunder, in which case they are slightly powered up (“slightly” because I did not notice significant gains in either playthrough), but become corporeal.
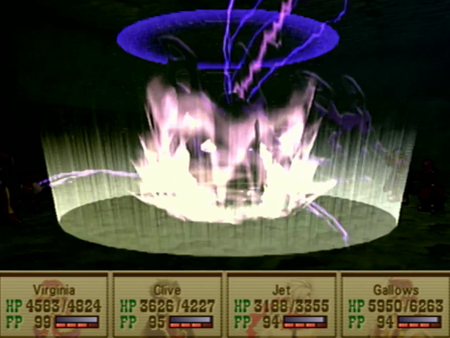
Now we can feed that dragon some bullets.
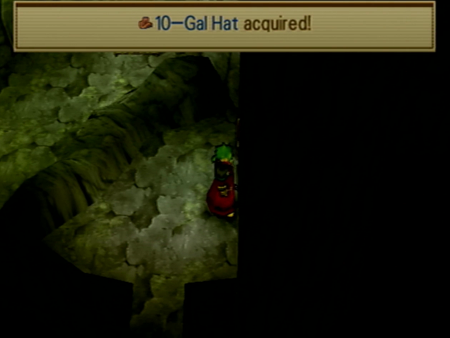
Anyway: new hat.
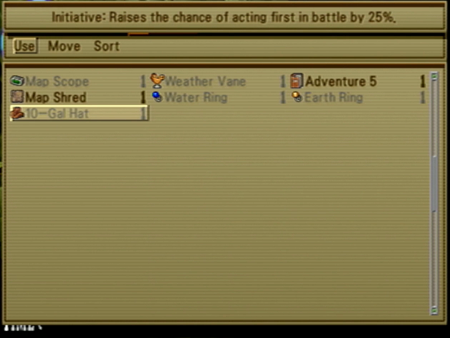
It is Wild Arms canon that appropriately Western headwear can startle your opponent enough for a preemptive strike.

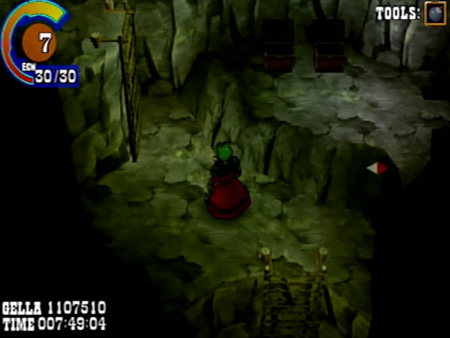
We were told that a number of other dudes fought the dragon, but how did they get there and seal up the entrances behind them?
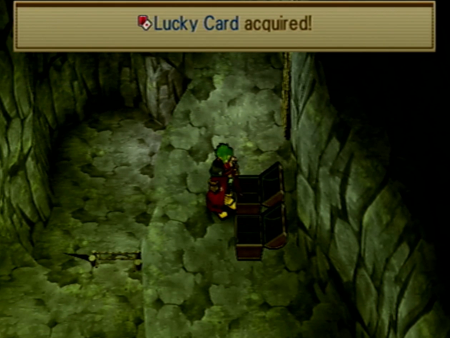
And why did they leave all this treasure behind?
Almost there.
Might want to save if you see this spot.
Very close to the finale, but if you take a dip for those crystals, you will have to repeat a lot of the dungeon.

Here is where we want to go.
And that entrance should do it.
Okay, little further. I do have to state that this dungeon is terrible at conveying progress being made. Though that may be deliberate…
Now this surely is the end.
It just reads as ominous.
Ah, yes, definitely done now. Not making a GIF, but a little rumble happens here.

And the way back is blocked. I guess that’s why there were so many pathways that had to be bombed open.
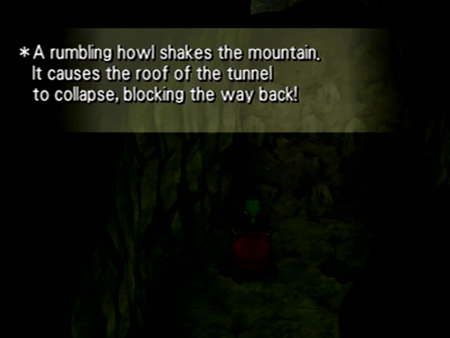
No choice now: you either get a dragon to fly you out of here, or you’re stuck in this mountain forever.
Though the game does do its best to remind you to get equipped for a battle now.

This is a literal point of no return, so saving is now disabled. Try to survive!

I see the light.

Aaaaaand nothing.
The old man that gave you the dolls also technically gave you the directions to this dungeon, so you cannot get here without the means to summon your opponent. Play it again, Gallows!
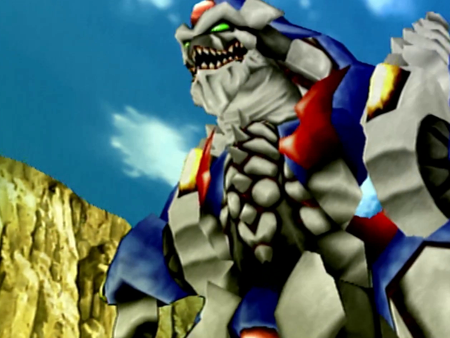
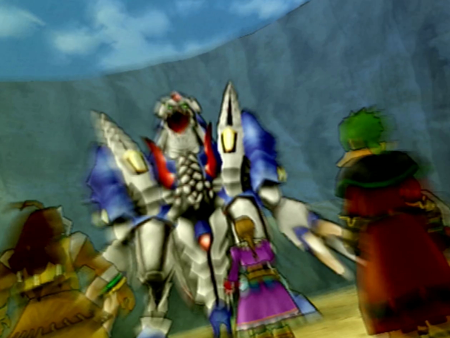
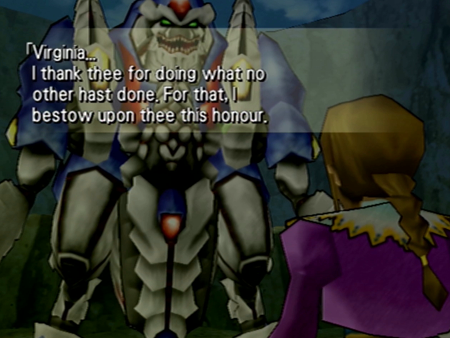
Look! Up in the sky!

Is it a bird? Is it a plane?
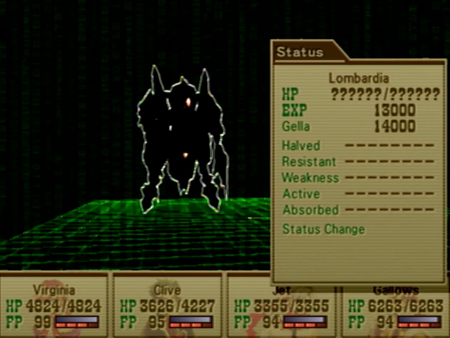
Lombardia! There is nothing indicating that Lombardia of Wild Arms 3 is the same Lombardia of Wild Arms 2, but they are remarkably similar in name and looks.

(Compliments of the last time I did a screenshot LP. Thanks, me!)
Wild Arms 3 has significant callbacks to Wild Arms 1, but direct references to WA2 are few and far between. That said, if you really want to headcanon this Lombardia into being the same Lombardia as in Wild Arms 2, you could make the argument that since that Lombardia came from another dimension…

… Wild Arms 2 is later on the timeline than Wild Arms 3, and Lombardia is the only survivor of the Wild Arms 3 world being devoured by another dimension.
… But that’s depressing.
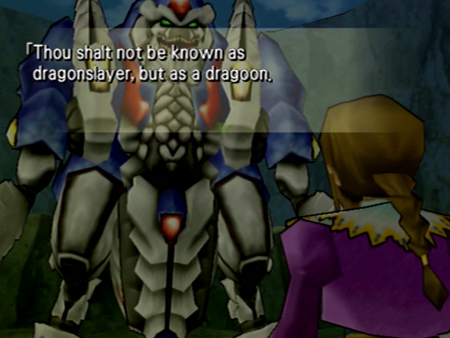
Anywho, like in Wild Arms 2, Lombardia is a dragon that is a transformer, and she likes fighting as much as the next Decepticon.
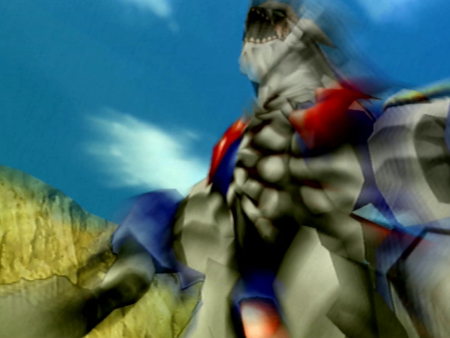
So let’s get our ARMs on.
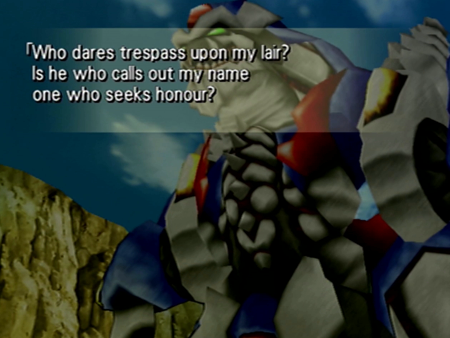
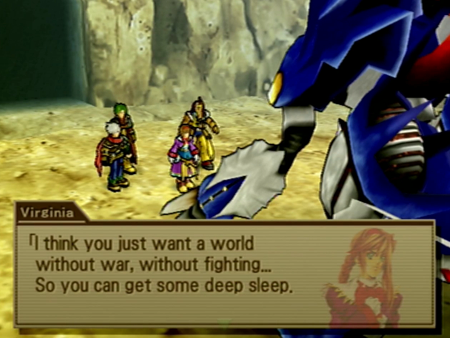
Also, like in WA2, Lombardia has unsettling telepathic powers.

“Phhht I’ve seen ultimater. Call me when you reach Atma level.”

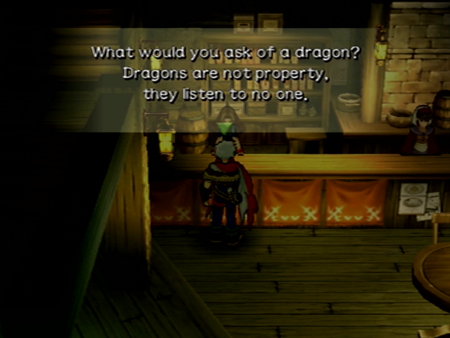
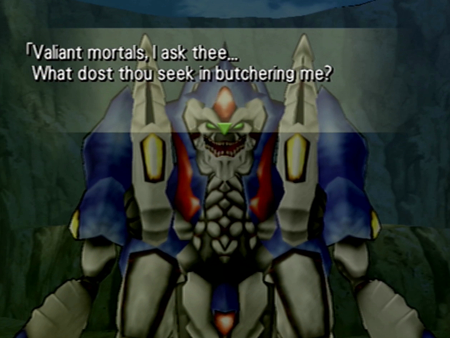
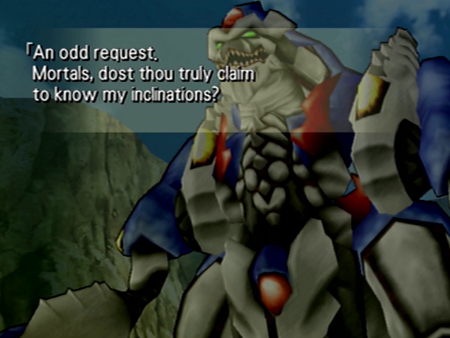
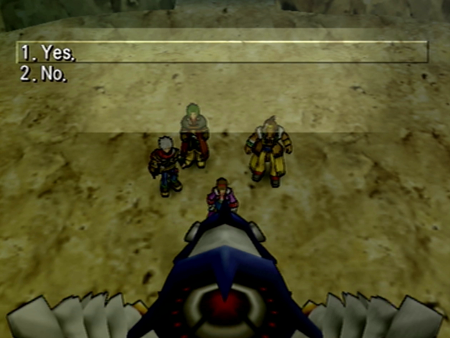
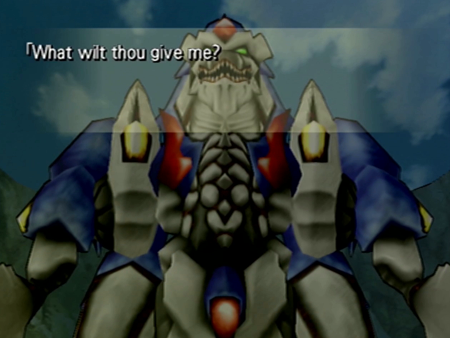
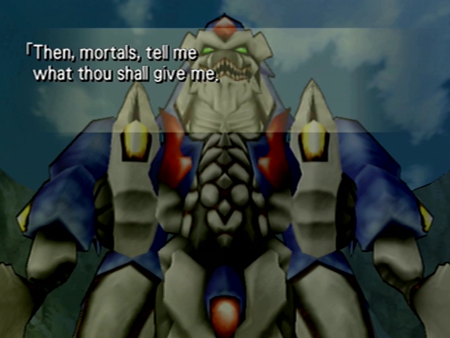
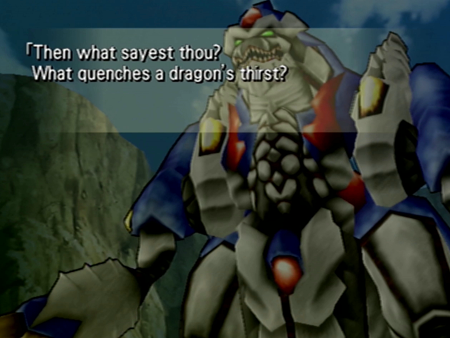
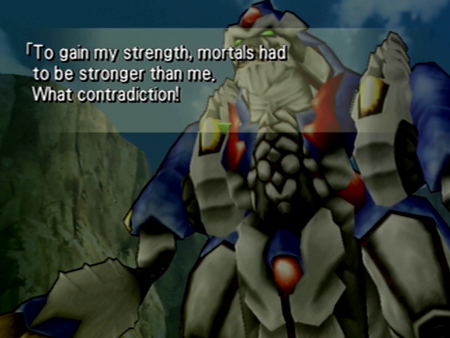
Gonna get all “answer me these questions three” in here…
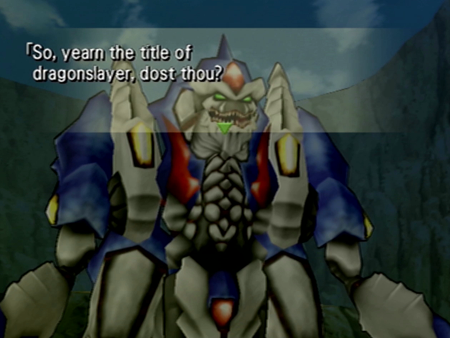
It’s just the “advance dialogue box” arrow, but it really does look like Lombardia is drooling green slime.
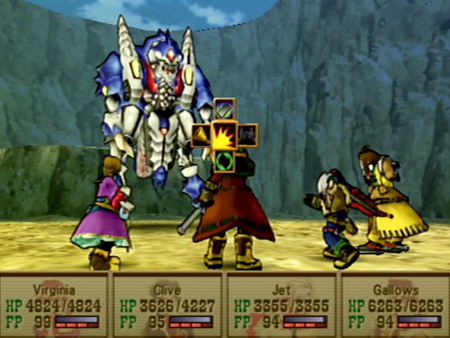
Okay, fight time.
Lombardia doesn’t have any distinct weaknesses, but she’s a gimmick fight.
Some of the Laxisland townsfolk will warn you of this, but Lombardia has a very set pattern wherein she powers up for three turns, and then unleashes fury that ultimately should put you in the ground.
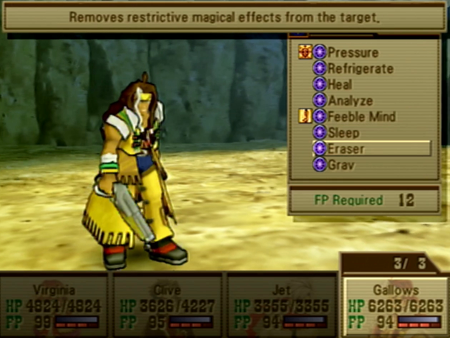
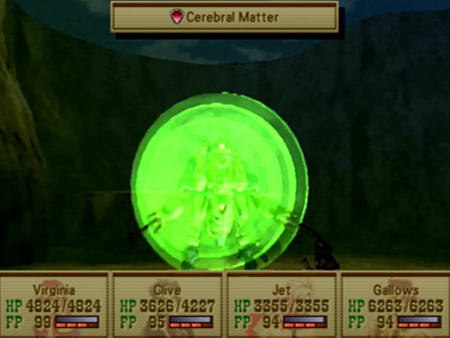
However, we have a dispel spell, so we can do damage with the rest of the gang while Gallows casts Eraser after Lombardia’s every buff. If you’ve lost track, Eraser is a mandatory acquisition from back in Chapter 2, and not one of our new spells.
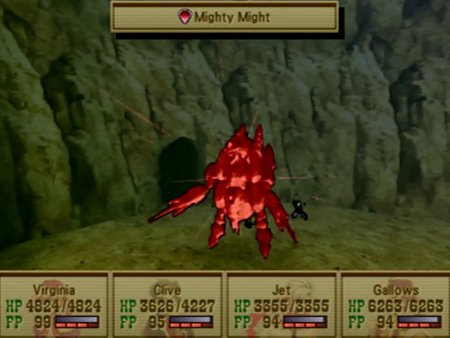
Double your attack strength? Not on my watch! Eraser! Eraser! Eraser!
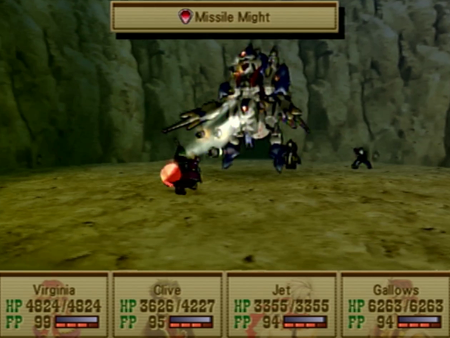
Missile Might will destroy you if you leave Lombardia mighty might’ed. If you cast Eraser immediately, it is more like Missile Meekness.

And after her deluge, Lombardia needs a good sit down for a few turns. You can transform her into scrap at will.
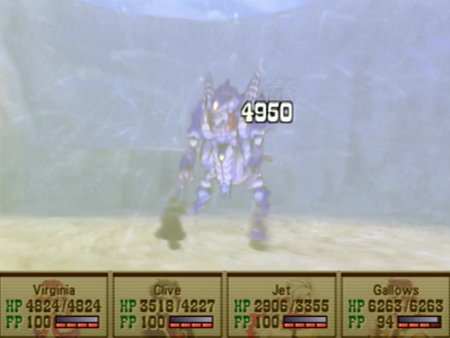
She doesn’t technically have any weaknesses, but if you hit her with most anything during the rest period, she takes significant damage.
And that’s that. Even if you tackle this challenge at low levels, you can win if you recognize the pattern and attack during that opening.
But the “battle” isn’t over yet!
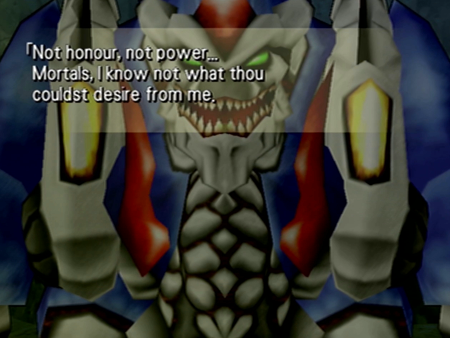
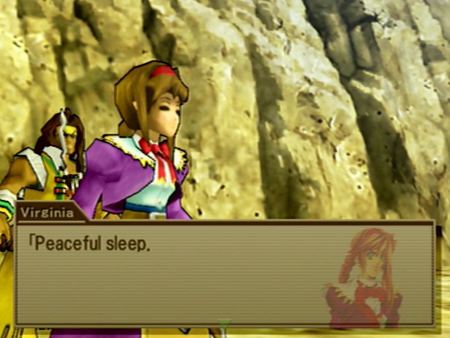
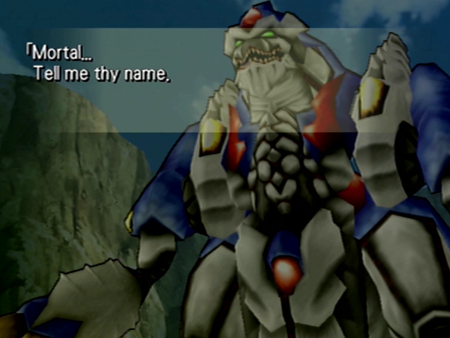
Remember all that nonsense about what a dragon wants back at Laxisland?
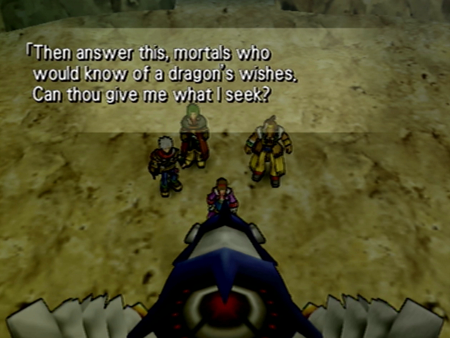
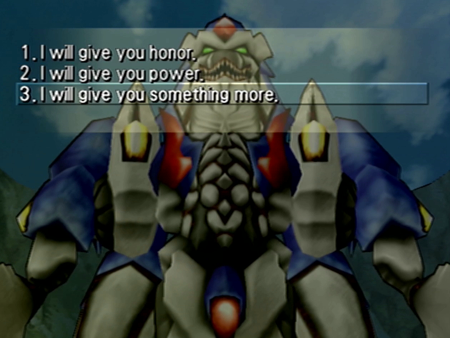
Well, you have to answer a couple of multiple choice questions to confirm you do understand Lombardia.
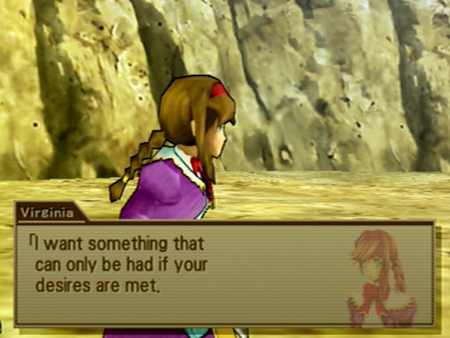
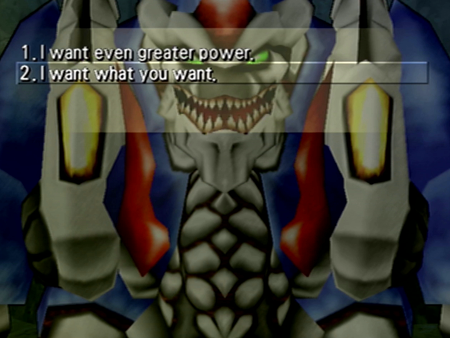
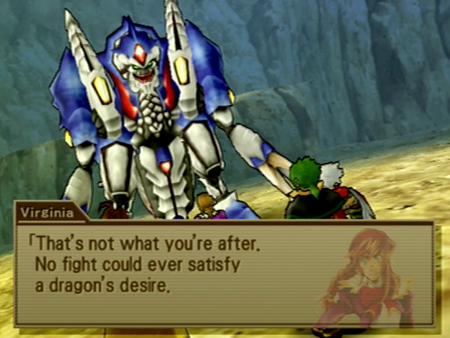
The proper way through this dialogue labyrinth is to suck up to the flying ultimate weapon.
Amusingly enough, this dialogue kinda sorta happens in Wild Arms 2, it is just not dialogue you have to actively navigate.
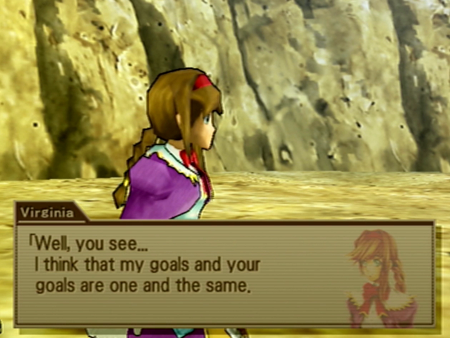
“We both like flying. And being metal. And shooting missiles. We’re practically twins!”
“Ray, when someone asks you if you’re a God…”
Dammit! Follow-up questions!
Keep it ambiguous!
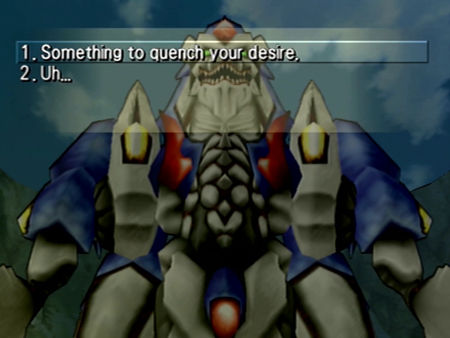
“We have heal berries. Have you ever had a heal berry before?”
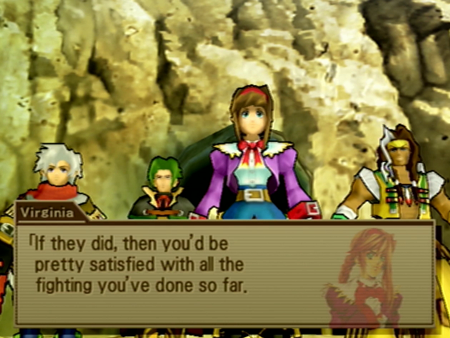
Okay, make it good, guys…
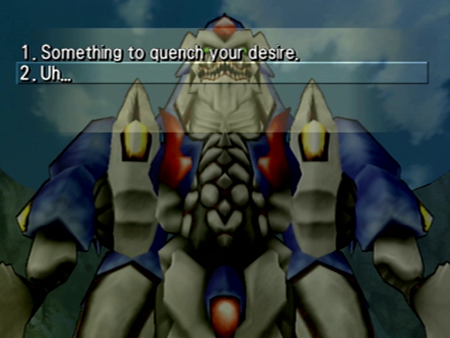
Haha! What idiot would choose “Uh…” when faced with an unstoppable dragon?
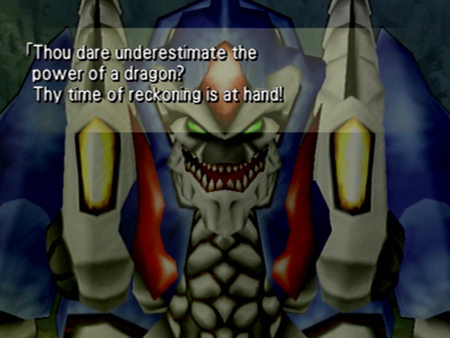
Oops.
So, did this just for completion’s sake…
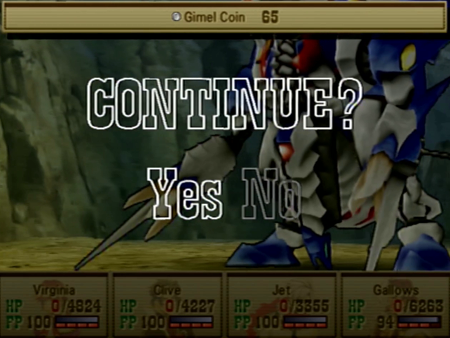
If you choose the wrong answer at any point in this process, Lombardia will obliterate the whole party. You get to continue (if you have a Gimel Coin), but it does technically count as a game over. At least this visual novel has some tension!
And, yes, you then must start the whole process from the top of the battle, not just the dialogue tree section. At least you don’t have to redo the whole dungeon!
Okay, fast-forward through another fight and back to this question.

Didn’t we just do that? Twice?!

“Seems like it might end poorly for you, though.”
“Look at your teeth, girl. You are a battle machine!”
Brawndo?
Oh. Oh! Maybe I’m a dragon!
Lombardia and The Hulk would have a lot to talk about just being left alone.
“Crap. I did not expect these humans would hit me with an introspection beam.”
You know, aside from the monsters patrolling every square inch of the place, Filgaia is pretty peaceful.

This seems like some circular logic.
That’s the closing yell, folks.
“You and your ‘therapy’ have bested me, mortals.”
“Want to change your name to Lombardia Junior? The kids can call you LoJu.”
“Nice to meet you, ancient weapon of untold destruction that is responsible for countless murders and maybe a genocide!”
“Here is a coupon for a free appetizer at Gunner’s Heaven.”
“Do I have to give up my voice?”
“What? No. Why would you think that?”
“Can we sing a song about it?”
“No. But I have missiles. Want to blow up some rocks?”
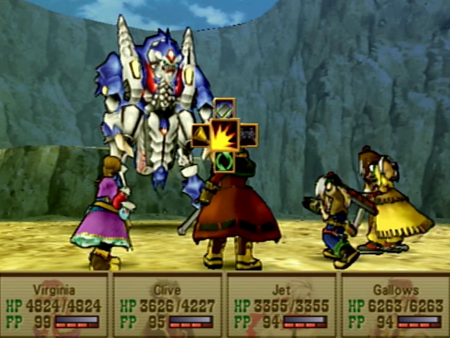
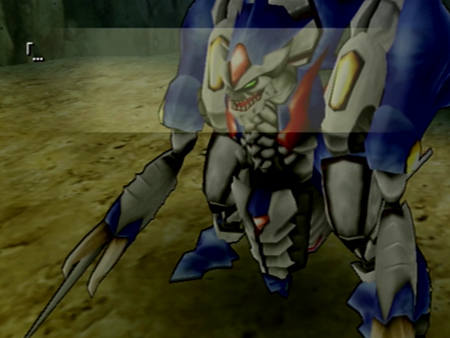
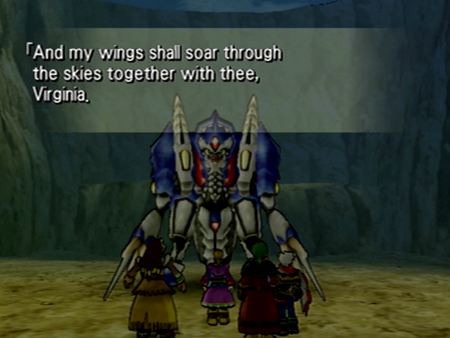
Now, finally, the battle officially concludes.
… Wait. Did Lombardia just drop her own remains? Do they belong to a friend?

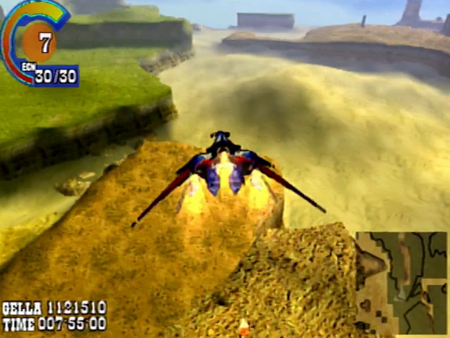
And we fly!
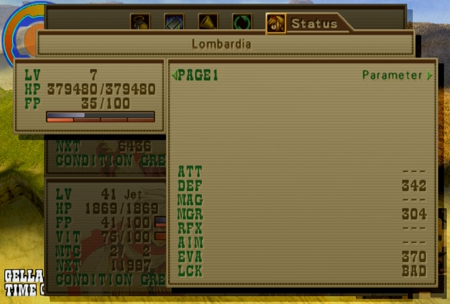
Lombardia has her own stats. Her attack, magic attack, speed, and accuracy are all based on the stats of the party, but her defense, magic defense, evasion, HP, and luck are all independent.
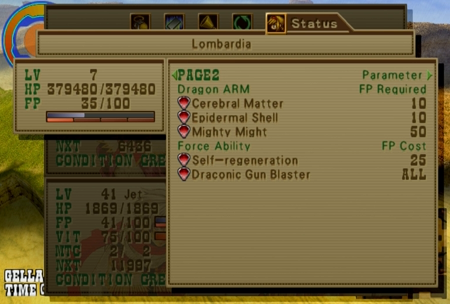
And she has her own skills, too. These abilities were mostly seen during the battle a moment ago, and we’ll have the opportunity to use them all when Lombardia enters battle…. Eventually.
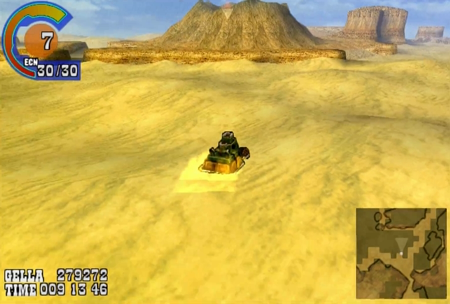
But for now there are no encounters in the skies, and we can fly around Filgaia at will.
We can land anywhere but the sand sea, forests, or particularly rocky ground. When settled, Lombardia just stands there and presumably scares the daylights out of any passersby.
Lombardia also has the ability to launch missiles and demolish distinctive rocks across the overworld. This is required occasionally, but is mostly tied to hidden quests and treasures.

Here is the terrain where Lombardia cannot land. This is an impediment two or three times across the game.
Laxisland is the last town we will see in this Let’s Play in a very “technically” sense. There is one more town available that we have officially seen (but did not get to explore), and there is another area that is something of a quasi-town (insomuch as there are no random monster encounters). Other than those guys, just taking a moment here to note how sparsely populated Filgaia has gotten…
Laxisland and The Fraternal Order of Bobs welcome you. Try to survive the experience.
Our omnipresent merchant Roykman gives us directions to the other last town. Gawrsh, wonder if we’ll be acquiring a new mode of transportation soon.
The local ARMs shop is essential.
I’m… sorry? Uh… is something lost in translation here, Zim? You want me to own dolls that kill the owner?
Nobody lives forever!
So the Kramer Dolls continue the tradition of Wild Arms granting a musical tool that summons monsters. In Wild Arms (1), Jack acquired the ugliest guitar that played the worst song, and it awakened demons whenever played. In Wild Arms 2, secret playable character Marivel earned the Microphone, and it allowed her to sing a Kirby-esque ditty that roused rumbles.
Now Gallows has a “doll” that generates a little band. When used in a town or “safe” area, it does nothing. When used in a dungeon, it will immediately instigate a random encounter. When used next to a super boss, it means you gonna fight a super boss.
An important thing worth noting here is that in both Wild Arms and Wild Arms 2, the “fight super bosses” tool was not accessible until the game was nearly complete. Jack’s Guitar was in the absolute final dungeon, and Marivel’s My Mike was the secret third tool that could only be found by completing a secret dungeon (to get Marivel’s second tool) available only to the secret character (Marivel), and then revisiting a dungeon that would otherwise have no reason to ever be revisited… And you could only do all this after about 80% of the plot was completed. In Wild Arms 3, the Kramer Dolls are plot mandated comparatively early in the game, and, if you know to head over here immediately, you can nab ‘em like 60% of the way through.
What does this all mean? Well, we can tackle nearly all the optional bosses well before the end of the game…
And we will address that soon, but let’s nab some more dragon lore while we are here.
I like that Wild Arms 3 has a random knight running around. The Huskarls would be proud (if we didn’t kill them).
“Do mechanoids dream of electric sheep? Could they be capable of dreaming of things beyond their reach, as all living things are? Here in Laxisland, town of draconic tradition, we have an intriguing anecdote. It says that dragons bestow their powers upon the brave warrior who slays them. But, it also says that one who quenches a dragon's limitless thirst also assumes the might of a dragon. What could a dragon, with all that it possesses, possibly yearn for? Could it possibly be something that cannot be had on the fiery battlefield? Ask not what dragons can do for you...Ask what you can do for dragons, as the old saying goes. Such may be the quickest route to grasping the power of a dragon, but we cannot be certain, for all who have tried have died.”
So the NPCs in Laxisland are almost unanimously focused on three things:
1. There is a dragon in the mountains to the south
2. The dragon kills everybody
3. To tame the dragon, you must know what a dragon wants
There will be a quiz on this later. Fail and die.
I am not kidding.
And I note that the NPCs are almost unanimously focused on dragons because we have got Roswell here focused on aliens. Ha ha. Silly Roswell. Aliens will never be relevant in this guns and sorcery JRPG.
Love your hat, Nalice. I think it is namazing.
Enough of Laxisland. Watch those open flames, guys!
The obvious thing to do here would be to head over to the unavoidable dragon dungeon.
But we got a new tool, and I am fixing to use it.
This little sojourn is happening on the “real”, Playstation 5-based playthrough. No “cheating” has happened on this save file… so I’m going to have to earn some cheating…
We are very deliberately equipping Gallows with the Luceid-based Weakness ability, the Schturdark water element invulnerability ability, and the Goddess Raftina medium for its Copy Ability spell. Schturdark’s Attack Blocker and Luceid’s other skills (FP Plus, Restoration) will also be helpful.
Since our first visit to the town of Little Twister back at the start of Chapter 2, this well has taunted us with warnings of a creature.
Let’s play a little ditty to wake ‘em up.
Yay! Fear!
Say hello to our first super boss.
Kraken I do not believe has distinctly appeared as a “relevant” monster in any previous Wild Arms titles, but its general positioning and appearance is reminiscent of secret “super” boss Gatlorg in Wild Arms 2. I must put “super” in quotes for Gatlorg because he was kind of a wiener of a super boss. However, there is another connection we will see shortly…
So we are super under-leveled for this fight. Virginia, one of our better magic casters, just hit Kraken’s weakness, and it did a whopping zero damage. Did not even break the effectiveness barrier…
Not looking too promising with physical attacks, either.
Meanwhile, Kraken has a physical attack that absolutely will fell the majority of our party in one hit. Some characters weather two blows if they’re lucky, and Gallows can survive three hits with barely enough HP to endure because of his surprisingly high defense/HP.
And we’ve got a grand total of 8 potion berries to attempt survival here. Was picking this fight a misstep?
Maelstrom seemingly seals the deal on that question. This is the strongest water attack in the game, and our party is literally going to drown in it.
Clive and Jet have miserable magic resistance, so this move eats off more than their maximum HP. Virginia barely lives thanks to her mage-y defenses. And Gallows? Well, Gallows is completely unaffected, as he has water ward equipped.
Now here’s the thing: Gallows has the best magic attack in our party, and he has Weakness equipped. Virginia literally cannot do any damage, but Gallows can eat off 2000 HP with a decent hit thanks to Weakness. Good thing he’s the one that survived, eh?
And speaking of hitting Kraken…
Copy Ability (which, at this point in the game, you likely need to build up some FP during the battle to use in the first place) allows you to steal Kraken’s two chief water spells, Hydro Launcher and Maelstrom. Maelstrom is the strongest water spell…
And Kraken, its user, is inexplicably weak to water element attacks.
And now it is just a matter of praying the RNG doesn’t (literally) murder you.
The only way Kraken can damage Gallows now is with a physical attack. All of Kraken’s other abilities are water-based, and Gallows is completely immune to water. Gallows can survive three physical attacks… though Kraken is capable of getting a critical hit that would be homicide at anything but full health. Just to be on the safe side, it is a good idea to top off Gallows whenever possible.
That said, I can state that I completely ran out of Potion Berries, and it came down to the wire. Even with hitting that weakness (nearly) every round, it took something like thirteen turns (after the initial setup phase). That is forever in Wild Arms 3 battle time!
But it is all worth it.
Couple of things happened here: for one thing, Gallows was the only one to survive. If I were really paying attention, I would have attempted to revive the whole party before the final hit. Unfortunately, I was not counting Kraken’s HP, and I was happy a single party member survived at all…
You will also note in the previous screenshot that, thanks to using the Ward Water and Weakness skills so many times, Gallows received a 9.9 multiplier on his earned experience. And this is a super boss, so the exp reward was always going to be substantial...
So Gallows jumps from level 41 to level 59. Our slacker is now the most accomplished drifter on the team!
But that is not why I tackled Kraken so early. Our prize here is the Comet Mark (amusingly enough taking the inventory slot where our Potion Berries used to be) , which “incrementally increases physical attack power”. This is the other weird/deliberate connection between Kraken and Wild Arms 2’s Gatlorg: Gatlorg previously dropped the Power Boost, which was an accessory that enhanced your physical attack.
If you remember that from Wild Arms 2, you might ignore the Comet Mark, as the Power Boost did boost your physical attack, but not in any way that was memorable. Let’s see if that is the case in Wild Arms 3. Here is Clive gunning down a balloon without the Comet Mark.
Comet Mark confers the ATT Plus ability. It requires a whopping 10 PS points per each of its four levels. This means that, at level 42, Clive can only equip ATT Plus if he wants to use it at max power.
But it is well worth it. Approximately 800 damage versus over 3,000? I don’t know the exact computation on how ATT Plus works, but it sure looks like it does something like four times extra damage.
And additional bonus: since it is technically a skill that activates every time Clive uses the attack command, he gets a bonus 0.1x multiplier every time he shoots an opponent. As you saw with Gallows last fight, that can add up quickly.
So that’s the story of how I got the “weak” version of my WA3 party to be The Drifter Destroyers. From this point on, Gallows can use Weakness (possibly combined with Virginia assisting with Raftina's ability to inflict an opponent with a weakness), and Clive can use ATT Plus, and both of them will be doing about 2-4 times the amount of damage they would normally be doing at this point in the game. Virginia will be available for healing duty, and Jet… well… Jet just has to look pretty.
And Let’s Play bonus: since these are both PS abilities, I can turn the attack bonuses off if I ever want to play it straight.
... Well, I guess Gallows is permanently nearly twenty levels ahead now… But still!
High off the fumes of a defeated Kraken, we now resume our dragon slaying already in progress.
Let’s rescue Daphne once and for all.
As previously mentioned, this area is technically optional at this point, but is heavily clued as somewhere you want to visit immediately. Likely as a result of this design, Dragon’s Lair is more cerebrally difficult than level-gated difficult.
Without being a teleporter maze, Dragon’s Lair is Wild Arms 3’s teleporter maze. Every room has a pile of exits and entrances, and you have to sus out the exact route through these ups and downs to not accidentally exit the place and reset the whole dungeon.
And you have to endure the whole thing while watching your HP get chipped away by monsters.
Aiming for a ladder to the east seems like a good start.
Oh! Our first undead opponent since we acquired Raftina.
Using Requiem will obliterate these creatures immediately. If they are all attacking as a group (as in it reads Necrosaurus A B C, unlike the picture one back), using Gallows’s Extend ability with Requiem will wipe out the whole encounter in a turn. Alas, there doesn’t seem to be any rhyme or reason to when monsters are grouped together…
Back to dungeoning.
Back to monster chests.
Imitators are upgraded mimics, but they are fairly ineffective.
I think we are past where trapped chests are high risk/high reward, and are mostly just trolling at this point.
Anywho, may as well blow up some walls to make progress.
And, in what feels like a completely backwards move, you occasionally have to throw yourself down a pit to make progress.
See? We fell near the entrance, but up on a cliff that would be otherwise inaccessible.
If we were to jump down and enter that doorway in the picture, it would mean leaving the dungeon.
But we are trudging forward and blasting unusual looking rocks.
Here’s another hole that is made for us.
And another wall that is made for bombs.
Watch those steam jets. They could eat off a whole, like, 3 HP.
In fitting with the “puzzle” theme of this dungeon, some of the encounters are very puzzle-y.
Thunderdrakes are completely immune to physical attacks, and will only take damage from magic. Unless…
You hit ol’ Thunderdrake with thunder, in which case they are slightly powered up (“slightly” because I did not notice significant gains in either playthrough), but become corporeal.
Now we can feed that dragon some bullets.
Anyway: new hat.
It is Wild Arms canon that appropriately Western headwear can startle your opponent enough for a preemptive strike.
We were told that a number of other dudes fought the dragon, but how did they get there and seal up the entrances behind them?
And why did they leave all this treasure behind?
Almost there.
Might want to save if you see this spot.
Very close to the finale, but if you take a dip for those crystals, you will have to repeat a lot of the dungeon.
Here is where we want to go.
And that entrance should do it.
Okay, little further. I do have to state that this dungeon is terrible at conveying progress being made. Though that may be deliberate…
Now this surely is the end.
It just reads as ominous.
Ah, yes, definitely done now. Not making a GIF, but a little rumble happens here.
And the way back is blocked. I guess that’s why there were so many pathways that had to be bombed open.
No choice now: you either get a dragon to fly you out of here, or you’re stuck in this mountain forever.
Though the game does do its best to remind you to get equipped for a battle now.
This is a literal point of no return, so saving is now disabled. Try to survive!
I see the light.
Aaaaaand nothing.
The old man that gave you the dolls also technically gave you the directions to this dungeon, so you cannot get here without the means to summon your opponent. Play it again, Gallows!
Look! Up in the sky!
Is it a bird? Is it a plane?
Lombardia! There is nothing indicating that Lombardia of Wild Arms 3 is the same Lombardia of Wild Arms 2, but they are remarkably similar in name and looks.
(Compliments of the last time I did a screenshot LP. Thanks, me!)
Wild Arms 3 has significant callbacks to Wild Arms 1, but direct references to WA2 are few and far between. That said, if you really want to headcanon this Lombardia into being the same Lombardia as in Wild Arms 2, you could make the argument that since that Lombardia came from another dimension…
… Wild Arms 2 is later on the timeline than Wild Arms 3, and Lombardia is the only survivor of the Wild Arms 3 world being devoured by another dimension.
… But that’s depressing.
Anywho, like in Wild Arms 2, Lombardia is a dragon that is a transformer, and she likes fighting as much as the next Decepticon.
So let’s get our ARMs on.
Also, like in WA2, Lombardia has unsettling telepathic powers.
“Phhht I’ve seen ultimater. Call me when you reach Atma level.”
Gonna get all “answer me these questions three” in here…
It’s just the “advance dialogue box” arrow, but it really does look like Lombardia is drooling green slime.
Okay, fight time.
Lombardia doesn’t have any distinct weaknesses, but she’s a gimmick fight.
Some of the Laxisland townsfolk will warn you of this, but Lombardia has a very set pattern wherein she powers up for three turns, and then unleashes fury that ultimately should put you in the ground.
However, we have a dispel spell, so we can do damage with the rest of the gang while Gallows casts Eraser after Lombardia’s every buff. If you’ve lost track, Eraser is a mandatory acquisition from back in Chapter 2, and not one of our new spells.
Double your attack strength? Not on my watch! Eraser! Eraser! Eraser!
Missile Might will destroy you if you leave Lombardia mighty might’ed. If you cast Eraser immediately, it is more like Missile Meekness.
And after her deluge, Lombardia needs a good sit down for a few turns. You can transform her into scrap at will.
She doesn’t technically have any weaknesses, but if you hit her with most anything during the rest period, she takes significant damage.
And that’s that. Even if you tackle this challenge at low levels, you can win if you recognize the pattern and attack during that opening.
But the “battle” isn’t over yet!
Remember all that nonsense about what a dragon wants back at Laxisland?
Well, you have to answer a couple of multiple choice questions to confirm you do understand Lombardia.
The proper way through this dialogue labyrinth is to suck up to the flying ultimate weapon.
Amusingly enough, this dialogue kinda sorta happens in Wild Arms 2, it is just not dialogue you have to actively navigate.
“We both like flying. And being metal. And shooting missiles. We’re practically twins!”
“Ray, when someone asks you if you’re a God…”
Dammit! Follow-up questions!
Keep it ambiguous!
“We can't give a dragon anything like honor. And power's kind of out of our reach, too!”
“We have heal berries. Have you ever had a heal berry before?”
Okay, make it good, guys…
Haha! What idiot would choose “Uh…” when faced with an unstoppable dragon?
Oops.
So, did this just for completion’s sake…
If you choose the wrong answer at any point in this process, Lombardia will obliterate the whole party. You get to continue (if you have a Gimel Coin), but it does technically count as a game over. At least this visual novel has some tension!
And, yes, you then must start the whole process from the top of the battle, not just the dialogue tree section. At least you don’t have to redo the whole dungeon!
Okay, fast-forward through another fight and back to this question.
Didn’t we just do that? Twice?!
“Seems like it might end poorly for you, though.”
“Look at your teeth, girl. You are a battle machine!”
Brawndo?
Oh. Oh! Maybe I’m a dragon!
“Powerful dragons get nothing out of fighting and burning things on the battlefield. If they did, then you'd be pretty satisfied with all the fighting you've done so far.”
Lombardia and The Hulk would have a lot to talk about just being left alone.
“Crap. I did not expect these humans would hit me with an introspection beam.”
You know, aside from the monsters patrolling every square inch of the place, Filgaia is pretty peaceful.
This seems like some circular logic.
That’s the closing yell, folks.
“You and your ‘therapy’ have bested me, mortals.”
“Want to change your name to Lombardia Junior? The kids can call you LoJu.”
“Nice to meet you, ancient weapon of untold destruction that is responsible for countless murders and maybe a genocide!”
“Here is a coupon for a free appetizer at Gunner’s Heaven.”
“Do I have to give up my voice?”
“What? No. Why would you think that?”
“Can we sing a song about it?”
“No. But I have missiles. Want to blow up some rocks?”
Now, finally, the battle officially concludes.
… Wait. Did Lombardia just drop her own remains? Do they belong to a friend?
And we fly!
Lombardia has her own stats. Her attack, magic attack, speed, and accuracy are all based on the stats of the party, but her defense, magic defense, evasion, HP, and luck are all independent.
And she has her own skills, too. These abilities were mostly seen during the battle a moment ago, and we’ll have the opportunity to use them all when Lombardia enters battle…. Eventually.
But for now there are no encounters in the skies, and we can fly around Filgaia at will.
We can land anywhere but the sand sea, forests, or particularly rocky ground. When settled, Lombardia just stands there and presumably scares the daylights out of any passersby.
Lombardia also has the ability to launch missiles and demolish distinctive rocks across the overworld. This is required occasionally, but is mostly tied to hidden quests and treasures.
Here is the terrain where Lombardia cannot land. This is an impediment two or three times across the game.
And that’s everything you need to know about our new airship. The world is now a dragon snack!
Next time on Wild Arms: We learned how to commune with a living weapon, so now let’s shoot monsters for money.
More RPGs should have airships that are Dragons which are actually Transformers.
S'weird that it's the Cowboy RPG that did it.
S'weird that it's the Cowboy RPG that did it.
Can you feel the love today, February 14, Dentist's Day? My parents want me to go to the dentist today, because it's Dentist's Day. This has got to be a plot... A planet wide plot even! Oh, no... I've stumbled on a terrible secret. A hit man is coming for me! Someone please help!
Chapter 45: Gunmetal Action
Previously on Wild Arms: I get to use this graphic again!

And now we fly!
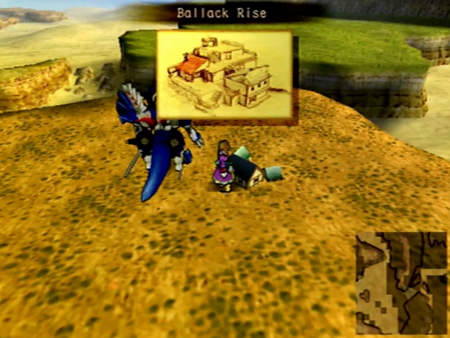
… To the nearest town. Directions to this exact location were provided by Roykman last update, so we may as well get this spot out of the way.
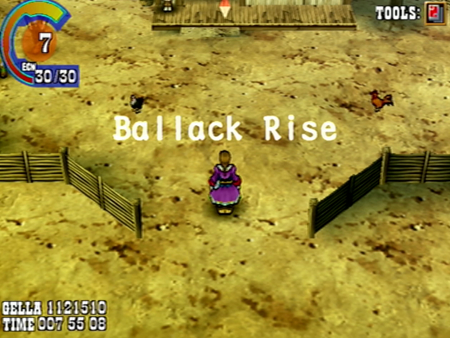
Ballack Rise is the only completely optional town in Wild Arms 3. How optional is it? Well, I am obviously further ahead than the Let’s Play in both “realities” of my playthroughs, and, on the PS5 playthrough, I did not even realize I had never visited this town until, like, the end of the game.
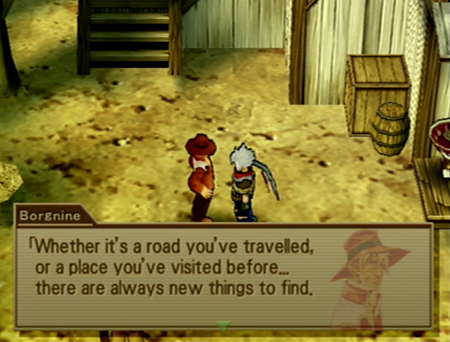
Ballack Rise is memorable for one reason…
It is the town Clive rescued back during his introductory chapter. How the hell he got here in the first place is

…. Next week. But for today, we’re just going to find an EX File Key on the overworld in the forest way back at the Yggdrasil grotto. You’d never be able to find this without an Item Scope!
… And I’ll explain what “this” is later, too.
Next time on Wild Arms 3: We are the champioooo~ooons, my goooo~ooods.
Chapter 45: Gunmetal Action
Previously on Wild Arms: I get to use this graphic again!
And now we fly!
… To the nearest town. Directions to this exact location were provided by Roykman last update, so we may as well get this spot out of the way.
Ballack Rise is the only completely optional town in Wild Arms 3. How optional is it? Well, I am obviously further ahead than the Let’s Play in both “realities” of my playthroughs, and, on the PS5 playthrough, I did not even realize I had never visited this town until, like, the end of the game.
Ballack Rise is memorable for one reason…
It is the town Clive rescued back during his introductory chapter. How the hell he got here in the first place is
a damn good question.
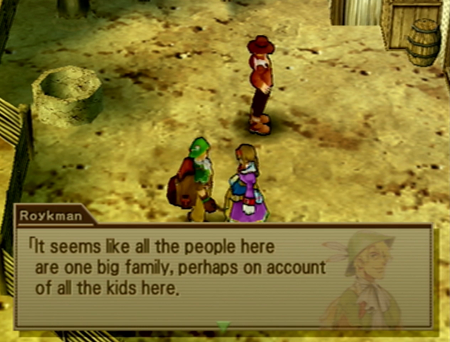
Roykman at least can teleport (This is actual canon. No, we’re not going to talk about it).
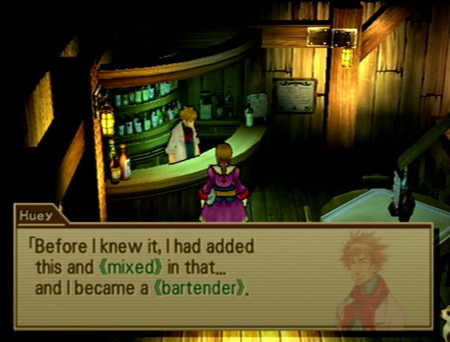
Remember Huey? The “doctor” that gave Clive an experimental antidote cocktail?
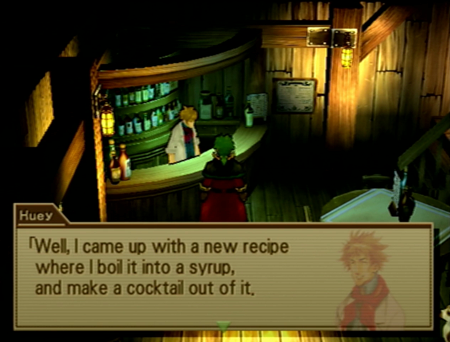
Well, emphasis on “cocktail”, as he only wears that lab coat because he is a mixologist.

While this town is optional, you definitely do want to visit for the treasure.
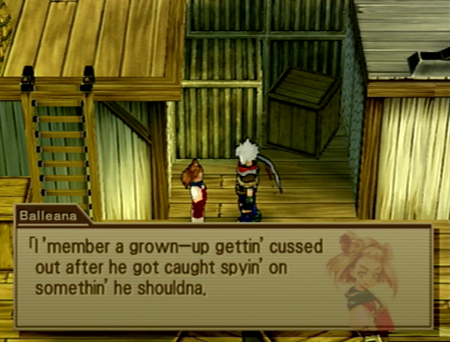
There is also a telescope available that really feels like it should have been tied into a more overt clue somewhere along the line.
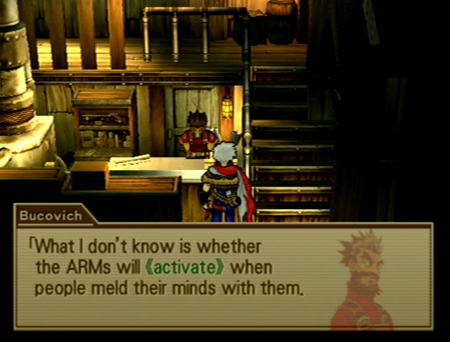
Reinforcing the ARMs lore that ARMs must sync with their users. This is going to pay off eventually!
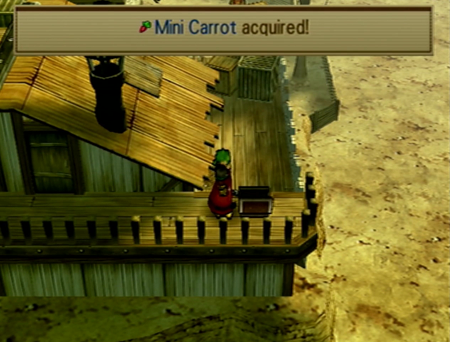
You need Jet’s Radical Sneakers to hop around this weirdly vertical town and find every chest.
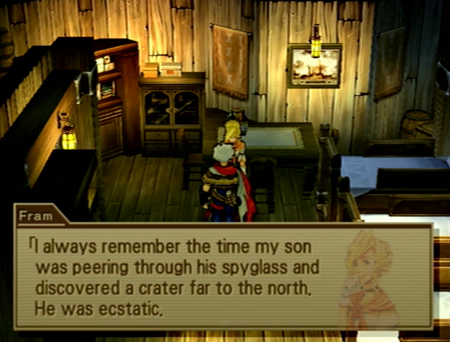
Yes! Crater! I know! We’ll get there eventually.
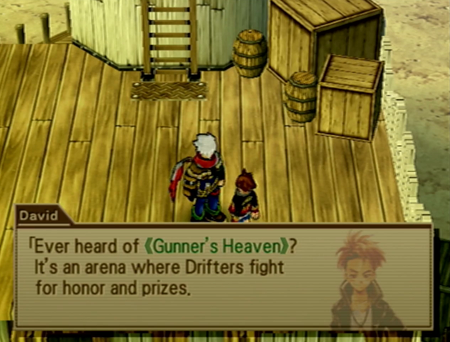
Gunner’s Heaven, eh? We’ll look into that!
Really think this telescope should show you… I don’t know… the power of four elements pouring into the Temple of Fiends or something.
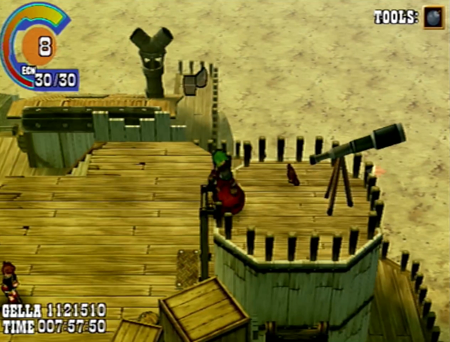
Maybe it was something that was going to be used with Clive’s sniper rifle during his intro? This feels like cut content…
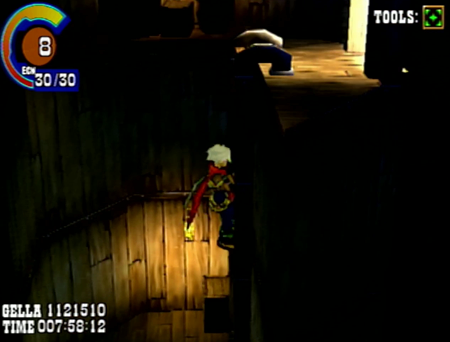
There is also a comically long ladder inside here. Ballack Rise is an urban planning nightmare.
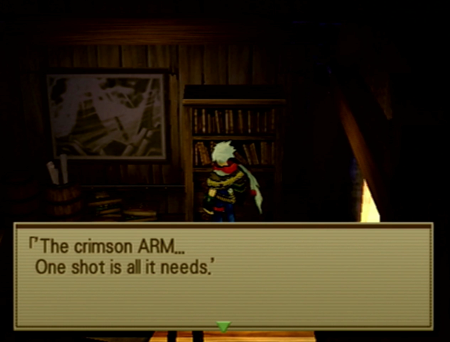
Somebody remind me of this book when we eventually get around to killing Alan Smithy.
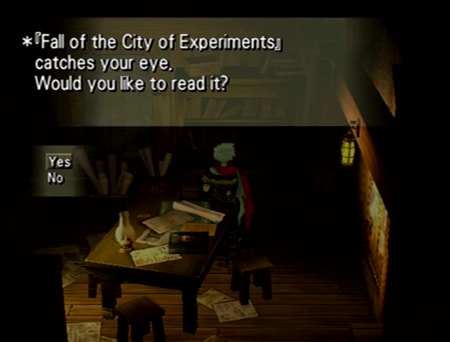
This duplicator-sealed book is theoretically the “plot” reason for Ballack Rise.
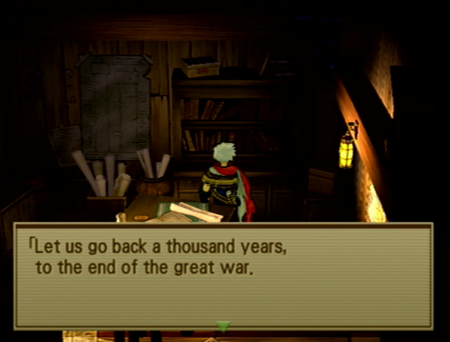
That crater everybody is always talking about apparently is the result of a “flying city” that… had a bad time. It is also a mandatory plot location (eventually), but when we get there, we never get the “full story” that is provided in this book. So, if you want to believe everything you read, here’s the backstory for a dungeon we’ll see in another few updates.
On an amusing side note, the implication here is that the “flying city” was an unintentional side effect of trying to build a “wizardly stealth system”. Wild Arms 2 had a wizard city that was cloaked in a magical stealth system, and we’ll eventually see demons utilizing a stealth system, but there are no stealth towns in Wild Arms 3.
… Or maybe they’re just being stealthy.
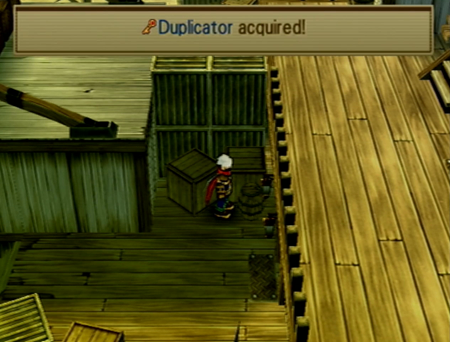
Anywho, we’re about done looting this place.
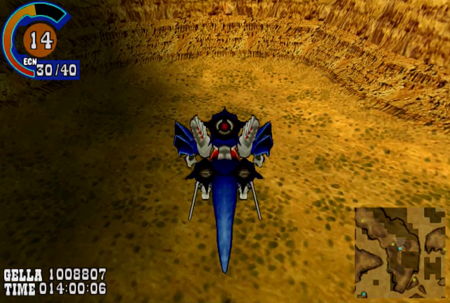
But we’re not completely finished with the general area.
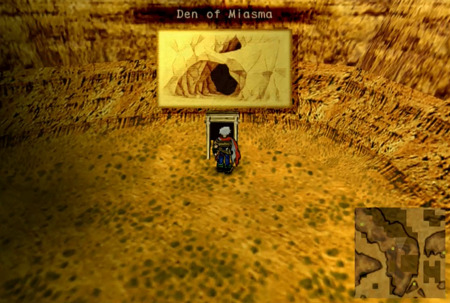
If this was the town where Clive first adventured, that means his first dungeon must be around the corner.
Ah, memories…
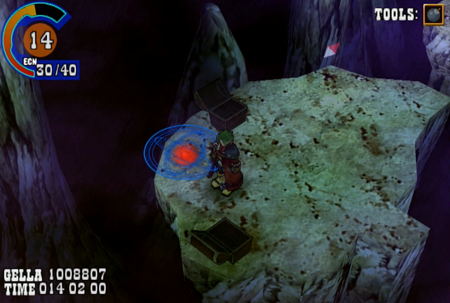
Fast forward a little bit, and you may recall that deep in this dungeon was a secret super boss sealed in a “holographic memory”.
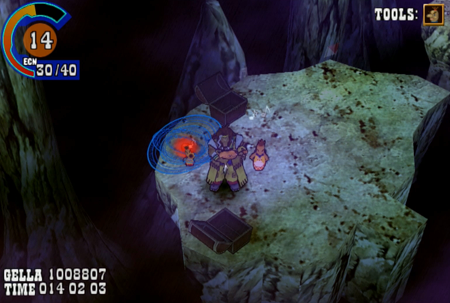
Now that we have the appropriately cursed dolls, we are going to summon up a monster.

Welcome to Hell.
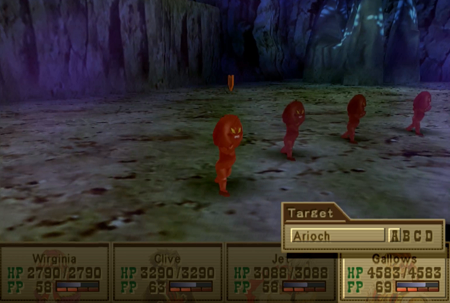
This is Arioch. These are Arioch? Dude is definitely going to be a plural…
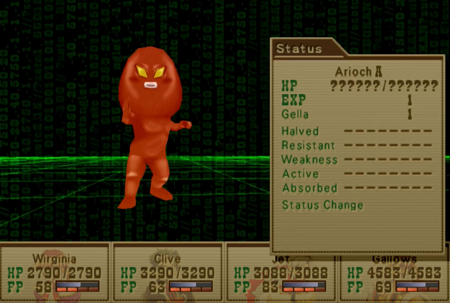
…. One? Are… are you a slime?
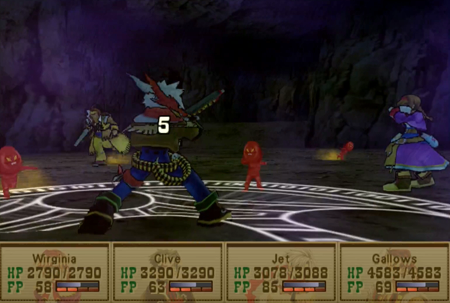
This is the “real” playthrough, and Arioch does… 5 HP damage? I get that Jet is defending, but that is some Level 1 damage right there.
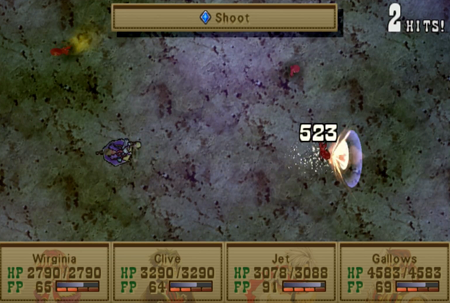
And even Virginia is doing significant damage to these clowns.
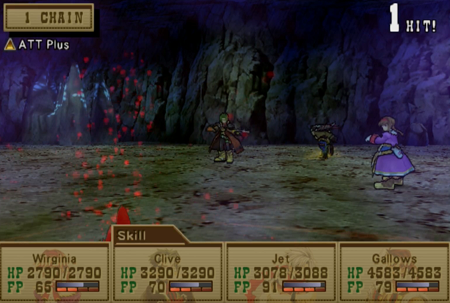
There were four of them, and now there are none.
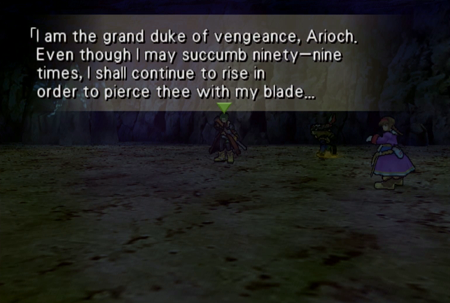
Or… not quite.
So here’s Arioch’s deal. A mob of four Ariochs can now appear in any dungeon at any time. This includes dungeons we have already conquered, and dungeons yet to come. Whether he appears is completely random, and, while there is apparently a way to encourage some Arioch encounters, there is no surefire way to trigger an Arioch fight. Every time Arioch appears, he becomes slightly stronger. While he starts as one of the weakest creatures on Filagaia, his “vengeance” will eventually catapult him to true super boss level (and he’s always a pack of four, which is scary when his strength eventually hits the 500 benchmark). And how many encounters does that take? Well, including the battle we just saw, Arioch must be fought 100 times to eventually earn his final prize.
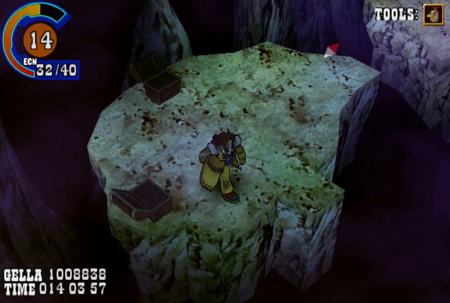
I… I ain’t doin’ that.
Look, it is basic math here. There are something like 33 dungeons in Wild Arms 3. Some of those dungeons stop existing before you can even release Arioch, but a couple are revisited, so 33 seems like an appropriate dungeon count here. So even if you could release Arioch at the start of Wild Arms 3, and even if Arioch was a guaranteed encounter every time you visited a dungeon, you would still have to loop through Wild Arms 3 three complete times to fight Arioch to completion. But you can’t release Arioch until about when you get your airship! And that means something like 60% of the game is already completed before you can even start this quest! So, while you are encouraged to revisit previous areas for treasure, there is simply no way to complete this quest without a lot of “Arioch grinding”. You have to do nothing but hunt this little dork if you want to complete this quest, and… Ugh…

I’ll cover the “prize” for defeating Arioch when I am noting it as a part of other quests (hint: scroll to the very bottom of this update), but for now, just know that this little nuisance is going to be ignored for the rest of forever. If you want a tip: he always appears in groups of four, and his exp/gella reward is always 1:1 equal to his encounter count. For example, if you earn 16 EXP at the end of an Arioch fight, that means you have found and defeated him four times. Useful to know for your own OCD.
Oh, and if you are curious, “Arioch” appears in Judaism, but is more known for being referenced in the Bible’s second most popular fanfiction, Milton’s Paradise Lost.
(The Bible’s number one most popular fanfiction is, of course, Xenosaga.)
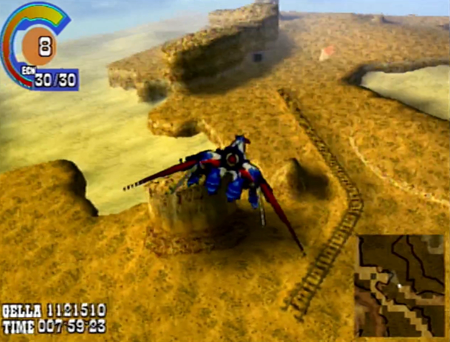
Let us leave this place, and fly to where the train tracks end.
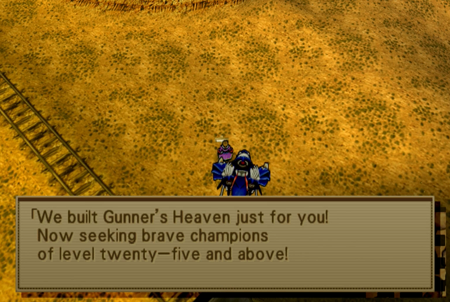
You do not need your airship to reach this location, but it certainly helps. If you want to sandcraft over here immediately, there is a parking beach way to the north of the northeast continent…
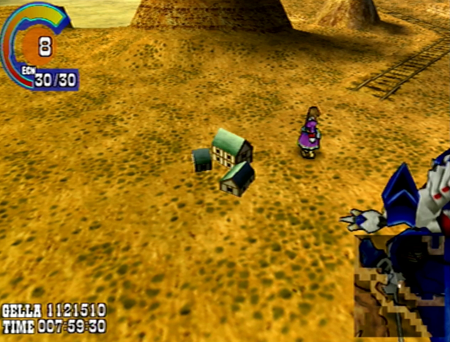
And you have to walk back over these unused tracks to find…
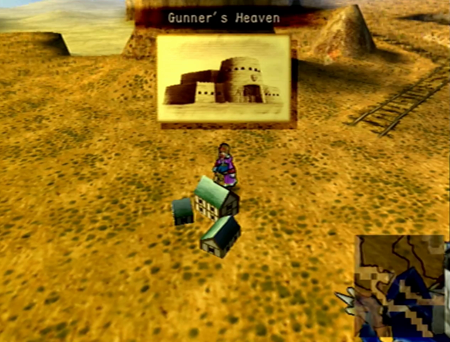
Gunner’s Heaven! The battle coliseum of Wild Arms 3.
One way or another, this is the final “friendly” location in this game, too.
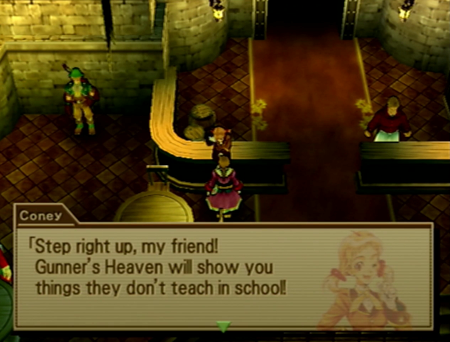
Wild Arms (1) had a battle coliseum, but Wild Arms 2 did not. WA3 returns to this JRPG trope.
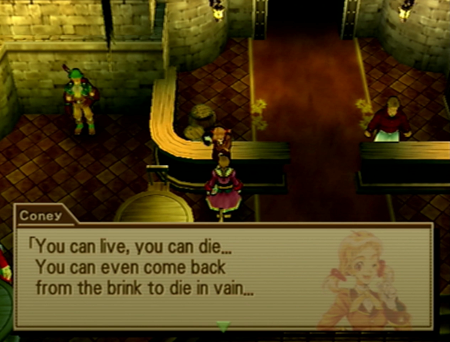
This place is pretty sparsely populated. That may be a result of the “most popular entertainment in Filgaia” being built on one of the most remote locations on the planet.
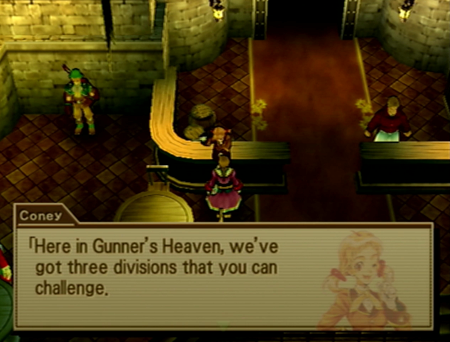
Beginner, Intermediate, and Update Your Will.
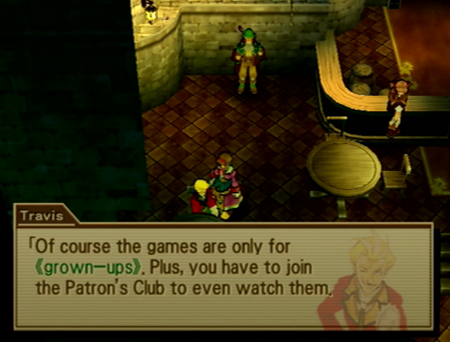
Travis is the only audience member in this whole place.
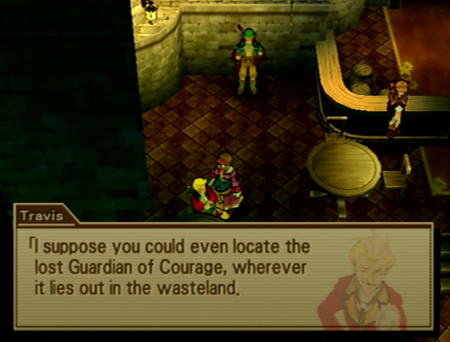
And he drops a non sequitur about using the prize from the Novice League to find the Guardian of Courage. I’m interested in this!
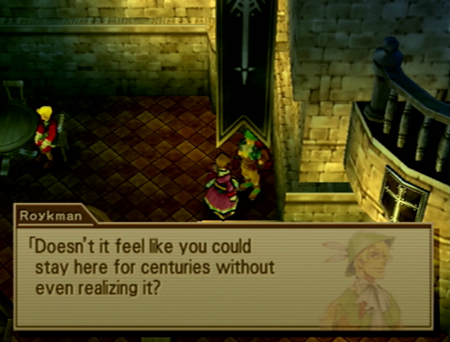
There are three battle leagues, Roykman. This ain’t even a Pokémon Emerald level time-sink.
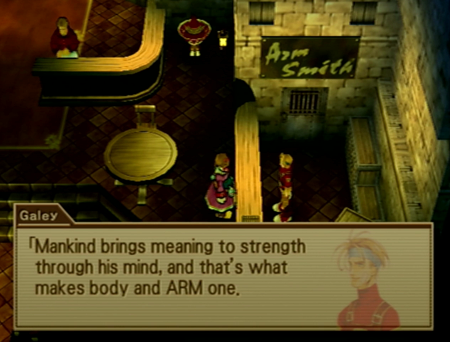
… Just tune up my ARM, thank you.
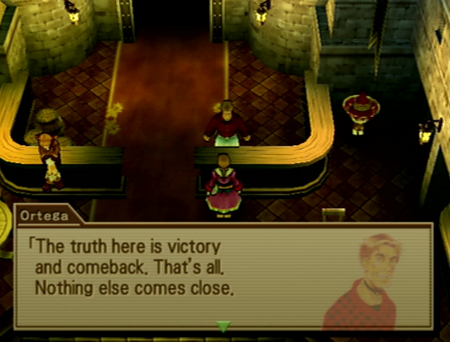
At least no one is babbling about craters here.
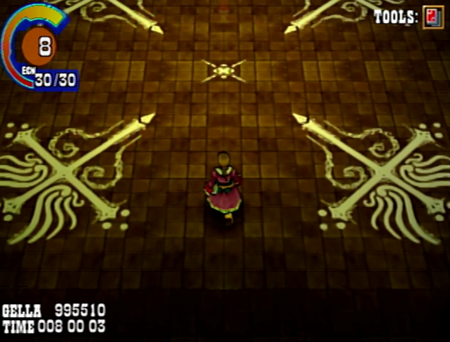
Here is the arena. You are allowed to explore the area before participating.
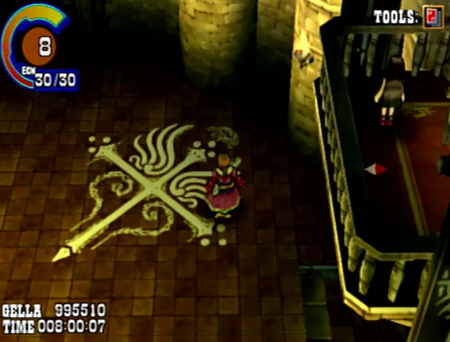
Hey! Little girl! What are you doing up there? Can you come down here?
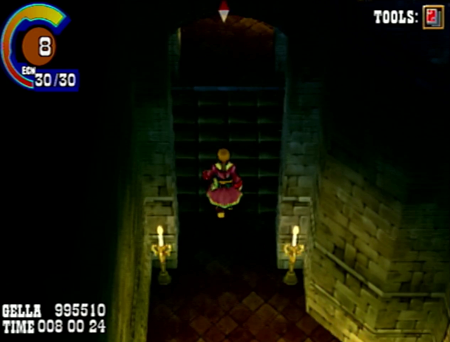
Guess we’ll take the stairs.
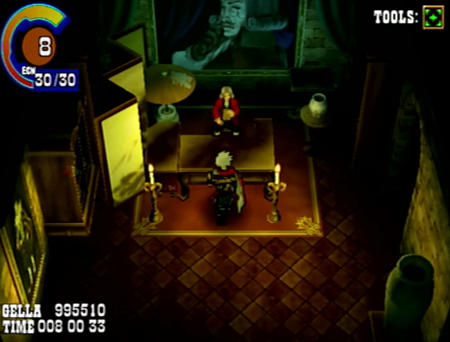
Here is the owner of Gunner’s Heaven, Motherfucking Dracula. Nobody knows how to rock a self-portrait like Dracula.
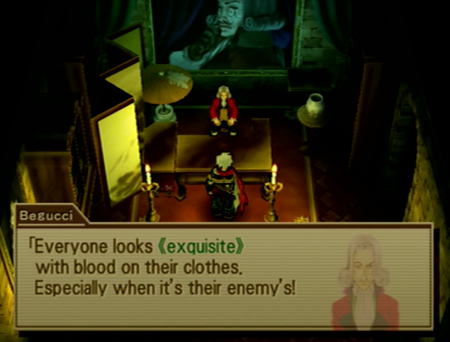
Begucci. Whatever you want to call yourself, Vlad.
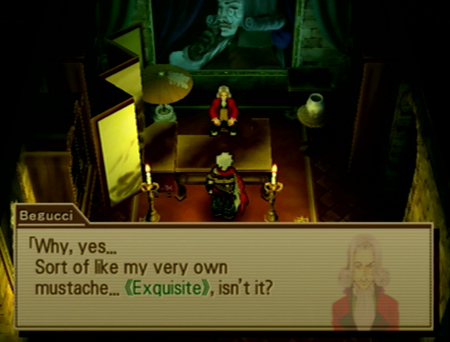
Begucci is such a walking parody of the idle rich, he is fixing to buy Twitter as we speak.
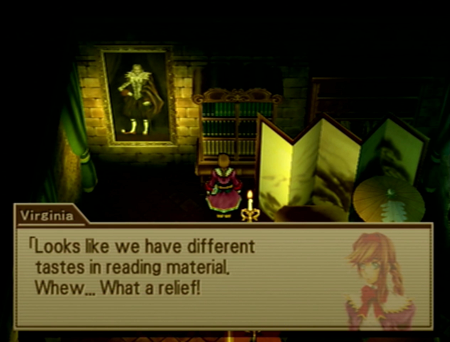
Nearly everyone is disgusted by Begucci’s books, save Clive…
This… raises questions about our team dad.
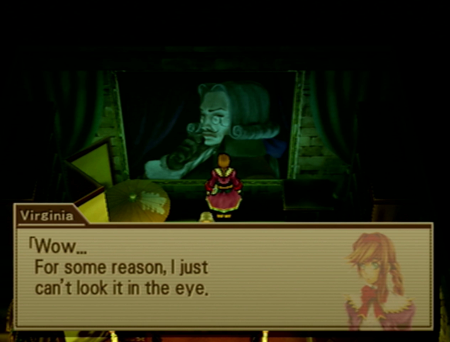
I would like to find the one artist on Filgaia that is responsible for this monstrosity.
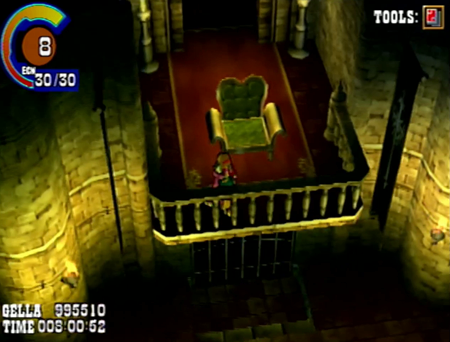
Ah, dang. We spent too long looking at art, and now that little girl is gone. Maybe we’ll chat later?
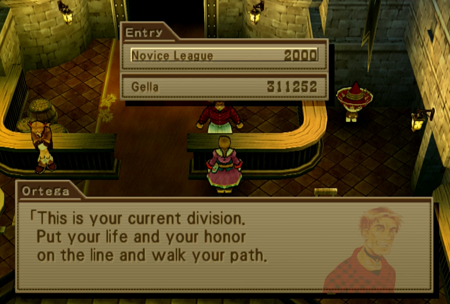
Okay, let’s get down to business.
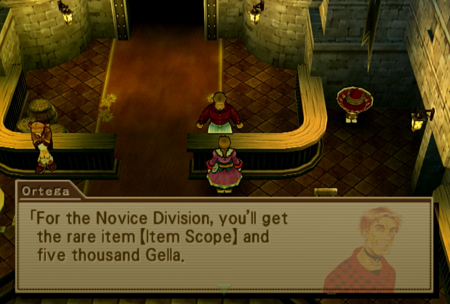
Just hand over the prizes now. Saves us all time, and you have less monster guts to clean up.
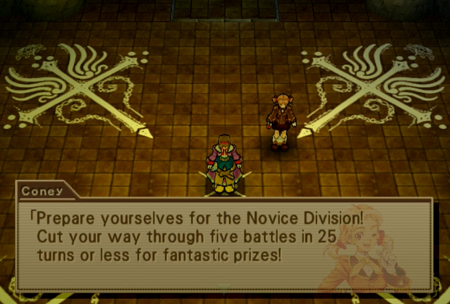
So there are a couple of conditions for these Gunner’s Heaven battles. First and foremost is the turn limit. Spend longer than 25 total turns on the novice fights, and you fail.
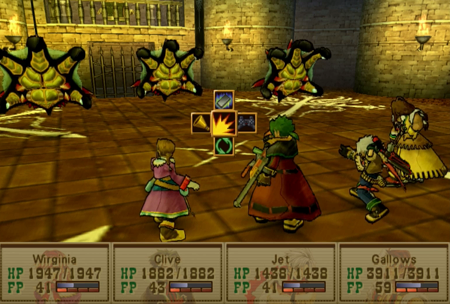
And the “challenge” absolutely knows this.
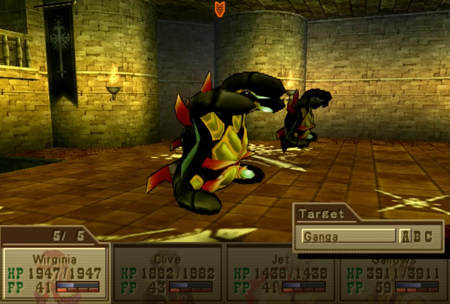
Ganga is not difficult, but…
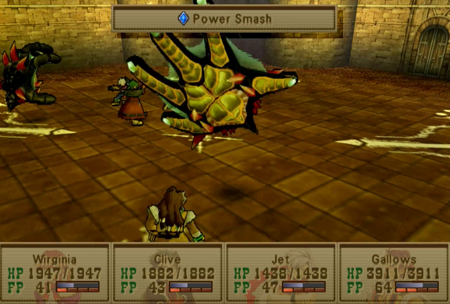
It has the ability to cancel turns, paralyze, or reduce accuracy. All of these attacks won’t outright kill a party member, but they will slow things down. And you need all the turns you can get!
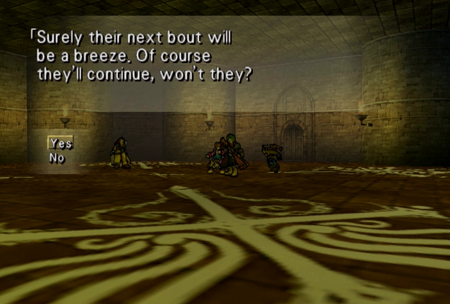
After every fight, you have the option of quitting for a consolation prize. If you have a party wipe or go over the turn limit, you will fail and receive nothing. Only quit if you are at death’s door or moving super slow.

Round 2 is a defensive monster…
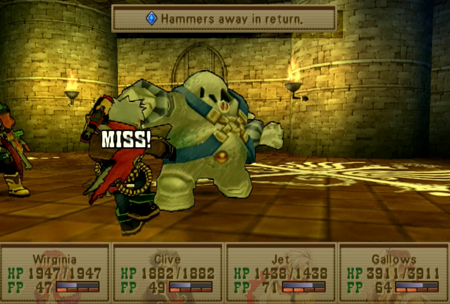
That loves to counter.
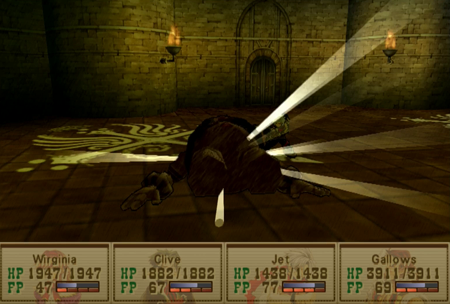
Hit it as hard as you can, or use wind-based arcana.
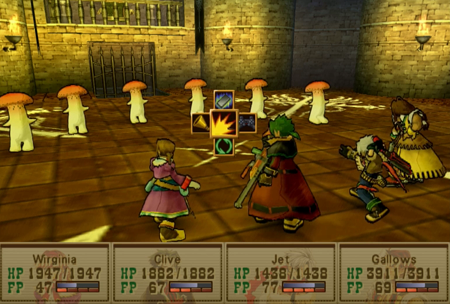
Now we’re truly getting into “screw you” territory.

These Shambling Mounds are not difficult, but there are six, and there is nothing you can do to target them all at once. Any of your multi-hit attacks only target multiple monsters if they are grouped together, and these are all independent sentient fungi.
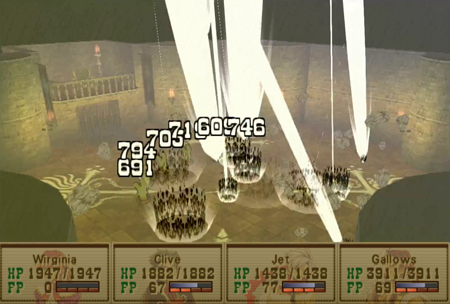
So the solution is to use a Guardian Summons. No matter what, when you summon a Guardian, it attacks the whole enemy party (save Dan and Raftina, who do not attack as part of their summons). So save your FP for round three, and then unleash the gods. You can use pretty much any summon, but they are weak to fire…

Not enough of ‘em left to make a pizza.
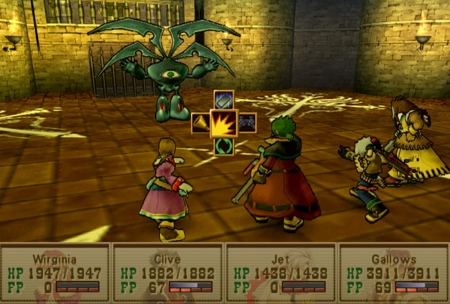
Balor “feels” like a boss.
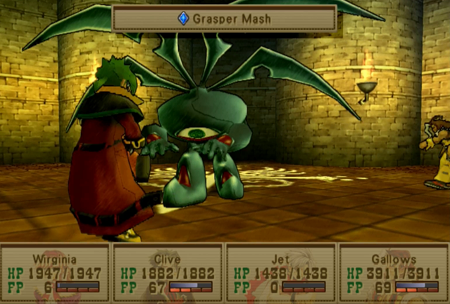
He likes inflicting Disease, which blocks the ability to heal. This is only round 4 of 5, so clear that status effect. You want to be able to stay healthy in the arena.
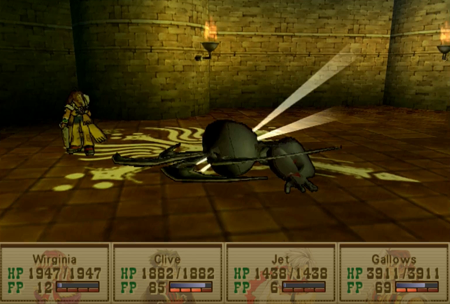
Use thunder, or just hit ‘em hard. Note that Clive has Comet Mark from the last update, so he is doing damage like a boss.
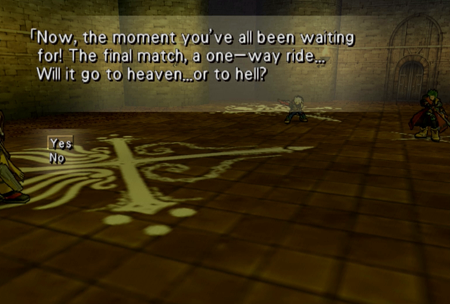
To note the other big sticking point of Gunner’s Heaven: all of these fights happen consecutively, and there is no “results screen” or healing between matches. Your VIT will not help one iota, and your FP carries forward across matches. This can be helpful (bank as much FP during the “easy” matches to more effectively squash the later monsters) or terrible (summons drain all of your FP, so if everybody summons, you’re down to zero FP) depending on your budgeting.
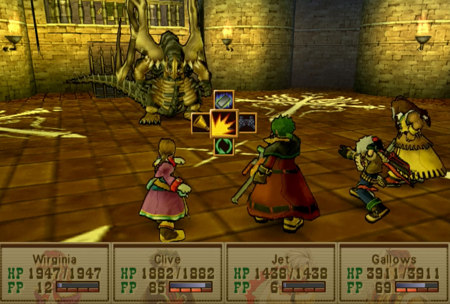
Armordrake is not difficult, but, as you can guess from the name…
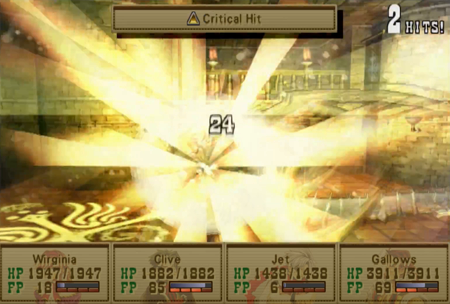
He can take a hit.

If you equip your best caster with Weakness and a wind spell, you won’t have to worry much, though.

Just watch out for groans.
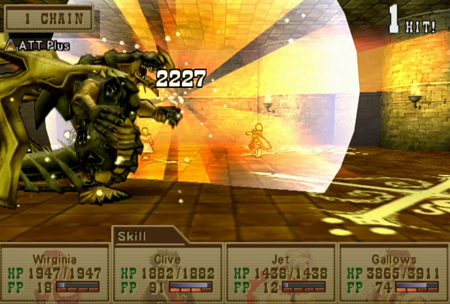
You can also use Eraser to reduce its Shield spell so Clive can participate.
Victory!
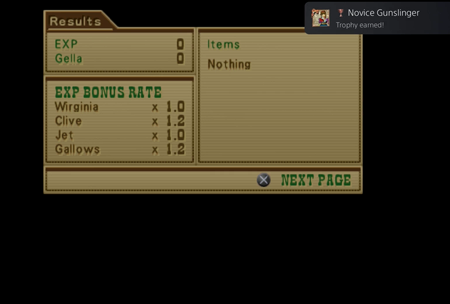
Aw, a trophy. Note that you do not distinctly win any EXP or gella from these fights, so you do not need to worry about equipping exp/gella increasing abilities. Just focus on skills that do extra damage (Counter, Weakness) or defend against status ailments (like Disease or Paralysis Ward).
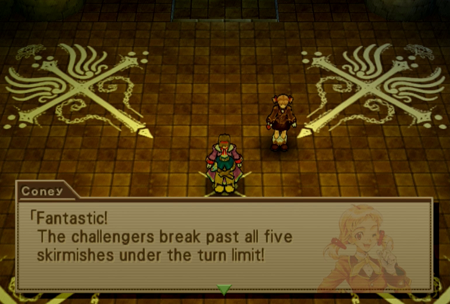
All your prizes are conferred by NPCs.
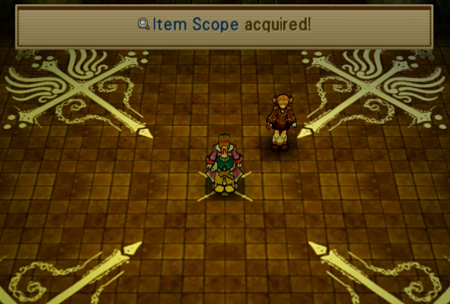
Yay! We are going to need that.
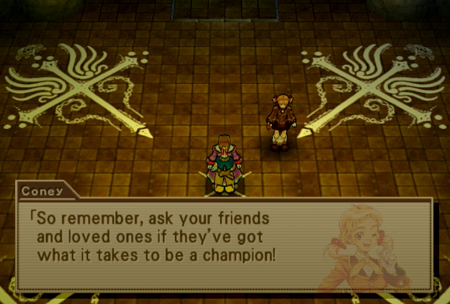
… Later.
So Novice League and winning the Item Scope is a plot-mandated, required step in beating Wild Arms 3 that must be completed for the end of Chapter 3. It is not that difficult, as there is that sign near Gunner’s Heaven that recommends being “level 25” for Novice League, and odds are good you will get here around Level 40. There is pretty much zero benefit to being here before you have an airship (the Novice Prizes are not that amazing), and, by the time you must complete Novice League, you should be more comparatively overpowered than even what we see here.
But we want to see the whole of the Gunner’s Heaven sidequest, so we are going to move on to the Journeyman League.
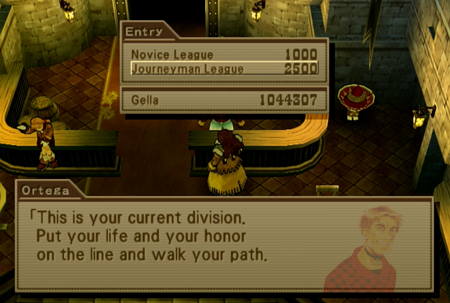
So, at approximately level 40 (but Gallows at Level 60) and with the Attack Plus and Weakness abilities equipped, I thought I might be able to conquer Journeyman at this stage in the game. I… did not. I got wrecked in the first round, and, while I am sure there are some Wild Arms 3 aficionados who can win this early in the game, I ain’t one of ‘em.

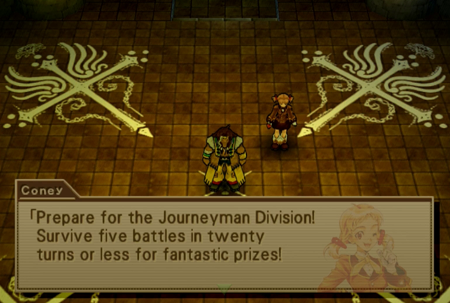
So know that everything you see for the remainder of this update takes place after completing a number of sidequests, and returning before approximately the final dungeon of Chapter 3.
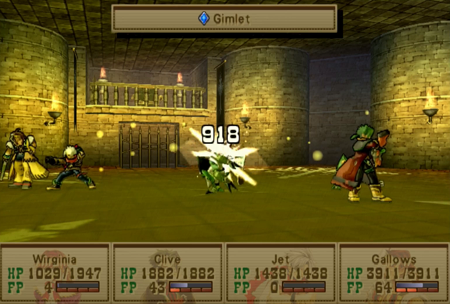
(Here's a shot from my failure run)
My sticking point the first time were these Mercurius creatures. They have no weaknesses…
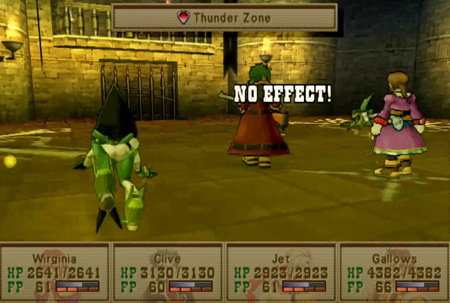
(Now look at the HP gains of a few dungeons later)
And when they turn on their “thunder zone” ability, their attacks plump up to dangerous levels. At level 40, they were eating off about 50%-70% of my teams’ max HP with every hit.
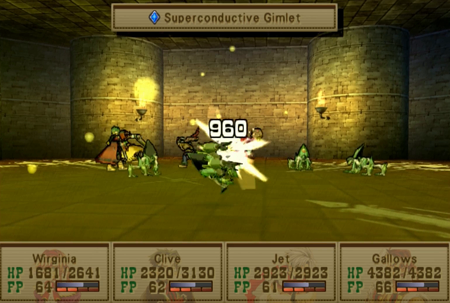
At approximately level 60, they are still strong, but not impossible.
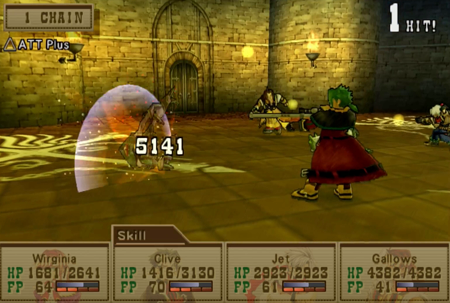
And Clive is still the MVP.
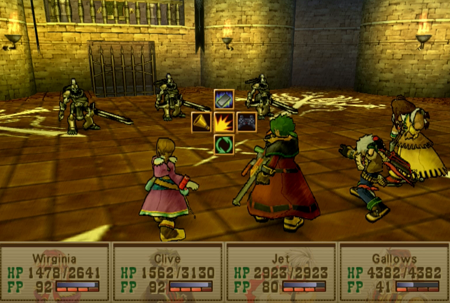
We only have 20 turns for the Journeyman division, but these skeletons are a gimme.
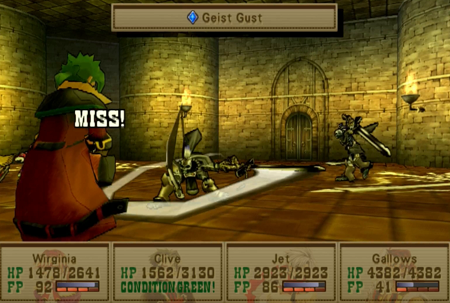
I believe these undead monsters have an instant death attack. I was lucky enough to avoid that, and…
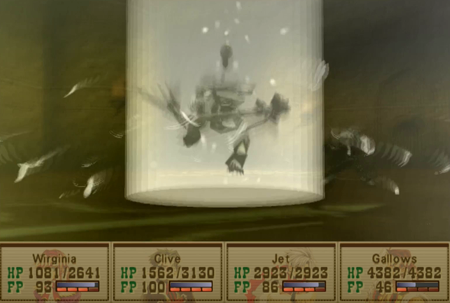
Use my own instant death attack to clear them out quickly. Requiem will do its job of putting the undead to rest promptly.
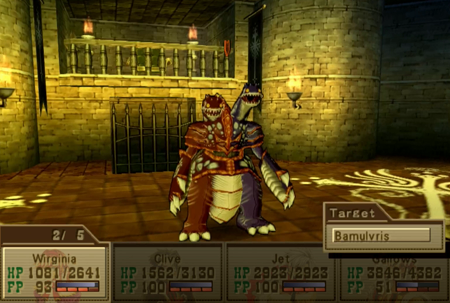
Bamulvris is another boss-y thing.
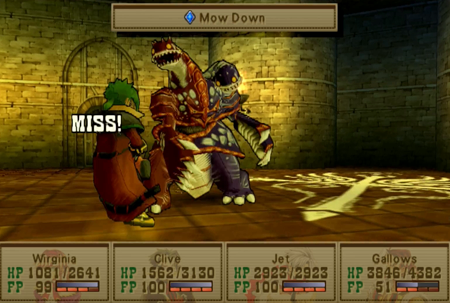
I am having Nidhogg Pass flashbacks. I never wanted Nidhogg Pass flashbacks.
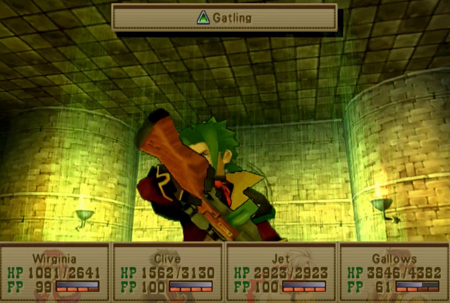
Nidhogg was weak to dark and light, and Bamulvris is weak to fire and ice. However, Clive hit 100 FP around this point, so I just gunned him down in a single gatling attack.
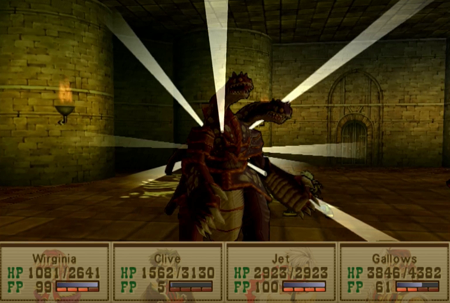
Toodles.
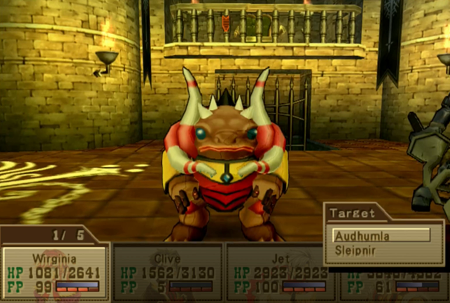
The next match is… Hey! Is that a Transformer? I am 90% sure I had this toy as a kid.
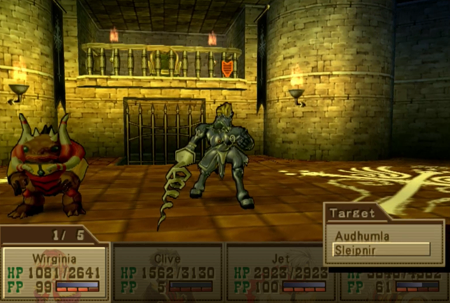
And a unicorn.
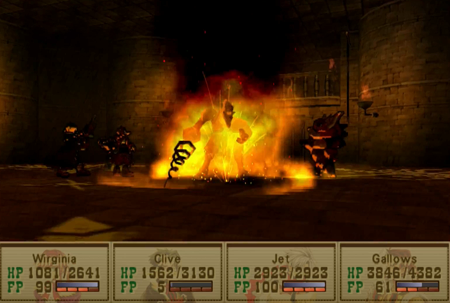
Sleipnir definitely has an instant kill attack, so tame the horse first. Like his palette swap cousin from a couple dungeons back, he is weak to fire.

Audhumla tries to buff his party, but just treat him as a nominal threat.
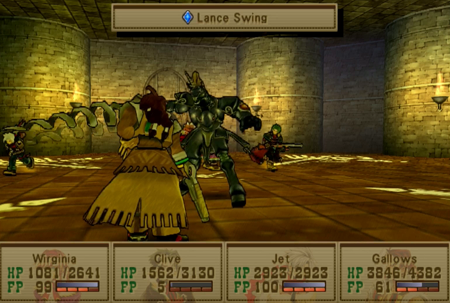
Watch that lance!
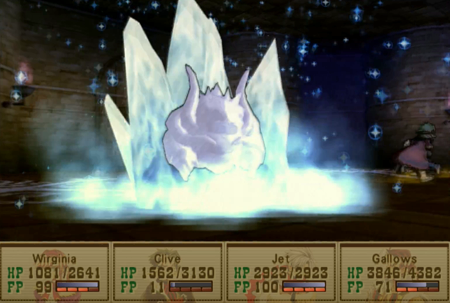
And freeze that monster.
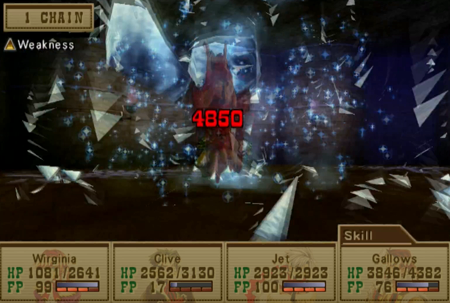
Weakness is such a guardian-send.
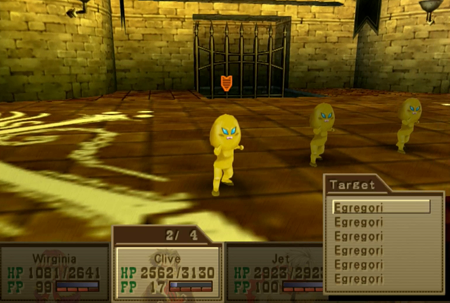
And the final challenge is similar to our mushroom infestation last time. A big group of creatures that aren’t that powerful, but cannot be multi-targeted.
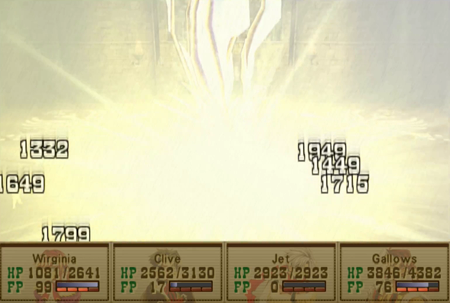
Here is a secret preview of a summon we have not earned in the “present” yet. Can you find Bahamut in this picture?
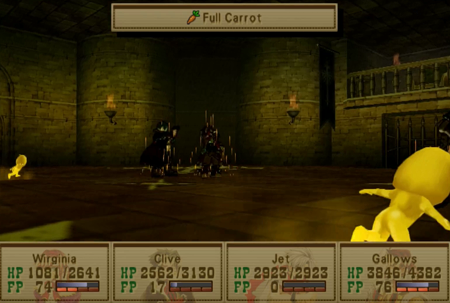
I was running low on rounds at this point, so I decided to have Virginia mystic a Full Carrot for the party. This pumps everyone’s FP back up to maximum, which means we can do another round of summons. For the record, having “infinite” Full Carrots is kind of a win button for nearly any challenge in Wild Arms 3, but those items are very limited if you do not completely abuse the gardening system (though that is certainly an option!).
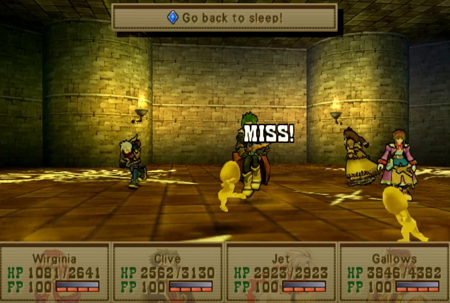
The reason that I was willing to sacrifice a Full Carrot for this fight is that these numbnuts also use a variety of status effects that will eat off your turns. Now is not the time for sleep!
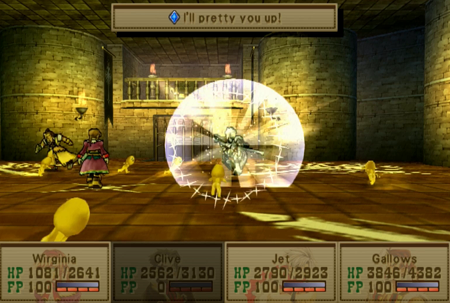
Or being transformed into glass! Dammit! That completely zeros out a character’s FP, too.
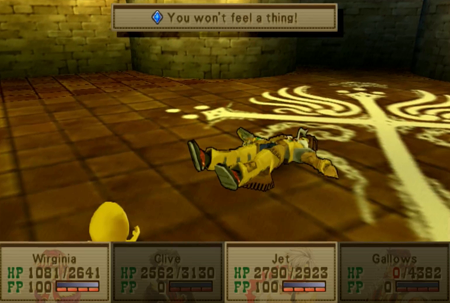
And instant death? That is just nasty.
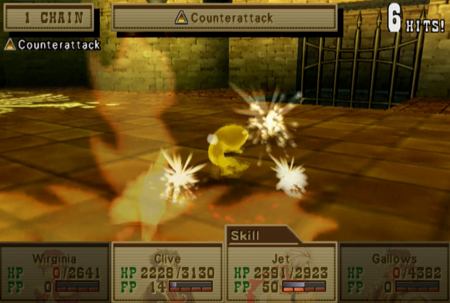
Luckily, I eek by with a victory that is clinched with a counterattack. There is not an "active" round count during the battles, but I'm pretty sure it came down to the wire.

Another trophy! So that is the Journeyman/”Medium” League. It is basically a very difficult first and final battle, with three “puzzle fights” in-between. If you know the secret of those three middle fights, they go extremely quickly. Meanwhile, the bookend fights all but require higher levels and a significant amount of luck (or very particular status wards).
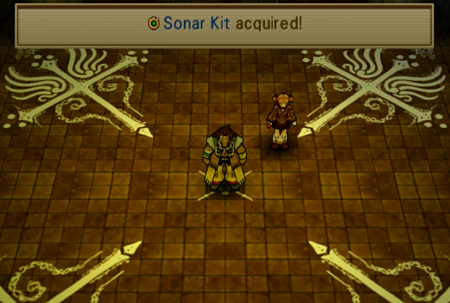
And this is the best prize in the game.
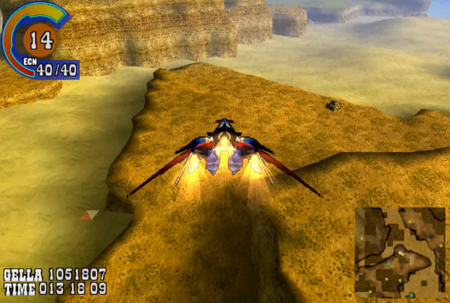
So before we tackle the finale of Gunner’s Heaven, we’re going to demonstrate our prizes. As you can see, the map in the bottom right now has colored dots.
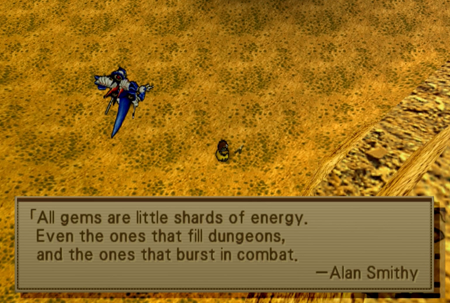
This is your reward for finishing the Journeyman League: every blue-green dot is a “location” of some kind, like a dungeon, puzzle, or town. Every yellow dot is either a treasure (yay!) or a sign (boo!). Here’s a sign. Boo.
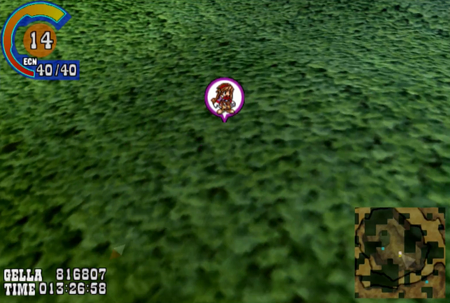
There are a lot of random treasures across the world map, and now we can find every single one. Additionally, the Novice League gave us the Item Scope, which allows us to find “high level” treasures on the map. Previously, if you used a radar at the exact location of a special treasure, you would find nothing. Now, with the Item Scope, you will be able to find all sorts of crazy things (though you are still searching in the dark until you obtain the radar from Journeyman League). This is why you technically need to complete the Novice League, as you absolutely must have the Item Scope to find a very important item.
Roykman at least can teleport (This is actual canon. No, we’re not going to talk about it).
Remember Huey? The “doctor” that gave Clive an experimental antidote cocktail?
Well, emphasis on “cocktail”, as he only wears that lab coat because he is a mixologist.
While this town is optional, you definitely do want to visit for the treasure.
There is also a telescope available that really feels like it should have been tied into a more overt clue somewhere along the line.
Reinforcing the ARMs lore that ARMs must sync with their users. This is going to pay off eventually!
You need Jet’s Radical Sneakers to hop around this weirdly vertical town and find every chest.
Yes! Crater! I know! We’ll get there eventually.
The old planet sucked anyway. Don’t worry about it.“If our ancestors really set foot on this world from a sky faring ship, what made them choose this one? A sky faring ship is one that crosses the sea of stars. Our ancestors were visitors from one of the planets we see when we look up into the night sky. This planet is not our true home. What kind of world was our true home, then? It must have been a utopia with order, security, and the technology to navigate the stars. Perhaps the teachings of the Order of the Ark of Destiny seek a utopia like that? As my ancestors reached out to this world, I must reach out to the world they left behind.”
Gunner’s Heaven, eh? We’ll look into that!
Really think this telescope should show you… I don’t know… the power of four elements pouring into the Temple of Fiends or something.
Maybe it was something that was going to be used with Clive’s sniper rifle during his intro? This feels like cut content…
There is also a comically long ladder inside here. Ballack Rise is an urban planning nightmare.
“'The crimson ARM...One shot is all it needs.' The pioneer Drifter of legend, Alan Smithy, coined that famous phrase. Some say he lived three centuries past, others say five. No written records of his life survived. People call him the Gunslinger, thanks to his sharp shooting skills and limitless energy. But even a Drifter as famous as he remains shrouded in mystery, with many unproven tales credited to him. His death, like his life, is also shrouded in mystery. Some say he went to settle the new continent. Others say he went to slay a beast lord, and never returned. Alan Smithy was loved and honored by all who traversed the wasteland. The Gunslinger will never return, but we await the coming of another hero to this very day.”
Somebody remind me of this book when we eventually get around to killing Alan Smithy.
This duplicator-sealed book is theoretically the “plot” reason for Ballack Rise.
First of all, book, we went to a museum recently, and they stressed that 1,000 years ago wasn’t the “end” of the great war, it was the start of the Elw-Neosapian War. Or maybe that war did start because the Neosapians and Demons finally decided to get along and gang up on the elves…“Let us go back a thousand years, to the end of the great war. In the city, an eldritch generator was test-run under the supervision of the scientist Ajende. The generator deployed a certain kind of nescient barrier, called the wizardly stealth effect. The experiment, however, ended in failure, with catastrophic results. The barriers deployed around the city, reacting to Filgaia's magnetic field, lifted the city high into the sky. And what goes up...must come down. They say the great city instantly collapsed on impact with the ground. Many researchers died instantly. Others were afflicted with terrible side-effects from the overload of energy. The lead researcher, Ajende, miraculously survived the ordeal, but his reputation as a scientist was forever shattered. The wizardly stealth system was eventually completed by three engineers. If you ever see a gaping crater, remember that it is the final resting place of the city of experiments. Do not forget to take a moment to pray for the pioneers of technology and revel in their legacy.”
That crater everybody is always talking about apparently is the result of a “flying city” that… had a bad time. It is also a mandatory plot location (eventually), but when we get there, we never get the “full story” that is provided in this book. So, if you want to believe everything you read, here’s the backstory for a dungeon we’ll see in another few updates.
On an amusing side note, the implication here is that the “flying city” was an unintentional side effect of trying to build a “wizardly stealth system”. Wild Arms 2 had a wizard city that was cloaked in a magical stealth system, and we’ll eventually see demons utilizing a stealth system, but there are no stealth towns in Wild Arms 3.
… Or maybe they’re just being stealthy.
Anywho, we’re about done looting this place.
But we’re not completely finished with the general area.
If this was the town where Clive first adventured, that means his first dungeon must be around the corner.
Ah, memories…
Fast forward a little bit, and you may recall that deep in this dungeon was a secret super boss sealed in a “holographic memory”.
Now that we have the appropriately cursed dolls, we are going to summon up a monster.
Welcome to Hell.
This is Arioch. These are Arioch? Dude is definitely going to be a plural…
…. One? Are… are you a slime?
This is the “real” playthrough, and Arioch does… 5 HP damage? I get that Jet is defending, but that is some Level 1 damage right there.
And even Virginia is doing significant damage to these clowns.
There were four of them, and now there are none.
Or… not quite.
So here’s Arioch’s deal. A mob of four Ariochs can now appear in any dungeon at any time. This includes dungeons we have already conquered, and dungeons yet to come. Whether he appears is completely random, and, while there is apparently a way to encourage some Arioch encounters, there is no surefire way to trigger an Arioch fight. Every time Arioch appears, he becomes slightly stronger. While he starts as one of the weakest creatures on Filagaia, his “vengeance” will eventually catapult him to true super boss level (and he’s always a pack of four, which is scary when his strength eventually hits the 500 benchmark). And how many encounters does that take? Well, including the battle we just saw, Arioch must be fought 100 times to eventually earn his final prize.
I… I ain’t doin’ that.
Look, it is basic math here. There are something like 33 dungeons in Wild Arms 3. Some of those dungeons stop existing before you can even release Arioch, but a couple are revisited, so 33 seems like an appropriate dungeon count here. So even if you could release Arioch at the start of Wild Arms 3, and even if Arioch was a guaranteed encounter every time you visited a dungeon, you would still have to loop through Wild Arms 3 three complete times to fight Arioch to completion. But you can’t release Arioch until about when you get your airship! And that means something like 60% of the game is already completed before you can even start this quest! So, while you are encouraged to revisit previous areas for treasure, there is simply no way to complete this quest without a lot of “Arioch grinding”. You have to do nothing but hunt this little dork if you want to complete this quest, and… Ugh…
I’ll cover the “prize” for defeating Arioch when I am noting it as a part of other quests (hint: scroll to the very bottom of this update), but for now, just know that this little nuisance is going to be ignored for the rest of forever. If you want a tip: he always appears in groups of four, and his exp/gella reward is always 1:1 equal to his encounter count. For example, if you earn 16 EXP at the end of an Arioch fight, that means you have found and defeated him four times. Useful to know for your own OCD.
Oh, and if you are curious, “Arioch” appears in Judaism, but is more known for being referenced in the Bible’s second most popular fanfiction, Milton’s Paradise Lost.
(The Bible’s number one most popular fanfiction is, of course, Xenosaga.)
Let us leave this place, and fly to where the train tracks end.
You do not need your airship to reach this location, but it certainly helps. If you want to sandcraft over here immediately, there is a parking beach way to the north of the northeast continent…
And you have to walk back over these unused tracks to find…
Gunner’s Heaven! The battle coliseum of Wild Arms 3.
One way or another, this is the final “friendly” location in this game, too.
Wild Arms (1) had a battle coliseum, but Wild Arms 2 did not. WA3 returns to this JRPG trope.
This place is pretty sparsely populated. That may be a result of the “most popular entertainment in Filgaia” being built on one of the most remote locations on the planet.
Beginner, Intermediate, and Update Your Will.
Travis is the only audience member in this whole place.
And he drops a non sequitur about using the prize from the Novice League to find the Guardian of Courage. I’m interested in this!
There are three battle leagues, Roykman. This ain’t even a Pokémon Emerald level time-sink.
… Just tune up my ARM, thank you.
At least no one is babbling about craters here.
Here is the arena. You are allowed to explore the area before participating.
Hey! Little girl! What are you doing up there? Can you come down here?
Guess we’ll take the stairs.
Here is the owner of Gunner’s Heaven, Motherfucking Dracula. Nobody knows how to rock a self-portrait like Dracula.
Begucci. Whatever you want to call yourself, Vlad.
Begucci is such a walking parody of the idle rich, he is fixing to buy Twitter as we speak.
Nearly everyone is disgusted by Begucci’s books, save Clive…
“Well, look at this...I read that series in class when the teacher wasn't looking.”
This… raises questions about our team dad.
I would like to find the one artist on Filgaia that is responsible for this monstrosity.
Ah, dang. We spent too long looking at art, and now that little girl is gone. Maybe we’ll chat later?
Okay, let’s get down to business.
Just hand over the prizes now. Saves us all time, and you have less monster guts to clean up.
So there are a couple of conditions for these Gunner’s Heaven battles. First and foremost is the turn limit. Spend longer than 25 total turns on the novice fights, and you fail.
And the “challenge” absolutely knows this.
Ganga is not difficult, but…
It has the ability to cancel turns, paralyze, or reduce accuracy. All of these attacks won’t outright kill a party member, but they will slow things down. And you need all the turns you can get!
After every fight, you have the option of quitting for a consolation prize. If you have a party wipe or go over the turn limit, you will fail and receive nothing. Only quit if you are at death’s door or moving super slow.
Round 2 is a defensive monster…
That loves to counter.
Hit it as hard as you can, or use wind-based arcana.
Now we’re truly getting into “screw you” territory.
These Shambling Mounds are not difficult, but there are six, and there is nothing you can do to target them all at once. Any of your multi-hit attacks only target multiple monsters if they are grouped together, and these are all independent sentient fungi.
So the solution is to use a Guardian Summons. No matter what, when you summon a Guardian, it attacks the whole enemy party (save Dan and Raftina, who do not attack as part of their summons). So save your FP for round three, and then unleash the gods. You can use pretty much any summon, but they are weak to fire…
Not enough of ‘em left to make a pizza.
Balor “feels” like a boss.
He likes inflicting Disease, which blocks the ability to heal. This is only round 4 of 5, so clear that status effect. You want to be able to stay healthy in the arena.
Use thunder, or just hit ‘em hard. Note that Clive has Comet Mark from the last update, so he is doing damage like a boss.
To note the other big sticking point of Gunner’s Heaven: all of these fights happen consecutively, and there is no “results screen” or healing between matches. Your VIT will not help one iota, and your FP carries forward across matches. This can be helpful (bank as much FP during the “easy” matches to more effectively squash the later monsters) or terrible (summons drain all of your FP, so if everybody summons, you’re down to zero FP) depending on your budgeting.
Armordrake is not difficult, but, as you can guess from the name…
He can take a hit.
If you equip your best caster with Weakness and a wind spell, you won’t have to worry much, though.
Just watch out for groans.
You can also use Eraser to reduce its Shield spell so Clive can participate.
Victory!
Aw, a trophy. Note that you do not distinctly win any EXP or gella from these fights, so you do not need to worry about equipping exp/gella increasing abilities. Just focus on skills that do extra damage (Counter, Weakness) or defend against status ailments (like Disease or Paralysis Ward).
All your prizes are conferred by NPCs.
Yay! We are going to need that.
… Later.
So Novice League and winning the Item Scope is a plot-mandated, required step in beating Wild Arms 3 that must be completed for the end of Chapter 3. It is not that difficult, as there is that sign near Gunner’s Heaven that recommends being “level 25” for Novice League, and odds are good you will get here around Level 40. There is pretty much zero benefit to being here before you have an airship (the Novice Prizes are not that amazing), and, by the time you must complete Novice League, you should be more comparatively overpowered than even what we see here.
But we want to see the whole of the Gunner’s Heaven sidequest, so we are going to move on to the Journeyman League.
So, at approximately level 40 (but Gallows at Level 60) and with the Attack Plus and Weakness abilities equipped, I thought I might be able to conquer Journeyman at this stage in the game. I… did not. I got wrecked in the first round, and, while I am sure there are some Wild Arms 3 aficionados who can win this early in the game, I ain’t one of ‘em.
So know that everything you see for the remainder of this update takes place after completing a number of sidequests, and returning before approximately the final dungeon of Chapter 3.
(Here's a shot from my failure run)
My sticking point the first time were these Mercurius creatures. They have no weaknesses…
(Now look at the HP gains of a few dungeons later)
And when they turn on their “thunder zone” ability, their attacks plump up to dangerous levels. At level 40, they were eating off about 50%-70% of my teams’ max HP with every hit.
At approximately level 60, they are still strong, but not impossible.
And Clive is still the MVP.
We only have 20 turns for the Journeyman division, but these skeletons are a gimme.
I believe these undead monsters have an instant death attack. I was lucky enough to avoid that, and…
Use my own instant death attack to clear them out quickly. Requiem will do its job of putting the undead to rest promptly.
Bamulvris is another boss-y thing.
I am having Nidhogg Pass flashbacks. I never wanted Nidhogg Pass flashbacks.
Nidhogg was weak to dark and light, and Bamulvris is weak to fire and ice. However, Clive hit 100 FP around this point, so I just gunned him down in a single gatling attack.
Toodles.
The next match is… Hey! Is that a Transformer? I am 90% sure I had this toy as a kid.
And a unicorn.
Sleipnir definitely has an instant kill attack, so tame the horse first. Like his palette swap cousin from a couple dungeons back, he is weak to fire.
Audhumla tries to buff his party, but just treat him as a nominal threat.
Watch that lance!
And freeze that monster.
Weakness is such a guardian-send.
And the final challenge is similar to our mushroom infestation last time. A big group of creatures that aren’t that powerful, but cannot be multi-targeted.
Here is a secret preview of a summon we have not earned in the “present” yet. Can you find Bahamut in this picture?
I was running low on rounds at this point, so I decided to have Virginia mystic a Full Carrot for the party. This pumps everyone’s FP back up to maximum, which means we can do another round of summons. For the record, having “infinite” Full Carrots is kind of a win button for nearly any challenge in Wild Arms 3, but those items are very limited if you do not completely abuse the gardening system (though that is certainly an option!).
The reason that I was willing to sacrifice a Full Carrot for this fight is that these numbnuts also use a variety of status effects that will eat off your turns. Now is not the time for sleep!
Or being transformed into glass! Dammit! That completely zeros out a character’s FP, too.
And instant death? That is just nasty.
Luckily, I eek by with a victory that is clinched with a counterattack. There is not an "active" round count during the battles, but I'm pretty sure it came down to the wire.
Another trophy! So that is the Journeyman/”Medium” League. It is basically a very difficult first and final battle, with three “puzzle fights” in-between. If you know the secret of those three middle fights, they go extremely quickly. Meanwhile, the bookend fights all but require higher levels and a significant amount of luck (or very particular status wards).
And this is the best prize in the game.
So before we tackle the finale of Gunner’s Heaven, we’re going to demonstrate our prizes. As you can see, the map in the bottom right now has colored dots.
This is your reward for finishing the Journeyman League: every blue-green dot is a “location” of some kind, like a dungeon, puzzle, or town. Every yellow dot is either a treasure (yay!) or a sign (boo!). Here’s a sign. Boo.
There are a lot of random treasures across the world map, and now we can find every single one. Additionally, the Novice League gave us the Item Scope, which allows us to find “high level” treasures on the map. Previously, if you used a radar at the exact location of a special treasure, you would find nothing. Now, with the Item Scope, you will be able to find all sorts of crazy things (though you are still searching in the dark until you obtain the radar from Journeyman League). This is why you technically need to complete the Novice League, as you absolutely must have the Item Scope to find a very important item.
…. Next week. But for today, we’re just going to find an EX File Key on the overworld in the forest way back at the Yggdrasil grotto. You’d never be able to find this without an Item Scope!
… And I’ll explain what “this” is later, too.
Next time on Wild Arms 3: We are the champioooo~ooons, my goooo~ooods.
Be careful not to bet the wrong item or Mr. Chupon will come take it from ya!
Wild Arms (1) had a battle coliseum, but Wild Arms 2 did not. WA3 returns to this JRPG trope.
Bullet, right? Everything in this game is named after bullets. Big, bouncing bullets.
Okay, we've got about an hour before I compulsively have to play more Theatrhythm Final Bar Line, so let's make the most of our time today, February 21, Germ Day. I can still remember it now... When I was still a child, I came home for dinner and sat at the table without washing my hands. My mother scolded me for not washing and I replied, 'It doesn't matter because I'm using a fork.' She then told me a frightening fact: "Germs jump up from your hands onto your fork to get into your mouth." Wow! I was scared to death by that.
Chapter 46: Crossfire Sequence
Previously on Wild Arms 3: We found the battle coliseum, and we conquered two out of three fighting divisions. Guess what we are tackling today…
So, like last week, we are looking at the future of our “real” playthrough timeline here. In fact, Wild Arms 3’s final coliseum battle (and most of the rest of this update) all but requires an end-game party. So please be aware that everything you have seen in this Let’s Play so far has been possible for a “regular” party, but a significant chunk of this update is entirely reliant on a party prepared to slay god(s).
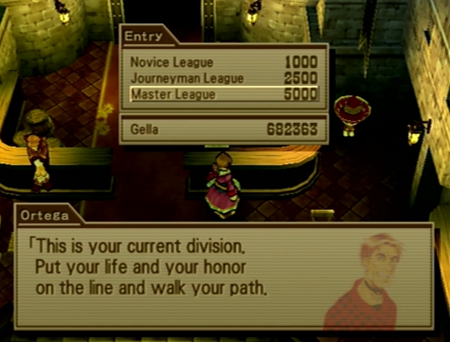
And with that caveat out of the way, let’s destroy the Master League.
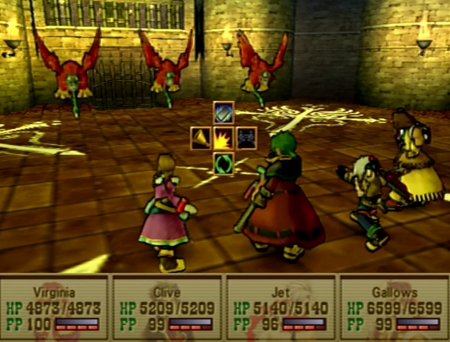
The Master League has a general recommended level of 80 or so (reminder: in “real time”, my party is around 40), though even at level 100, this is not a cakewalk. You have a scant 15 rounds to take down some of the hardest monsters on Filgaia.
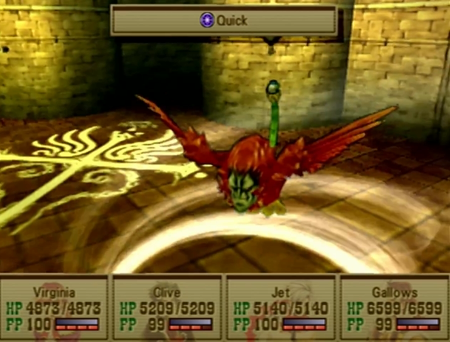
The Daredevils are all about speed…
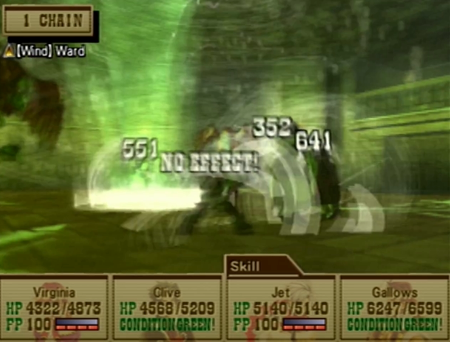
And wind attacks. They also have the ability to paralyze your party. Protect against paralyze and wind, and you should at least be able to survive.

Either shoot ‘em down, or blow some FP on summoning a Guardian that exploits their Earth weakness.
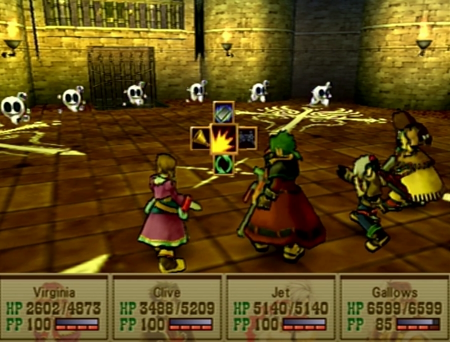
You know the deal
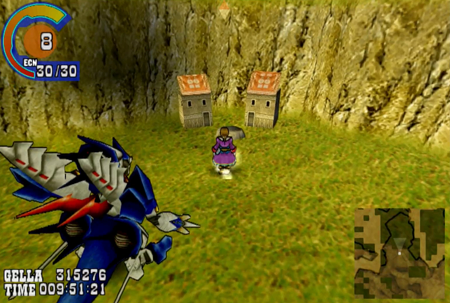
And that’s that for all that battlin’. Let’s take a well-deserved rest back at Baskar Colony. I wonder what tomorrow brings!
Next time on Wild Arms: Pain (Live!).
Okay, we've got about an hour before I compulsively have to play more Theatrhythm Final Bar Line, so let's make the most of our time today, February 21, Germ Day. I can still remember it now... When I was still a child, I came home for dinner and sat at the table without washing my hands. My mother scolded me for not washing and I replied, 'It doesn't matter because I'm using a fork.' She then told me a frightening fact: "Germs jump up from your hands onto your fork to get into your mouth." Wow! I was scared to death by that.
Chapter 46: Crossfire Sequence
Previously on Wild Arms 3: We found the battle coliseum, and we conquered two out of three fighting divisions. Guess what we are tackling today…
So, like last week, we are looking at the future of our “real” playthrough timeline here. In fact, Wild Arms 3’s final coliseum battle (and most of the rest of this update) all but requires an end-game party. So please be aware that everything you have seen in this Let’s Play so far has been possible for a “regular” party, but a significant chunk of this update is entirely reliant on a party prepared to slay god(s).
And with that caveat out of the way, let’s destroy the Master League.
The Master League has a general recommended level of 80 or so (reminder: in “real time”, my party is around 40), though even at level 100, this is not a cakewalk. You have a scant 15 rounds to take down some of the hardest monsters on Filgaia.
The Daredevils are all about speed…
And wind attacks. They also have the ability to paralyze your party. Protect against paralyze and wind, and you should at least be able to survive.
Either shoot ‘em down, or blow some FP on summoning a Guardian that exploits their Earth weakness.
You know the deal
with this mob from the first two battle leagues…
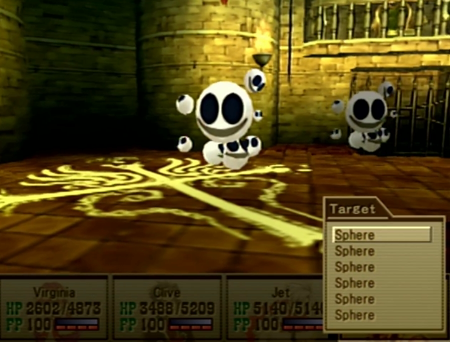
Spheres are all separate orbs, so you need to find the right Guardian to summon to wipe them out as fast as possible.

They are light monsters that use light attacks, so utilize the dark-based Luceid to see some big, red numbers.
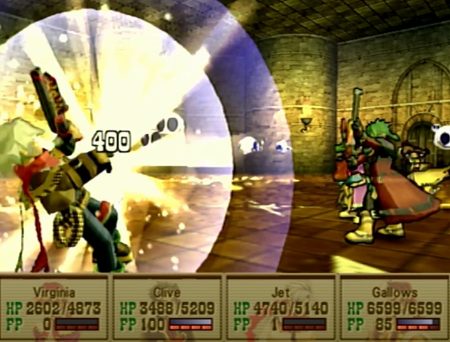
Even after all that, you may have to deal with a few stragglers. Remember that you can blow all of one character's FP on summoning a Guardian, but then you can juggle that same Guardian over to another fighter that still has all their FP...
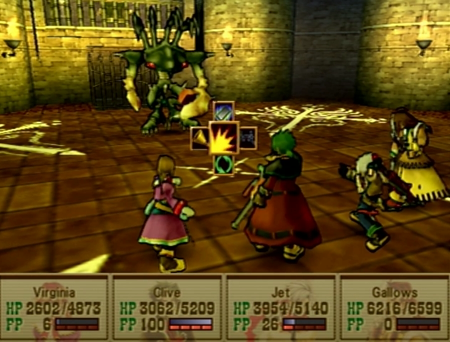
Next up: a bug.

Death Mask is appropriately named….
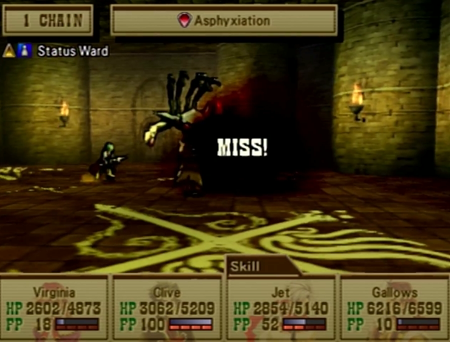
As it uses an instant death attack that is a real hassle if you do not have Instant Death (Fallen) Ward equipped.
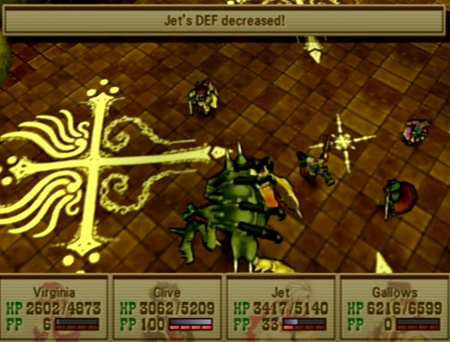
Death Mask will also use an ability that reduces your defense, which is a status problem that will carry forward to other battles. Try to dodge that.
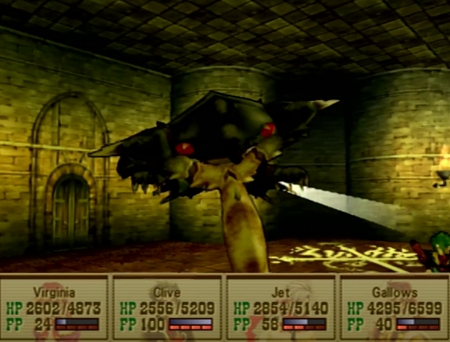
When Death Mask takes a few too many hits, it will transform into this “UFO form” and start using a hit-all attack that is very dangerous. Don’t let that happen! Use Gatling or another powerful attack to kill this thing as quickly as possible.
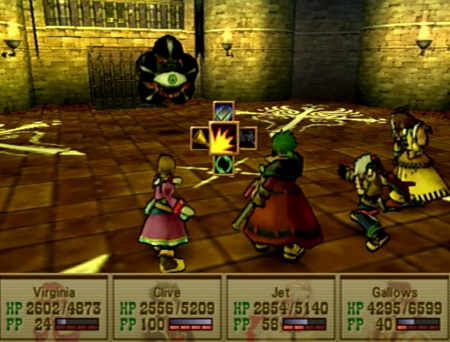
Behold the Dantalion!
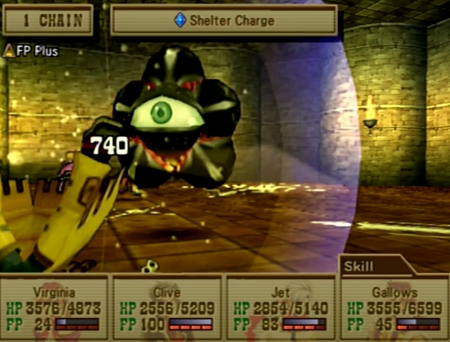
Another (difficult) puzzle fight: Dantalion will alternate every round between “shelter form” and “open form”. When sheltered (pictured), it has maximum physical defense. When open, it has maximum magic resistance. Its attack stats stay the same, and it can utilize confusion and paralysis when sheltered.
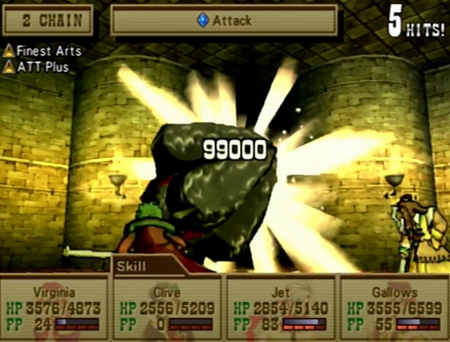
With the shifting defenses, you obviously are supposed to utilize your mages when sheltered, and then fire away with ARMs when opened. However, I was not having this today, so I just had Clive use Finest Arts. We’ll be talking about that move soon enough.
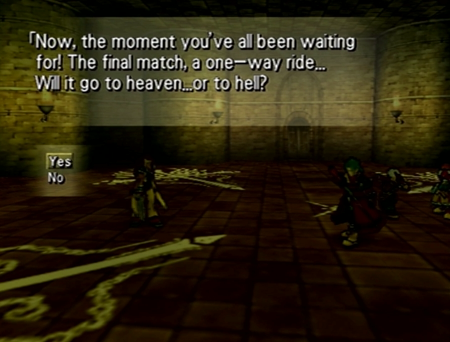
Let’s rock!
Ultimately, if you know what you are doing, a lot of this league can go by pretty quickly.

But this invisible jerk is one hell of a roadblock.
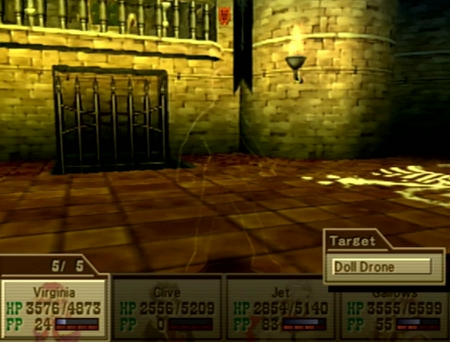
Doll Drone: the champion of the battle league that nobody felt like actually designing.
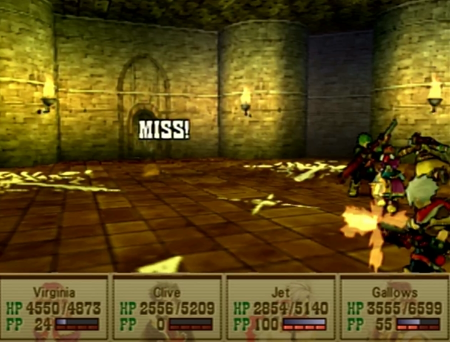
As you can guess from the invisibility, Doll Drone is (almost) completely immune to physical attacks.
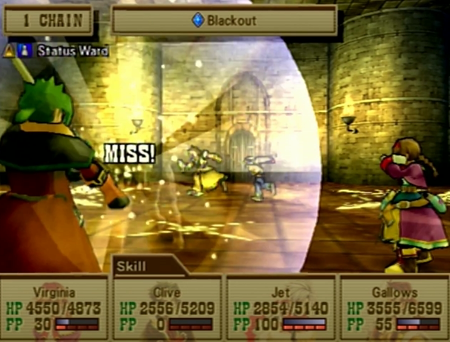
In your favor: Doll Drone only has one attack, and it is another instant death attack. If you have Fallen Ward equipped, Doll Drone can’t touch you either.
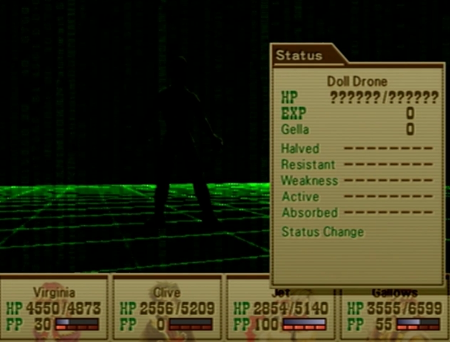
Unfortunately, that is not going to help you finish up the coliseum before your turns run out.
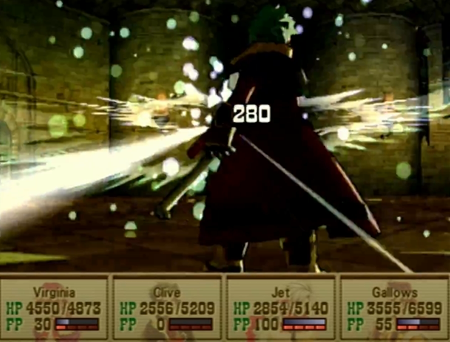
The obvious answer here is to use magic… but this jerk has no weaknesses and a significant magic resistance stat.

And Wild Arms 3 has all of its strongest attacks (Gatling, Finest Arts) balanced on the physical side of things. Finest Arts, the most powerful attack in the game by an unfathomable margin, is completely useless.
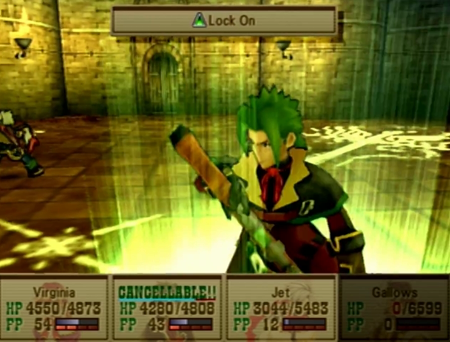
Clive’s Lock On will actually work (as it has a perfect accuracy rating). Unfortunately, that only applies to Clive.
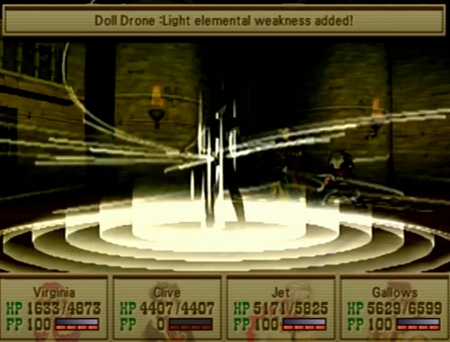
So I guess we have to exploit the Weakness ability. Virginia, give that armor a chink!
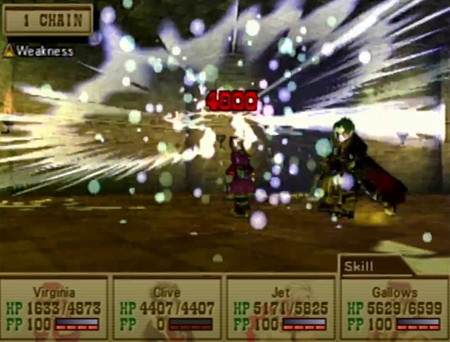
And now it is just a matter of hammering away at that vulnerability. Doll Drone has 20,000 HP to eat through, but it is doable.
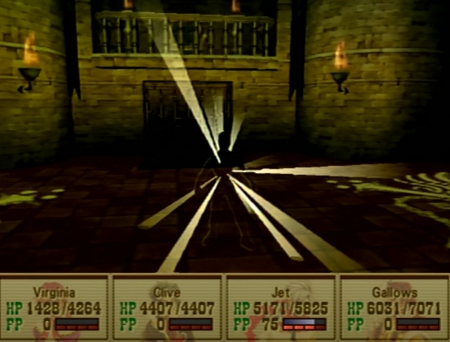
Victory!


You may recall the humble Gimel Coin, a consumable item that can be used to save anywhere or continue after falling in a battle. The unique prize for this league is the Relic Coin, which is an “infinite” Gimel Coin. Unfortunately, by the time you are powerful enough to win the Relic Coin, you probably have 99 Gimel Coins you are never going to use anyway…
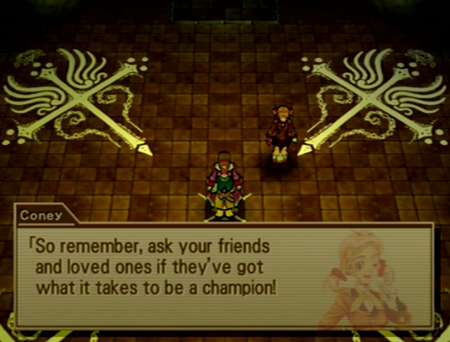
But you don’t complete the Master League for the prizes.
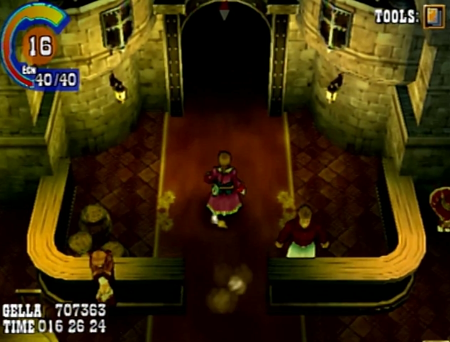
You do it for the next challenge.
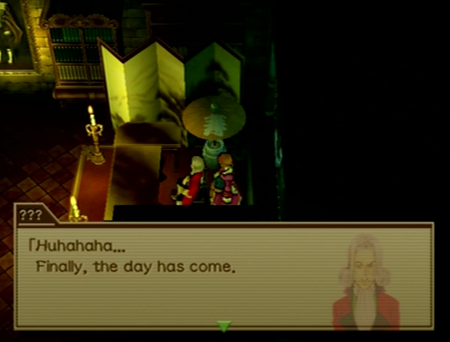
There are no more leagues at Gunner’s Heaven, but if you talk to its owner, you will find something is amiss.
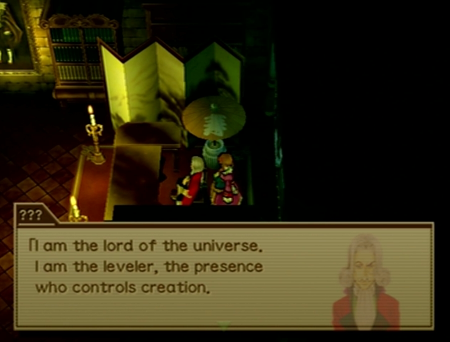
Dude has gotten kind of full of himself.
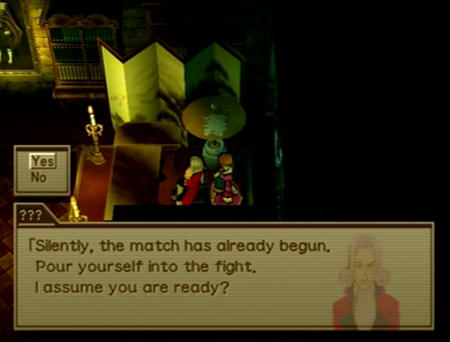
Fights beget fights.
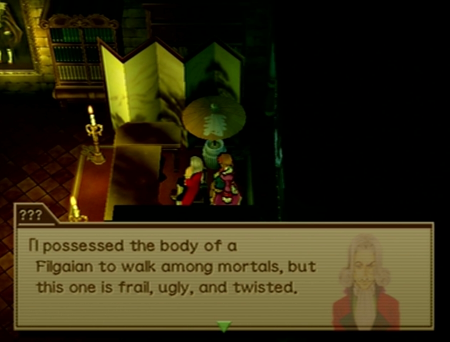
“The fact that he is rich helps, though. And he has a lot of followers on something called Truth Social...”
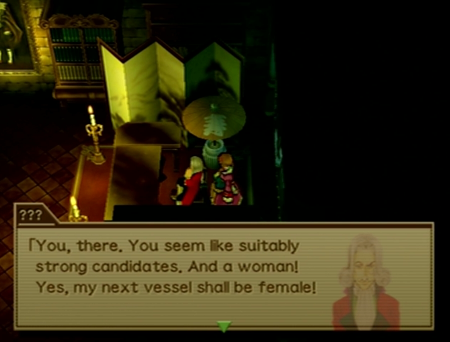
??? says trans rights.
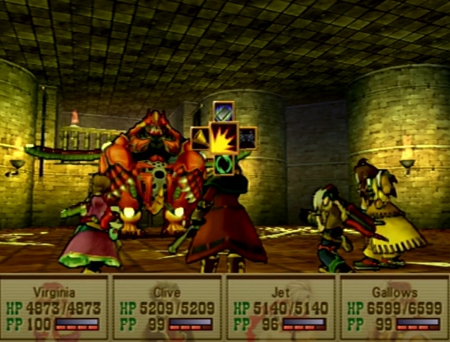
Okay! Psychic monster fight!
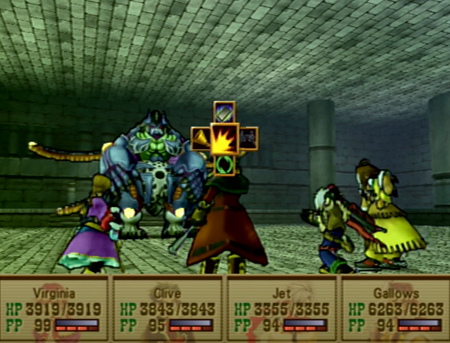
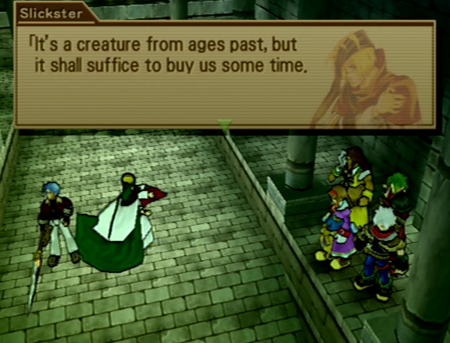
(Memories of Part 16)
So let’s talk about what we’re looking at here. This is clearly a color swap of King of Angolmois from earlier in the game. At the time, Malik claimed he was summoning a “creature from ages past”. At this point in the plot, we know that the Prophets had access to Hyades, and were experimenting with summoning the stored information on demons, only completely succeeding with the recreation of Siegfried at the finale of Chapter 2 (and, arguably, that only worked because of his leftover Dark Spear artifact). So, putting that all together, we can hypothesize that the King of Angolmois we fought back at Lunatic Garden was a hollow copy of the ancient demon , and this… uh…
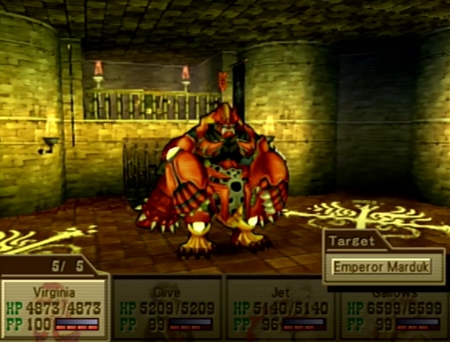
Emperor Marduk is the “real” Angolmois. He has been alive as some sort of possessor demon since the old days, and his current form is possessing Mr. Moustache, only revealing his true form for a fight against a gang that has proven worthy. This tracks with previous appearances: he didn’t have much backstory in Wild Arms 2, but Angolmois in Wild Arms (1) was described as “a psychic force”. Additionally, that “Angol Moa” was found at the end of a battle coliseum, which is relevant to our current situation.
Whatever the case, Emperor Marduk uses a variation on Angolmois’s signature moon laser, and it does some significant damage.
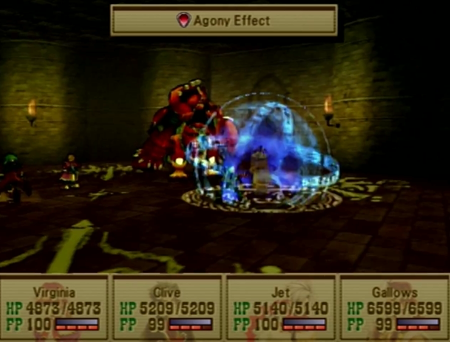
Other than that, we are looking at general attacks.
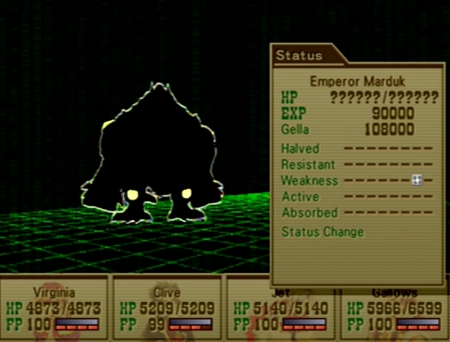
And “big bad boss” stats. That light weakness is only there because I stuck it on him in the first turn.
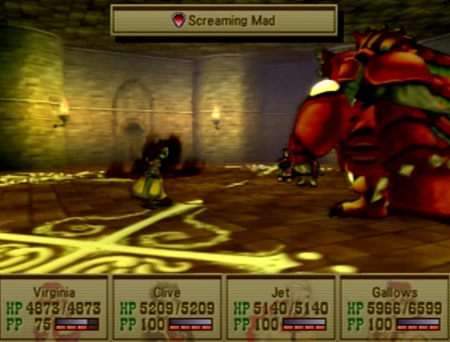
The good news is that Emperor Marduk will use dark magic attacks, and, if you are protected against dark, it’s a free turn. For the record, many of the super bosses use dark attacks, so obtaining maximum Darkness Wards is an excellent strategy.
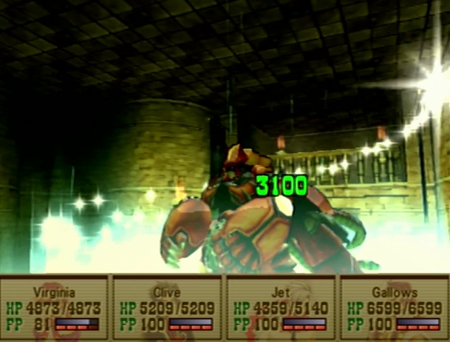
The bad news is that Emperor Marduk has a healing spell, and he is not afraid to use it. At a decent level, Clive should be able to chip off more than that heal in a single Comet Mark-boosted hit… but if you cannot outpace the healing, give up now.

Emperor Marduk has 240,000 HP. The mandatory second to last boss of the game has 028,000 HP (I would use the final boss as a comparison point, but it has multiple forms, so things get murky). Point is that Emperor Marduk is one of the longest fights in Wild Arms 3, and using anything that does as much damage as possible is fair game.
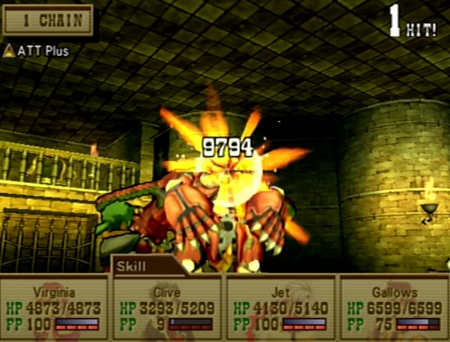
See? There’s a basic, ATT Plus-boosted attack from Clive at this level. Only have to do that 25 times! Assuming Emperor Marduk doesn’t randomly heal himself constantly!
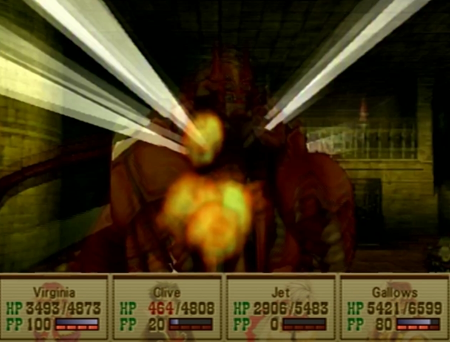
Eventually, the battle ends. Honestly, so long as the healing isn’t a big deal, Marduk is just a time sink of an opponent, and not all that difficult. Always make sure Virginia has 25 HP to mystically heal the whole party after that dang moon attack, and you’re golden. You just have to have enough Mega Berries to outlast the big guy, or rely on Full Carrots to maximize Gatling/Finest Arts damage. Clearing the time limit of the arena is more difficult.

Our reward for this leg of the quest is the Dist Dims.
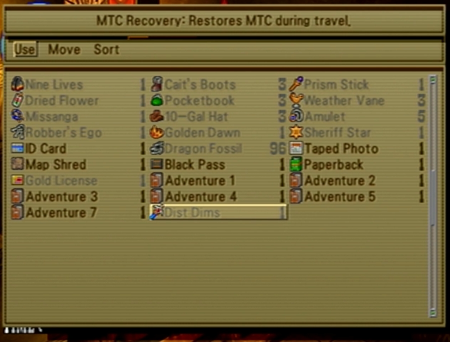
This is a magic wand that was a mage princess’s ultimate weapon in Wild Arms. Or the supreme weapon of a summoner boy in Wild Arms 2. Now it recovers summon MTC while walking. If you rely on summon attacks (because you’re a weirdo), it is very helpful for the excessively long Abyss dungeon.
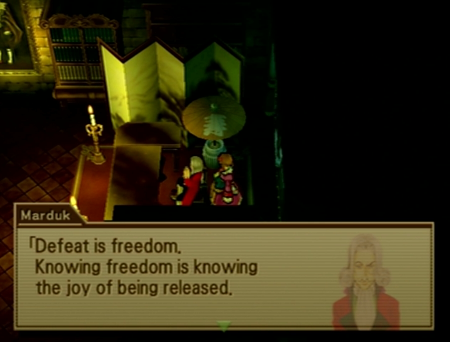
Uh… thanks?
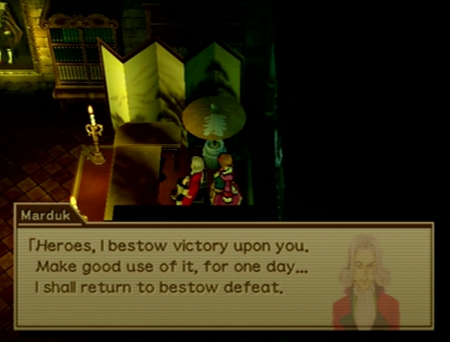
Yeah yeah, franchise recurring super boss. We get the idea.

And with that, Begucci is freed and now acts… exactly the same. Huh.
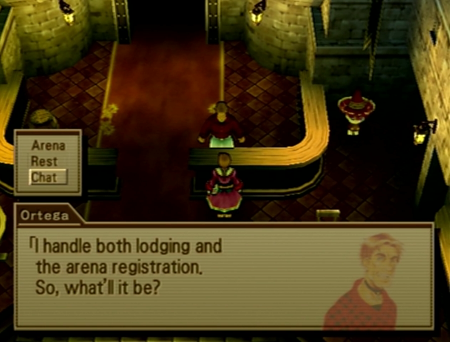
But we’re not done here yet! Checking in on Begucci after conquering the arena makes a certain amount of sense. Chatting with Ortega the random yokel that manages the fights after conquering Emperor Marduk is less apparent…
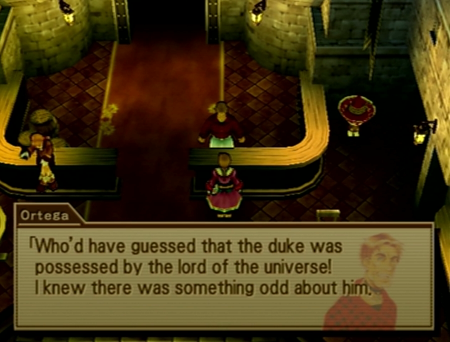
But if you do chat, he will note that he saw your extreme monster battle…
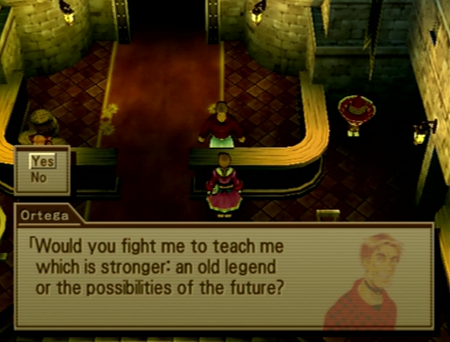
And he reveals that he is the old champ of the arena, and is itching for a fight.
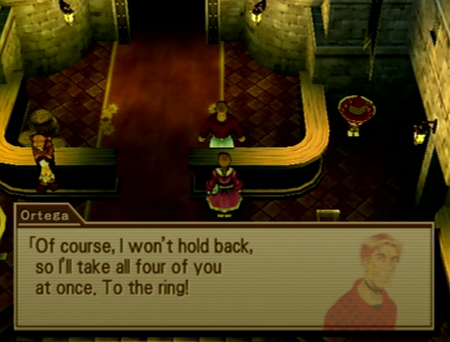
… How strong is this dude?
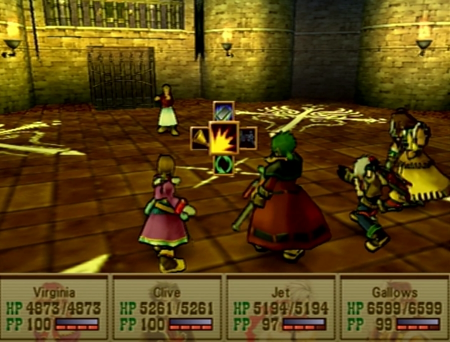
Pretty damn strong, as it turns out.
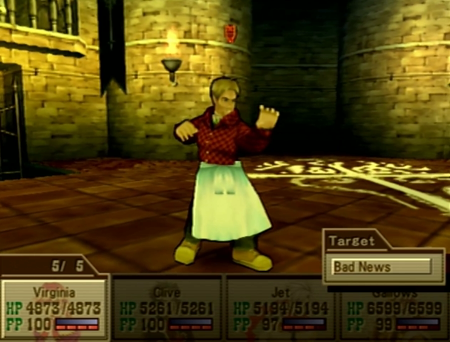
Ortega is going by his old ring name, Bad News. Bad News is a recurring monster throughout Wild Arms, and this is the first time he is distinctly a human-human. Previously, he was kind of an edge case.
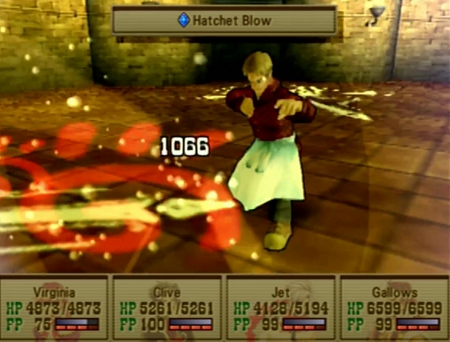
Bad News is bad…
…
I’m not going to say it. He’s powerful. Let’s go with that.

The prize here is obvious, but remember how I said Emperor Marduk had a ridiculous amount of HP at 240,000? Bad News is rocking 325,000 HP, with about 70% better stats in defense and magic defense. Did I say Bad News was human? No, he’s a monster.
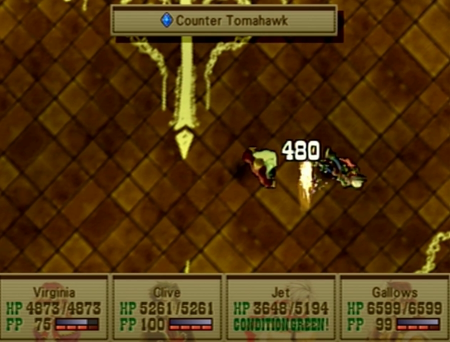
Bad News does not have any attack-all abilities, though. While he is very likely to counter, your weaker party members are relatively safe with only a 25% chance of ever being smacked around. This makes general recovery a lot easier than in the previous fight.
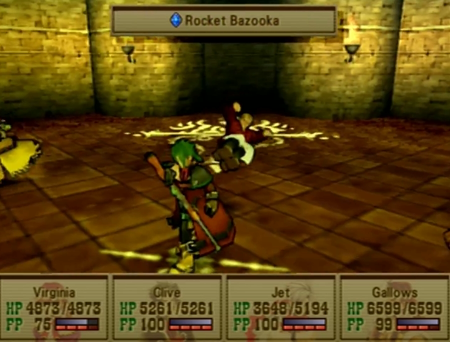
Unfortunately, his wrestling-based attacks do hit hard, and he does have a (used less often than Emperor Marduk) healing ability that will make the battle last longer.
Look at that recovery! Bad News can also inflict confusion and amnesia, but if you know that going in, you can just ward up against it. Note that amnesia doesn’t make the fight any worse one way or another, but who would want to miss out on all that sweet experience?
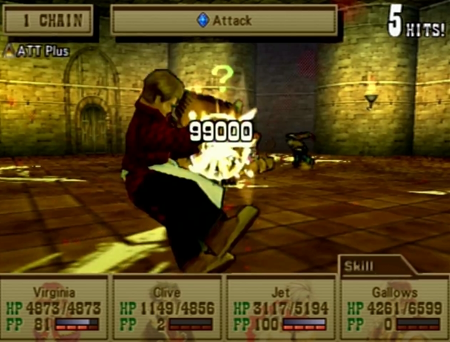
So Finest Arts is an ability we will look at in greater detail when we finally earn it as part of the “real” playthrough, but just know that Finest Arts all but exists for these last few super bosses. Emperor Marduk, Bad News, and the final boss the upcoming Abyss all have absurd HP counts, and fighting them any other way seems like an unnecessary time sink.

Eventually, we win the final prize of Gunner’s Heaven, an Ex File Key (and a whole lotta money and experience).
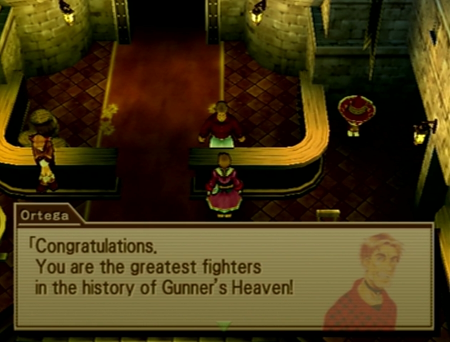
Yahoo.
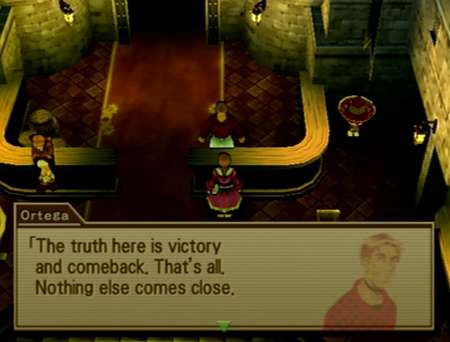
Like his boss, Ortega now goes back to his usual canned dialogue.
And that is it for Gunner’s Heaven. After you have completed everything in these last two updates, there is nothing more to this location, and you never have to return for any reason. About 70% of the content here is optional, and the only remaining “challenge” is potentially repeating the leagues for better “scores”… even though those records are not saved in any way, and prizes do not get better.


Now we’re back to the more linear playthrough. Everything you see now takes place immediately after completing the paltry beginner league at Gunner’s Heaven.
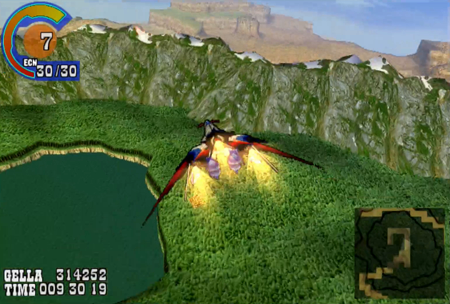
Yggdrasil canyon looks nice from the sky.
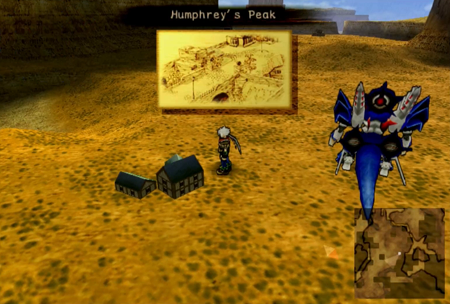
So the reward for the Beginner League at Gunner’s Heaven was the Item Scope. If we want a clue as to where to actually use this scope, we can swing by Humphrey’s Peak.
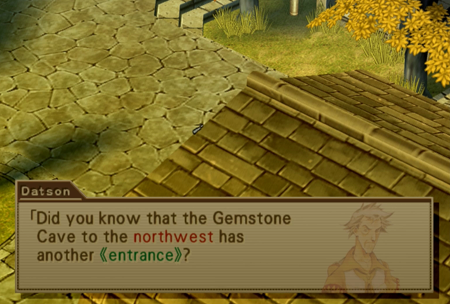
What an interesting little factoid.
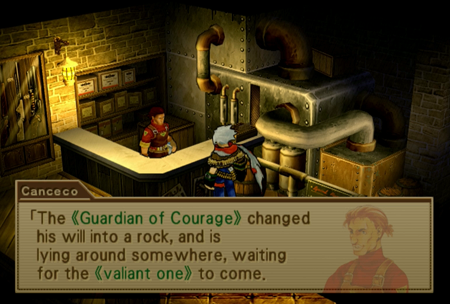
Canceco draws a connection between finding the Guardian of Courage and general valiance that might lead an inquisitive player down the right path…

Or he outright tells you what you are supposed to be doing. Dude just cannot keep a secret.
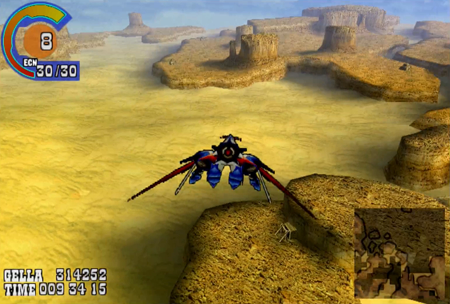
So if you fly over to the nearby Gemstone Cave, you will plainly see that it does have another “secret” entrance (or exit).
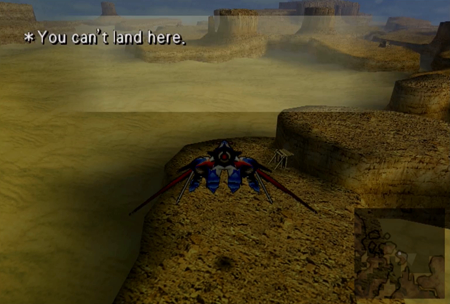
However, you cannot land on its island with ship or dragon.
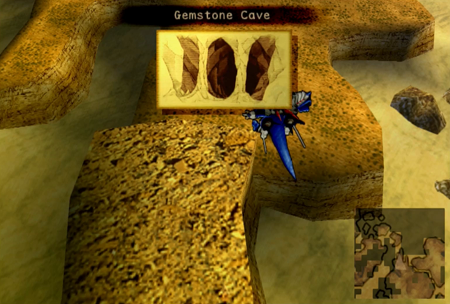
So back to the dungeon we completed ages ago…

Remember our good times with Maya here? Wonder what she’s up to right now.
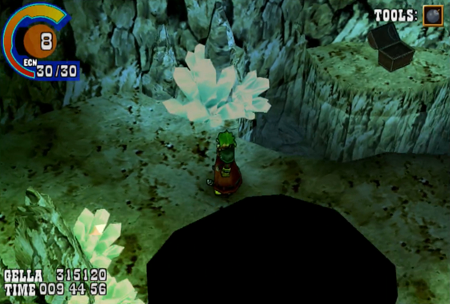
This dungeon is pretty straightforward…
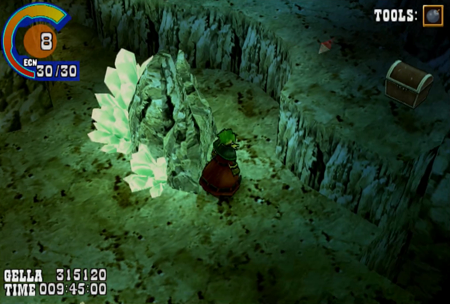
But you may notice that there must be some kind of secret area around the midpoint, as there is a treasure chest that is inaccessible.
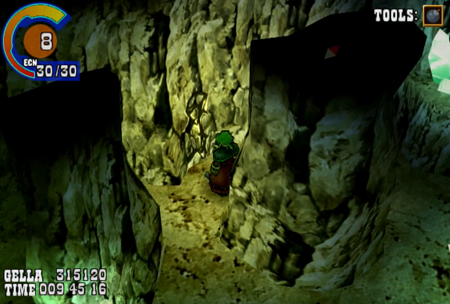
This cracked wall is conspicuous, too.
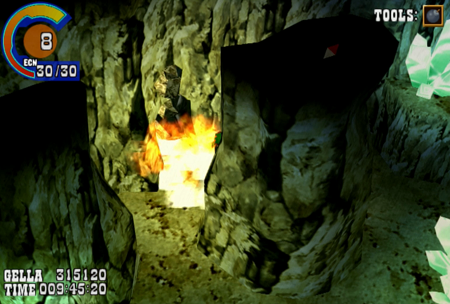
Blammo.
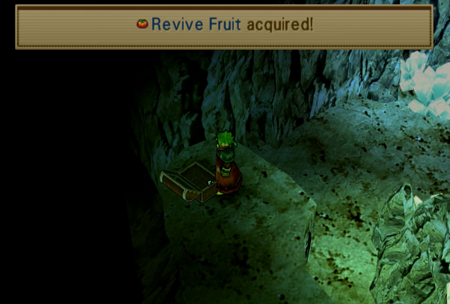
Zelda rules! Now we can reach that treasure chest, and…
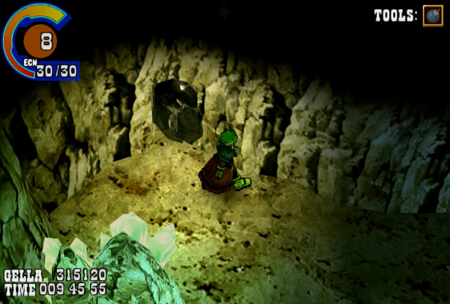
Another cracked wall that leads to…
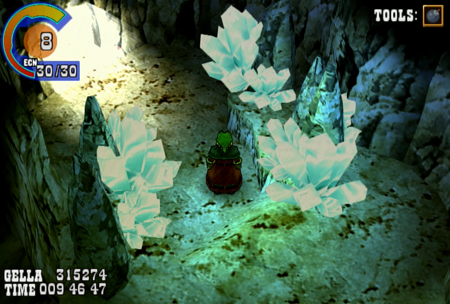
Another exit!
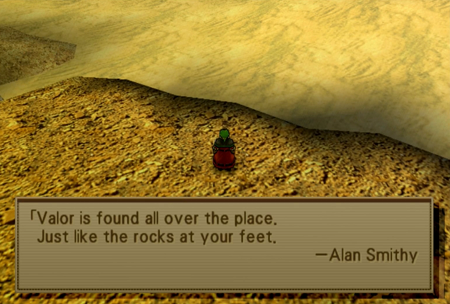
So this area was always available, and you could even stop by while pursuing Maya back during your first visit. Unfortunately, if you get here early, all you will find is a cryptic sign.
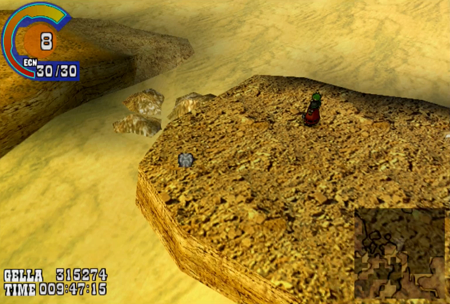
But if you have the coliseum-won Item Scope, you will find… an item. See how that works?
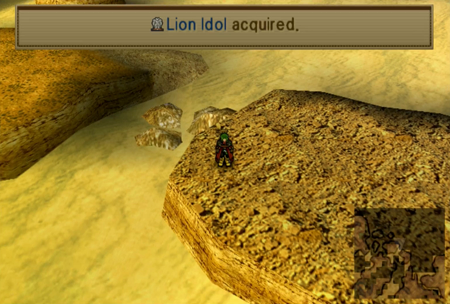
Kitty!
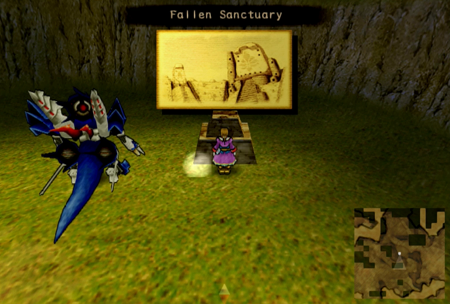
Go back to the cave, walk your ass back to your dragon, fly across the world, and head back to the Fallen Sanctuary for this (eventually mandatory) prize.
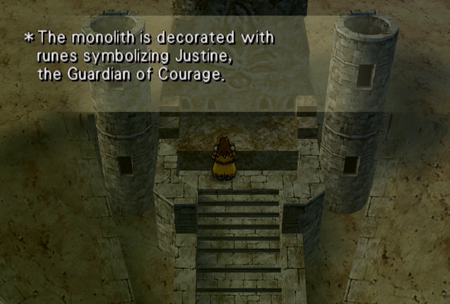
Time to fight Fantasy Justin.
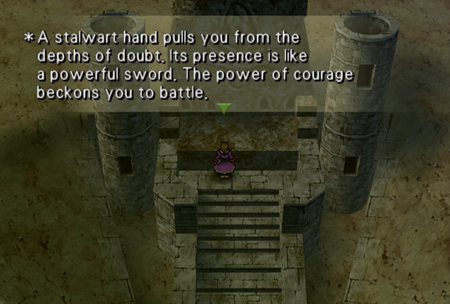
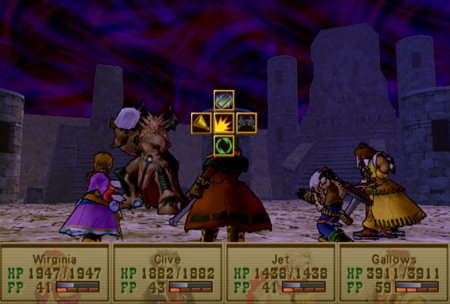
One of the few Guardians to bring a (useful) weapon.
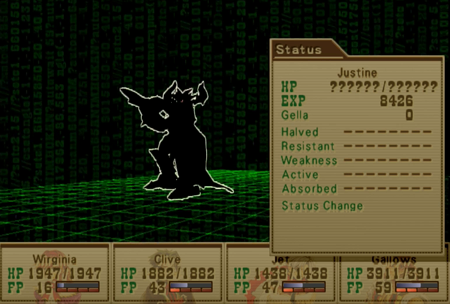
In Wild Arms 2, this guy was basically Voltron. I liked Wild Arms 2.
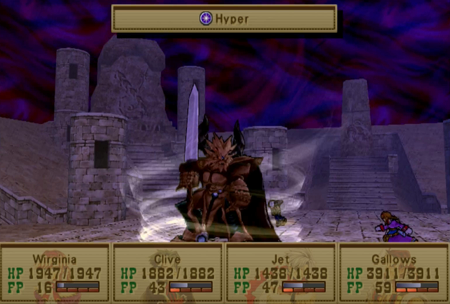
Justine knows Hyper. Hyper will double the attack of its target, so please dispel that immediately.
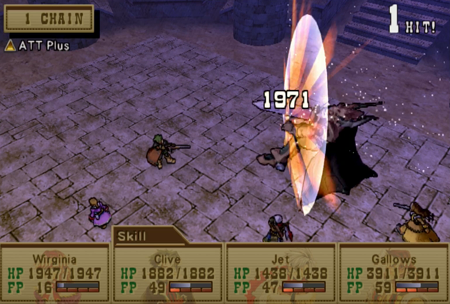
Now that we are all pumped up from Gunner’s Heaven battles, Justine is going to go down easy.
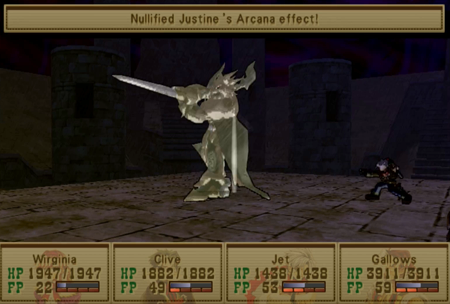
Keep his Hyper under control, and there isn’t much to “manage” in this fight. Bro can’t even heal!
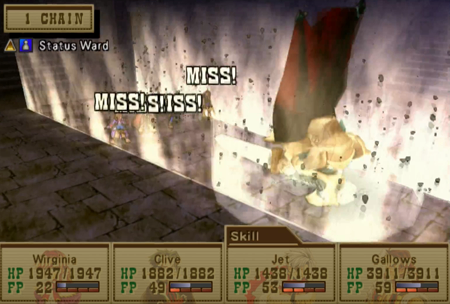
Justine’s summon is an instant death attack that may murder the whole party instantly. Fortunately, it has the same meager hit percentage in this battle as when you use it, so there isn’t much to worry about.
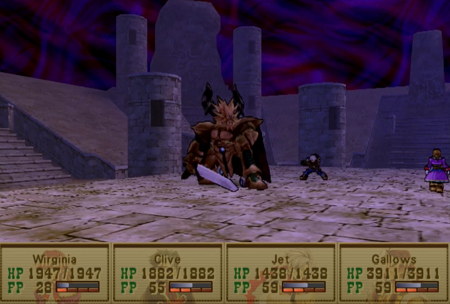
The Lion King needs a nap.
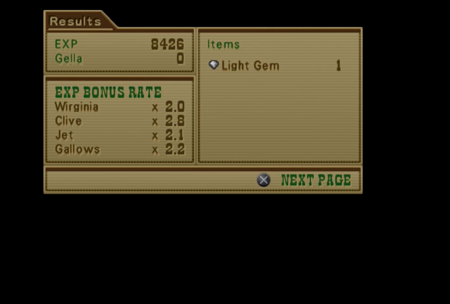
Guess I nietzsched the god with a magic spell. Pathetic.
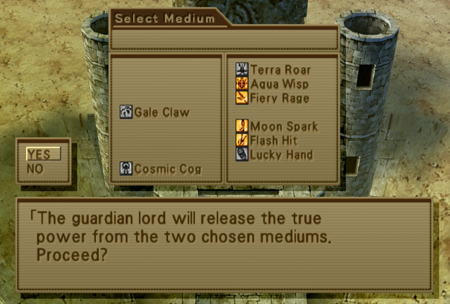
We have now conquered three out of four Guardian Lords, so nearly our entire stock of mediums is powered up. I am leaving Jet to languish with a pair of silver mediums, as he seems to contribute the least.
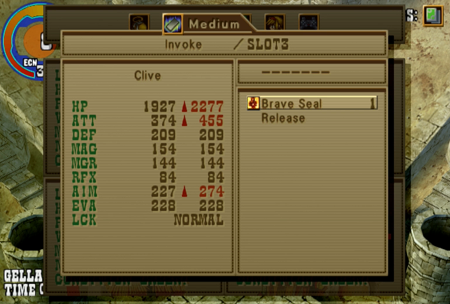
But as a consolation prize, Jet can watch Clive equip this new Guardian Lord medium. Extra HP, Attack, and Aiming will only enhance Clive’s impressive offensive capabilities.
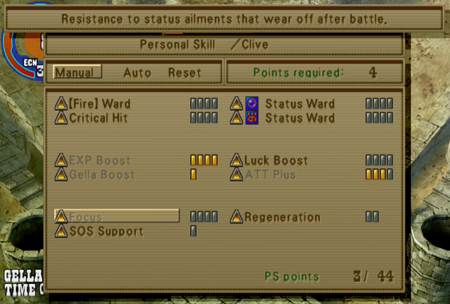
Focus is the counterpart to Raftina’s Inoculation: Inoculation protects against status effects that linger, Focus protects against status effects that only last through a single battle. Given that list includes paralysis, stone (bronze), and confusion, Focus may be the more useful ability. SOS Support activates all support arcana currently equipped when at critical HP… which is not all that useful if Virginia is the only one equipped with worthwhile support arcana. And Regeneration restores HP as your FP climbs. Considering damn near every action grants FP points, this can be very useful.
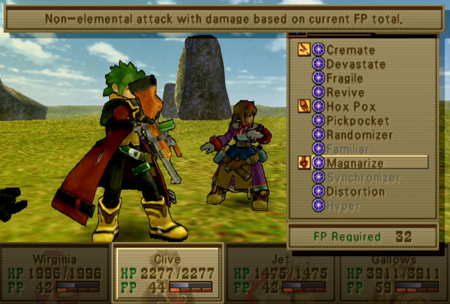
Synchronizer confers any status ailments impacting your character on an enemy. It… has never once worked effectively. Magnarize is a non-elemental attack that does more damage according to your current FP total. If you have a decent amount of FP for Magnarize to work, you are often better served using anything else.
The sweetest gem here is Hyper, which doubles your attack power. This does not stack with the other “attack up” spell in Wild Arms 3 (Valiant), but, for 48 FP, you can turn 3,000 damage into 6,000 damage. Clive’s extreme hits earlier in this update? All Hyper-enhanced. The only downside is that Hyper will wear off after like three turns. But we will have a solution to that problem soon enough…
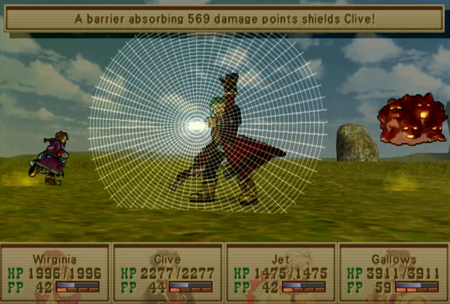
Distortion works vaguely like Pokémon’s substitute, as it creates a barrier equal to 25% of the user’s Max HP. This actually does work well with the previously mentioned SOS Support, so I’m sorry for insulting that skill a moment ago. Also noting that I appreciate that it gives you the shield HP when first cast.

And here is Justine’s summon attack. As previously stated, it is an instant death attack, and its accuracy is based on your current FP. If you summon Justine with 100 FP, it is practically guaranteed to wipe out an enemy party. But, if you have 100 FP anyway, the battle is probably already over. If you have less than 100 FP, it will miss every time. It’s not supposed to miss that often, of course, but that is also why I stay away from casinos. Pictured here is Justine missing the weakest monster in the world.
Regardless, it can help if you have spare MTC and are level 100 while trawling around the Abyss. Maybe that Dist Dims can come in handy!
Spheres are all separate orbs, so you need to find the right Guardian to summon to wipe them out as fast as possible.
They are light monsters that use light attacks, so utilize the dark-based Luceid to see some big, red numbers.
Even after all that, you may have to deal with a few stragglers. Remember that you can blow all of one character's FP on summoning a Guardian, but then you can juggle that same Guardian over to another fighter that still has all their FP...
Next up: a bug.
Death Mask is appropriately named….
As it uses an instant death attack that is a real hassle if you do not have Instant Death (Fallen) Ward equipped.
Death Mask will also use an ability that reduces your defense, which is a status problem that will carry forward to other battles. Try to dodge that.
When Death Mask takes a few too many hits, it will transform into this “UFO form” and start using a hit-all attack that is very dangerous. Don’t let that happen! Use Gatling or another powerful attack to kill this thing as quickly as possible.
Behold the Dantalion!
Another (difficult) puzzle fight: Dantalion will alternate every round between “shelter form” and “open form”. When sheltered (pictured), it has maximum physical defense. When open, it has maximum magic resistance. Its attack stats stay the same, and it can utilize confusion and paralysis when sheltered.
With the shifting defenses, you obviously are supposed to utilize your mages when sheltered, and then fire away with ARMs when opened. However, I was not having this today, so I just had Clive use Finest Arts. We’ll be talking about that move soon enough.
Let’s rock!
Ultimately, if you know what you are doing, a lot of this league can go by pretty quickly.
But this invisible jerk is one hell of a roadblock.
Doll Drone: the champion of the battle league that nobody felt like actually designing.
As you can guess from the invisibility, Doll Drone is (almost) completely immune to physical attacks.
In your favor: Doll Drone only has one attack, and it is another instant death attack. If you have Fallen Ward equipped, Doll Drone can’t touch you either.
Unfortunately, that is not going to help you finish up the coliseum before your turns run out.
The obvious answer here is to use magic… but this jerk has no weaknesses and a significant magic resistance stat.
And Wild Arms 3 has all of its strongest attacks (Gatling, Finest Arts) balanced on the physical side of things. Finest Arts, the most powerful attack in the game by an unfathomable margin, is completely useless.
Clive’s Lock On will actually work (as it has a perfect accuracy rating). Unfortunately, that only applies to Clive.
So I guess we have to exploit the Weakness ability. Virginia, give that armor a chink!
And now it is just a matter of hammering away at that vulnerability. Doll Drone has 20,000 HP to eat through, but it is doable.
Victory!
You may recall the humble Gimel Coin, a consumable item that can be used to save anywhere or continue after falling in a battle. The unique prize for this league is the Relic Coin, which is an “infinite” Gimel Coin. Unfortunately, by the time you are powerful enough to win the Relic Coin, you probably have 99 Gimel Coins you are never going to use anyway…
But you don’t complete the Master League for the prizes.
You do it for the next challenge.
There are no more leagues at Gunner’s Heaven, but if you talk to its owner, you will find something is amiss.
Dude has gotten kind of full of himself.
Fights beget fights.
“The fact that he is rich helps, though. And he has a lot of followers on something called Truth Social...”
??? says trans rights.
Okay! Psychic monster fight!
(Memories of Part 16)
So let’s talk about what we’re looking at here. This is clearly a color swap of King of Angolmois from earlier in the game. At the time, Malik claimed he was summoning a “creature from ages past”. At this point in the plot, we know that the Prophets had access to Hyades, and were experimenting with summoning the stored information on demons, only completely succeeding with the recreation of Siegfried at the finale of Chapter 2 (and, arguably, that only worked because of his leftover Dark Spear artifact). So, putting that all together, we can hypothesize that the King of Angolmois we fought back at Lunatic Garden was a hollow copy of the ancient demon , and this… uh…
Emperor Marduk is the “real” Angolmois. He has been alive as some sort of possessor demon since the old days, and his current form is possessing Mr. Moustache, only revealing his true form for a fight against a gang that has proven worthy. This tracks with previous appearances: he didn’t have much backstory in Wild Arms 2, but Angolmois in Wild Arms (1) was described as “a psychic force”. Additionally, that “Angol Moa” was found at the end of a battle coliseum, which is relevant to our current situation.
Whatever the case, Emperor Marduk uses a variation on Angolmois’s signature moon laser, and it does some significant damage.
Other than that, we are looking at general attacks.
And “big bad boss” stats. That light weakness is only there because I stuck it on him in the first turn.
The good news is that Emperor Marduk will use dark magic attacks, and, if you are protected against dark, it’s a free turn. For the record, many of the super bosses use dark attacks, so obtaining maximum Darkness Wards is an excellent strategy.
The bad news is that Emperor Marduk has a healing spell, and he is not afraid to use it. At a decent level, Clive should be able to chip off more than that heal in a single Comet Mark-boosted hit… but if you cannot outpace the healing, give up now.
Emperor Marduk has 240,000 HP. The mandatory second to last boss of the game has 028,000 HP (I would use the final boss as a comparison point, but it has multiple forms, so things get murky). Point is that Emperor Marduk is one of the longest fights in Wild Arms 3, and using anything that does as much damage as possible is fair game.
See? There’s a basic, ATT Plus-boosted attack from Clive at this level. Only have to do that 25 times! Assuming Emperor Marduk doesn’t randomly heal himself constantly!
Eventually, the battle ends. Honestly, so long as the healing isn’t a big deal, Marduk is just a time sink of an opponent, and not all that difficult. Always make sure Virginia has 25 HP to mystically heal the whole party after that dang moon attack, and you’re golden. You just have to have enough Mega Berries to outlast the big guy, or rely on Full Carrots to maximize Gatling/Finest Arts damage. Clearing the time limit of the arena is more difficult.
Our reward for this leg of the quest is the Dist Dims.
This is a magic wand that was a mage princess’s ultimate weapon in Wild Arms. Or the supreme weapon of a summoner boy in Wild Arms 2. Now it recovers summon MTC while walking. If you rely on summon attacks (because you’re a weirdo), it is very helpful for the excessively long Abyss dungeon.
Uh… thanks?
Yeah yeah, franchise recurring super boss. We get the idea.
And with that, Begucci is freed and now acts… exactly the same. Huh.
But we’re not done here yet! Checking in on Begucci after conquering the arena makes a certain amount of sense. Chatting with Ortega the random yokel that manages the fights after conquering Emperor Marduk is less apparent…
But if you do chat, he will note that he saw your extreme monster battle…
And he reveals that he is the old champ of the arena, and is itching for a fight.
… How strong is this dude?
Pretty damn strong, as it turns out.
Ortega is going by his old ring name, Bad News. Bad News is a recurring monster throughout Wild Arms, and this is the first time he is distinctly a human-human. Previously, he was kind of an edge case.
Bad News is bad…
…
I’m not going to say it. He’s powerful. Let’s go with that.
The prize here is obvious, but remember how I said Emperor Marduk had a ridiculous amount of HP at 240,000? Bad News is rocking 325,000 HP, with about 70% better stats in defense and magic defense. Did I say Bad News was human? No, he’s a monster.
Bad News does not have any attack-all abilities, though. While he is very likely to counter, your weaker party members are relatively safe with only a 25% chance of ever being smacked around. This makes general recovery a lot easier than in the previous fight.
Unfortunately, his wrestling-based attacks do hit hard, and he does have a (used less often than Emperor Marduk) healing ability that will make the battle last longer.
Look at that recovery! Bad News can also inflict confusion and amnesia, but if you know that going in, you can just ward up against it. Note that amnesia doesn’t make the fight any worse one way or another, but who would want to miss out on all that sweet experience?
So Finest Arts is an ability we will look at in greater detail when we finally earn it as part of the “real” playthrough, but just know that Finest Arts all but exists for these last few super bosses. Emperor Marduk, Bad News, and the final boss the upcoming Abyss all have absurd HP counts, and fighting them any other way seems like an unnecessary time sink.
Eventually, we win the final prize of Gunner’s Heaven, an Ex File Key (and a whole lotta money and experience).
Yahoo.
Like his boss, Ortega now goes back to his usual canned dialogue.
And that is it for Gunner’s Heaven. After you have completed everything in these last two updates, there is nothing more to this location, and you never have to return for any reason. About 70% of the content here is optional, and the only remaining “challenge” is potentially repeating the leagues for better “scores”… even though those records are not saved in any way, and prizes do not get better.
Now we’re back to the more linear playthrough. Everything you see now takes place immediately after completing the paltry beginner league at Gunner’s Heaven.
Yggdrasil canyon looks nice from the sky.
So the reward for the Beginner League at Gunner’s Heaven was the Item Scope. If we want a clue as to where to actually use this scope, we can swing by Humphrey’s Peak.
What an interesting little factoid.
Canceco draws a connection between finding the Guardian of Courage and general valiance that might lead an inquisitive player down the right path…
Or he outright tells you what you are supposed to be doing. Dude just cannot keep a secret.
So if you fly over to the nearby Gemstone Cave, you will plainly see that it does have another “secret” entrance (or exit).
However, you cannot land on its island with ship or dragon.
So back to the dungeon we completed ages ago…
Remember our good times with Maya here? Wonder what she’s up to right now.
This dungeon is pretty straightforward…
But you may notice that there must be some kind of secret area around the midpoint, as there is a treasure chest that is inaccessible.
This cracked wall is conspicuous, too.
Blammo.
Zelda rules! Now we can reach that treasure chest, and…
Another cracked wall that leads to…
Another exit!
So this area was always available, and you could even stop by while pursuing Maya back during your first visit. Unfortunately, if you get here early, all you will find is a cryptic sign.
But if you have the coliseum-won Item Scope, you will find… an item. See how that works?
Kitty!
Go back to the cave, walk your ass back to your dragon, fly across the world, and head back to the Fallen Sanctuary for this (eventually mandatory) prize.
Time to fight Fantasy Justin.
Presumably owing to being the one to preside over Justice, Justine is often portrayed as the most battle-ready Guardian in the franchise.“The visions in your minds are bound together. A stalwart hand pulls you from the depths of doubt. Its presence is like a powerful sword. The power of courage beckons you to battle. The bearer of the Ark Scepter's light must have the strength to fight that which has no form. Fight, and show your strength to Justine!”
One of the few Guardians to bring a (useful) weapon.
In Wild Arms 2, this guy was basically Voltron. I liked Wild Arms 2.
Justine knows Hyper. Hyper will double the attack of its target, so please dispel that immediately.
Now that we are all pumped up from Gunner’s Heaven battles, Justine is going to go down easy.
Keep his Hyper under control, and there isn’t much to “manage” in this fight. Bro can’t even heal!
Justine’s summon is an instant death attack that may murder the whole party instantly. Fortunately, it has the same meager hit percentage in this battle as when you use it, so there isn’t much to worry about.
The Lion King needs a nap.
Guess I nietzsched the god with a magic spell. Pathetic.
We have now conquered three out of four Guardian Lords, so nearly our entire stock of mediums is powered up. I am leaving Jet to languish with a pair of silver mediums, as he seems to contribute the least.
But as a consolation prize, Jet can watch Clive equip this new Guardian Lord medium. Extra HP, Attack, and Aiming will only enhance Clive’s impressive offensive capabilities.
Focus is the counterpart to Raftina’s Inoculation: Inoculation protects against status effects that linger, Focus protects against status effects that only last through a single battle. Given that list includes paralysis, stone (bronze), and confusion, Focus may be the more useful ability. SOS Support activates all support arcana currently equipped when at critical HP… which is not all that useful if Virginia is the only one equipped with worthwhile support arcana. And Regeneration restores HP as your FP climbs. Considering damn near every action grants FP points, this can be very useful.
Synchronizer confers any status ailments impacting your character on an enemy. It… has never once worked effectively. Magnarize is a non-elemental attack that does more damage according to your current FP total. If you have a decent amount of FP for Magnarize to work, you are often better served using anything else.
The sweetest gem here is Hyper, which doubles your attack power. This does not stack with the other “attack up” spell in Wild Arms 3 (Valiant), but, for 48 FP, you can turn 3,000 damage into 6,000 damage. Clive’s extreme hits earlier in this update? All Hyper-enhanced. The only downside is that Hyper will wear off after like three turns. But we will have a solution to that problem soon enough…
Distortion works vaguely like Pokémon’s substitute, as it creates a barrier equal to 25% of the user’s Max HP. This actually does work well with the previously mentioned SOS Support, so I’m sorry for insulting that skill a moment ago. Also noting that I appreciate that it gives you the shield HP when first cast.
And here is Justine’s summon attack. As previously stated, it is an instant death attack, and its accuracy is based on your current FP. If you summon Justine with 100 FP, it is practically guaranteed to wipe out an enemy party. But, if you have 100 FP anyway, the battle is probably already over. If you have less than 100 FP, it will miss every time. It’s not supposed to miss that often, of course, but that is also why I stay away from casinos. Pictured here is Justine missing the weakest monster in the world.
Regardless, it can help if you have spare MTC and are level 100 while trawling around the Abyss. Maybe that Dist Dims can come in handy!
And that’s that for all that battlin’. Let’s take a well-deserved rest back at Baskar Colony. I wonder what tomorrow brings!
Next time on Wild Arms: Pain (Live!).
I do love it when a game makes an otherwise unassuming putz one of the toughest battles. Dude didn't even take his apron off.
I do love it when a game makes an otherwise unassuming putz one of the toughest battles.
There's a whole trope for that, which happens to be one of my favorites.
Is the arena turn limit still in effect for Bad News?
Nope! But the fact that Emperor Marduk and Bad News both have ridiculous self-healing techniques seems to uphold the arena turn limit concept of "always be attacking". If you cannot outpace their healing with offense, you will never succeed against the Gunner's Heaven's bosses.
Dude didn't even take his apron off.
Man is a professional. Who wants to get Jet's blood all over their work clothes?
Doll Drone: the champion of the battle league that nobody felt like actually designing.
And if anyone can identify the silhouette/model used for Doll Drone, they get a prize. I assume this is a reused model, but I do not immediately recognize it from anywhere...
We have a lot to cover, so we're going to get right to it today, February 28, Smile Day. My great grandpa used to say, 'Chapapangas come in by a merry gate.' So I've kept a smile on my face all day long today, but everyone looks at me as if I've gone nuts! How rude of them!
Chapter 47: In Blackest Night
or, the less eloquent title
This F#%&ing S%*#hole
Previously on Wild Arms 3: We conquered Gunner’s Heaven, and earned (in a roundabout way) the third Guardian Lord. Just one more to go!
The last Guardian Lord is Zephyr who presides over Hope. We don’t have much of a lead on his whereabouts, but if we chat with our old buddy Pike…

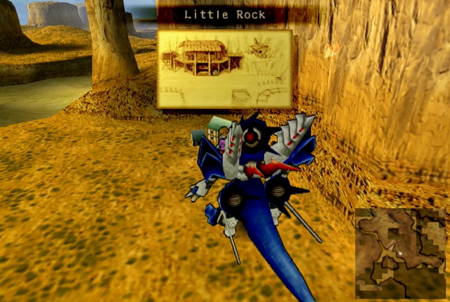
It could just be a coincidence, but we haven’t stopped by Little Rock in a while, so let’s see if they have any further information about keyword “Hope”.
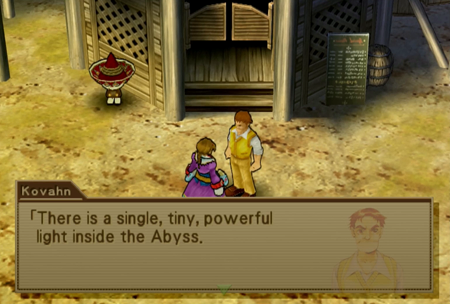
The talk of the town is a nearby(ish) dungeon by the name of the Abyss, and how it hides “hope”. That certainly sounds relevant!
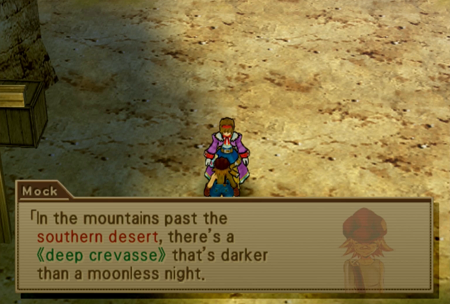
Thanks
But in the future…
Well, you can watch for yourself.
This was recorded “live” on January 31, 2023. It is the new game plus party at the absolute end of the game venturing through the Abyss. This video features most of my usual streaming crew (involving TT folks like @Jeanie, @fanboymaster , and @CaliScrub , with @BEAT unfortunately on vacation) joining me for the incredible time sink that is the Abyss.
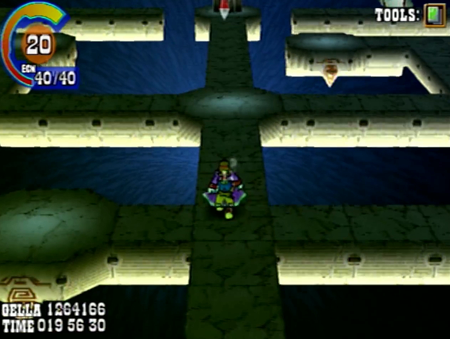
You don’t have to watch. I will summarize what happens for the purpose of this Let’s Play, but be aware there is a reason the video clocks in at three hours and four minutes long.
So the first part of this update was simply the first ten floors of the Abyss. The Abyss is, in total, one hundred floors.

As
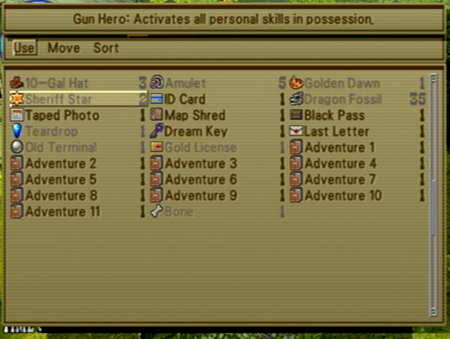
For anyone anxious to follow in my footsteps, here is what we learned:
· Ration your battles: start with all the Migrant Seals and Booster Kits you can find. Migrant Level 20, 40 ECN.
· Avoid surprise encounters: start with 3 Weather Vanes/4 Eagle Eye abilities
· Be careful of treasure: Maximize your luck, stock some small flowers (for increasing luck), and equip Robber’s Ego to avoid trapped chests.
· Money doesn’t matter: Upgrade your ARMs to maximum, and stock as many purchasable consumables that heal status ailments as possible. There is no use for money in the Abyss, and there is nothing outside of the Abyss that is more difficult.
· Watch your Garden Grow: Bring as many Mega Berries and Full Carrots as possible. Healing items are generally useful throughout the dungeon, and Full Carrots are all but required for the final fight.
· Block out 3-4 hours: I knew what I was doing with a party already at level 100, and it still took me three hours. There is no saving allowed anywhere in the Abyss. Be aware!
· You will need: Ward against as many status attacks as possible for the trip. You need fire rings/fire wards, dark rings/dark wards, Finest Arts, and Attack Plus. Generally try to find a few extra elemental wards, too. You may find all of these items (excluding Comet Star/Attack Plus) in the Abyss, but I wouldn’t count on it.
· Time is a Choice: “Farming” drops on the lower levels may eventually make Ragu easier, but do you want to waste time on potential prizes, or just suffering a longer final fight? After Ragu is down, none of those “useful” skills are required for future battles anyway…
· Just have fun with it: You have a life worth living, and there are people that care about you. Maybe don’t bother with an incredibly boring, abusively lengthy dungeon.
And those are my expert tips for the Abyss! I apparently complete this challenge once every 20 years or so, and… maybe that is too often.

Okay, never revisiting the Abyss ever again. Let's go cash in our statue.
Next time on Wild Arms: Collecting dragons like Pokémon cards.
Chapter 47: In Blackest Night
or, the less eloquent title
This F#%&ing S%*#hole
Previously on Wild Arms 3: We conquered Gunner’s Heaven, and earned (in a roundabout way) the third Guardian Lord. Just one more to go!
The last Guardian Lord is Zephyr who presides over Hope. We don’t have much of a lead on his whereabouts, but if we chat with our old buddy Pike…
“'A ray of hope will lead you through the darkness.' Have you heard that before? People in my hometown used to say that all the time. It's like when you're feeling down, you think it'll stay that way forever, but tomorrow is always a new day.”
It could just be a coincidence, but we haven’t stopped by Little Rock in a while, so let’s see if they have any further information about keyword “Hope”.
The talk of the town is a nearby(ish) dungeon by the name of the Abyss, and how it hides “hope”. That certainly sounds relevant!
Thanks
for the directions!
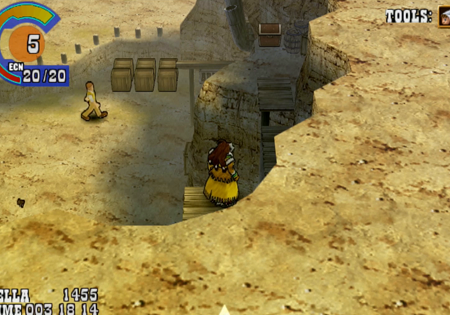
(Remember a few hours ago? Way back when we had just murdered the Huskarls?)
While we are here, you may remember that there was a treasure chest hiding over in the upper mountainous area of town.
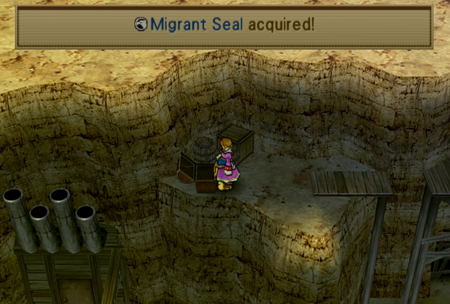
With Virginia’s Gale Crest (obtained back at Nidhogg Pass before the finale of Chapter 2) we can earn another Migrant Seal. Good! We’re going to need all the help we can get soon enough…
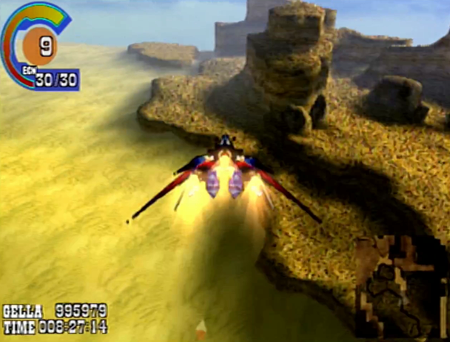
While you might be able to sorta-kinda find a way to walk/sandcraft over to the Abyss, you cannot access this dungeon until you have your dragon. Why?
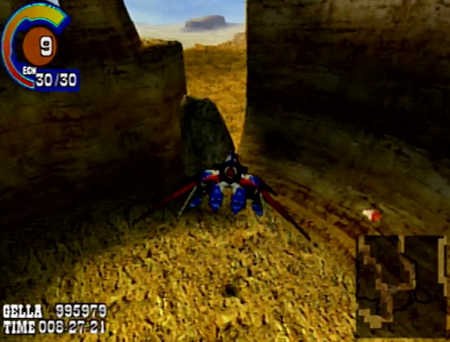
Well, a not-so-little rock is blocking the way to the Abyss. And what do we say to obstructing rocks?
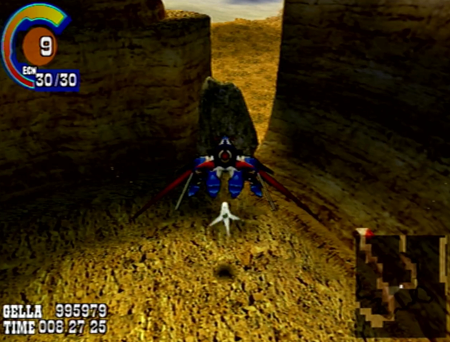
My airship has missiles, Rocky.
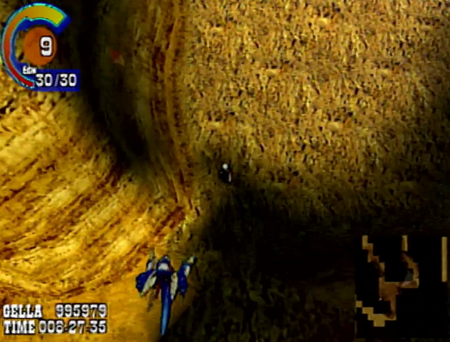
Blammo. Now we can access this stony area.
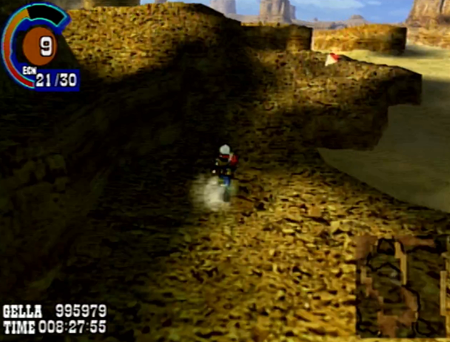
Ah, the time-honored tradition of making an area inaccessible without an airship, but then requiring your poor party to hoof it to make it any further. Final Fantasy 1 would be proud.
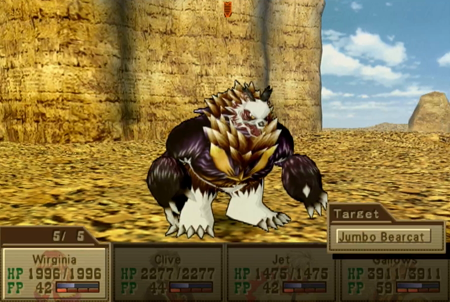
The local fauna is…. Spikey.
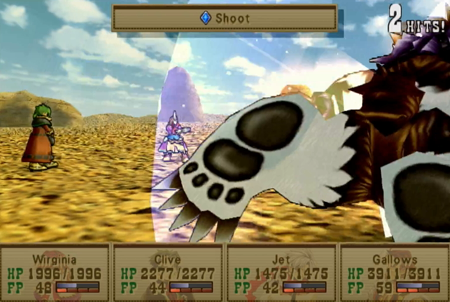
Look at those toe beans.
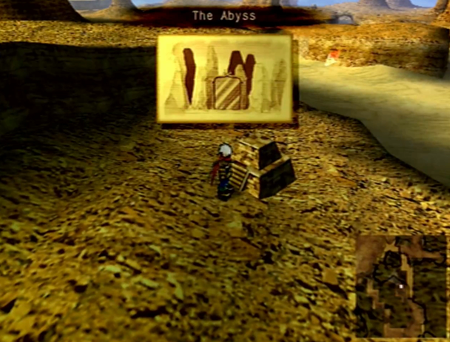
Gone in a second
Ultimate destruction
Gods are warring
Sorrow never ending
Endless chaos
For an eternity
Welcome to the abyss
-Robert Frost
(Probably)
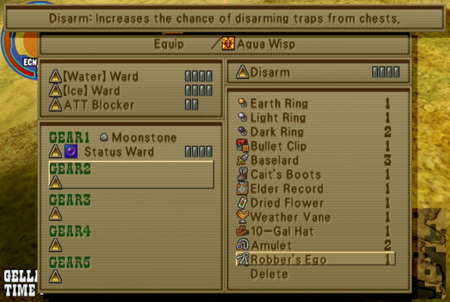
Before we go in here: we earned the Robber’s Ego way back during the Faraway Lands dungeon (remember? Where the golem tried to kill us, but dad helped out?). It aids the user in disarming trapped chests. While it does not have 100% accuracy, it is highly recommended for the many, many trapped chests you will find here.
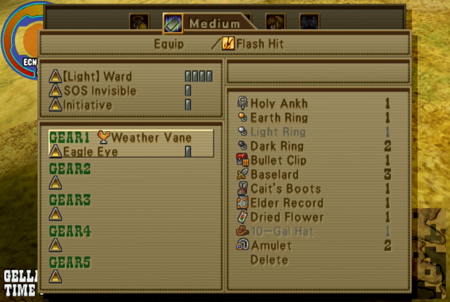
Additionally, we have one Guardian that comes pre-equipped with Eagle Eye, and we secured an additional Weather Vane (which confers the Eagle Eye ability) during our night in the museum with Shane. There are two more Weather Vanes in the game, and they are available as part of the Millennium Puzzle sidequest. We won’t be tackling that sidequest until next update, but it is highly recommended that everyone have those Weather Vanes/Eagle Eye when entering the Abyss. Eagle Eye protects against surprise/solo encounters, and… well, spoilers, we are going to see the importance of that soon enough.
For right now, until otherwise stated, my party only has two Eagle Eyes equipped.
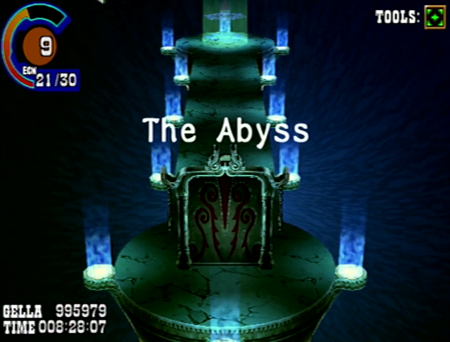
Welcome to Flavor Country.
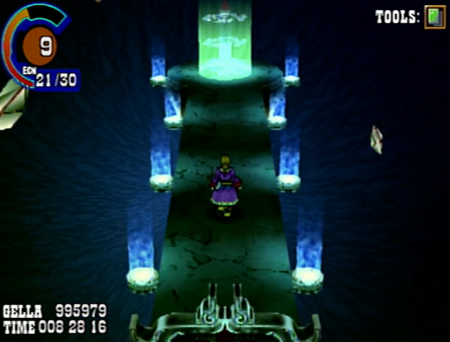
The first floor of the Abyss is an exit and a magic mirror. If you are smart, you will only ever use the exit.
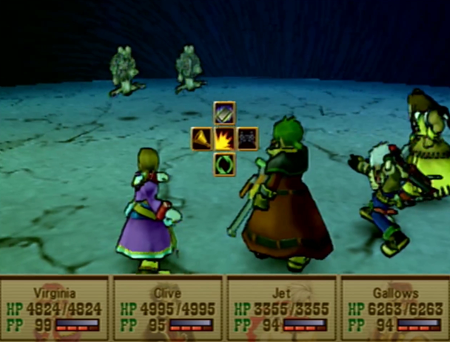
You can and will be attacked before the Abyss formally starts.
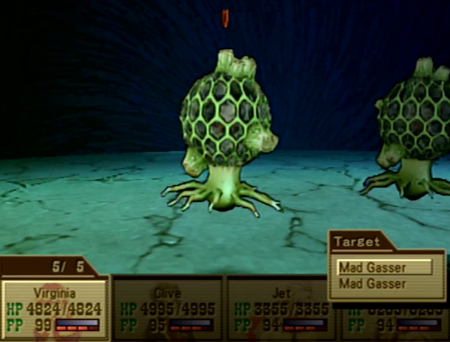
If you guessed “it uses poison attacks”, you guessed right.
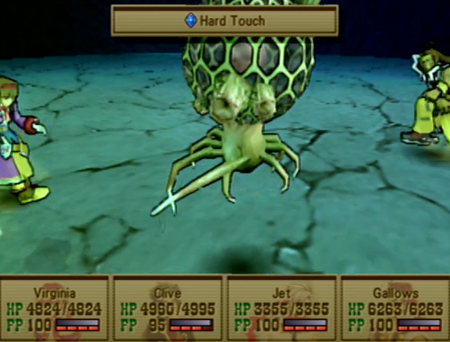
Crap. Stone/Bronze? Damn. Just hitting right out of the gate with all sorts of status effects.
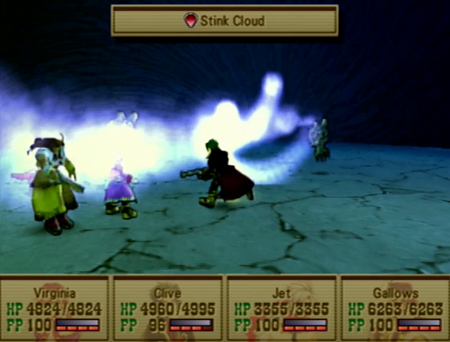
I guess Disease is also on the docket.
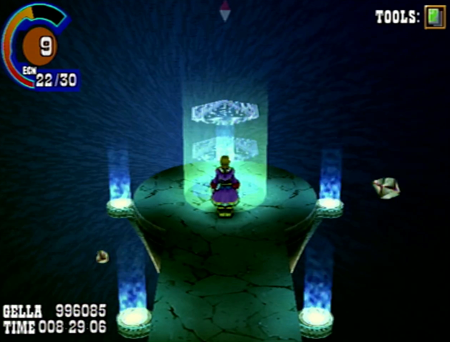
Point is that we haven’t even really started yet, and we already needed like three different status effect healing items. Be sure to stock up on those beforehand, too.
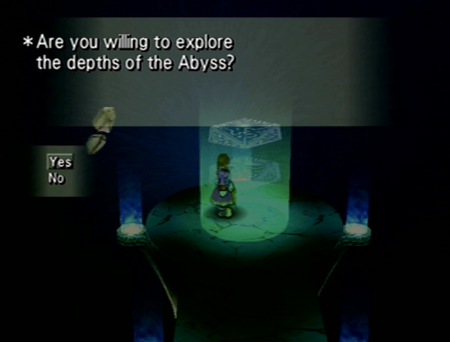
Okay! Now we are starting the Abyss in earnest! Once you begin this dungeon, you are stuck here until you get to an “escape” floor, or die.
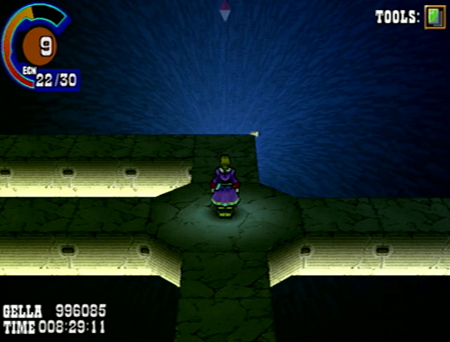
Get used to seeing this.
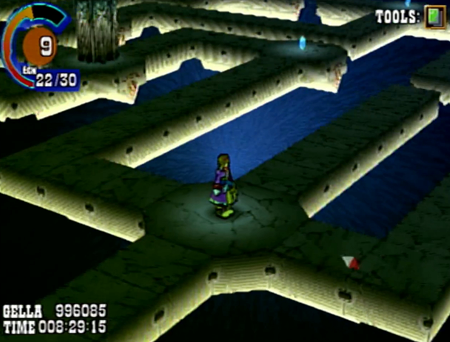
The Abyss is a randomly generated dungeon. It’s you, five crystals per floor, an elevator that only opens when you collect all the crystals, and a whole lotta pathways that need guardrails.
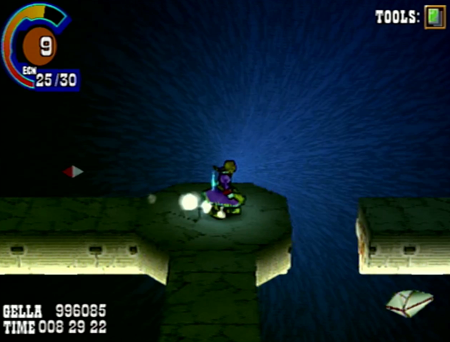
Each of the blue crystals are keys that unlock access to the next floor, and they restore a little bit of VIT and your ECN gauge. Essentially, they work like orange and white gems combined.
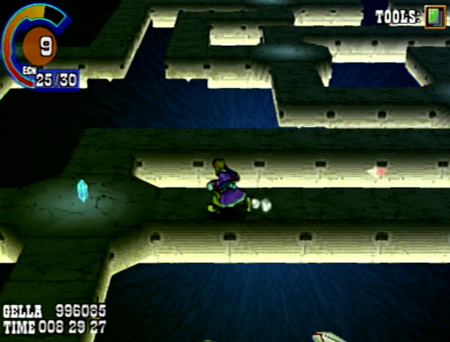
You must collect all the crystals, and they are randomly generated across the floor. Sometimes they are a short walk away, sometimes they require traipsing back and forth to a dead end.
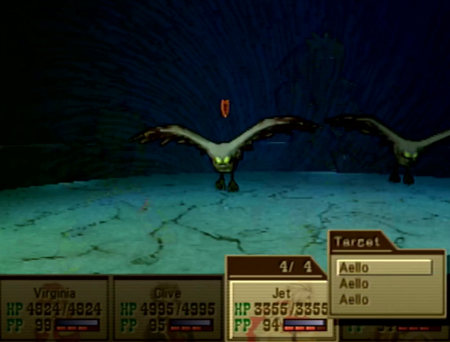
And, of course, there are monsters. There are monsters upon monsters.
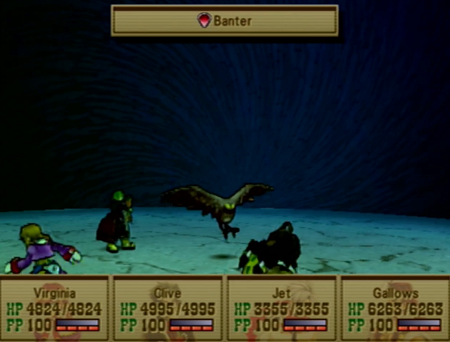
Like all crummy bird monsters in this game, these Aello will either do practically nothing…
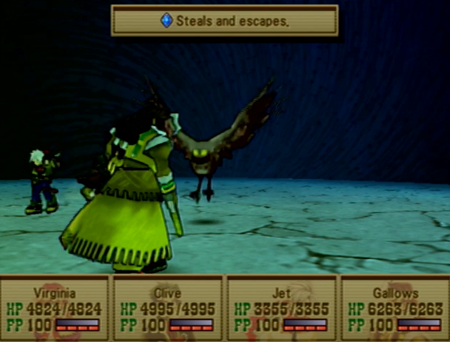
Or steal your most useful items. Note that unlike previous bird monsters, they can use “Steals and escapes” which does exactly what you expect from that name. No reclaiming a valuable lost item for you!
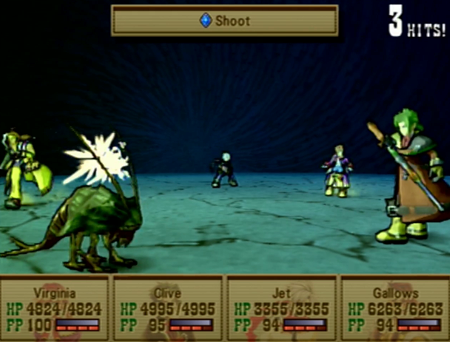
Other monsters on these floors include ugly looking bugs.
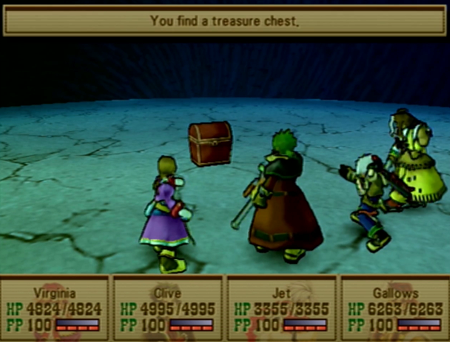
As mentioned earlier…
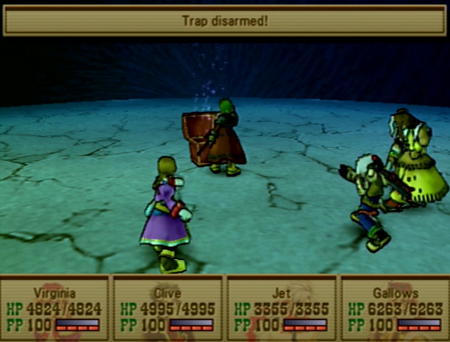
You really, really want to disarm traps. In a regular dungeon, losing half your VIT to a bad chest is annoying. In the Abyss, it could knock you down to limping as early as the second floor (of at least ten).

The good news about the Abyss is that even the early monsters here drop some useful items. This is a double-edged sword, as knowing that there are useful items encourages you to open potentially deadly trapped treasure chests. Your choice!

This is floor… eh, whatever. Every floor in this place looks the same. Let’s say it’s three.

That’s what happens when you obtain all the gems on a floor. I will admit that it feels good every time.
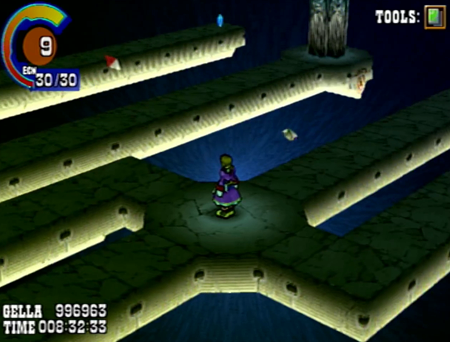
Look at that! That’s going to take a lot of walking.
The only tool of any use in the whole Abyss is Virginia’s Gale Crest. While it will often send you sailing off into nowhere, sometimes you can use its single-minded dashing to make a beeline for your next destination. Note collecting a single gem will not stop Virginia’s barreling gale-dash, but if you collect the last gem of the floor, it will pause Virginia’s movement.
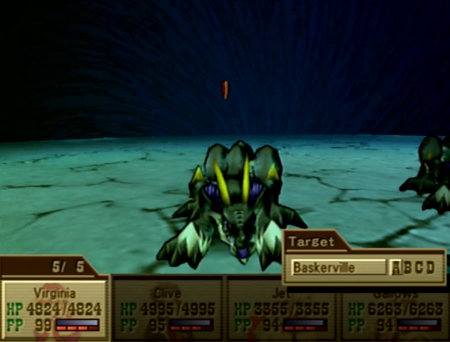
The hounds! The hounds!
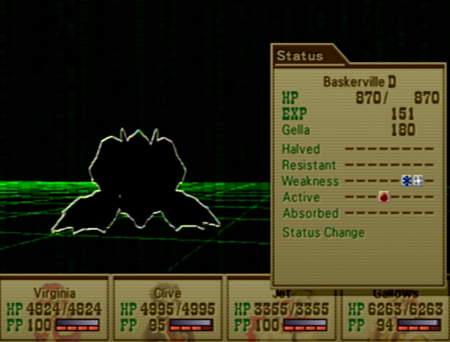
Either open a FAQ or use some pen and paper: it pays to remember what monsters have what weaknesses across the Abyss.
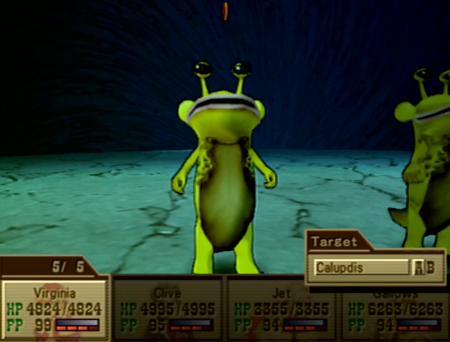
Oh! These boys!
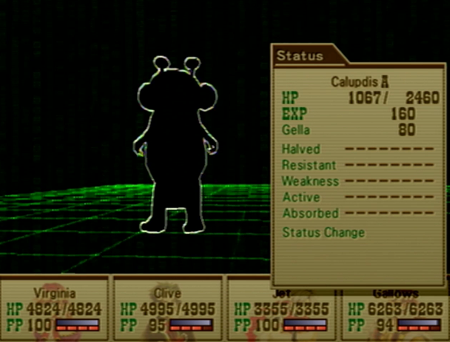
So these things look pretty innocuous, but their trick is…
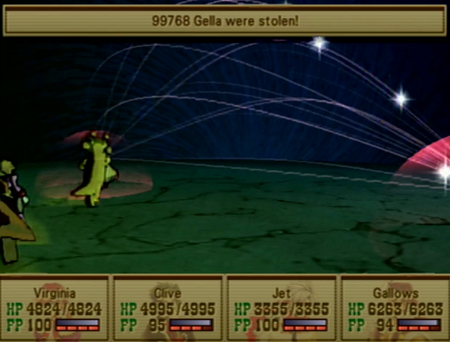
They will eat a tenth of your cash on one turn…
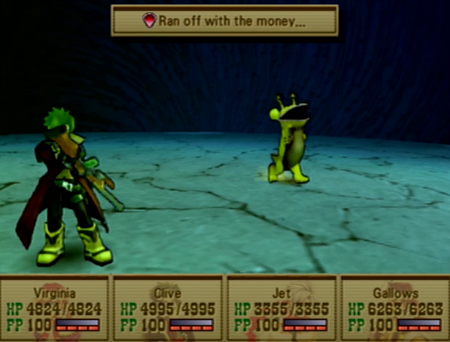
And then attempt to run off with it the next turn. You must kill them quickly to retain your savings.

However, since you technically “win back” your gella on the results screen, you can farm these suckers to rapidly expand your coffers, as you can use a Gella Card to double their reward, and thus win “back” more of your gella than you had in the first place. This obviously increases rewards exponentially, and is thus the fastest way to fatten your wallet in Wild Arms 3.
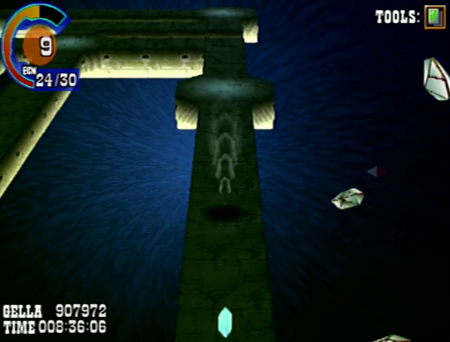
But we’re not worried about money right now. Ain’t nuttin’ you can buy in the Abyss.
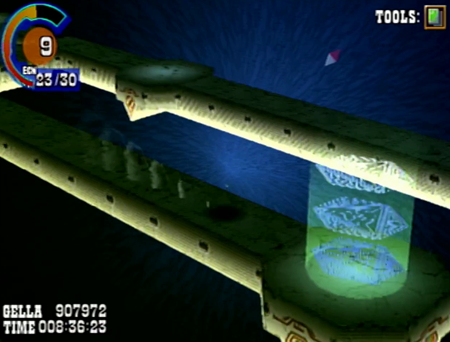
Moving right along. I enjoy using Virginia’s Gale Crest to move as quickly as possible.
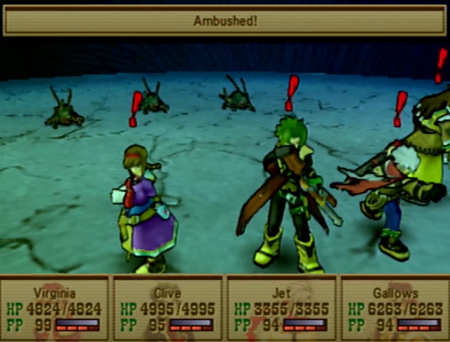
This is why you need Weather Vanes/Eagle Eye. Being “surprised” is checked against each of your party members, so if the game randomly chooses one of your party members without Eagle Eye for the check, you can be ambushed. Like the trapped treasure chests, this is annoying in a regular dungeon, but can be brutal in the Abyss.
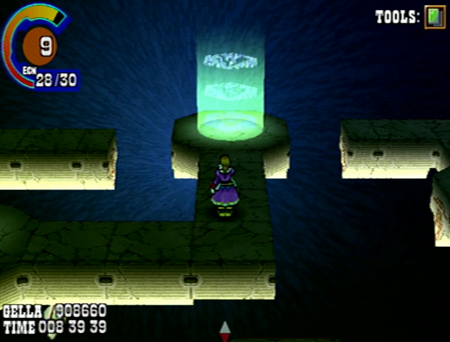
What floor are we on? Probably, like, five.
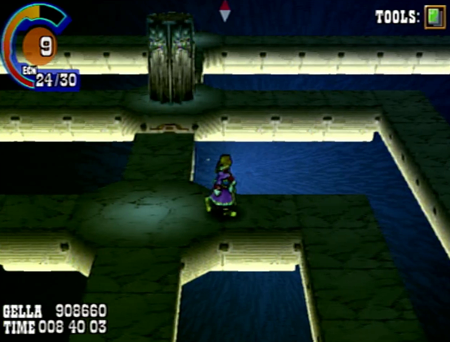
Look at that tiny, annoying gap! Have to go all the way around…
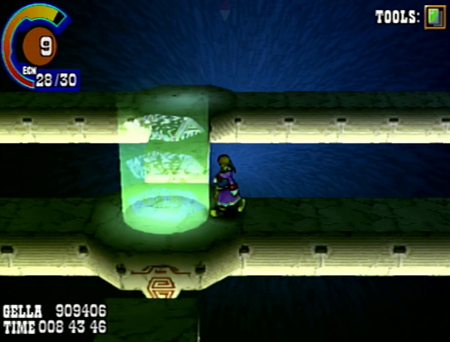
As you have likely surmised by this point, the challenge of the Abyss is budgeting your items, VIT, and encounter gauge against… ya know… dying. The more battles you encounter, the less resources you have, and the gems only restore a meager amount of VIT/ECN. There are absolutely zero fill-ups for items like Heal Berries or status restoring items, and you have to rely on the completely random drops for any help there.
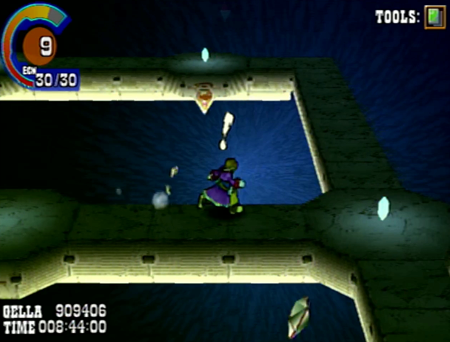
As an obvious corollary to that, coming in here with as many Migrant Seals as possible is recommended. At a meager Level 9, we must entertain a number of battles that would otherwise never impact the encounter gauge.
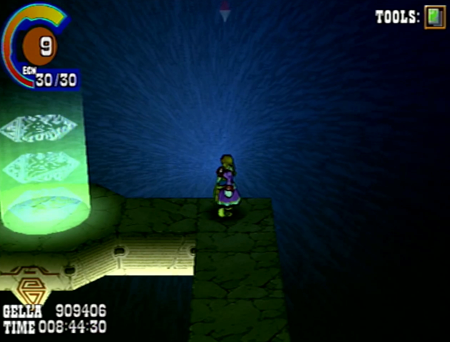
Are we there yet?
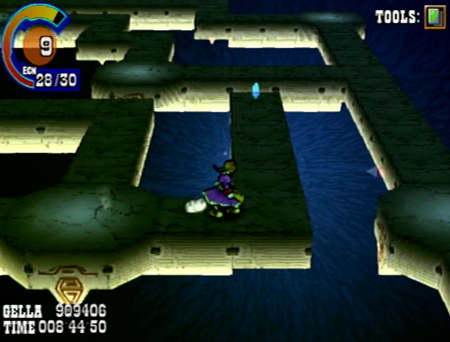
Note that falling off the platforms only means you have to restart that floor from the entry point, and the gems do not respawn, so you do not lose any real progress. Sometimes when a gem is in the middle of nowhere, falling off is your best option.

Nature produces the most wondrous creatures.
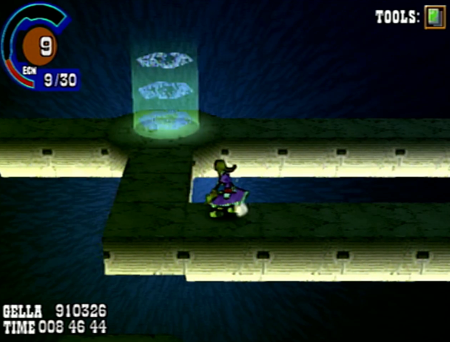
And the most punishing abysses.
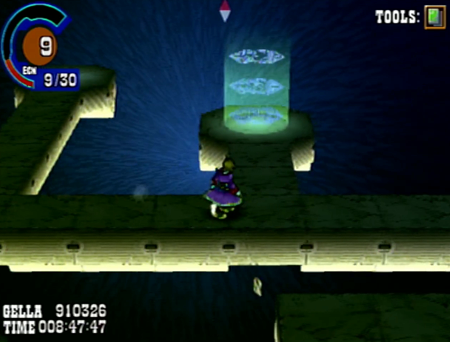
… Is this even another floor? I don’t know anymore.

Oh, here was a fun time.
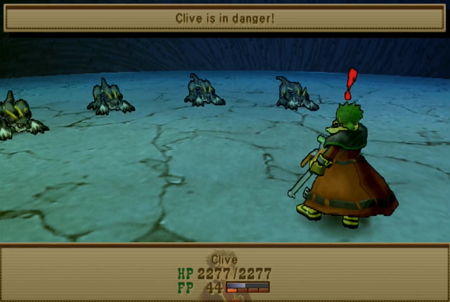
Clive got solo-ambushed in the "real" level playthrough.
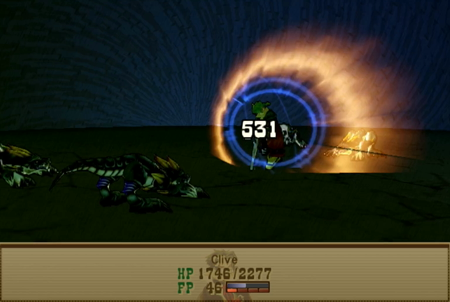
I am moderately certain the only way Clive could have survived this is if he guarded every round until help arrived. Though I am not convinced his magic resistance would have held out for even that…
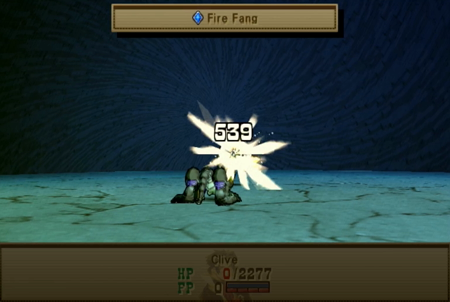
Clive dies alone in a pit.
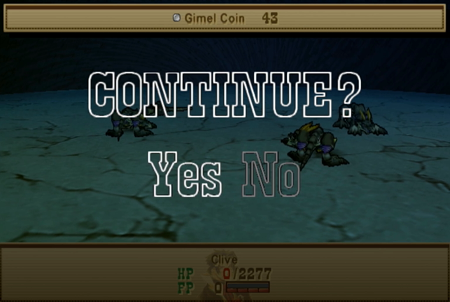
Yes, dying as a lone combatant counts as a game over, even though the rest of the party is alive and well… and probably like five feet to the left. However, as long as you have Gimel Coins, you can continue from any party wipe. This is my “normal” playthrough, and I already have 43 unused Gimel Coins ready to go for this eventuality. Very glad I do!
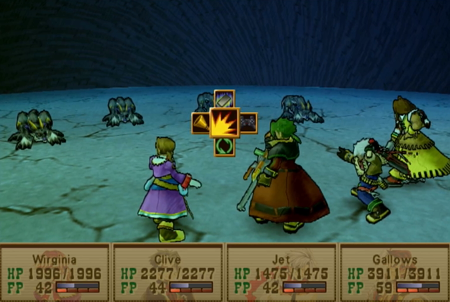
Apparently continuing grants us the full party from the beginning, so this mob is back to being instantly surmountable.
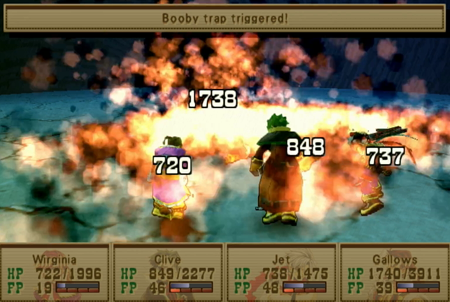
And then we got a booby trap on the treasure chest. Cursed battle. Absolutely cursed.

But it was worth it! Those stupid dogs dropped a Fire Ring, and we need all of those we can get for… later events.
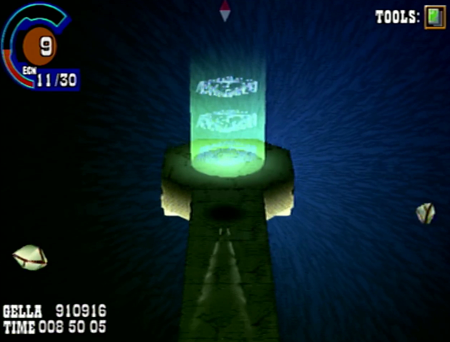
Anywho, hoping that Game Over reinforces how badly you need maximum Weather Vanes for this dungeon. Clive died to the easy monsters of the Abyss! Imagine what happens when there are boss-caliber creatures stomping around!
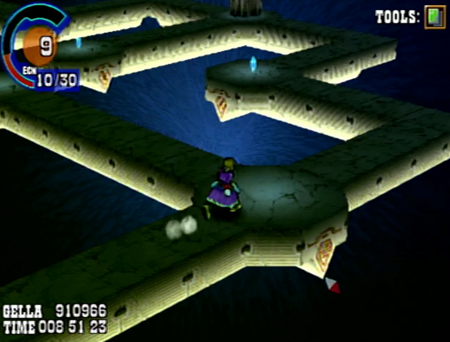
And that is a good illustration of the Abyss in a nutshell. Since you are locked into an “Abyss run” once you start, there is a recurring risk/reward danger going on here. You can farm gella lizards or fire doggies for their rewards, but with an inability to casually escape at any time, you could lose it all if you get too greedy.
… Well, if you get too greedy, and forget to bring a cache of Gimel Coins, at least.
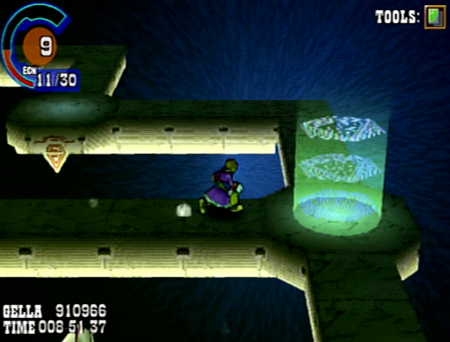
And now we are evidently on floor ten, because we hit the elevator, and…

Battle!
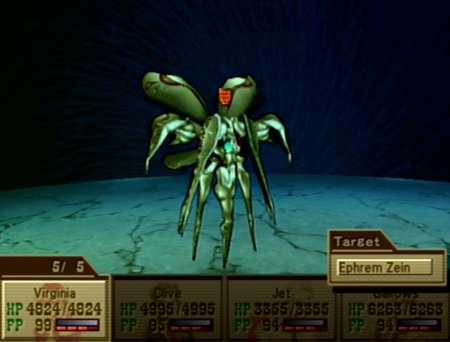
Ephrem Zein is… some kind of metal bug thing? I don’t know.

Ephrem Zein is your bane if you have been coasting through the Abyss on auto battle.
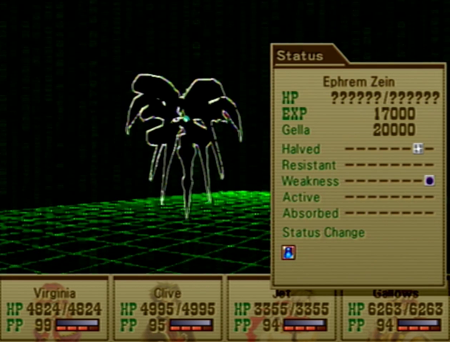
It is weak to dark, but absolutely do not cast dark magic on it, as that “status change” at the bottom shows this thing has a permanent reflect status going.
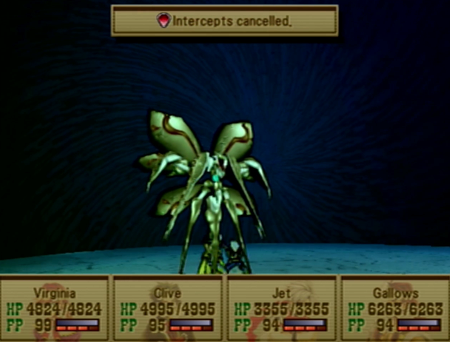
So Zein has one trick: it will counter damn near everything. Spells get reflected, physical attacks incur a punishing counter.

However, the trick is that it technically has two turns: one where it puts up the counters, and one where it drops the counter ability. And Clive is so damn slow, he always acts after the counters come down. So the answer to this riddle is to only use Clive to attack.
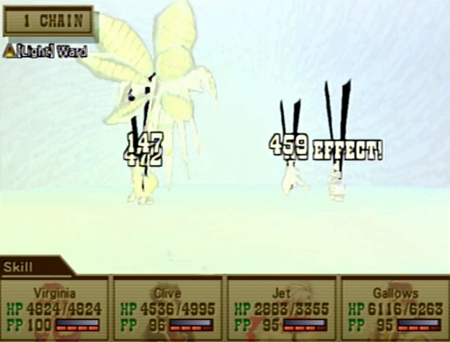
Here is what happens if someone other than Clive attacks. It’s a hit-all light attack that can be a bear if you are already exhausted from the rest of the Abyss.
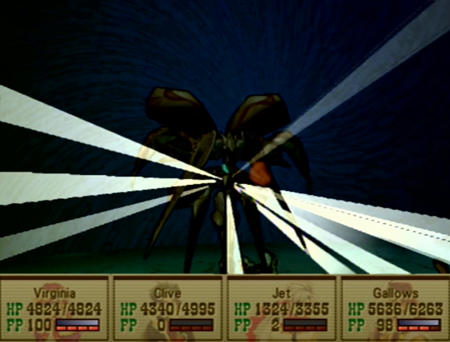
So if you unload on your first round with everybody, you will probably wind up dead. If you know what to do, it is over pretty quickly.

Our reward is the Dragon Idol. This is why the Abyss’s first ten floors are mandatory: this is the only way to find the Dragon Idol, and thus obtain the final Guardian, Zephyr.
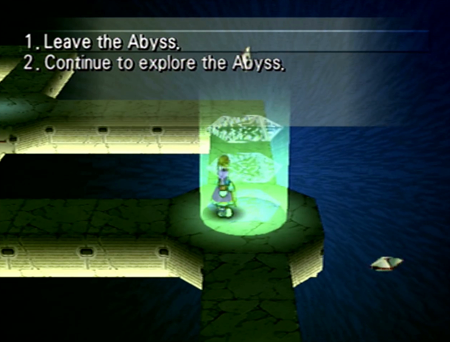
Now, it is highly recommended you leave the Abyss. Thanks to Zephyr being (eventually) plot mandated, and the simple fact that a number of useful items/Migrant Seals are also plot gated, it is a terrible idea to tackle the entirety of the Abyss on your first go. The Dragon Idol creates some sort of game-constipation here, and, if you choose not to go back to the Fallen Sanctuary and “cash in” your reward for completing ten floors of the Abyss, you are putting yourself at a serious disadvantage for the remainder of the Abyss. This even applies to a new game plus.
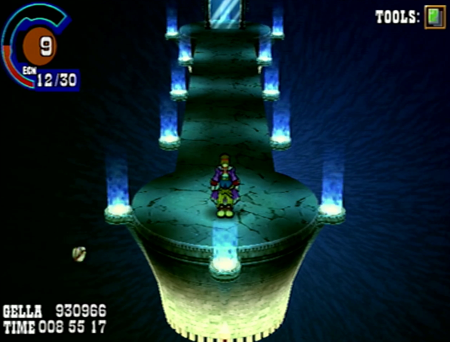
In the “present” of this playthrough, we are leaving, and our “normal” journey will pick up again next update.
(Remember a few hours ago? Way back when we had just murdered the Huskarls?)
While we are here, you may remember that there was a treasure chest hiding over in the upper mountainous area of town.
With Virginia’s Gale Crest (obtained back at Nidhogg Pass before the finale of Chapter 2) we can earn another Migrant Seal. Good! We’re going to need all the help we can get soon enough…
While you might be able to sorta-kinda find a way to walk/sandcraft over to the Abyss, you cannot access this dungeon until you have your dragon. Why?
Well, a not-so-little rock is blocking the way to the Abyss. And what do we say to obstructing rocks?
My airship has missiles, Rocky.
Blammo. Now we can access this stony area.
Ah, the time-honored tradition of making an area inaccessible without an airship, but then requiring your poor party to hoof it to make it any further. Final Fantasy 1 would be proud.
The local fauna is…. Spikey.
Look at those toe beans.
Gone in a second
Ultimate destruction
Gods are warring
Sorrow never ending
Endless chaos
For an eternity
Welcome to the abyss
-Robert Frost
(Probably)
Before we go in here: we earned the Robber’s Ego way back during the Faraway Lands dungeon (remember? Where the golem tried to kill us, but dad helped out?). It aids the user in disarming trapped chests. While it does not have 100% accuracy, it is highly recommended for the many, many trapped chests you will find here.
Additionally, we have one Guardian that comes pre-equipped with Eagle Eye, and we secured an additional Weather Vane (which confers the Eagle Eye ability) during our night in the museum with Shane. There are two more Weather Vanes in the game, and they are available as part of the Millennium Puzzle sidequest. We won’t be tackling that sidequest until next update, but it is highly recommended that everyone have those Weather Vanes/Eagle Eye when entering the Abyss. Eagle Eye protects against surprise/solo encounters, and… well, spoilers, we are going to see the importance of that soon enough.
For right now, until otherwise stated, my party only has two Eagle Eyes equipped.
Welcome to Flavor Country.
The first floor of the Abyss is an exit and a magic mirror. If you are smart, you will only ever use the exit.
You can and will be attacked before the Abyss formally starts.
If you guessed “it uses poison attacks”, you guessed right.
Crap. Stone/Bronze? Damn. Just hitting right out of the gate with all sorts of status effects.
I guess Disease is also on the docket.
Point is that we haven’t even really started yet, and we already needed like three different status effect healing items. Be sure to stock up on those beforehand, too.
Okay! Now we are starting the Abyss in earnest! Once you begin this dungeon, you are stuck here until you get to an “escape” floor, or die.
Get used to seeing this.
The Abyss is a randomly generated dungeon. It’s you, five crystals per floor, an elevator that only opens when you collect all the crystals, and a whole lotta pathways that need guardrails.
Each of the blue crystals are keys that unlock access to the next floor, and they restore a little bit of VIT and your ECN gauge. Essentially, they work like orange and white gems combined.
You must collect all the crystals, and they are randomly generated across the floor. Sometimes they are a short walk away, sometimes they require traipsing back and forth to a dead end.
And, of course, there are monsters. There are monsters upon monsters.
Like all crummy bird monsters in this game, these Aello will either do practically nothing…
Or steal your most useful items. Note that unlike previous bird monsters, they can use “Steals and escapes” which does exactly what you expect from that name. No reclaiming a valuable lost item for you!
Other monsters on these floors include ugly looking bugs.
As mentioned earlier…
You really, really want to disarm traps. In a regular dungeon, losing half your VIT to a bad chest is annoying. In the Abyss, it could knock you down to limping as early as the second floor (of at least ten).
The good news about the Abyss is that even the early monsters here drop some useful items. This is a double-edged sword, as knowing that there are useful items encourages you to open potentially deadly trapped treasure chests. Your choice!
This is floor… eh, whatever. Every floor in this place looks the same. Let’s say it’s three.
That’s what happens when you obtain all the gems on a floor. I will admit that it feels good every time.
Look at that! That’s going to take a lot of walking.
The only tool of any use in the whole Abyss is Virginia’s Gale Crest. While it will often send you sailing off into nowhere, sometimes you can use its single-minded dashing to make a beeline for your next destination. Note collecting a single gem will not stop Virginia’s barreling gale-dash, but if you collect the last gem of the floor, it will pause Virginia’s movement.
The hounds! The hounds!
Either open a FAQ or use some pen and paper: it pays to remember what monsters have what weaknesses across the Abyss.
Oh! These boys!
So these things look pretty innocuous, but their trick is…
They will eat a tenth of your cash on one turn…
And then attempt to run off with it the next turn. You must kill them quickly to retain your savings.
However, since you technically “win back” your gella on the results screen, you can farm these suckers to rapidly expand your coffers, as you can use a Gella Card to double their reward, and thus win “back” more of your gella than you had in the first place. This obviously increases rewards exponentially, and is thus the fastest way to fatten your wallet in Wild Arms 3.
But we’re not worried about money right now. Ain’t nuttin’ you can buy in the Abyss.
Moving right along. I enjoy using Virginia’s Gale Crest to move as quickly as possible.
This is why you need Weather Vanes/Eagle Eye. Being “surprised” is checked against each of your party members, so if the game randomly chooses one of your party members without Eagle Eye for the check, you can be ambushed. Like the trapped treasure chests, this is annoying in a regular dungeon, but can be brutal in the Abyss.
What floor are we on? Probably, like, five.
Look at that tiny, annoying gap! Have to go all the way around…
As you have likely surmised by this point, the challenge of the Abyss is budgeting your items, VIT, and encounter gauge against… ya know… dying. The more battles you encounter, the less resources you have, and the gems only restore a meager amount of VIT/ECN. There are absolutely zero fill-ups for items like Heal Berries or status restoring items, and you have to rely on the completely random drops for any help there.
As an obvious corollary to that, coming in here with as many Migrant Seals as possible is recommended. At a meager Level 9, we must entertain a number of battles that would otherwise never impact the encounter gauge.
Are we there yet?
Note that falling off the platforms only means you have to restart that floor from the entry point, and the gems do not respawn, so you do not lose any real progress. Sometimes when a gem is in the middle of nowhere, falling off is your best option.
Nature produces the most wondrous creatures.
And the most punishing abysses.
… Is this even another floor? I don’t know anymore.
Oh, here was a fun time.
Clive got solo-ambushed in the "real" level playthrough.
I am moderately certain the only way Clive could have survived this is if he guarded every round until help arrived. Though I am not convinced his magic resistance would have held out for even that…
Clive dies alone in a pit.
Yes, dying as a lone combatant counts as a game over, even though the rest of the party is alive and well… and probably like five feet to the left. However, as long as you have Gimel Coins, you can continue from any party wipe. This is my “normal” playthrough, and I already have 43 unused Gimel Coins ready to go for this eventuality. Very glad I do!
Apparently continuing grants us the full party from the beginning, so this mob is back to being instantly surmountable.
And then we got a booby trap on the treasure chest. Cursed battle. Absolutely cursed.
But it was worth it! Those stupid dogs dropped a Fire Ring, and we need all of those we can get for… later events.
Anywho, hoping that Game Over reinforces how badly you need maximum Weather Vanes for this dungeon. Clive died to the easy monsters of the Abyss! Imagine what happens when there are boss-caliber creatures stomping around!
And that is a good illustration of the Abyss in a nutshell. Since you are locked into an “Abyss run” once you start, there is a recurring risk/reward danger going on here. You can farm gella lizards or fire doggies for their rewards, but with an inability to casually escape at any time, you could lose it all if you get too greedy.
… Well, if you get too greedy, and forget to bring a cache of Gimel Coins, at least.
And now we are evidently on floor ten, because we hit the elevator, and…
Battle!
Ephrem Zein is… some kind of metal bug thing? I don’t know.
Ephrem Zein is your bane if you have been coasting through the Abyss on auto battle.
It is weak to dark, but absolutely do not cast dark magic on it, as that “status change” at the bottom shows this thing has a permanent reflect status going.
So Zein has one trick: it will counter damn near everything. Spells get reflected, physical attacks incur a punishing counter.
However, the trick is that it technically has two turns: one where it puts up the counters, and one where it drops the counter ability. And Clive is so damn slow, he always acts after the counters come down. So the answer to this riddle is to only use Clive to attack.
Here is what happens if someone other than Clive attacks. It’s a hit-all light attack that can be a bear if you are already exhausted from the rest of the Abyss.
So if you unload on your first round with everybody, you will probably wind up dead. If you know what to do, it is over pretty quickly.
Our reward is the Dragon Idol. This is why the Abyss’s first ten floors are mandatory: this is the only way to find the Dragon Idol, and thus obtain the final Guardian, Zephyr.
Now, it is highly recommended you leave the Abyss. Thanks to Zephyr being (eventually) plot mandated, and the simple fact that a number of useful items/Migrant Seals are also plot gated, it is a terrible idea to tackle the entirety of the Abyss on your first go. The Dragon Idol creates some sort of game-constipation here, and, if you choose not to go back to the Fallen Sanctuary and “cash in” your reward for completing ten floors of the Abyss, you are putting yourself at a serious disadvantage for the remainder of the Abyss. This even applies to a new game plus.
In the “present” of this playthrough, we are leaving, and our “normal” journey will pick up again next update.
But in the future…
Well, you can watch for yourself.
This was recorded “live” on January 31, 2023. It is the new game plus party at the absolute end of the game venturing through the Abyss. This video features most of my usual streaming crew (involving TT folks like @Jeanie, @fanboymaster , and @CaliScrub , with @BEAT unfortunately on vacation) joining me for the incredible time sink that is the Abyss.
You don’t have to watch. I will summarize what happens for the purpose of this Let’s Play, but be aware there is a reason the video clocks in at three hours and four minutes long.
So the first part of this update was simply the first ten floors of the Abyss. The Abyss is, in total, one hundred floors.
As
you can see, we have returned here with a full 20 Migrant Seal-fueled ECN encounter gauge, and the most ECN points that can be obtained before finishing the Abyss, 40. Additionally, we have a full set of Weather Vanes, and a number of other random boosts that we will address as we go.
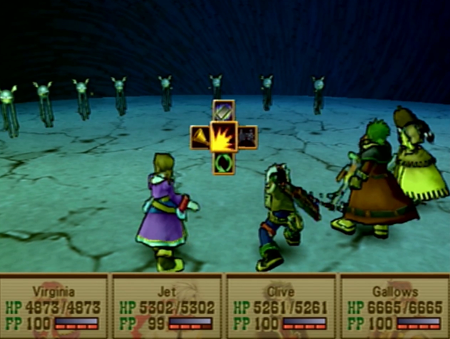
As much as we all like a challenge, it is highly recommended that you tackle the whole Abyss after you have completed every other task in the game. Practically everything about the Abyss is constructed to be frustrating, and you need all the help you can get.
These eyeball jerks are straight out of the coliseum playbook of “no, you cannot target all of them at once”.
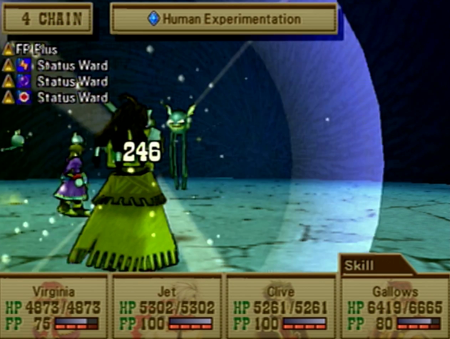
You want to equip as many status ward/protections as possible. We are still early in the Abyss, and already these jerks are busting out a move that Bad Breaths its way into possibly inflicting every status effect.
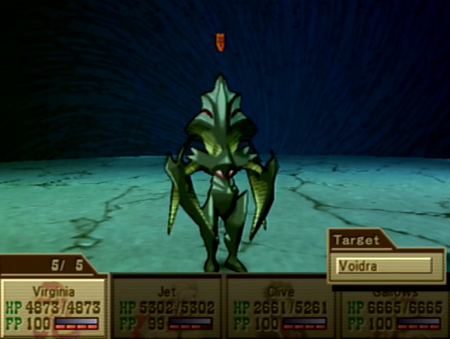
This is Voidra. If you take too long to kill Voidra, it will use an attack that sends you back to the start of the Abyss. Kill it. Kill it so fast, you are using your most powerful attacks. Expend every resource you can find to kill it immediately.
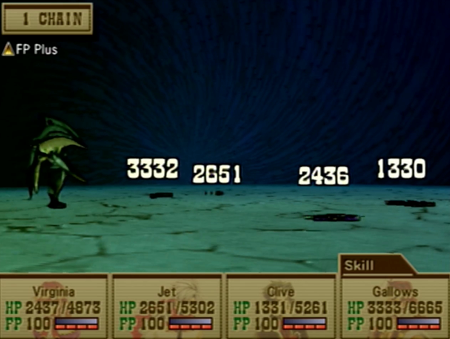
It also uses Gravity attacks, which are annoying when you are trying to maintain your HP. Not pictured: letting Voidra use its Eject attack, because I do not love my audience enough to suffer so much.

Even though you must complete the first ten floors of the Abyss, you cannot start back at floor 11 on your return trip. The only acknowledgment that you finished any part of the Abyss on a return is that the boss enemies do not return. Considering the bosses are generally puzzle-based, you would almost be better off if they did return, as you could soak up more exp/gella for relatively little risk. Anywho, this is probably a picture of Floor 11 or lower, but who the heck knows.
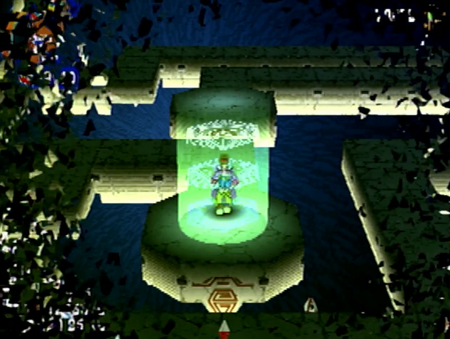
If I took the time to emphasize how tedious this whole experience is, we would be here all day (again: three hours!). Skipping ahead to Floor 30, where we encounter our next Abyss boss.
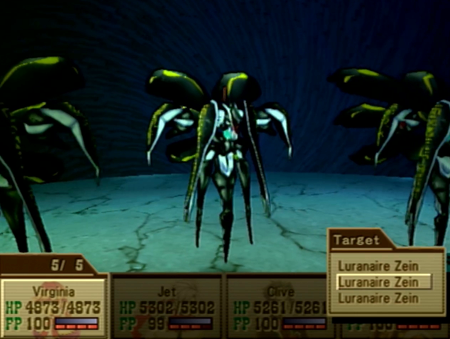
Our previous Zein boss was light-based. Luranaire Zein is further down in the hole, so it is dark-based. It is also a trio.
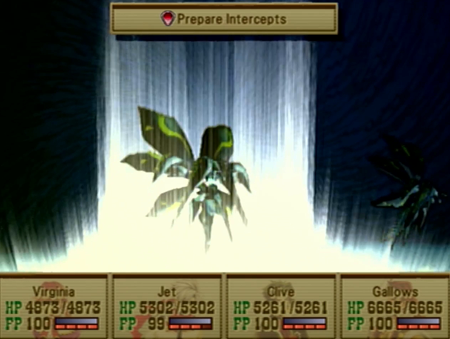
It is counter-based like its earlier cousin.
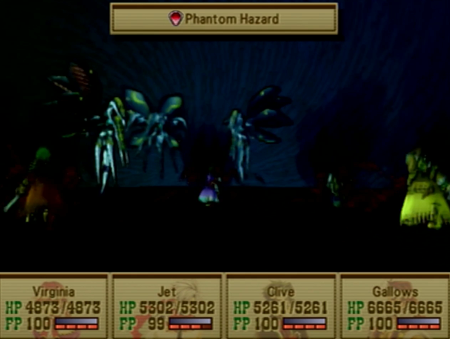
Every time it is attacked, it will counter with a powerful, hit-all darkness spell. The trick this time is that if you are warded against darkness attacks, you will literally never take a point of damage.
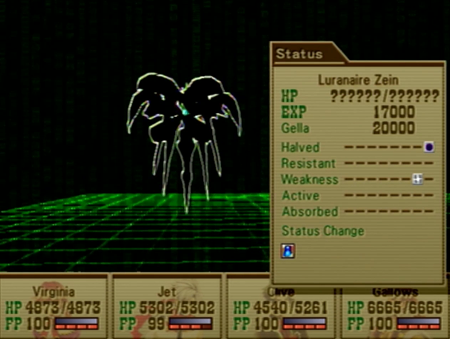
Still, you have to avoid exploiting that light weakness with the mirror magic in play.
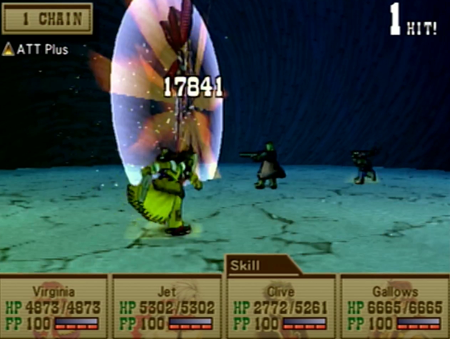
Just shoot it.

And our reward for conquering the first thirty floors of the Abyss is the Booster Kit. This is one of four Booster Kits in the game, and finding all four will mean you have 50 ECN points. You generally only need that many ECN points if you… are tackling the Abyss. Funny how that works.
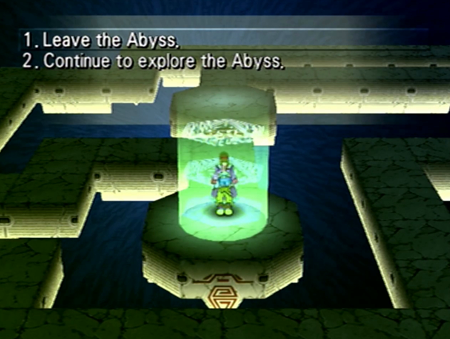
You once again have the option of leaving. Unlike with the dragon statue/floor 10, the only reason you should leave the Abyss at this point is if you are seriously low on resources. Continue on!
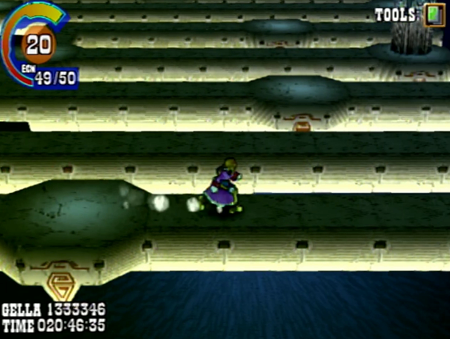
Ugh. Some randomly generated floors are the worst.

The Abyss is ordered in four distinct sections: Floors 1-10, Floors 11-30, Floors 31-60, and Floors 61-100. Each of the sections has a different monster table, with some monsters (like those gella lizards) appearing anywhere in the Abyss. Floors 1-10 are generally balanced for a post-Lombardia leveled party, Floors 11-30 are geared toward someone generally at the end of Chapter 3/start of Chapter 4, and everything past that is “are you level 100 yet”. So, at this point, encounters start feeling vaguely boss-like in their length and strategies.
Also, this vaguely pisses me off, as your average Wild Arms 3 “mandatory” dungeon has a meager 2-3 different monsters presented in different configurations. The Abyss has… well… I’m just going to go ahead and copy this table from SplitInfinity’s Wild Arms 3 FAQ focused on monsters appearing in one stratum of the Abyss:
Also not pictured: there are monsters that can steal your experience points, and trapped treasure chests that can do the same. This means there are some encounters where you could lose levels. Keep it in mind!
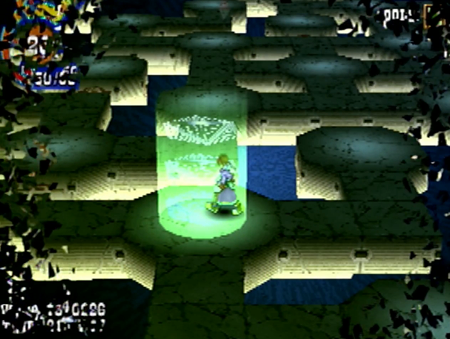
Anywho, fast forwarding to Floor 60.
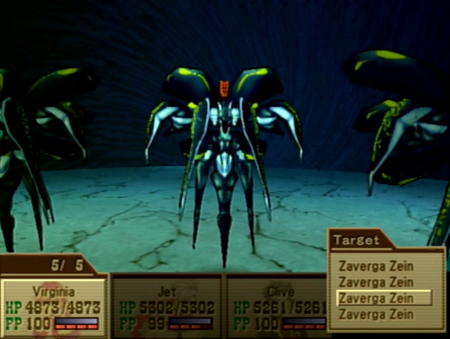
As you can guess, Zaverga Zein is another counter maniac. And it’s a fearsome foursome!
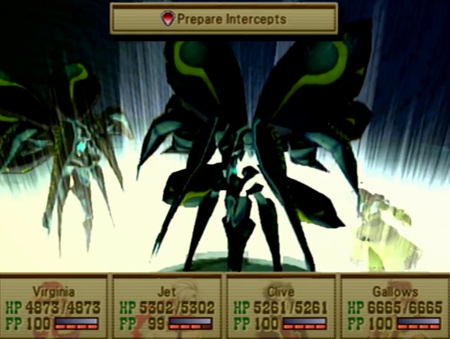
Oh, I’m prepared, buddy.
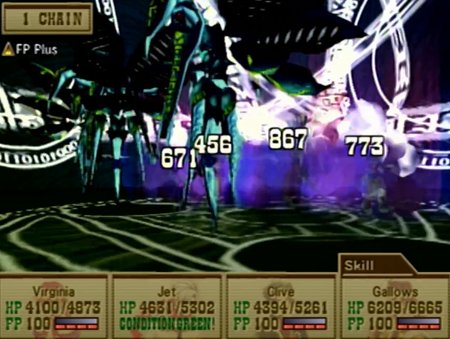
So it isn’t the hardest hitting attack in the game, but the counter this time does not have an elemental component, so you cannot ward against it like last time. And, while it doesn’t do significant damage, it will kill you if you get smacked by it by all four of these dorks.
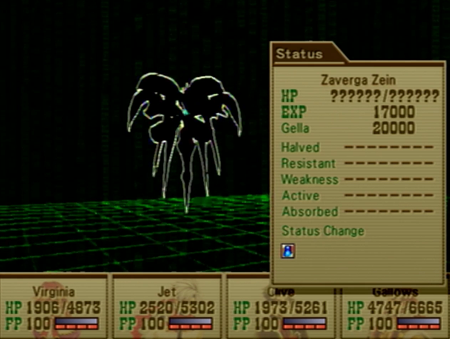
And arcana is still out of the question. Not that this one has a weakness to exploit anyway…
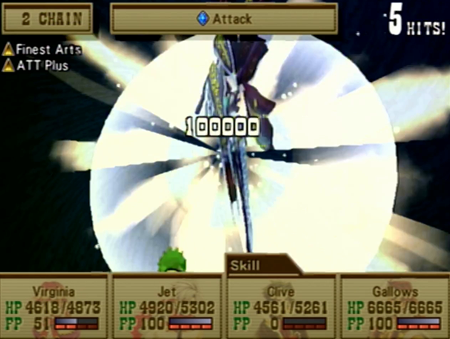
So we are basically playing by Leehalt rules here. Use your most powerful attacks, but focus on one or two attackers, and have everyone else focus on healing and/or buffing.

Our reward is… a bone. This whole dungeon is one big troll.
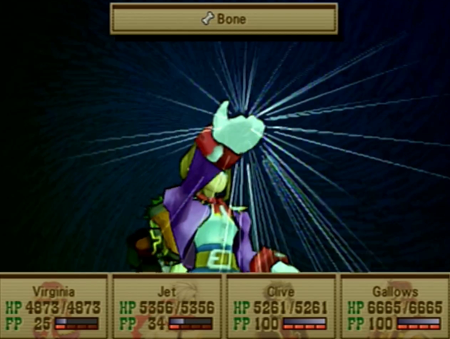
This is actually an item from Wild Arms (1), and has a very specific use: if you use Bone with Virginia’s Mystic ability…
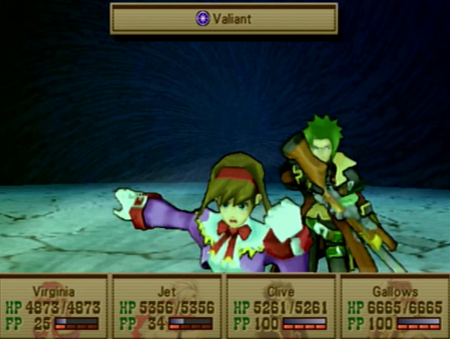
It will activate all the support arcana Virginia has equipped in one round on one target. This is reusable, and is pretty useful if you need to layer on the buffs quickly for the cost of a paltry 25 FP. Of course, the downside is that, at this point in the game, it will be useful in, like, three boss fights. Tops.
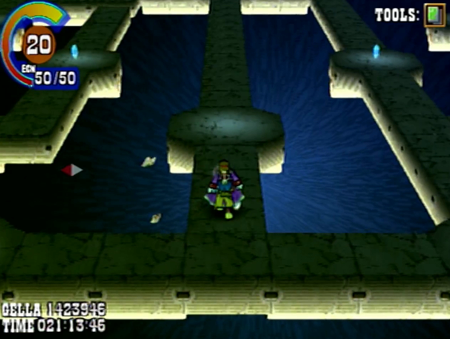
And now we’re on the final 40 floors of the Abyss. The monsters here are intense, and prone to throwing everything at your poor, tired party.
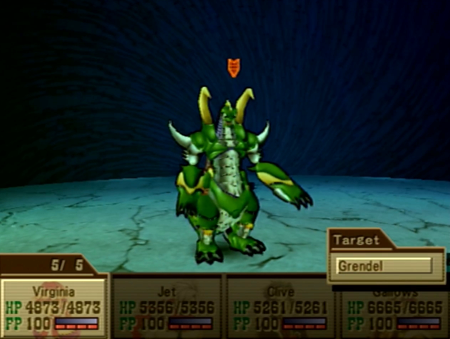
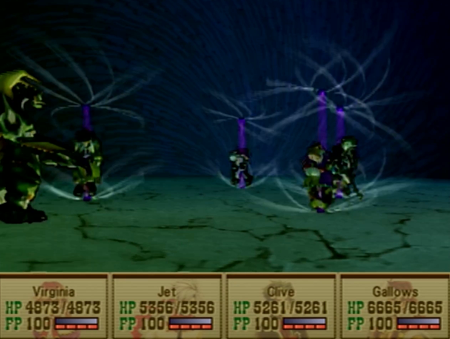
I cancelled a lot of encounters in the Abyss, because I wanted to finish this stupid thing before the end of recorded time. Grendel is a basic monster that proved I was making the right choice: it has an instant kill all attack that it used on the first turn. Good thing I am warded against that!

Grendel also has every elemental immunity, so it is one of the few things on Filgaia that is vulnerable to the Dark Luceid spell. See? I told you that when that thing works, it really works.
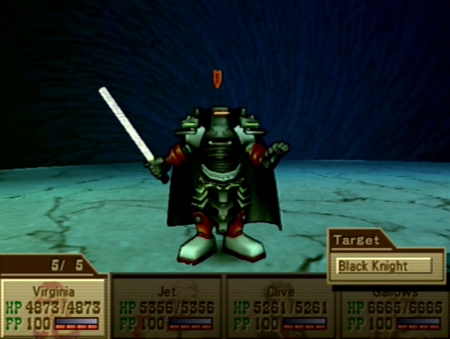
The lost Huskarl! I am agog!
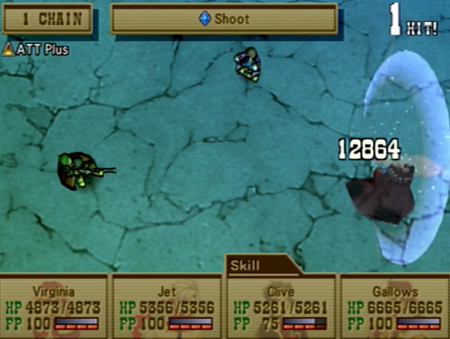
There is no reason not to just blow through your FP during every fight. These creatures are all balanced for the dirtiest tricks in your arsenal, so feel free to slap an ATT Plus on Clive and Lock On (or Gatling!) every encounter.

Again with the risk/reward theme of the Abyss: these final (forty) floor monsters have some incredible drops, including a number of items that only appear singularly elsewhere in the game. For instance, those elemental rings are one thing, but the Prism Crown, which blocks every element, is a drop from the Agawogdent. It is a 1% drop, though, so good luck with that! You can also earn a Violator for additional casts of Finest Arts from the Vodianoi monster, so keep an eye out.
Oh! And there is a completely unique skill/equip found in the Abyss. The Necronomicon is dropped by the book monster Necronomicon (see how that works?), and it boosts the effects of any arcana spell cast. It is great on Gallows or Virginia (and pairs particularly well with Weakness), and can only be found on the lowest levels of the Abyss. Still a 1% drop, though…
No, I did not earn any of these incredible drops on my playthrough of the Abyss. I have places to be.

You can use the Lucky Hit summon to make it so… Oh, never mind. We’re at the end. Welcome to the final floor.
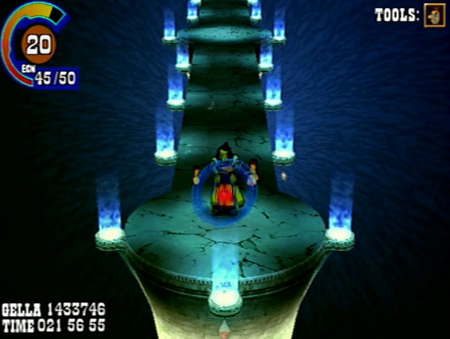
As you can see in these screenshots, there is no “floor count” as you progress through this pit. I had my audience count the floors during the stream, but this final level may come as a surprise if you haven’t been keeping careful count since the last boss landmark at Floor 60.

And here is our mega boss.
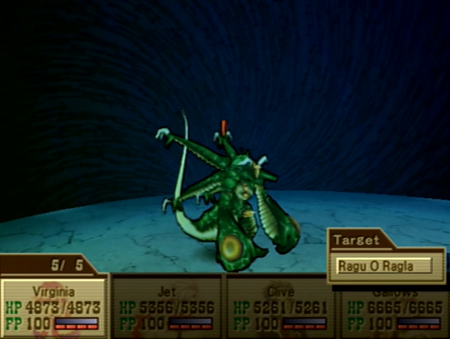
Ragu O Ragla is the most prominent recurring super/secret boss of the Wild Arms franchise. In Wild Arms 1, there was the Abyss (sound familiar?), and it was a monster dungeon built entirely for the purpose of restraining this demon among demons. In Wild Arms 2, Rags had very little backstory (like all the secret bosses of WA2), but was noted as the king of beasts, and was hidden deep(ish) in a mine. Now Ragu has his own randomly generated Abyss again, and he’s skulking around Floor 100 itching for a fight.
(Memories of Wild Arms 2)
Going back to Ragu’s first appearance, this creature loves starting fires. Its signature attack 100 Billion Degrees will barbeque you if you are not equipped with fire wards. This is why I was excited about obtaining a Fire Ring earlier! You need a set of three of those (and the one Guardian that comes naturally with fire defense) if you want to survive this fight.
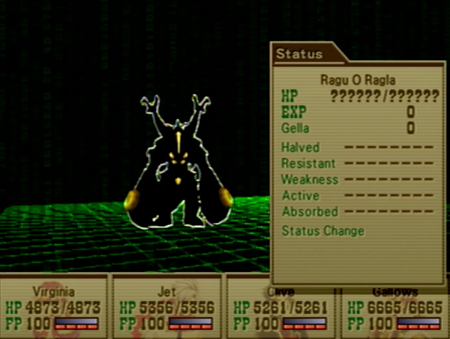
At least we don’t have to worry about using a lucky card to double zero experience points…

Our previous record holder for HP count was Bad News at 325,000 HP. Ragu has 750,000 HP. So you need to pull out all the stops here. Like, seriously, need. You will not outpace Ragu’s damage output unless you put ‘em in the ground as quickly as possible.
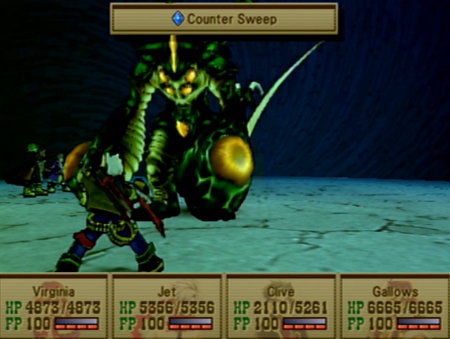
There are no super bosses in Wild Arms 3 that get to attack multiple times per turn, but Ragu will use a dangerous physical counter often when attacked. So make sure anyone attacking is healthy.
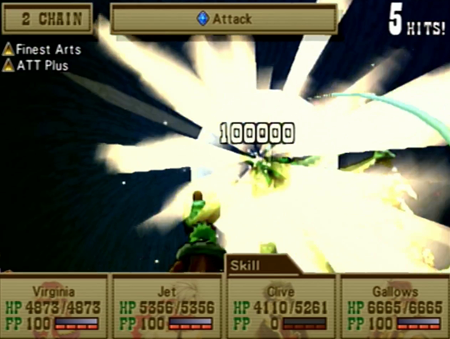
You pretty much must use Finest Arts here. Again, we’ll cover this attack more in the LP when we “for real” earn it, but, for now, recognize that that damage output is legendary.
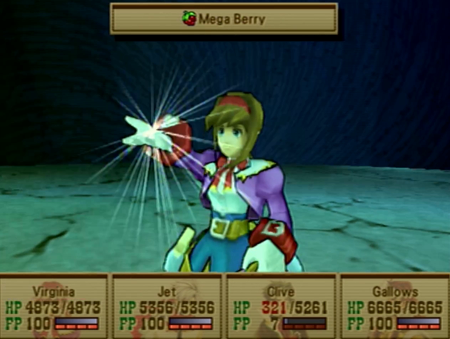
You need to enter the Abyss with a pile of Mega Berries. Maybe I should have mentioned that earlier! Whatever! Abuse the gardening quest to obtain as many Mega Berries as possible, as you might go through 60 here at the Abyss finale. Gallows using healing magic can be helpful, but you need the unparalleled HP restoration of Mega Berries now, and Virginia using Mystic is the only way to apply this to the whole party at once.
Note that you can lose to Ragu and continue like with any encounter, but you cannot lose, continue, and then “run” to go restock. You must complete the entire Abyss and its final boss on one “item run”.
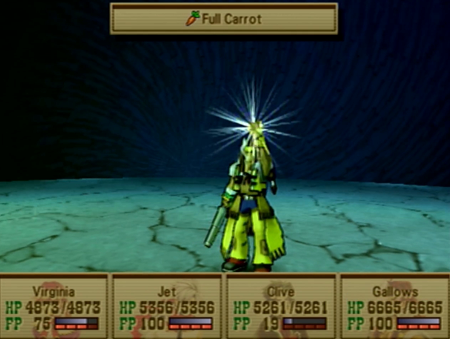
Full Carrots are not 100% necessary, but… okay, that’s a lie. Finest Arts is the only way to make significant damage progress, and Finest Arts requires (and consumes) 100 FP. You can then hope for the best by blowing a few rounds with Clive rebuilding his 100 FP for the next attack (and hopefully not dying on his way there), or just use one Full Carrot, and Clive is back in business and ready to use Finest Arts again. This is another situation where the longer this battle lasts, the more likely you are to exhaust all your resources, so chomping on a carrot or fifteen is recommended.
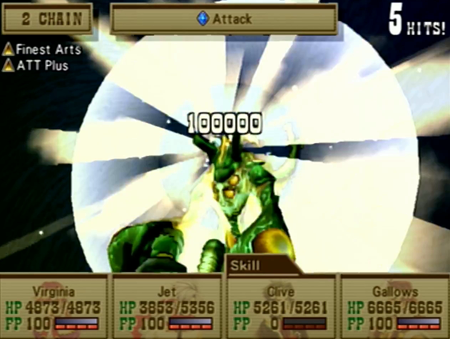
Finest Arts does five hits with an average of 144,583 damage per usage by Level 100 Hypered Clive. It really is your only viable option to knock off all that HP.

And, eventually, you win.
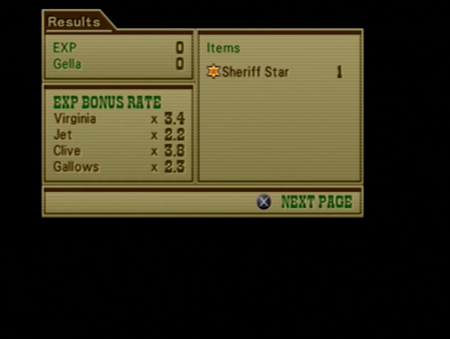
Your reward is the Sheriff Star. This is the usual prize for defeating Ragu in any Wild Arms game, and is generally just there for bragging rights. In previous games, it was just a stat boosting accessory, but equipment works differently in Wild Arms 3, so it works differently, too. Sheriff Star requires 100 points to “wear”, so it can only be equipped if you are level 100...
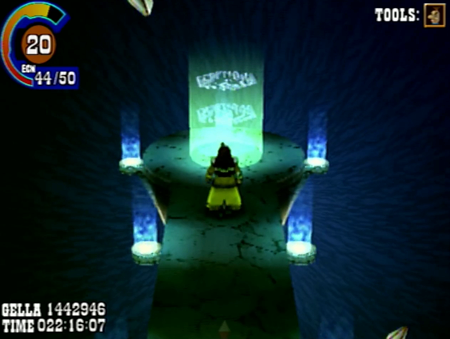
However, if you are level 100, wear your star proudly, and it will then activate every skill equipped on one character. By properly managing equipment and skills, this can transform one character into an invincible damage god… But what else is there to defeat in a world where Ragu is already dead?
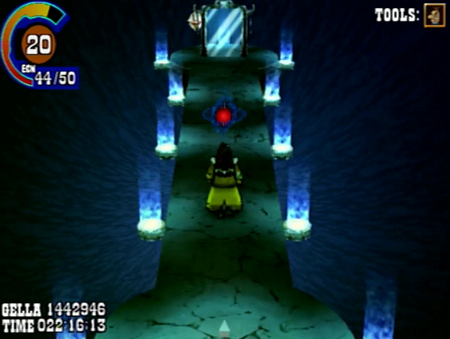
Then again, try to leave the Abyss with your prize, and you will find there is a new obstruction on the first floor of the Abyss.
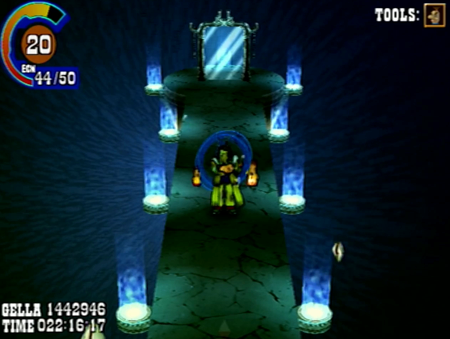
Once more unto the breach.
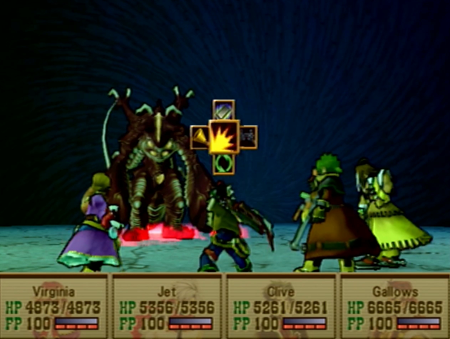
For the first time in a Wild Arms title, Ragu is back from the dead and ready to fight again.
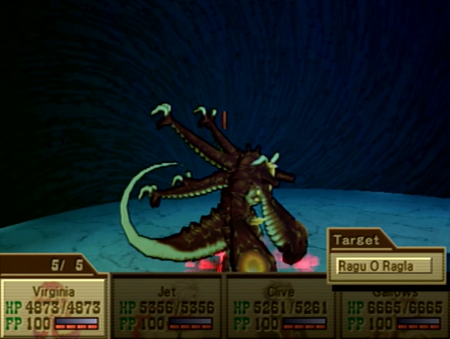
Bro doesn’t even change his name. This is Ragu O Ragla, but madder.
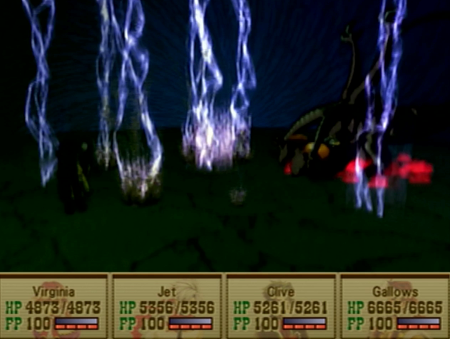
And badder. Ragu’s only hit-all spell during the previous battle was his fire elemental arcana. Now he can draw from the pool of every elemental attack.
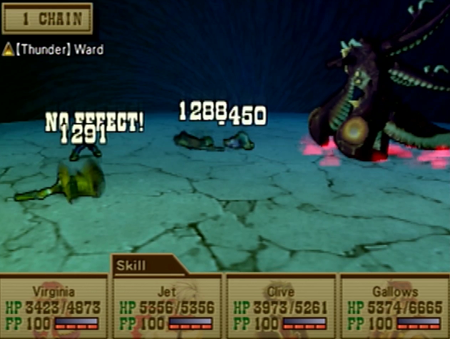
And it hits our level 100 party like a truck. At this point, you likely have one character equipped with an item that guards against every element, and, across your party, you probably have resistances to every elements… just not on everybody. What I am saying here is that, depending on Rag’s choice of attack on any given round, you may be lucky or looking at a lone survivor.
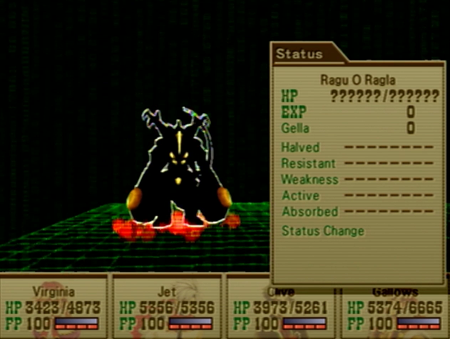
As the final “screw you” of the Abyss, Ragu O Ragla Party Mode has 999,999 HP, the most HP of any creature in the game. Additionally, its stats are solid 999 across the board, only having a comparatively insignificant 160 in evasion (as the game is nice enough to at least allow you to hit the beast). By comparison, the previous Rag had attack stats in the 900s, but only around 500 and 400 for defense and magic defense (respectively). There is literally no way a monster could be more powerful in Wild Arms 3’s battle system.

And its super attack has escalated to One Trillion Degrees. Amusingly enough, this is the best part of the fight, as, if you kept everyone’s fire wards up from the last fight, it is a free, no damage round for your allies (assuming you don’t eat a counter, of course).
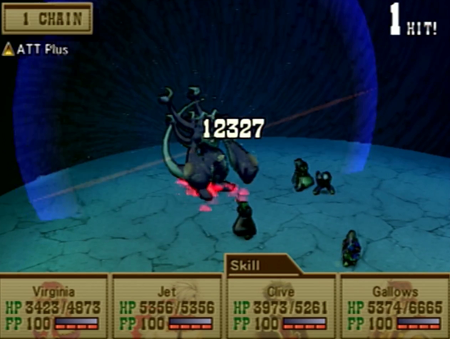
So attack when you can, keep your health up, and hope for the best on Raggy using attacks that correspond to your wards.

If Clive is your main attacker (and why wouldn’t he be?) you may want to do that thing where you are always targeting him with a healing item. Keep your offensive line healthy!
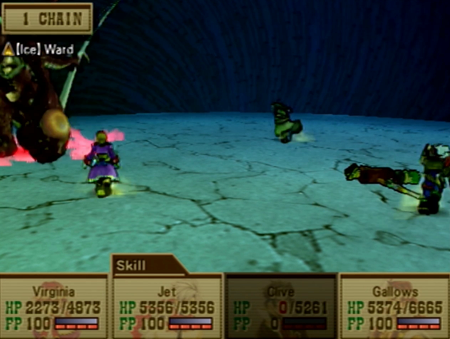
A reminder that death is annoying, but also wipes out your FP, so a Clive down requires a Revive Fruit and a Full Carrot to get back in fighting shape.

And then just use Finest Arts, like, a billion times. Finest Arts is even more of a requirement this time, as its final damage output ignores Ragu’s absurd defense stats. It still only does an average of 136,291 damage compared to the previous battle’s 144,583, though. Those earlier hits in the 5-hit chain doing less damage make a difference when you are trying to reach 999,999!
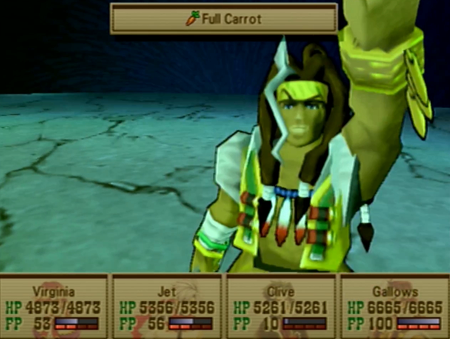
Do what you have to do to have as many Mega Berries and Full Carrots for this fight. This is the only time in the Let’s Play I will advocate for abusing your gardening skills in this manner, as it is the only point in Wild Arms 3 where the game cheats so bad.
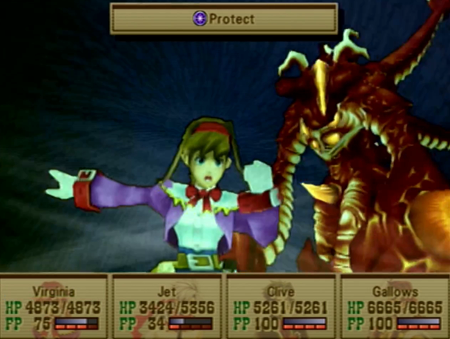
This is also maybe the one time in the game where casting as many buffs as possible is a good idea. Ragu at least did not bring a dispel ability to this fight.
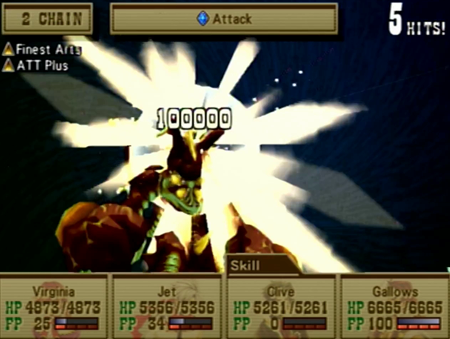
I hate when a super boss magnifies the drawbacks of a game’s battle system. There are not any viable options in this fight: ward against as many elements as you can, and use Finest Arts. That’s it. That’s all you can do in the face of the hardest monster in the game.

And, eventually, it ends.

Our reward is an EX File Key. As you have likely noticed, EX File Keys are basically prizes that say “I completed this whole side quest”. So far, in the continuity of this Let’s Play, we have found one for being an effective world searcher, and one for clearing every challenge at Gunner’s Heaven. This is our souvenir for conquering the Abyss.
… That one in the Yggdrasil grove was a lot easier to obtain…
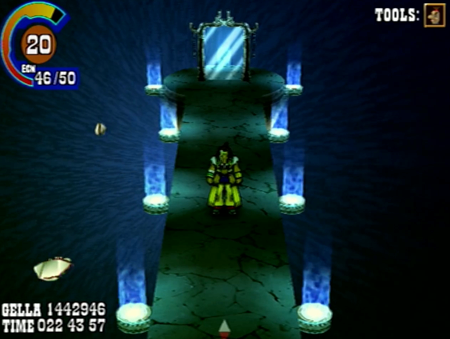
And that’s it! That is absolutely it! The longest, hardest challenge in Wild Arms 3 is now spent (editor’s note: you sicken me).
As much as we all like a challenge, it is highly recommended that you tackle the whole Abyss after you have completed every other task in the game. Practically everything about the Abyss is constructed to be frustrating, and you need all the help you can get.
These eyeball jerks are straight out of the coliseum playbook of “no, you cannot target all of them at once”.
You want to equip as many status ward/protections as possible. We are still early in the Abyss, and already these jerks are busting out a move that Bad Breaths its way into possibly inflicting every status effect.
This is Voidra. If you take too long to kill Voidra, it will use an attack that sends you back to the start of the Abyss. Kill it. Kill it so fast, you are using your most powerful attacks. Expend every resource you can find to kill it immediately.
It also uses Gravity attacks, which are annoying when you are trying to maintain your HP. Not pictured: letting Voidra use its Eject attack, because I do not love my audience enough to suffer so much.
Even though you must complete the first ten floors of the Abyss, you cannot start back at floor 11 on your return trip. The only acknowledgment that you finished any part of the Abyss on a return is that the boss enemies do not return. Considering the bosses are generally puzzle-based, you would almost be better off if they did return, as you could soak up more exp/gella for relatively little risk. Anywho, this is probably a picture of Floor 11 or lower, but who the heck knows.
If I took the time to emphasize how tedious this whole experience is, we would be here all day (again: three hours!). Skipping ahead to Floor 30, where we encounter our next Abyss boss.
Our previous Zein boss was light-based. Luranaire Zein is further down in the hole, so it is dark-based. It is also a trio.
It is counter-based like its earlier cousin.
Every time it is attacked, it will counter with a powerful, hit-all darkness spell. The trick this time is that if you are warded against darkness attacks, you will literally never take a point of damage.
Still, you have to avoid exploiting that light weakness with the mirror magic in play.
Just shoot it.
And our reward for conquering the first thirty floors of the Abyss is the Booster Kit. This is one of four Booster Kits in the game, and finding all four will mean you have 50 ECN points. You generally only need that many ECN points if you… are tackling the Abyss. Funny how that works.
You once again have the option of leaving. Unlike with the dragon statue/floor 10, the only reason you should leave the Abyss at this point is if you are seriously low on resources. Continue on!
Ugh. Some randomly generated floors are the worst.
The Abyss is ordered in four distinct sections: Floors 1-10, Floors 11-30, Floors 31-60, and Floors 61-100. Each of the sections has a different monster table, with some monsters (like those gella lizards) appearing anywhere in the Abyss. Floors 1-10 are generally balanced for a post-Lombardia leveled party, Floors 11-30 are geared toward someone generally at the end of Chapter 3/start of Chapter 4, and everything past that is “are you level 100 yet”. So, at this point, encounters start feeling vaguely boss-like in their length and strategies.
Also, this vaguely pisses me off, as your average Wild Arms 3 “mandatory” dungeon has a meager 2-3 different monsters presented in different configurations. The Abyss has… well… I’m just going to go ahead and copy this table from SplitInfinity’s Wild Arms 3 FAQ focused on monsters appearing in one stratum of the Abyss:
And that’s just for this 25% of the Abyss! All the interesting monster ideas got crammed into one hateful dungeon. And Leonard!Lily Pad, Obsidian Lizard, Alligatiger, Hyperion, Amon, Harvestman, Ivory Lizard, Geldam, Sapphire Lizard, Little Grey, Orgon Energy, Leprechaun, Doppelganger, Chupacabra, Ruby Lizard, Flauros, Unlucky, Radiant Crystal, Aello, Demiurgos, Gigantes, Albion, Fire Genius, Calupdis, Forbidden, Vodianoi, Spriggan, De Re Metallico, EM Being, Leonard
Also not pictured: there are monsters that can steal your experience points, and trapped treasure chests that can do the same. This means there are some encounters where you could lose levels. Keep it in mind!
Anywho, fast forwarding to Floor 60.
As you can guess, Zaverga Zein is another counter maniac. And it’s a fearsome foursome!
Oh, I’m prepared, buddy.
So it isn’t the hardest hitting attack in the game, but the counter this time does not have an elemental component, so you cannot ward against it like last time. And, while it doesn’t do significant damage, it will kill you if you get smacked by it by all four of these dorks.
And arcana is still out of the question. Not that this one has a weakness to exploit anyway…
So we are basically playing by Leehalt rules here. Use your most powerful attacks, but focus on one or two attackers, and have everyone else focus on healing and/or buffing.
Our reward is… a bone. This whole dungeon is one big troll.
This is actually an item from Wild Arms (1), and has a very specific use: if you use Bone with Virginia’s Mystic ability…
It will activate all the support arcana Virginia has equipped in one round on one target. This is reusable, and is pretty useful if you need to layer on the buffs quickly for the cost of a paltry 25 FP. Of course, the downside is that, at this point in the game, it will be useful in, like, three boss fights. Tops.
And now we’re on the final 40 floors of the Abyss. The monsters here are intense, and prone to throwing everything at your poor, tired party.
I cancelled a lot of encounters in the Abyss, because I wanted to finish this stupid thing before the end of recorded time. Grendel is a basic monster that proved I was making the right choice: it has an instant kill all attack that it used on the first turn. Good thing I am warded against that!
Grendel also has every elemental immunity, so it is one of the few things on Filgaia that is vulnerable to the Dark Luceid spell. See? I told you that when that thing works, it really works.
The lost Huskarl! I am agog!
There is no reason not to just blow through your FP during every fight. These creatures are all balanced for the dirtiest tricks in your arsenal, so feel free to slap an ATT Plus on Clive and Lock On (or Gatling!) every encounter.
Again with the risk/reward theme of the Abyss: these final (forty) floor monsters have some incredible drops, including a number of items that only appear singularly elsewhere in the game. For instance, those elemental rings are one thing, but the Prism Crown, which blocks every element, is a drop from the Agawogdent. It is a 1% drop, though, so good luck with that! You can also earn a Violator for additional casts of Finest Arts from the Vodianoi monster, so keep an eye out.
Oh! And there is a completely unique skill/equip found in the Abyss. The Necronomicon is dropped by the book monster Necronomicon (see how that works?), and it boosts the effects of any arcana spell cast. It is great on Gallows or Virginia (and pairs particularly well with Weakness), and can only be found on the lowest levels of the Abyss. Still a 1% drop, though…
No, I did not earn any of these incredible drops on my playthrough of the Abyss. I have places to be.
You can use the Lucky Hit summon to make it so… Oh, never mind. We’re at the end. Welcome to the final floor.
As you can see in these screenshots, there is no “floor count” as you progress through this pit. I had my audience count the floors during the stream, but this final level may come as a surprise if you haven’t been keeping careful count since the last boss landmark at Floor 60.
And here is our mega boss.
Ragu O Ragla is the most prominent recurring super/secret boss of the Wild Arms franchise. In Wild Arms 1, there was the Abyss (sound familiar?), and it was a monster dungeon built entirely for the purpose of restraining this demon among demons. In Wild Arms 2, Rags had very little backstory (like all the secret bosses of WA2), but was noted as the king of beasts, and was hidden deep(ish) in a mine. Now Ragu has his own randomly generated Abyss again, and he’s skulking around Floor 100 itching for a fight.
(Memories of Wild Arms 2)
Going back to Ragu’s first appearance, this creature loves starting fires. Its signature attack 100 Billion Degrees will barbeque you if you are not equipped with fire wards. This is why I was excited about obtaining a Fire Ring earlier! You need a set of three of those (and the one Guardian that comes naturally with fire defense) if you want to survive this fight.
At least we don’t have to worry about using a lucky card to double zero experience points…
Our previous record holder for HP count was Bad News at 325,000 HP. Ragu has 750,000 HP. So you need to pull out all the stops here. Like, seriously, need. You will not outpace Ragu’s damage output unless you put ‘em in the ground as quickly as possible.
There are no super bosses in Wild Arms 3 that get to attack multiple times per turn, but Ragu will use a dangerous physical counter often when attacked. So make sure anyone attacking is healthy.
You pretty much must use Finest Arts here. Again, we’ll cover this attack more in the LP when we “for real” earn it, but, for now, recognize that that damage output is legendary.
You need to enter the Abyss with a pile of Mega Berries. Maybe I should have mentioned that earlier! Whatever! Abuse the gardening quest to obtain as many Mega Berries as possible, as you might go through 60 here at the Abyss finale. Gallows using healing magic can be helpful, but you need the unparalleled HP restoration of Mega Berries now, and Virginia using Mystic is the only way to apply this to the whole party at once.
Note that you can lose to Ragu and continue like with any encounter, but you cannot lose, continue, and then “run” to go restock. You must complete the entire Abyss and its final boss on one “item run”.
Full Carrots are not 100% necessary, but… okay, that’s a lie. Finest Arts is the only way to make significant damage progress, and Finest Arts requires (and consumes) 100 FP. You can then hope for the best by blowing a few rounds with Clive rebuilding his 100 FP for the next attack (and hopefully not dying on his way there), or just use one Full Carrot, and Clive is back in business and ready to use Finest Arts again. This is another situation where the longer this battle lasts, the more likely you are to exhaust all your resources, so chomping on a carrot or fifteen is recommended.
Finest Arts does five hits with an average of 144,583 damage per usage by Level 100 Hypered Clive. It really is your only viable option to knock off all that HP.
And, eventually, you win.
Your reward is the Sheriff Star. This is the usual prize for defeating Ragu in any Wild Arms game, and is generally just there for bragging rights. In previous games, it was just a stat boosting accessory, but equipment works differently in Wild Arms 3, so it works differently, too. Sheriff Star requires 100 points to “wear”, so it can only be equipped if you are level 100...
However, if you are level 100, wear your star proudly, and it will then activate every skill equipped on one character. By properly managing equipment and skills, this can transform one character into an invincible damage god… But what else is there to defeat in a world where Ragu is already dead?
Then again, try to leave the Abyss with your prize, and you will find there is a new obstruction on the first floor of the Abyss.
Once more unto the breach.
For the first time in a Wild Arms title, Ragu is back from the dead and ready to fight again.
Bro doesn’t even change his name. This is Ragu O Ragla, but madder.
And badder. Ragu’s only hit-all spell during the previous battle was his fire elemental arcana. Now he can draw from the pool of every elemental attack.
And it hits our level 100 party like a truck. At this point, you likely have one character equipped with an item that guards against every element, and, across your party, you probably have resistances to every elements… just not on everybody. What I am saying here is that, depending on Rag’s choice of attack on any given round, you may be lucky or looking at a lone survivor.
As the final “screw you” of the Abyss, Ragu O Ragla Party Mode has 999,999 HP, the most HP of any creature in the game. Additionally, its stats are solid 999 across the board, only having a comparatively insignificant 160 in evasion (as the game is nice enough to at least allow you to hit the beast). By comparison, the previous Rag had attack stats in the 900s, but only around 500 and 400 for defense and magic defense (respectively). There is literally no way a monster could be more powerful in Wild Arms 3’s battle system.
And its super attack has escalated to One Trillion Degrees. Amusingly enough, this is the best part of the fight, as, if you kept everyone’s fire wards up from the last fight, it is a free, no damage round for your allies (assuming you don’t eat a counter, of course).
So attack when you can, keep your health up, and hope for the best on Raggy using attacks that correspond to your wards.
If Clive is your main attacker (and why wouldn’t he be?) you may want to do that thing where you are always targeting him with a healing item. Keep your offensive line healthy!
A reminder that death is annoying, but also wipes out your FP, so a Clive down requires a Revive Fruit and a Full Carrot to get back in fighting shape.
And then just use Finest Arts, like, a billion times. Finest Arts is even more of a requirement this time, as its final damage output ignores Ragu’s absurd defense stats. It still only does an average of 136,291 damage compared to the previous battle’s 144,583, though. Those earlier hits in the 5-hit chain doing less damage make a difference when you are trying to reach 999,999!
Do what you have to do to have as many Mega Berries and Full Carrots for this fight. This is the only time in the Let’s Play I will advocate for abusing your gardening skills in this manner, as it is the only point in Wild Arms 3 where the game cheats so bad.
This is also maybe the one time in the game where casting as many buffs as possible is a good idea. Ragu at least did not bring a dispel ability to this fight.
I hate when a super boss magnifies the drawbacks of a game’s battle system. There are not any viable options in this fight: ward against as many elements as you can, and use Finest Arts. That’s it. That’s all you can do in the face of the hardest monster in the game.
And, eventually, it ends.
Our reward is an EX File Key. As you have likely noticed, EX File Keys are basically prizes that say “I completed this whole side quest”. So far, in the continuity of this Let’s Play, we have found one for being an effective world searcher, and one for clearing every challenge at Gunner’s Heaven. This is our souvenir for conquering the Abyss.
… That one in the Yggdrasil grove was a lot easier to obtain…
And that’s it! That is absolutely it! The longest, hardest challenge in Wild Arms 3 is now spent (editor’s note: you sicken me).
For anyone anxious to follow in my footsteps, here is what we learned:
· Ration your battles: start with all the Migrant Seals and Booster Kits you can find. Migrant Level 20, 40 ECN.
· Avoid surprise encounters: start with 3 Weather Vanes/4 Eagle Eye abilities
· Be careful of treasure: Maximize your luck, stock some small flowers (for increasing luck), and equip Robber’s Ego to avoid trapped chests.
· Money doesn’t matter: Upgrade your ARMs to maximum, and stock as many purchasable consumables that heal status ailments as possible. There is no use for money in the Abyss, and there is nothing outside of the Abyss that is more difficult.
· Watch your Garden Grow: Bring as many Mega Berries and Full Carrots as possible. Healing items are generally useful throughout the dungeon, and Full Carrots are all but required for the final fight.
· Block out 3-4 hours: I knew what I was doing with a party already at level 100, and it still took me three hours. There is no saving allowed anywhere in the Abyss. Be aware!
· You will need: Ward against as many status attacks as possible for the trip. You need fire rings/fire wards, dark rings/dark wards, Finest Arts, and Attack Plus. Generally try to find a few extra elemental wards, too. You may find all of these items (excluding Comet Star/Attack Plus) in the Abyss, but I wouldn’t count on it.
· Time is a Choice: “Farming” drops on the lower levels may eventually make Ragu easier, but do you want to waste time on potential prizes, or just suffering a longer final fight? After Ragu is down, none of those “useful” skills are required for future battles anyway…
· Just have fun with it: You have a life worth living, and there are people that care about you. Maybe don’t bother with an incredibly boring, abusively lengthy dungeon.
And those are my expert tips for the Abyss! I apparently complete this challenge once every 20 years or so, and… maybe that is too often.
Okay, never revisiting the Abyss ever again. Let's go cash in our statue.
Next time on Wild Arms: Collecting dragons like Pokémon cards.
Do the EX File Keys do anything?
Yes, but only literally upon completing the game. We'll have an update around then that looks at all of 'em.
This week on Wild Arms 3:

I don't think I even attempted Raggy in Wild ARMS 3, once I got the idea of what I was in for with The Abyss I probably noped right out. I've only ever legitimately beaten him in Wild ARMS 2 (and even then it was by happily abusing a cheese strat), and also in Wild ARMS 1 via item duping.
In 3 though? Nope.
We're getting a special update because today is a holiday.
Today is March 3, Lizardman Day. Legend tells of a lizardman who appears to save Filgaia in times of crisis. So all the children of Filgaia make lovely little lizardman figurines to show their thanks.
Do you know what this means? This means Liz & Ard are canon in Wild Arms 3, and they have their own holiday! It's Lead scientific researcher (self-styled) Liz and his assistant Ard Day!
Chapter 48: For Hope Shines Bright
Previously on Wild Arms 3: The Abyss has, one way or another, been completed. In the far future, it is conquered forever; but, in the immediate present, we just snagged a Dragon Statue from Floor 10.
So we leave this awful dungeon that haunts my nightmares.
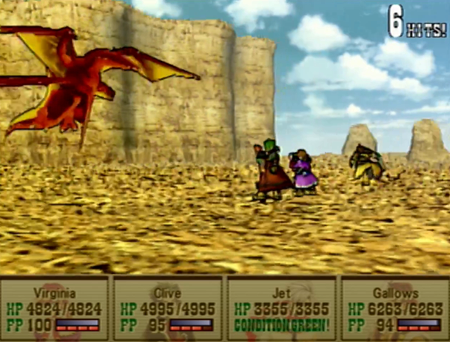
Try not to get murdered on your way out by the surprisingly deadly local mobs!
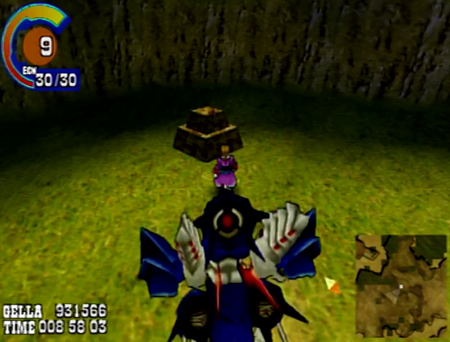
And we are back at the Fallen Sanctuary for our last Guardian Lord (though, amusingly enough, this will not be the last time we visit this dungeon).
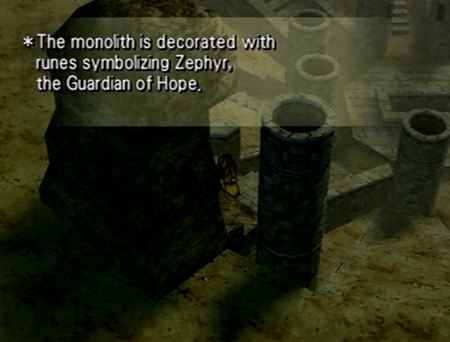
Zephyr is often portrayed as the most powerful of the Guardian Lords, and is traditionally associated with the main character of any given Wild Arms title. In Wild Arms 3, the Guardians are not distinctly “assigned”, but it always felt like weaselly ol’ Jet is the literal “hope” of this world for reasons that will be explained later.
(And for the record, in my mind, Gallows is obviously Desire, affectionate husband/father Clive is Love, and Virginia storms into Gob hideouts with unfettered Courage. Though there is also the interpretation that they are all Virginia, and she showcases all four traits across the four acts of Wild Arms 3.)
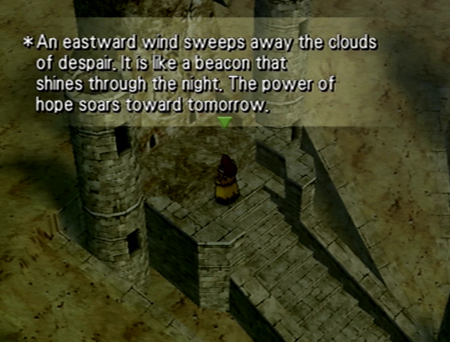
West wind, guys. Zephyr is supposed to be from the West. Glad to see Bolo is narrating.
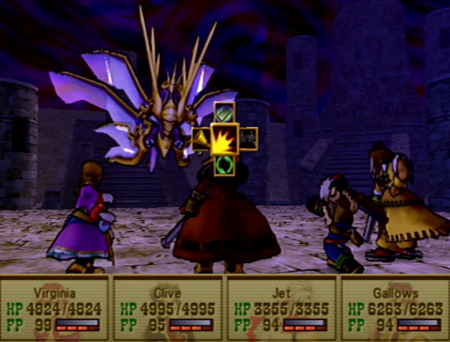
That said, here are all the puzzles in video form.
This video does not contain any commentary, it is just me gradually figuring out how to solve these puzzles “live”. If you see the timer in the bottom right jump a bit, that means it took me a damn long time to figure out the solution. Enjoy my dumbassery!
That said, this is a screenshot Let’s Play, so I’ll cover the basics here.
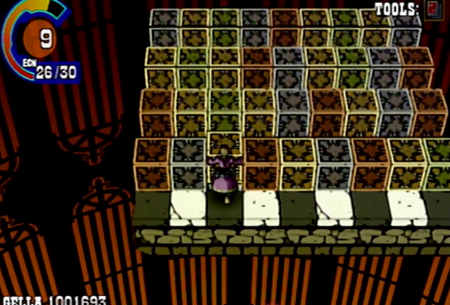
Your main goal is
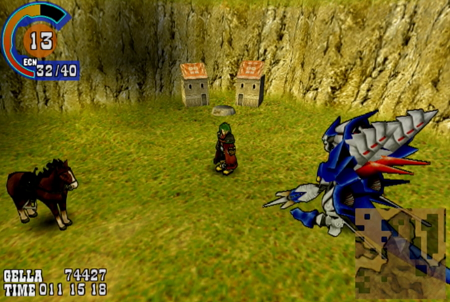
You must use a teleport orb to leave the area (as Lombardia cannot pick you up where she cannot land), and you will have to use that same orb if you ever want to return to the area. So solving Millennium Puzzle #20 requires the prize from Millennium Puzzle #14, and we'll come back for that Telepath Tower later.
And that's it! We are done with all the surmountable sidequests for this point in the game. We’ll pick up the “real” plot again next week.
Next time on Wild Arms: Let’s get back to remembering the bad times.
Today is March 3, Lizardman Day. Legend tells of a lizardman who appears to save Filgaia in times of crisis. So all the children of Filgaia make lovely little lizardman figurines to show their thanks.
Do you know what this means? This means Liz & Ard are canon in Wild Arms 3, and they have their own holiday! It's Lead scientific researcher (self-styled) Liz and his assistant Ard Day!
Chapter 48: For Hope Shines Bright
Previously on Wild Arms 3: The Abyss has, one way or another, been completed. In the far future, it is conquered forever; but, in the immediate present, we just snagged a Dragon Statue from Floor 10.
So we leave this awful dungeon that haunts my nightmares.
Try not to get murdered on your way out by the surprisingly deadly local mobs!
And we are back at the Fallen Sanctuary for our last Guardian Lord (though, amusingly enough, this will not be the last time we visit this dungeon).
Zephyr is often portrayed as the most powerful of the Guardian Lords, and is traditionally associated with the main character of any given Wild Arms title. In Wild Arms 3, the Guardians are not distinctly “assigned”, but it always felt like weaselly ol’ Jet is the literal “hope” of this world for reasons that will be explained later.
(And for the record, in my mind, Gallows is obviously Desire, affectionate husband/father Clive is Love, and Virginia storms into Gob hideouts with unfettered Courage. Though there is also the interpretation that they are all Virginia, and she showcases all four traits across the four acts of Wild Arms 3.)
“The visions in your minds are bound together. An eastward wind sweeps away the clouds of despair. It is like a beacon that shines through the night. The power of hope soars toward tomorrow. The bearer of the Ark Scepter's light must have the strength to fight that which has no form. Fight, and show your strength to Zephyr!”
West wind, guys. Zephyr is supposed to be from the West. Glad to see Bolo is narrating.
Is is weird that "dragons" are distinctly noted as demon WMDs in Wild Arms 3, but the living embodiment of Hope for Filgaia is a dragon?
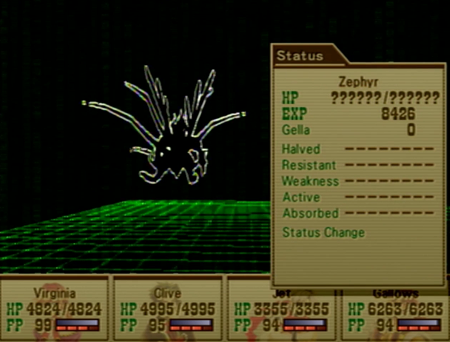
With the spikes and armor, Zephyr is trying to eat Bahamut’s lunch.
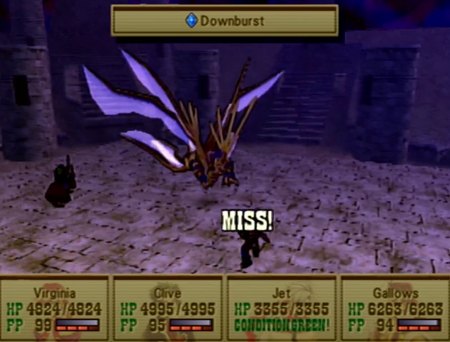
Zephyr is likely the last Guardian Lord you will fight, as his associated adventure is the only one that requires the airship, and stomping through the first ten floors of the Abyss is easily the most difficult statue quest. Probably as a result, Zephyr is also the hardest Guardian Lord battle.
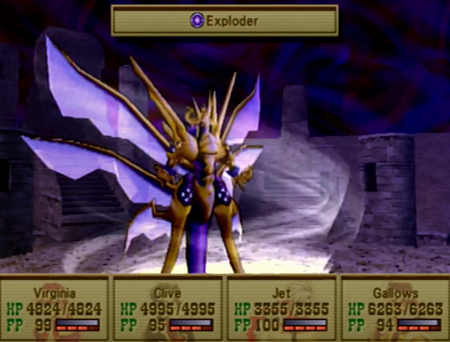
Here is the annoying bit: Zephyr uses a spell/status ailment that is only ever used by Zephyr. There is no protection against it, and there are high odds it will be effective.
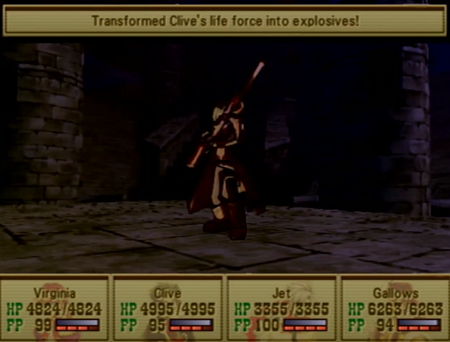
And it turns your insides into dynamite. If you are unaware, this makes your character like the noble shark, a creature that sometimes has its brains and sexual organs replaced with M80s.
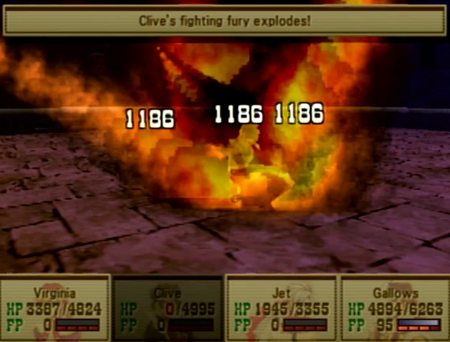
When inflicted with Exploder, a character will explode if they attempt to take any action but defending. This is instant death for the character, and lands “splash damage” equal to their (divided) remaining HP on the rest of the party. It sucks.
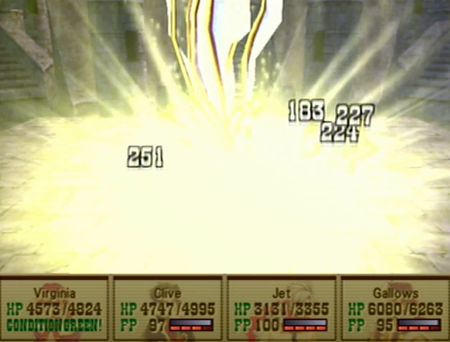
And this jerk has an efficient summon attack, too. The rest of the Guardian Lords were surprisingly ineffective in that regard.
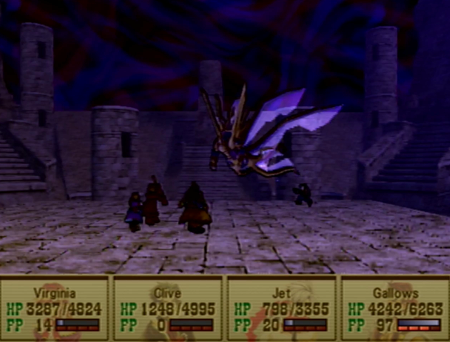
However, beyond that, Zephyr does not have much in their bag of tricks. Given there is no defense for Exploder, this battle is won or lost according to whether the RNG decides to be… annoying.

And that is our final Guardian defeated/obtained.

There are twelve Guardians in Wild Arms 3, and every one of your four party members can equip a total of three mediums. Convenient!
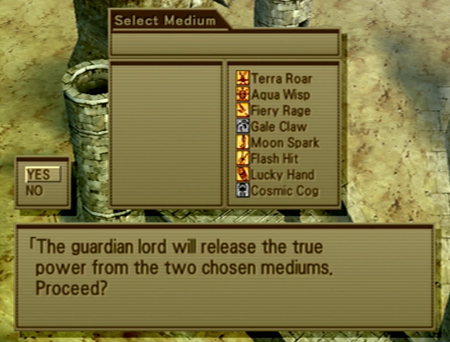
Now all the Guardians are gold, so our “equipment” is as good as it will ever get for stat ups. Note that earning all the Guardians at this stage in the game is optional, but it will be mandatory before Chapter 3 is over.
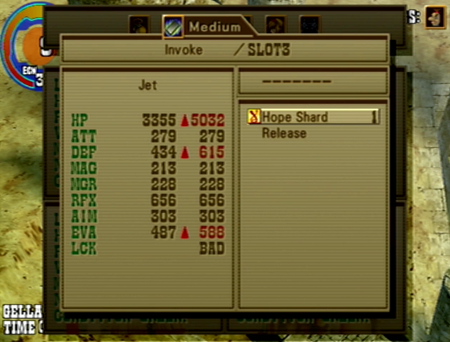
Jet gets the Hope Shard almost by process of elimination. Virginia could also use that extra HP, Defense, and Evasion, but I find she works better with the Love Medium. Gallows and Clive absolutely should use Desire and Courage respectively, as they boost their main attack methods.
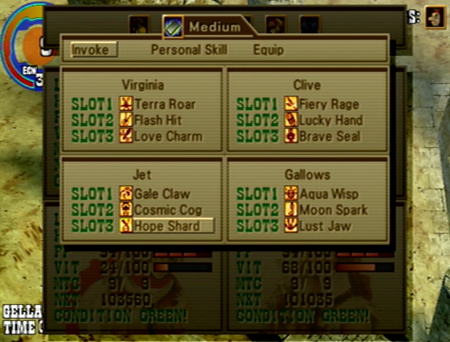
Here is the medium configuration that will work for the rest of this Let’s Play. I have seen debate on exactly who should get what, but I find this setup works well.

New spells! Arc Impulse is a non-elemental attack that is boosted according to how many characters are defending. It can be useful in the unusual situation that everyone else is naturally defending (to reload), but you are otherwise better served by having your party members attack. Exploder is that spell Zephyr kept using to turn us into timebombs, and it is effectively useless with its hit percentage in normal battles.
The two Zephyr prizes here are Attachment and Permanence.
Attachment can confer an elemental property on a character’s physical attack, which can majorly pump up Clive or Jet’s damage output when Virginia/Raftina has already inflicted an opponent with an elemental weakness. The only downside is that Attachment can only bestow an element based on its user’s current equipment (which, in this case, is merely Wind and Thunder), but it can be worth some medium juggling in longer boss battles.
Permanence is the best spell for a country mile. Permanence makes any buff… permanent. Huh. Good naming. This means that spells that protect against status ailments or buff your strength no longer last for 3-5 turns, and will stick around for the entire battle. In fact, you can buff the heck out of a character, cast permanence, and then watch in amazement as they are an invincible juggernaut until victory is achieved. Or they die. Death will disable permanence, too. It once again involves medium juggling, but some players swear by casting buffs with Gallows’s extension ability, then topping it all off with Permanence, and then sitting back and waiting for the monsters to cry for mercy.
So, anywho, Zephyr has some cool spells that work really well with other Guardian Lord spells we have already acquired. An excellent capper to the Guardian Lord quest.

And he puts a lot of heart into his summon attack, too. This deals non-elemental damage to a full party of monsters, and is the best summon in the game for doing not-weakness based damage. Of course, the main reason you want to use a summon attack is to exploit weaknesses…
LP Fun Fact: Of the four Guardian Lords, Zephyr is the only one that killed a monster in his summon example GIF. Raftina heals, Justine uses an instant death attack that missed, and Luceid attacked the weakest monster in the game... but did zero damage, because the humble Balloon monster has a darkness resistance. Funny how that works out.
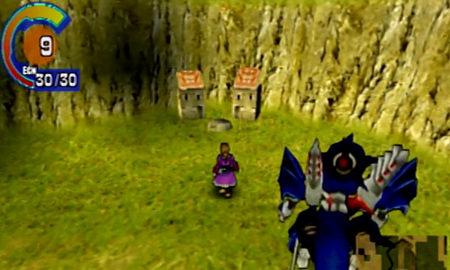
Aaaaand we’re done. Let’s take a nap back at Baskar.
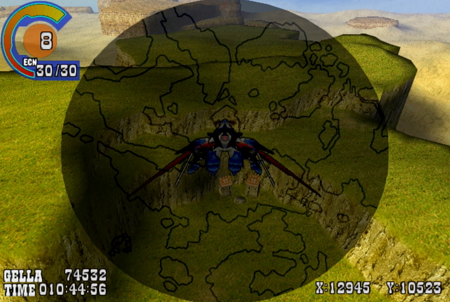
We have done all the relevant sidequests available at this point in the plot. There are some super bosses stalking about (and we will address them randomly across the Let’s Play as we get a little stronger), but the quest for the Guardian Lords is the real “meat” of the current offerings around the world. With that in mind, we’re going to cross a few “miscellaneous” items off the list.
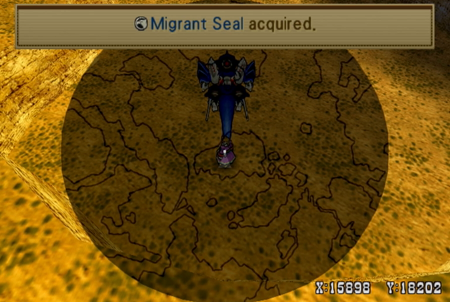
First of all, there are Migrant Seals hiding across the world. You need to have obtained the Item Scope from the Novice League of Gunner’s Heaven to find these at all, but the Item Radar from the next league up is likely the only way you will find these seemingly “randomly” hidden items.
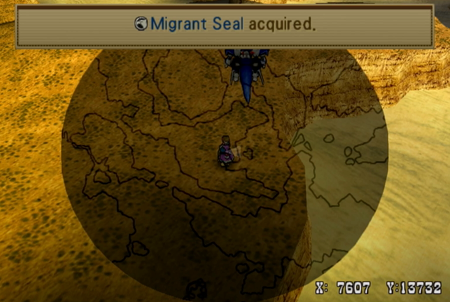
However, the Migrant Seals are always hidden at the same coordinates across playthroughs, so if you check a FAQ or a Let’s Play where coordinates are provided in screenshots (wink wink), you can make a beeline for these essential rewards all at once.
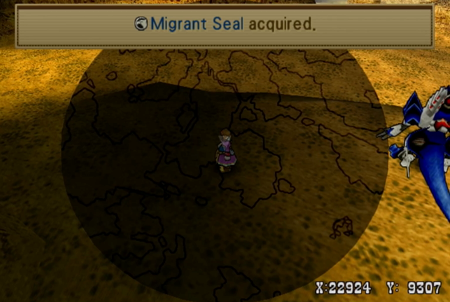
This game has a “real” new game plus mode, but this kind of thing seems like it is built for returning players that want to pump up their Migrant levels as quickly as possible. If you like walking/sandcrafting, this would be the only reason to conquer the first level of Gunner's Heaven as early as you get your boat.
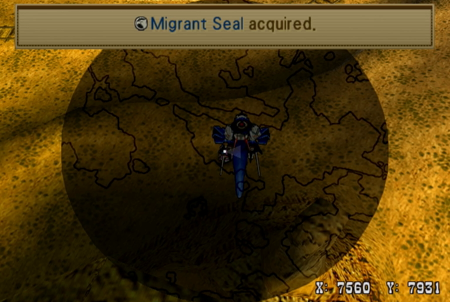
Still, kind of a weird move to stick such crucial objects arbitrarily across the world.

There is a booster kit, too. The previous two were hidden in the final dungeons of their respective chapters, and the fourth/final booster kit we saw as an Abyss prize last update.
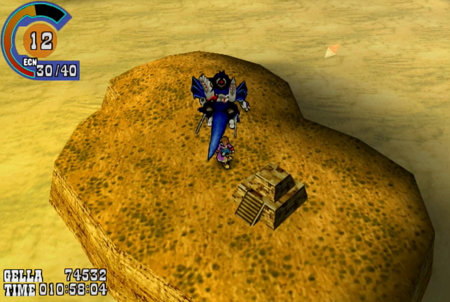
And now for another big sidequest of Wild Arms 3…
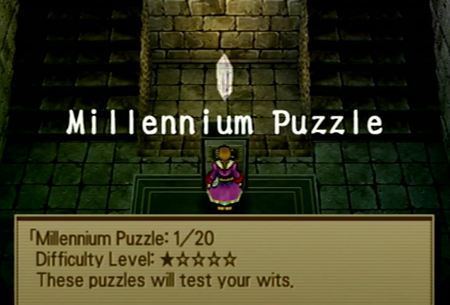
The Millennium Puzzles. There are twenty Millennium Puzzles, and any one of them may be found after you activate the quest by talking to Simon way back at the Luck Shrine. Like the overworld Migrant Seals, they are all in fixed locations, and can be found without any “assistance”, but are much easier to find with the radar (game provided by winning at Gunner’s Heaven) or a FAQ (external source). Also like the seals, you are likely to find one or two on your own when looking for “normal” dungeons or treasures, but you are going to have to go looking if you want to find all twenty…
The Millennium Puzzles are numbered, and theoretically are numbered in ascending difficulty order. That said, their numbers do not remotely correspond with how they may be discovered on the world map, so for instance, Millennium Puzzle #7 (again, of 20) is on an island that can only be accessed via airship, while Millennium Puzzle #19 is a short walk from the third town in the game. They ain’t sequential! Regardless, you should be able to reach literally any puzzle (one way or another) after you have obtained your airship. Before that, you absolutely cannot complete this quest.
And, unlike most of the quests we have seen so far, no part of the Millennium Puzzle quest is ever required. You get some great rewards that absolutely make the game easier, and they are prizes that are not combat/level-gated in any way, but they are not mandatory. I could completely skip every part of this!
With the spikes and armor, Zephyr is trying to eat Bahamut’s lunch.
Zephyr is likely the last Guardian Lord you will fight, as his associated adventure is the only one that requires the airship, and stomping through the first ten floors of the Abyss is easily the most difficult statue quest. Probably as a result, Zephyr is also the hardest Guardian Lord battle.
Here is the annoying bit: Zephyr uses a spell/status ailment that is only ever used by Zephyr. There is no protection against it, and there are high odds it will be effective.
And it turns your insides into dynamite. If you are unaware, this makes your character like the noble shark, a creature that sometimes has its brains and sexual organs replaced with M80s.
When inflicted with Exploder, a character will explode if they attempt to take any action but defending. This is instant death for the character, and lands “splash damage” equal to their (divided) remaining HP on the rest of the party. It sucks.
And this jerk has an efficient summon attack, too. The rest of the Guardian Lords were surprisingly ineffective in that regard.
However, beyond that, Zephyr does not have much in their bag of tricks. Given there is no defense for Exploder, this battle is won or lost according to whether the RNG decides to be… annoying.
And that is our final Guardian defeated/obtained.
There are twelve Guardians in Wild Arms 3, and every one of your four party members can equip a total of three mediums. Convenient!
Now all the Guardians are gold, so our “equipment” is as good as it will ever get for stat ups. Note that earning all the Guardians at this stage in the game is optional, but it will be mandatory before Chapter 3 is over.
Jet gets the Hope Shard almost by process of elimination. Virginia could also use that extra HP, Defense, and Evasion, but I find she works better with the Love Medium. Gallows and Clive absolutely should use Desire and Courage respectively, as they boost their main attack methods.
Here is the medium configuration that will work for the rest of this Let’s Play. I have seen debate on exactly who should get what, but I find this setup works well.
New spells! Arc Impulse is a non-elemental attack that is boosted according to how many characters are defending. It can be useful in the unusual situation that everyone else is naturally defending (to reload), but you are otherwise better served by having your party members attack. Exploder is that spell Zephyr kept using to turn us into timebombs, and it is effectively useless with its hit percentage in normal battles.
The two Zephyr prizes here are Attachment and Permanence.
Attachment can confer an elemental property on a character’s physical attack, which can majorly pump up Clive or Jet’s damage output when Virginia/Raftina has already inflicted an opponent with an elemental weakness. The only downside is that Attachment can only bestow an element based on its user’s current equipment (which, in this case, is merely Wind and Thunder), but it can be worth some medium juggling in longer boss battles.
Permanence is the best spell for a country mile. Permanence makes any buff… permanent. Huh. Good naming. This means that spells that protect against status ailments or buff your strength no longer last for 3-5 turns, and will stick around for the entire battle. In fact, you can buff the heck out of a character, cast permanence, and then watch in amazement as they are an invincible juggernaut until victory is achieved. Or they die. Death will disable permanence, too. It once again involves medium juggling, but some players swear by casting buffs with Gallows’s extension ability, then topping it all off with Permanence, and then sitting back and waiting for the monsters to cry for mercy.
So, anywho, Zephyr has some cool spells that work really well with other Guardian Lord spells we have already acquired. An excellent capper to the Guardian Lord quest.
And he puts a lot of heart into his summon attack, too. This deals non-elemental damage to a full party of monsters, and is the best summon in the game for doing not-weakness based damage. Of course, the main reason you want to use a summon attack is to exploit weaknesses…
LP Fun Fact: Of the four Guardian Lords, Zephyr is the only one that killed a monster in his summon example GIF. Raftina heals, Justine uses an instant death attack that missed, and Luceid attacked the weakest monster in the game... but did zero damage, because the humble Balloon monster has a darkness resistance. Funny how that works out.
Aaaaand we’re done. Let’s take a nap back at Baskar.
We have done all the relevant sidequests available at this point in the plot. There are some super bosses stalking about (and we will address them randomly across the Let’s Play as we get a little stronger), but the quest for the Guardian Lords is the real “meat” of the current offerings around the world. With that in mind, we’re going to cross a few “miscellaneous” items off the list.
First of all, there are Migrant Seals hiding across the world. You need to have obtained the Item Scope from the Novice League of Gunner’s Heaven to find these at all, but the Item Radar from the next league up is likely the only way you will find these seemingly “randomly” hidden items.
However, the Migrant Seals are always hidden at the same coordinates across playthroughs, so if you check a FAQ or a Let’s Play where coordinates are provided in screenshots (wink wink), you can make a beeline for these essential rewards all at once.
This game has a “real” new game plus mode, but this kind of thing seems like it is built for returning players that want to pump up their Migrant levels as quickly as possible. If you like walking/sandcrafting, this would be the only reason to conquer the first level of Gunner's Heaven as early as you get your boat.
Still, kind of a weird move to stick such crucial objects arbitrarily across the world.
There is a booster kit, too. The previous two were hidden in the final dungeons of their respective chapters, and the fourth/final booster kit we saw as an Abyss prize last update.
And now for another big sidequest of Wild Arms 3…
The Millennium Puzzles. There are twenty Millennium Puzzles, and any one of them may be found after you activate the quest by talking to Simon way back at the Luck Shrine. Like the overworld Migrant Seals, they are all in fixed locations, and can be found without any “assistance”, but are much easier to find with the radar (game provided by winning at Gunner’s Heaven) or a FAQ (external source). Also like the seals, you are likely to find one or two on your own when looking for “normal” dungeons or treasures, but you are going to have to go looking if you want to find all twenty…
The Millennium Puzzles are numbered, and theoretically are numbered in ascending difficulty order. That said, their numbers do not remotely correspond with how they may be discovered on the world map, so for instance, Millennium Puzzle #7 (again, of 20) is on an island that can only be accessed via airship, while Millennium Puzzle #19 is a short walk from the third town in the game. They ain’t sequential! Regardless, you should be able to reach literally any puzzle (one way or another) after you have obtained your airship. Before that, you absolutely cannot complete this quest.
And, unlike most of the quests we have seen so far, no part of the Millennium Puzzle quest is ever required. You get some great rewards that absolutely make the game easier, and they are prizes that are not combat/level-gated in any way, but they are not mandatory. I could completely skip every part of this!
That said, here are all the puzzles in video form.
This video does not contain any commentary, it is just me gradually figuring out how to solve these puzzles “live”. If you see the timer in the bottom right jump a bit, that means it took me a damn long time to figure out the solution. Enjoy my dumbassery!
That said, this is a screenshot Let’s Play, so I’ll cover the basics here.
Your main goal is
to match all the blocks. We are playing by loose Dr. Mario rules, so any two colors that match will disappear when they are immediately next to each other. Diagonals do not count, but two reds touching a flat edge will then disintegrate to zero reds. There are always four colors: red, green, blue, and yellow. It may just be my own vision, but these shades of yellow and green are a little too similar for my tastes.
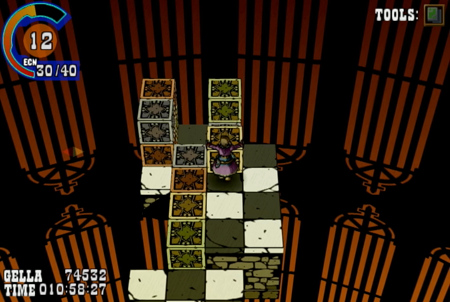
You can push and pull blocks as long as you have one block of space to move. Note that you cannot move a block if it has a block on top of it, nor can you do anything to move a block that is “stacked up” and inaccessible. This means that a number of puzzles rely on “clearing” lower blocks so the higher blocks can fall to movable level. Also, you can put a block on top of another block if there are multiple height levels, and that will eliminate like-colored blocks as if they were adjacent.
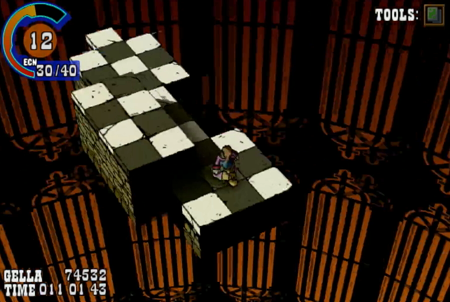
Your goal is to disappear all the blocks. You can push blocks off the edge… but then you’ve permanently lost. Don’t do that. Match all the colors until you have a blank playfield.
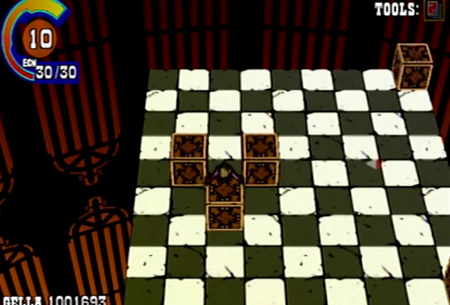
The real trick to solving these riddles is watching your blocks and counting. If you have an even number of blocks on the field, you have to be able to push them next to each other in groups of two. If you have an odd number of blocks, you have to be able to push a block between two blocks, and then eliminate three at once. In this screenshot, matching those three would eliminate three blocks simultaneously… but would leave a lone red block that would make the puzzle unsolvable.
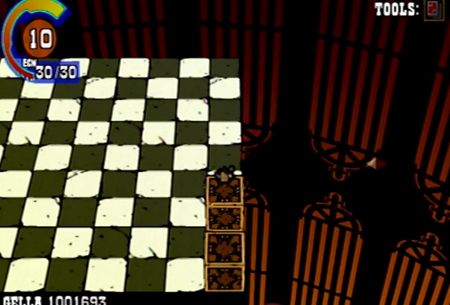
Unless there was another block down there for a pair. That would work!
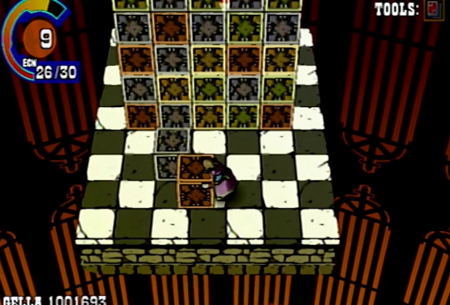
Many of the puzzles initially seem daunting, but are actually pretty straightforward. This puzzle only leaves you four movable blocks to start, so you just have to take it easy with your limited choices. Limited choices are good! They mean you don’t have to get too deep into the “wrong” choices!
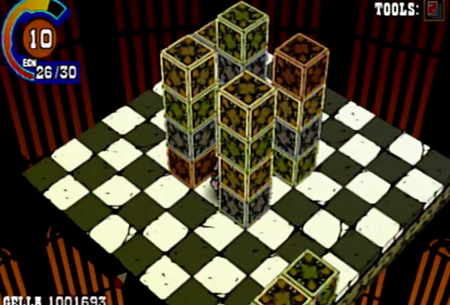
Always inventory your blocks to start. This one looks pretty “equal”, but closer examination reveals there are a meager number of red blocks. Keep an eye on any colors that are limited, as you don’t want to solve “everything” only to have one odd red block left over.
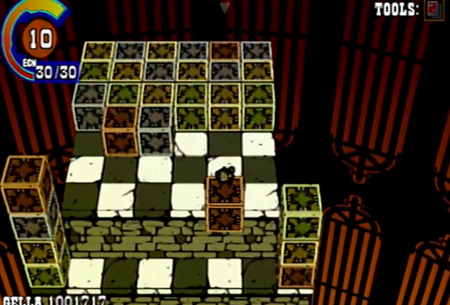
When there are multiple levels, make sure you can return if you plan on dropping to a lower level. In this particular puzzle, you never want to drop down, and the trick is to push blocks from your upper cache down to the two “pillars”.
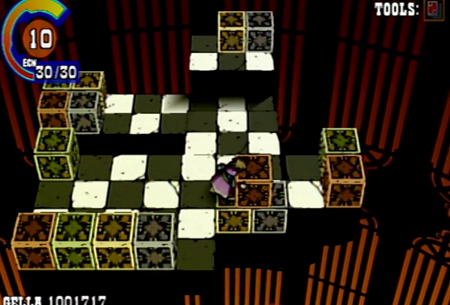
Think outside the box! Sometimes you can use your blocks to make bridges. Note that for this particular puzzle, you have to “plan” your bridges to match the blocks they will eventually erase, because the two-block wide sections mean you cannot swap their locations once they are set.
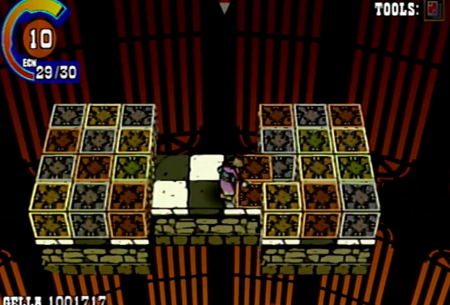
The later puzzles seem to fixate on giving you as little room to maneuver as possible. Remember that pushing and pulling blocks can “accidentally” erase a block, as if a block is near its buddy for any reason, it will disappear. It doesn’t matter if you were trying to put it somewhere else!
Though chain reactions are fun sometimes. You cannot move while a chain is happening, so there is never a “skill” component to quickly moving a block into place.
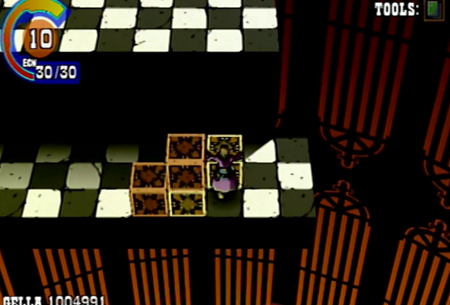
You don’t get bonus points for starting chain reactions. This isn’t a competitive puzzle game! But, hey, it doesn’t hurt.
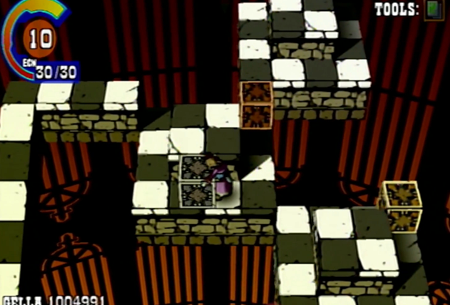
This is Puzzle #18. It is a giant waste of time, and the “puzzle” is mostly navigating the blocks the looooong way through these narrow pathways. You can always throw yourself off the edge of the puzzle to reset everything to start… but if you fall off by complete accident, it resets the puzzle just the same. This can be infuriating, particularly how the “push/pull/grab” button is conditionally the “run” button when you are not lined up with a block…
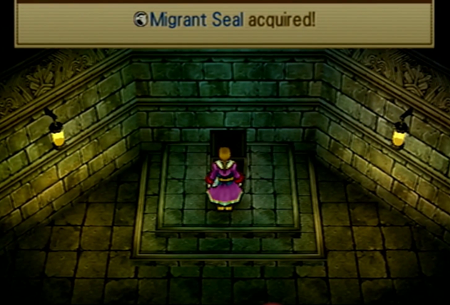
But you will want to do Millennium Puzzle #18, as the reward is an essential Migrant Seal. Each of the Millennium Puzzles offers exactly one prize upon completion. You do not need to complete all the puzzles in order, and you can make a beeline for the better prizes if you know where to look. Many of the early puzzles offer “general” rewards like Level Up Apples or Duplicators. Later puzzles include…
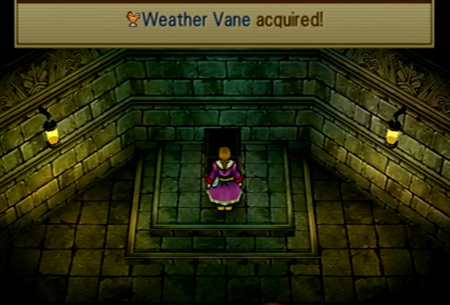
The two remaining Weather Vanes (see their importance in the previous update) for Puzzle #7 and Puzzle #11…
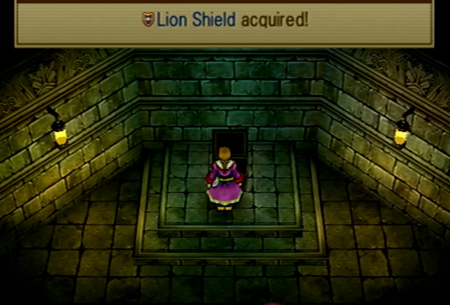
And the unique Lion Shield for Puzzle #13. This grants the ability to defend a weaker party member, which can be great on the HP-flush Gallows.
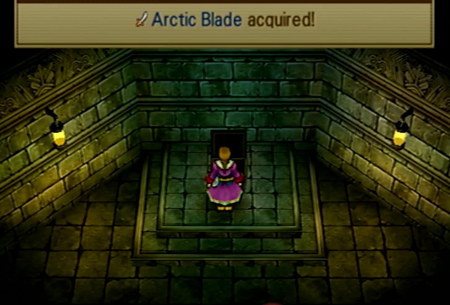
Arctic Blade is hiding in Puzzle #17, and it gives you the counter ability. Combine that with the Lion Shield to transform into the team goalie that attempts to counter every oncoming physical attack.
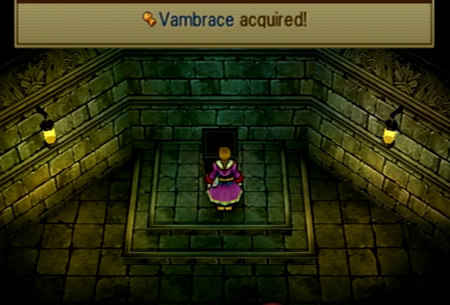
Vambrace is the Wild Arms-significant item you’ll find in #19. It can completely nullify physical attacks randomly.
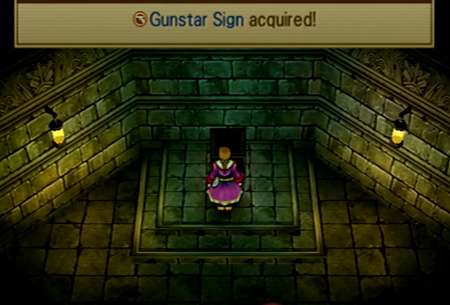
And #20 grants you the Gunstar Sign. Despite the fact that you would expect that to be some kingly item in a gun-based combat system, it just boosts your critical rate. Granted, that is very useful.

But what you really want out of this quest are the two wholly unique key items. The Tracker of Puzzle #10 is an item that toggles dungeon markers off and on. Do you remember waaaay back in Serpent’s Coils when you could flip a switch that would show you floor numbers and where you had previously been? Well Tracker is a key item that will offer that information for any dungeon. It is great for trying to find lost treasures in earlier dungeons! Though it does have the drawback of not denoting “bombable” or otherwise hidden doorways. Other than that issue, it is great for dungeon exploration.

And Puzzle #14 is so important, I have “do Puzzle #14 first” memorized. The Teleport Orb is an item returning from Wild Arms 2 that allows you to teleport to any previously visited town. You can only obtain this item after acquiring an airship in the first place, but, man does it save some time.

Speaking of the world, I have included a GIF of the world map, and the location of every Millennium Puzzle. Follow the green square!
Note that the map never indicates if a puzzle is solved or not, so if you discover a puzzle, you may as well complete it when you find it. Saves you having to visit all twenty locations again if you are trying to find one you missed completing the first time.

Of course, you do not have to solve every puzzle. But if you do…
Simon will hand over an EX File Key to showcase your mastery. Another giant sidequest down!
Note that the video of "solutions" I made is approximately an hour and fifteen minutes long, and that does not include "travel time", actively finding the puzzles, or the many times I failed because I have a toddler's object permanence. In general, if you are sitting down to complete every Millennium Puzzle in one go some afternoon, you should probably block out about two hours.
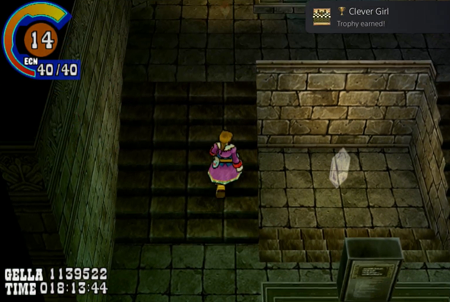
And on the later Playstation editions, if you solve all the puzzles, you get a trophy that compares you to Mr. Pilkington.
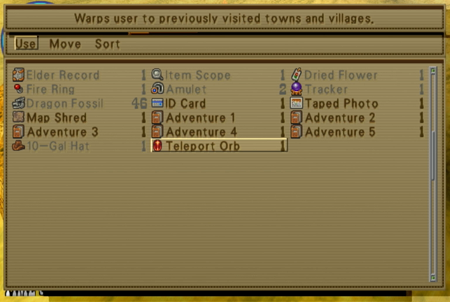
So this is a bit of a recursive sidequest update, as you need to “do” what you are going to see here to find all the Millennium Puzzles. This statement will make sense in a minute, I swear.
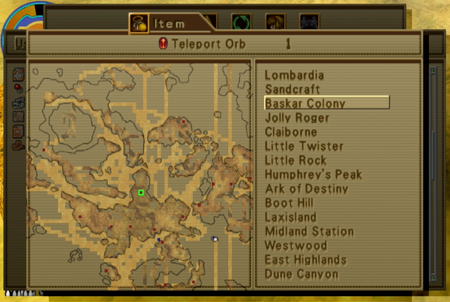
Under normal circumstances, the Teleport Orb is just an infinitely usable item that will take you where you want to go.
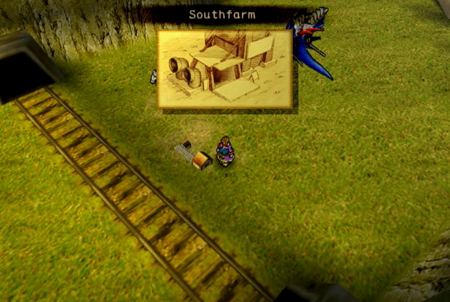
However, if you visit Southfarm Train Station, a thing you absolutely would have zero reason to do once you have an airship…
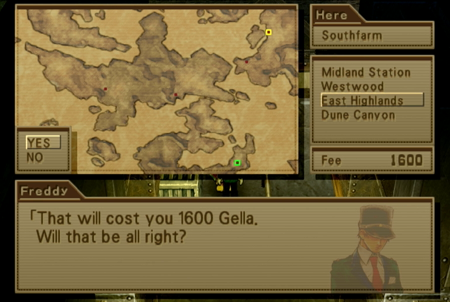
And then buy a ticket to East Highlands, which is technically as far as you can go in a train…
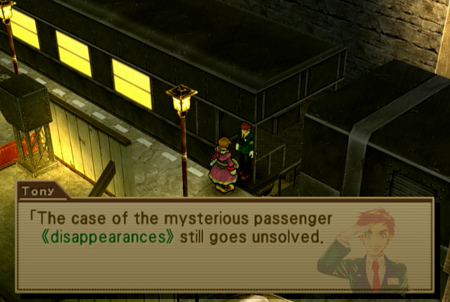
Tony will note something interesting:
Apparently people that have been boarding the train with teleportation items have been disappearing. Hey! We have a teleportation item!
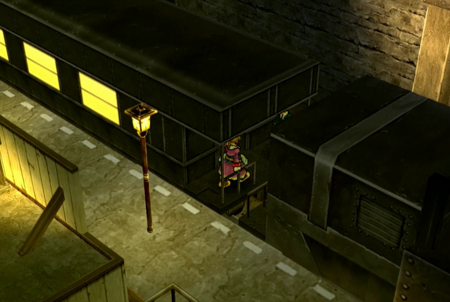
I’m sure it will be fine.
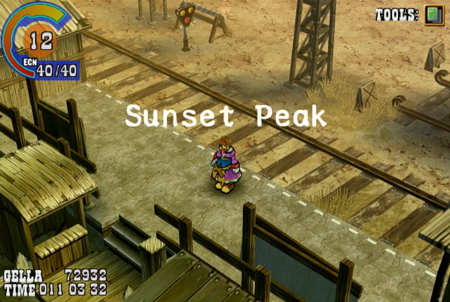
Uh-oh! Bermuda Triangled!
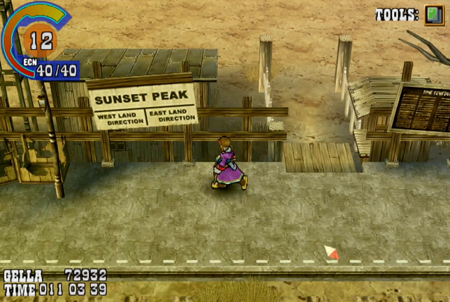
This esoteric quest is technically a reference to Wild Arms 2, where Lilka kept screwing up her teleportation items, and would wind up all over the world (and once at a magic shop that was otherwise inaccessible).
Sunset Peak is an abandoned train station in the middle of nowhere. There are no people here.
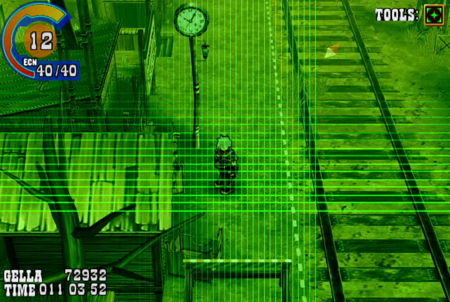
Despite the fact that the radar will claim there are no items…
If you run directly into the clock, you will find an EX File Key. There is, like, one random sign or NPC in the world that tells you to run into stuff if you’re ever lost, but I’m not certain anyone has ever found this key “accidentally”. It is a hidden item in a hidden place that is never plot-mandated.
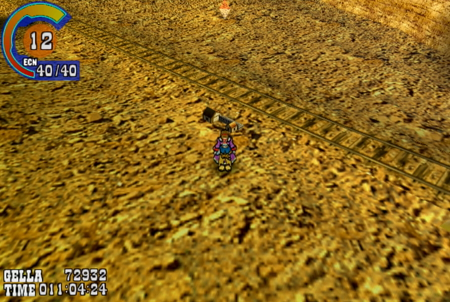
But that is just the auxiliary prize of discovering Sunset Peak. The real reward is that Sunset Peak is stationed in this otherwise inaccessible area that is not available by airship.
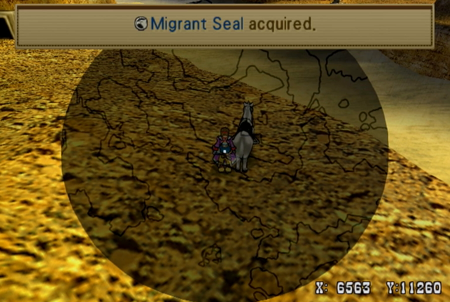
Our last overworld Migrant Seal is hidden in this area, and you can only find Millennium Puzzle #20 and Telepath Tower #15 (stay tuned for a future update on that cursed quest) here, too. Given both of those locations are the “last” spots in their respective sidequests (well, mostly last), it is clear this whole site is somewhere intended to be found late in the game.
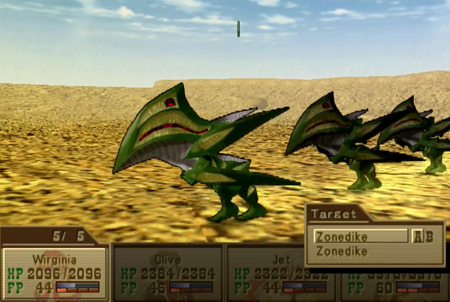
And relatedly, the monsters in this area are especially nasty. These Zonedikes have an ability that will drain your experience/levels. It is a “weak” version of the spell, but it can still be a giant pain.
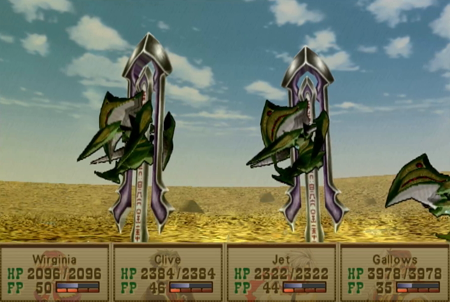
They are also strong against all elements, so they are one of three monsters weak to Dark Luceid. Always find an excuse to use that spell.
You can push and pull blocks as long as you have one block of space to move. Note that you cannot move a block if it has a block on top of it, nor can you do anything to move a block that is “stacked up” and inaccessible. This means that a number of puzzles rely on “clearing” lower blocks so the higher blocks can fall to movable level. Also, you can put a block on top of another block if there are multiple height levels, and that will eliminate like-colored blocks as if they were adjacent.
Your goal is to disappear all the blocks. You can push blocks off the edge… but then you’ve permanently lost. Don’t do that. Match all the colors until you have a blank playfield.
The real trick to solving these riddles is watching your blocks and counting. If you have an even number of blocks on the field, you have to be able to push them next to each other in groups of two. If you have an odd number of blocks, you have to be able to push a block between two blocks, and then eliminate three at once. In this screenshot, matching those three would eliminate three blocks simultaneously… but would leave a lone red block that would make the puzzle unsolvable.
Unless there was another block down there for a pair. That would work!
Many of the puzzles initially seem daunting, but are actually pretty straightforward. This puzzle only leaves you four movable blocks to start, so you just have to take it easy with your limited choices. Limited choices are good! They mean you don’t have to get too deep into the “wrong” choices!
Always inventory your blocks to start. This one looks pretty “equal”, but closer examination reveals there are a meager number of red blocks. Keep an eye on any colors that are limited, as you don’t want to solve “everything” only to have one odd red block left over.
When there are multiple levels, make sure you can return if you plan on dropping to a lower level. In this particular puzzle, you never want to drop down, and the trick is to push blocks from your upper cache down to the two “pillars”.
Think outside the box! Sometimes you can use your blocks to make bridges. Note that for this particular puzzle, you have to “plan” your bridges to match the blocks they will eventually erase, because the two-block wide sections mean you cannot swap their locations once they are set.
The later puzzles seem to fixate on giving you as little room to maneuver as possible. Remember that pushing and pulling blocks can “accidentally” erase a block, as if a block is near its buddy for any reason, it will disappear. It doesn’t matter if you were trying to put it somewhere else!
Though chain reactions are fun sometimes. You cannot move while a chain is happening, so there is never a “skill” component to quickly moving a block into place.
You don’t get bonus points for starting chain reactions. This isn’t a competitive puzzle game! But, hey, it doesn’t hurt.
This is Puzzle #18. It is a giant waste of time, and the “puzzle” is mostly navigating the blocks the looooong way through these narrow pathways. You can always throw yourself off the edge of the puzzle to reset everything to start… but if you fall off by complete accident, it resets the puzzle just the same. This can be infuriating, particularly how the “push/pull/grab” button is conditionally the “run” button when you are not lined up with a block…
But you will want to do Millennium Puzzle #18, as the reward is an essential Migrant Seal. Each of the Millennium Puzzles offers exactly one prize upon completion. You do not need to complete all the puzzles in order, and you can make a beeline for the better prizes if you know where to look. Many of the early puzzles offer “general” rewards like Level Up Apples or Duplicators. Later puzzles include…
The two remaining Weather Vanes (see their importance in the previous update) for Puzzle #7 and Puzzle #11…
And the unique Lion Shield for Puzzle #13. This grants the ability to defend a weaker party member, which can be great on the HP-flush Gallows.
Arctic Blade is hiding in Puzzle #17, and it gives you the counter ability. Combine that with the Lion Shield to transform into the team goalie that attempts to counter every oncoming physical attack.
Vambrace is the Wild Arms-significant item you’ll find in #19. It can completely nullify physical attacks randomly.
And #20 grants you the Gunstar Sign. Despite the fact that you would expect that to be some kingly item in a gun-based combat system, it just boosts your critical rate. Granted, that is very useful.
But what you really want out of this quest are the two wholly unique key items. The Tracker of Puzzle #10 is an item that toggles dungeon markers off and on. Do you remember waaaay back in Serpent’s Coils when you could flip a switch that would show you floor numbers and where you had previously been? Well Tracker is a key item that will offer that information for any dungeon. It is great for trying to find lost treasures in earlier dungeons! Though it does have the drawback of not denoting “bombable” or otherwise hidden doorways. Other than that issue, it is great for dungeon exploration.
And Puzzle #14 is so important, I have “do Puzzle #14 first” memorized. The Teleport Orb is an item returning from Wild Arms 2 that allows you to teleport to any previously visited town. You can only obtain this item after acquiring an airship in the first place, but, man does it save some time.
Speaking of the world, I have included a GIF of the world map, and the location of every Millennium Puzzle. Follow the green square!
Note that the map never indicates if a puzzle is solved or not, so if you discover a puzzle, you may as well complete it when you find it. Saves you having to visit all twenty locations again if you are trying to find one you missed completing the first time.
Of course, you do not have to solve every puzzle. But if you do…
Simon will hand over an EX File Key to showcase your mastery. Another giant sidequest down!
Note that the video of "solutions" I made is approximately an hour and fifteen minutes long, and that does not include "travel time", actively finding the puzzles, or the many times I failed because I have a toddler's object permanence. In general, if you are sitting down to complete every Millennium Puzzle in one go some afternoon, you should probably block out about two hours.
And on the later Playstation editions, if you solve all the puzzles, you get a trophy that compares you to Mr. Pilkington.
So this is a bit of a recursive sidequest update, as you need to “do” what you are going to see here to find all the Millennium Puzzles. This statement will make sense in a minute, I swear.
Under normal circumstances, the Teleport Orb is just an infinitely usable item that will take you where you want to go.
However, if you visit Southfarm Train Station, a thing you absolutely would have zero reason to do once you have an airship…
And then buy a ticket to East Highlands, which is technically as far as you can go in a train…
Tony will note something interesting:
“The case of the mysterious passenger disappearances still goes unsolved. If the disappearances continue, I'm afraid we'd have to shut this route down! I hope it stops.”
Apparently people that have been boarding the train with teleportation items have been disappearing. Hey! We have a teleportation item!
I’m sure it will be fine.
Uh-oh! Bermuda Triangled!
This esoteric quest is technically a reference to Wild Arms 2, where Lilka kept screwing up her teleportation items, and would wind up all over the world (and once at a magic shop that was otherwise inaccessible).
Sunset Peak is an abandoned train station in the middle of nowhere. There are no people here.
Despite the fact that the radar will claim there are no items…
If you run directly into the clock, you will find an EX File Key. There is, like, one random sign or NPC in the world that tells you to run into stuff if you’re ever lost, but I’m not certain anyone has ever found this key “accidentally”. It is a hidden item in a hidden place that is never plot-mandated.
But that is just the auxiliary prize of discovering Sunset Peak. The real reward is that Sunset Peak is stationed in this otherwise inaccessible area that is not available by airship.
Our last overworld Migrant Seal is hidden in this area, and you can only find Millennium Puzzle #20 and Telepath Tower #15 (stay tuned for a future update on that cursed quest) here, too. Given both of those locations are the “last” spots in their respective sidequests (well, mostly last), it is clear this whole site is somewhere intended to be found late in the game.
And relatedly, the monsters in this area are especially nasty. These Zonedikes have an ability that will drain your experience/levels. It is a “weak” version of the spell, but it can still be a giant pain.
They are also strong against all elements, so they are one of three monsters weak to Dark Luceid. Always find an excuse to use that spell.
You must use a teleport orb to leave the area (as Lombardia cannot pick you up where she cannot land), and you will have to use that same orb if you ever want to return to the area. So solving Millennium Puzzle #20 requires the prize from Millennium Puzzle #14, and we'll come back for that Telepath Tower later.
And that's it! We are done with all the surmountable sidequests for this point in the game. We’ll pick up the “real” plot again next week.
Next time on Wild Arms: Let’s get back to remembering the bad times.
An eastward wind is a west wind, though.West wind, guys. Zephyr is supposed to be from the West.
.... Okay! Maybe! But I feel like the word "West" should have been in there somewhere!
Bah! Whatever! It's March 8, Gear Day. Since it's gear day, I'm watching rotating gears, something we don't do often. Watching the gears rotating over and over, my eyes started getting blurry. The gears turned into doubles, then triples, then quadruples... Ugh... I ... I feel sick. N-No wonder we don't look at gears too often...
Chapter 49: Too Many Daddies
Previously on Wild Arms 3: Well, technically last week we completed our last optional sidequest for this section of the game, but waaaay back in Part 42…
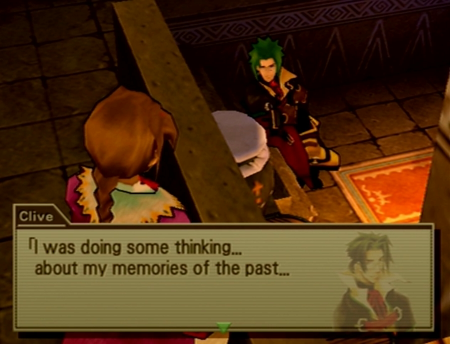
Clive had a good sit where he got to thinking about his old mentor…
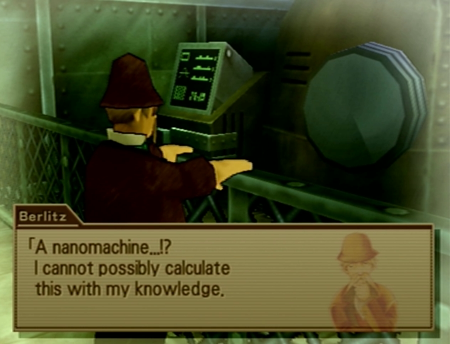
Who was very learned in Filgaia not-magic magic science…

And got squished by a security system gone haywire.
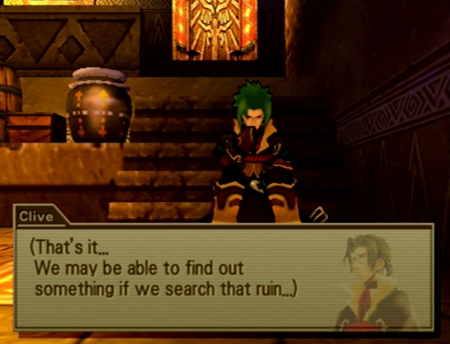
So Clive decided we were going to go see that ruin.
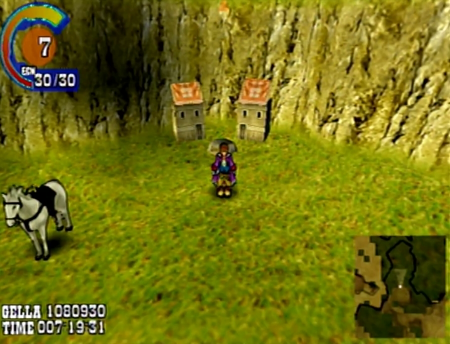
(Back then)
(The Present)
Now remember, taking a shortcut will lead you astray or something, so that event was hours and hours of gameplay ago. Four hours, actually, as I can compare screenshots from the older update. Oh! And the Wild Arms 3 clock is all wonky, too, so it was probably much longer. I have no idea why that timer only counts walkin’ around time.
Then again, I have two different playthroughs going here, so it is all very confusing. Point is that it has been a while since we participated in the mandatory plot!
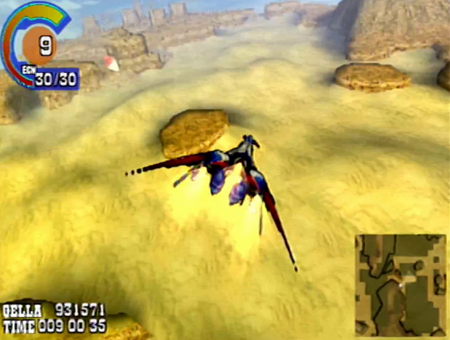
So now we fly!
… We wouldn’t be able to fly if we didn’t do all those sidequests for hours. See, Clive! It was helpful! It’s not like your professor/father-in-law is going to get any more dead.
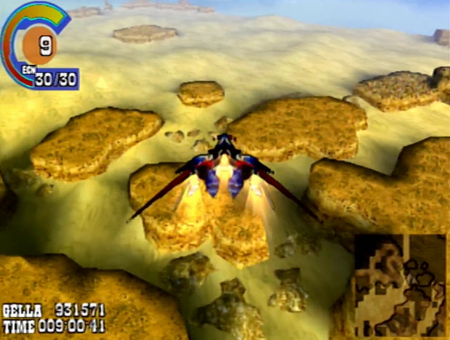
Being able to fly makes this quest a little easier…
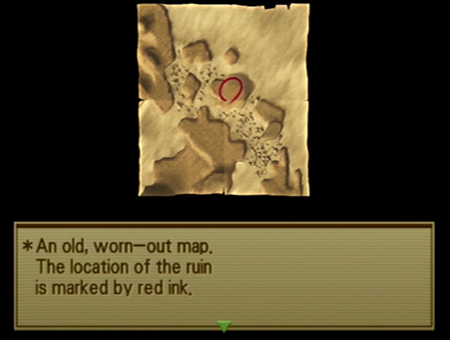
As the only directions we have are this “old, worn-out map”, and nailing that location is easier from the air.
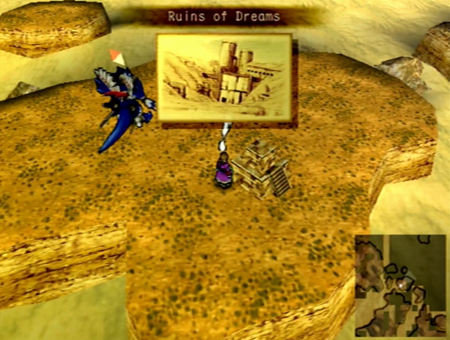
You can certainly reach these

“You were the shitz, Berlitz.”
Next time on Wild Arms: The pinnacle of all fantasy super science.
Bah! Whatever! It's March 8, Gear Day. Since it's gear day, I'm watching rotating gears, something we don't do often. Watching the gears rotating over and over, my eyes started getting blurry. The gears turned into doubles, then triples, then quadruples... Ugh... I ... I feel sick. N-No wonder we don't look at gears too often...
Chapter 49: Too Many Daddies
Previously on Wild Arms 3: Well, technically last week we completed our last optional sidequest for this section of the game, but waaaay back in Part 42…
Clive had a good sit where he got to thinking about his old mentor…
Who was very learned in Filgaia not-magic magic science…
And got squished by a security system gone haywire.
So Clive decided we were going to go see that ruin.
(Back then)
(The Present)
Now remember, taking a shortcut will lead you astray or something, so that event was hours and hours of gameplay ago. Four hours, actually, as I can compare screenshots from the older update. Oh! And the Wild Arms 3 clock is all wonky, too, so it was probably much longer. I have no idea why that timer only counts walkin’ around time.
Then again, I have two different playthroughs going here, so it is all very confusing. Point is that it has been a while since we participated in the mandatory plot!
So now we fly!
… We wouldn’t be able to fly if we didn’t do all those sidequests for hours. See, Clive! It was helpful! It’s not like your professor/father-in-law is going to get any more dead.
Being able to fly makes this quest a little easier…
As the only directions we have are this “old, worn-out map”, and nailing that location is easier from the air.
You can certainly reach these
Ruins of Dreams from a nearby Sandcraft beach if you would like, though.
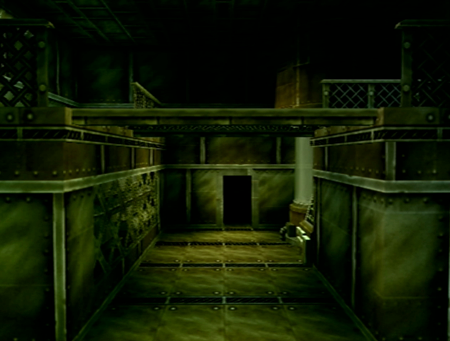
Looks like another vaguely techno dungeon. Not as bad as Yggdrasil, but pretty close to Faraway Lands.
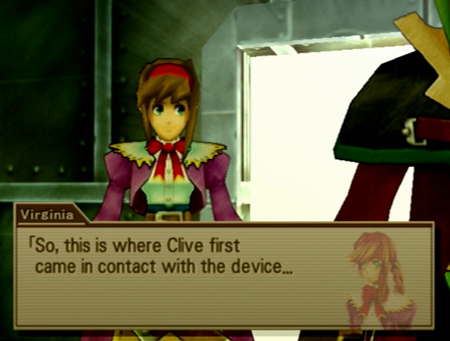
“Fun lore, fake dad.”

“Man, I always forget to bring flowers...”
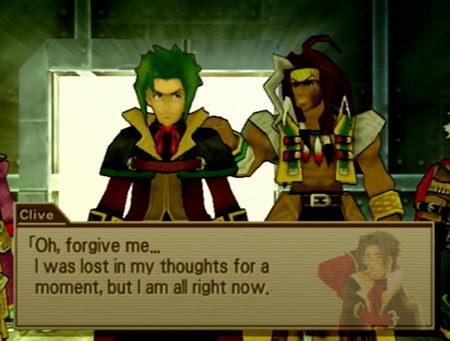
I always appreciate how Gallows is a pretty consistent buffoon, but an empathetic buffoon. This is in stark contrast to Jet, who is just a jackass.
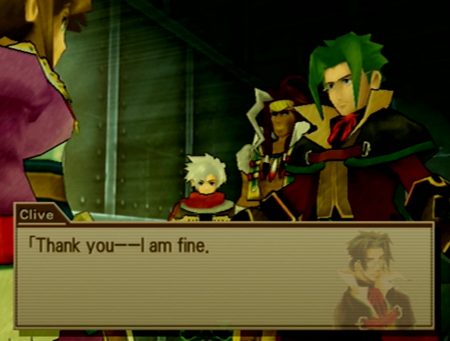
Everyone is concerned this PS2 game is going to turn into a PS4 Sad Dad game.
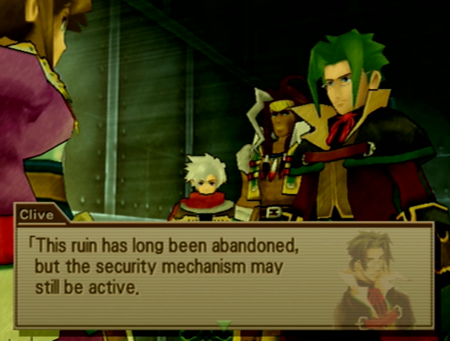
“You know? The one that killed my friend and teacher? Oh, fignuts, I’m sad again.”
Little on the nose, dungeon.
First thing we’re going to do here is get some ups.
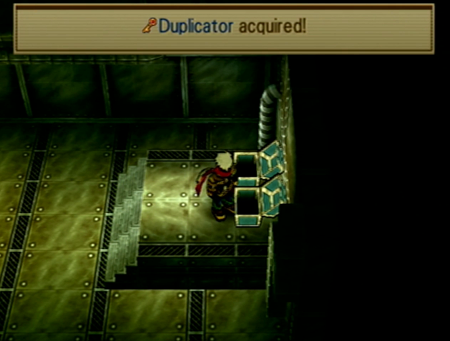
This treasure area is completely skippable, and if you don’t immediately identify that grating in the first room as something other than window dressing, you might miss this area entirely.

There were two treasure rooms accessible from this fork, and a total of five treasures. Score!
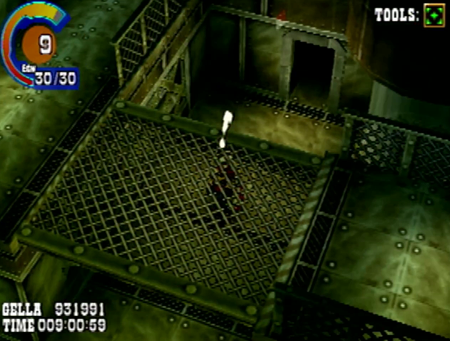
Now moving on to the dungeon proper.
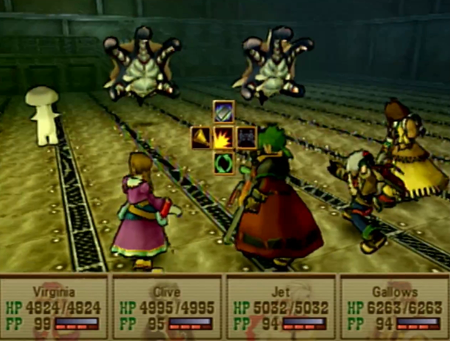
Mushrooms ‘n hands
Mushrooms ‘n hands
Best of friends
It’s mushrooms ‘n hands
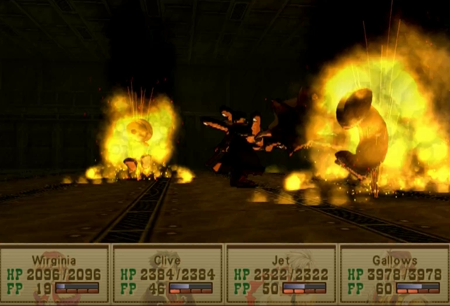
Any and all fungi should be immolated on sight.
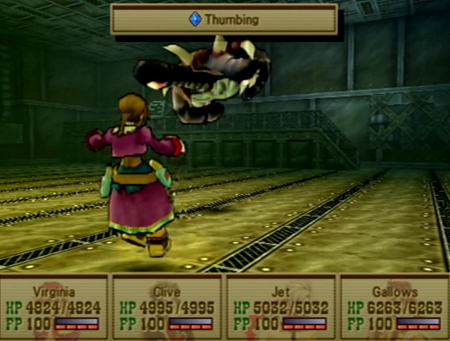
These guys work just like their buddies in the timer dungeon or Gunner’s Heaven: they are annoying, and will attempt to cancel turns or reduce accuracy. They won’t kill you, but they will slow you down.
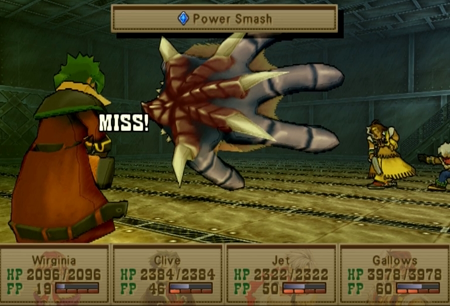
Kind of dig the design on the knuckles, though. Eat your heart out, Wall Masters.
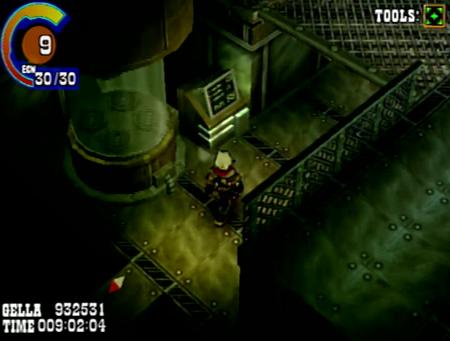
Okay, let’s get a move on.
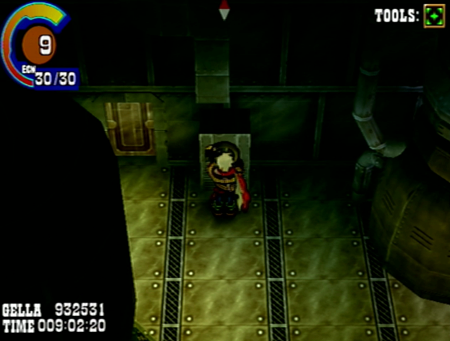
Oh! One of those wheel-based locking mechanisms. I should be keeping track of how many of these there are across the game. I think we’re at three?
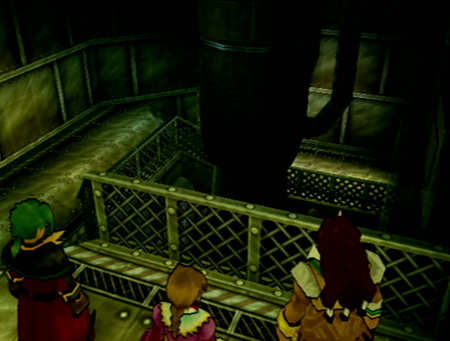
Break time.
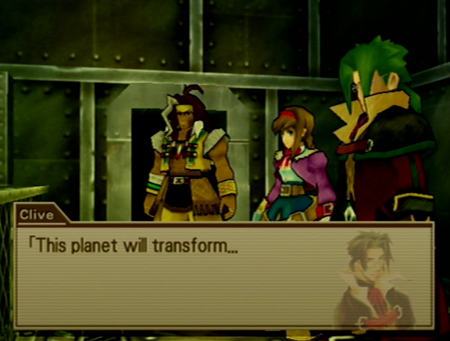
This is a direct quote from Siegfried, like, hours ago.
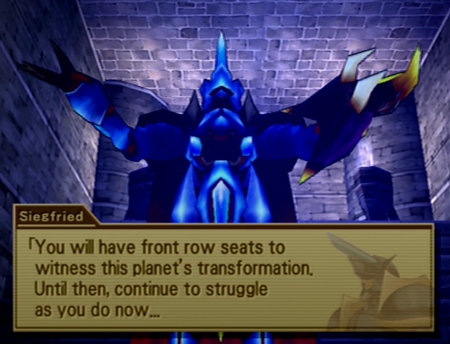
(Flashback! Again!)
Though it is closer to Berlitz's comment from the flashback. Clive has a lousy memory.
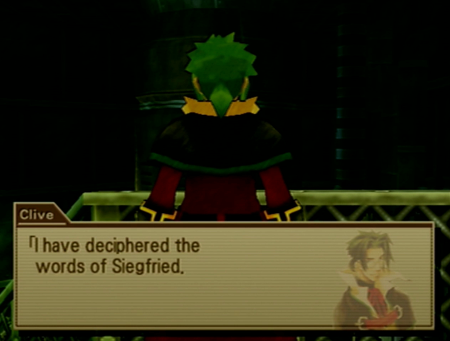
“This planet is Unicron. Major plot twist. Got it all figured out.”
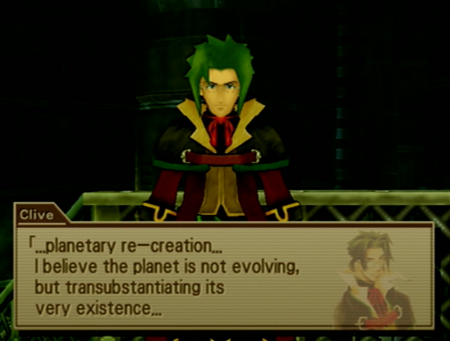
So Clive’s theory is that the demons want to screw up the planet. Duh.
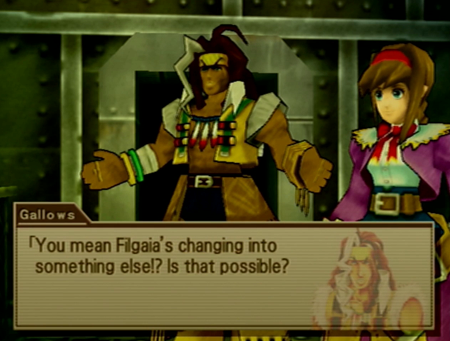
“We routinely get hit with a magic spell that turns us into bronze statues. An item sold by a mundane merchant changes us back. It seems possible.”
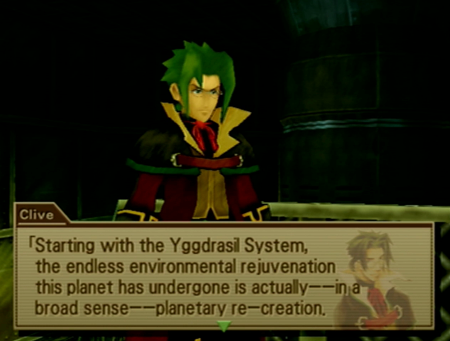
“We turned this planet into a craphole. Twice. We can do it again.”
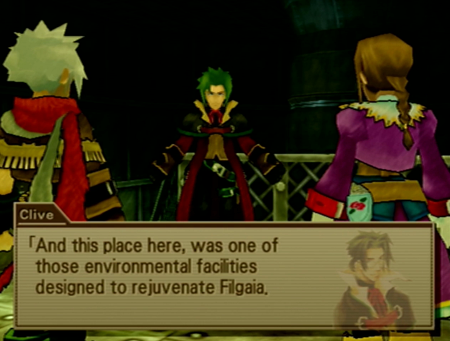
So secret truth or something: this was an old Yggdrasil-esque rejuvenation center. The kind you read about in murals.
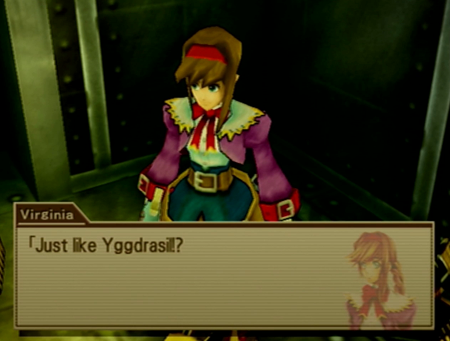
"Daddy worked at Yggdrasil! Is Daddy here? Or... a smaller Daddy?"
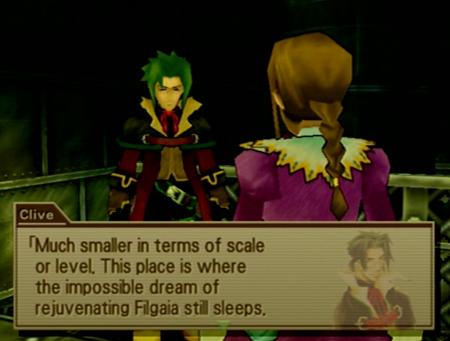
“The impossible dream of maybe getting a decent potato somewhere on this toilet of a planet.”

Moving on to find… I don’t know… more nanites?
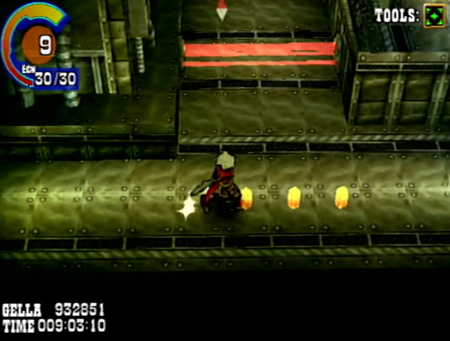
Hey! It’s that security system I’m always hearing about.
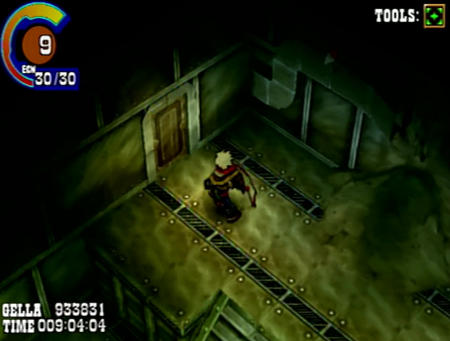
“Is your dad in that pile of dirt?”
“No. Different pile. Also, not my dad.”
“How about that pile over there?”
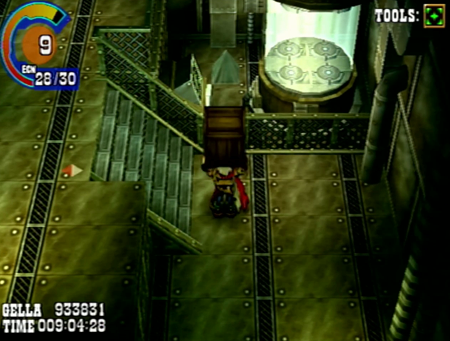
Simple puzzle. Throw crate at crystal. No big.
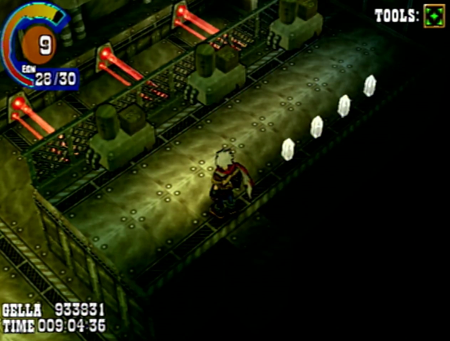
Now we’re up to the laser controls.
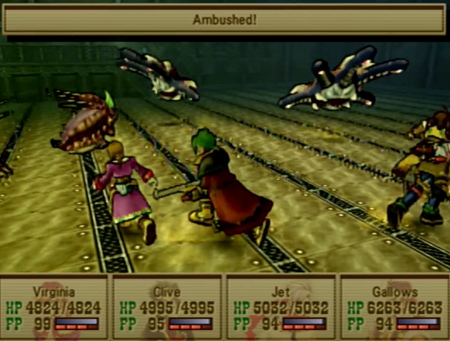
Dammit! I was in the middle of something!
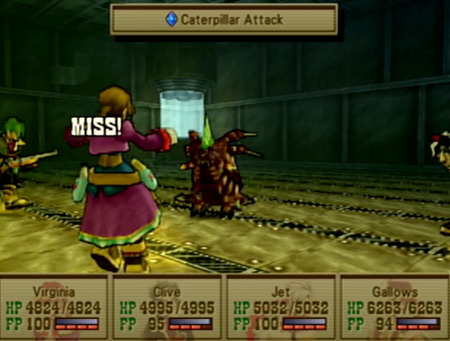
Seriously? Bro? There is nothing threatening about “Caterpillar Attack”. That’s like having a move called “Scrunchy Sit Down”.
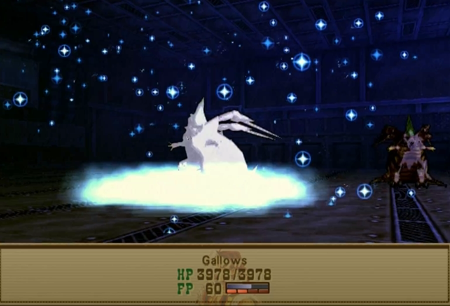
Eat ice, insect.
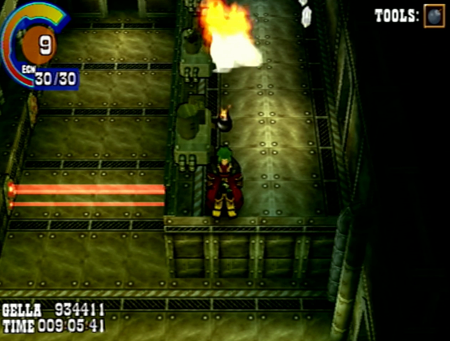
Okay, now Clive can get some cathartic, explosive revenge on the security system.
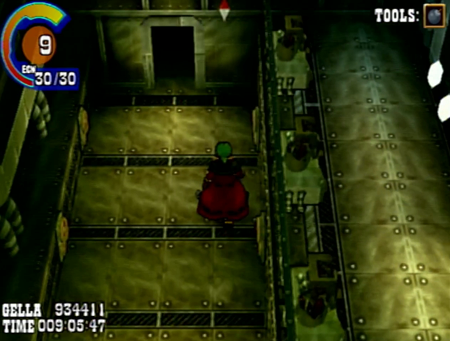
Clive started the game with the bomb tool. Do you suppose this is why he got them in the first place?

That’s a little too high to jump in one go…
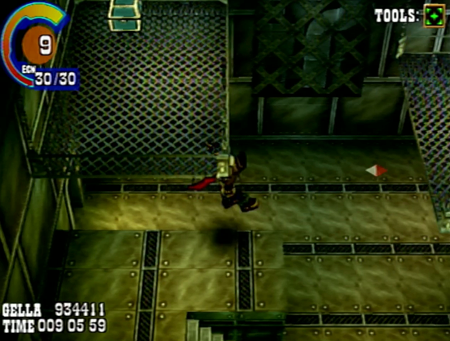
But there are some nearby stairs to make our life easier.
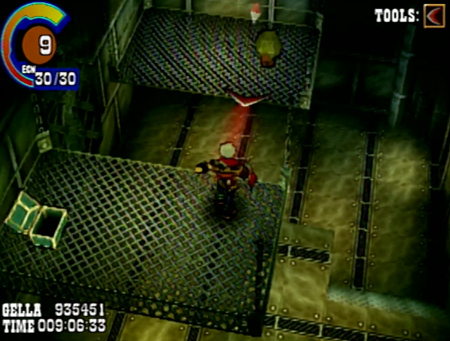
This is a little bit of a trick. Despite how it may look, you cannot hit the switch/crystal with anything from this grate.
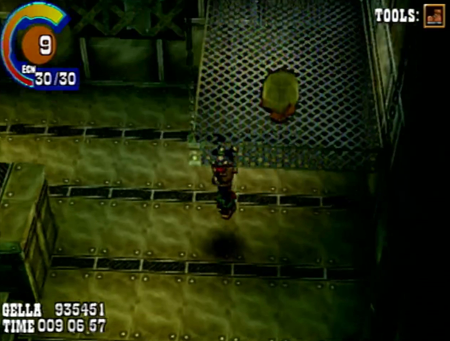
Have to get up close and personal.
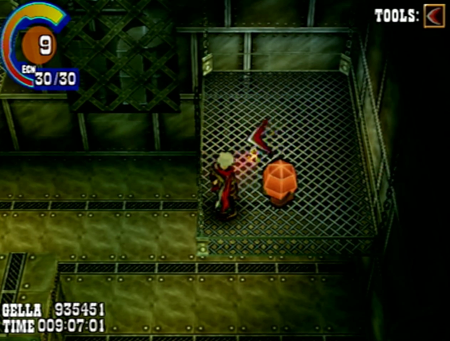
Now we’re good.
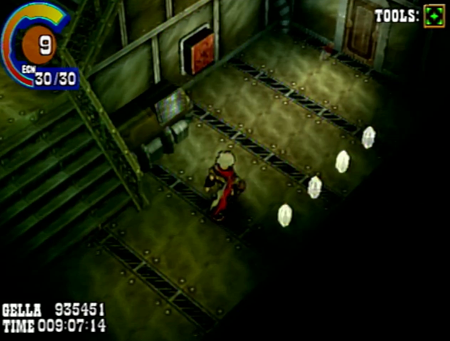
That doesn’t look suspicious at all.

Gonna go ahead and ram right into that.
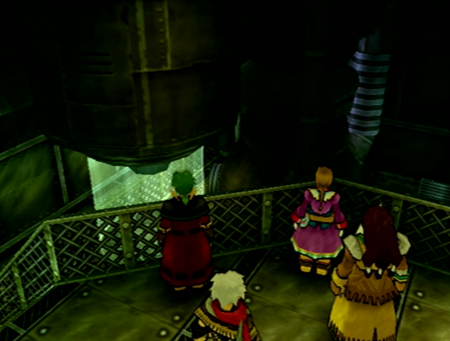
Good. Another tube room.
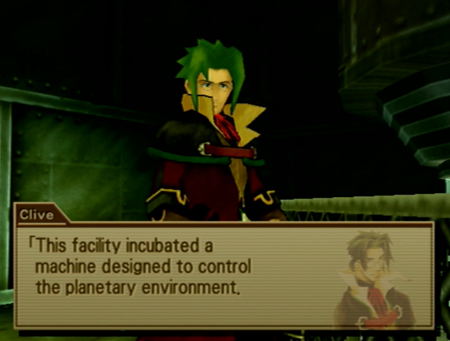
“Was the machine WALL-E?”
“I knew I shouldn’t have let you watch my daughter’s DVDs…”
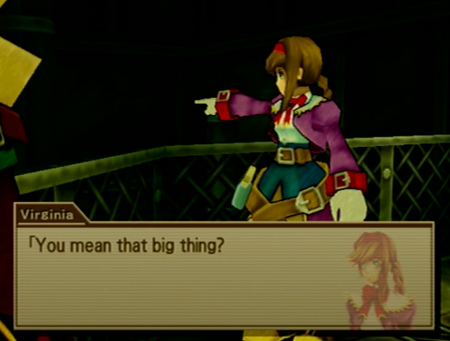
“That’s a tube, Virginia.”
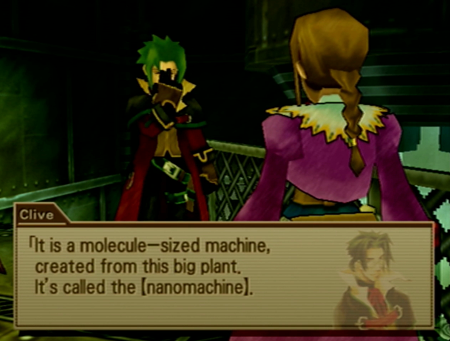
“It’s the small thing. The thing you can’t see. Just… uh… imagine there is something in there.”

“Where have I heard about those before…”
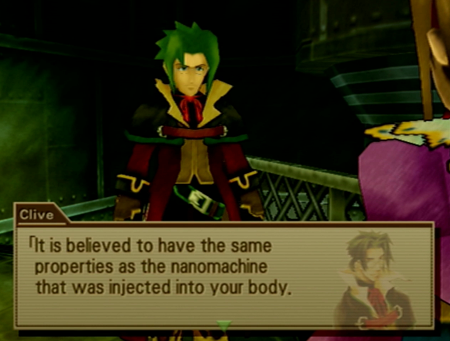
“Oh yeah! That thing that damn near killed me and crippled me for a week.”
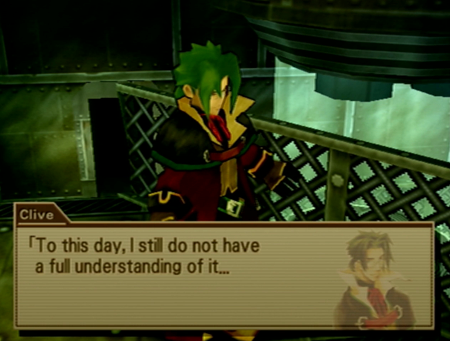
“Mostly because my cat keeps knocking over my microscopes…”
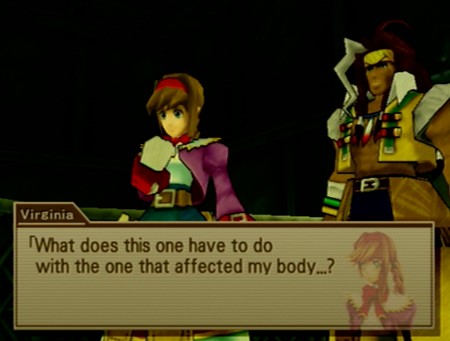
“You think nanomachines are cheap, Virginia? Gotta get your materials somewhere.”
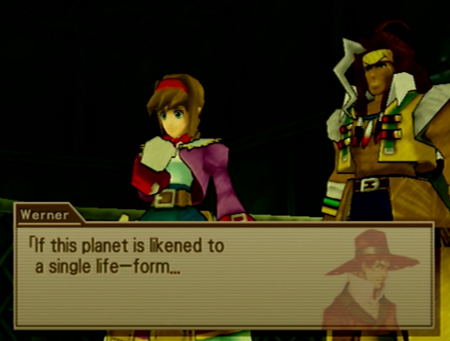
Daddy sense tingling!
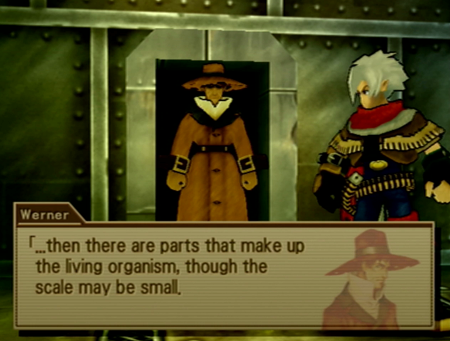
Jet, please do not reflexively shoot Werner.

“I knew if we started talking about super science, you would show up!”
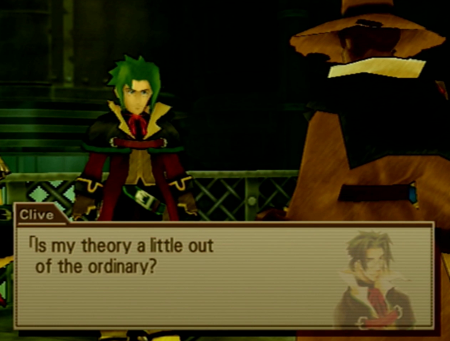
Daddy conference!

That is the politest way to tell someone they’re a dangerous idiot I have ever seen.
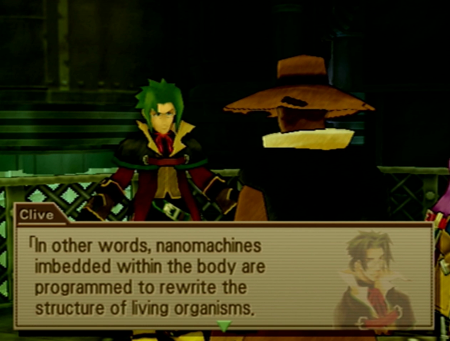
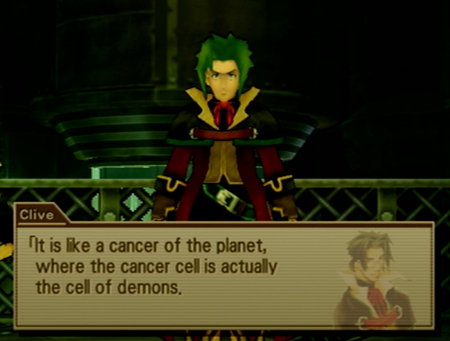
“So the demons are butt cancer!”
“Gallows… it… It can just be any cancer…”

Where have we seen a living example of this before?
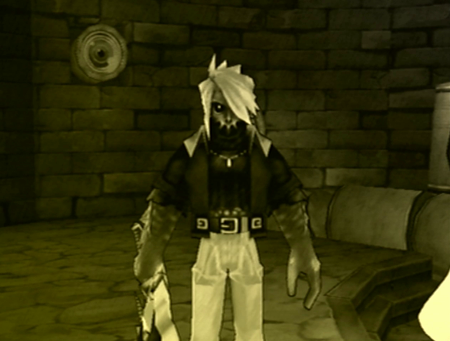
Oh yeah, that dead guy.
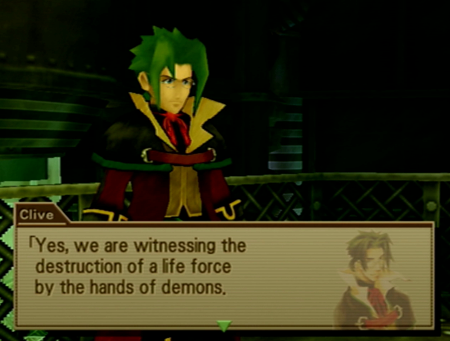
So complete with visual aids, Wild Arms really wants you to understand that Siegfried’s plan is to transform the whole planet into a “demon” in the same way that Janus was eventually overtaken.
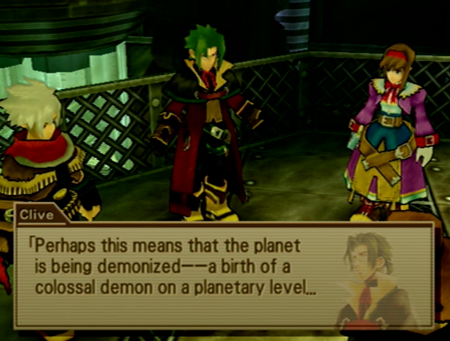
“Do you think the planet will have, like, wings? Or a tail?”
“… Maybe?”

This is shocking! We get it!
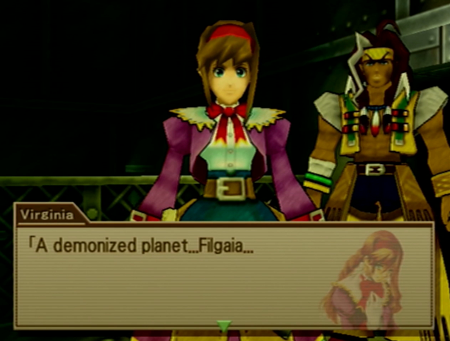
“It probably would be a worse planet than we have now. I… think.”
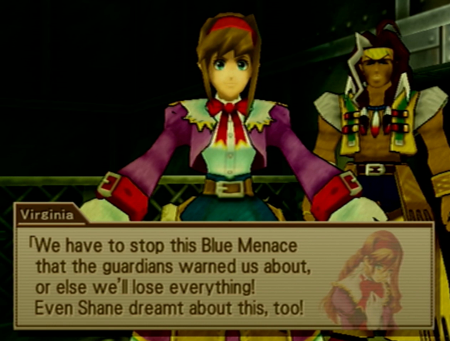
Well we were going to let the giant, menacing demon do whatever he wanted, but I guess we should actually address the issue.
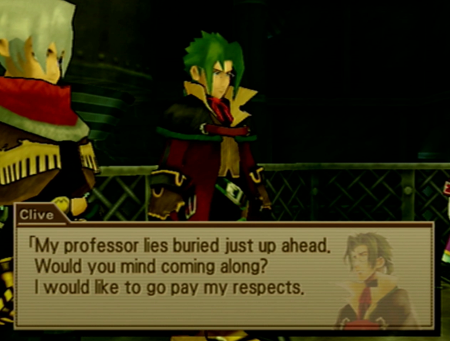
Anywho, I guess we got the clue we needed here? May as well stop by the ol’ gravesite.
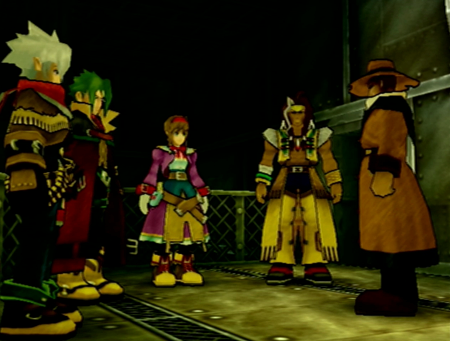
Werner joins the party!
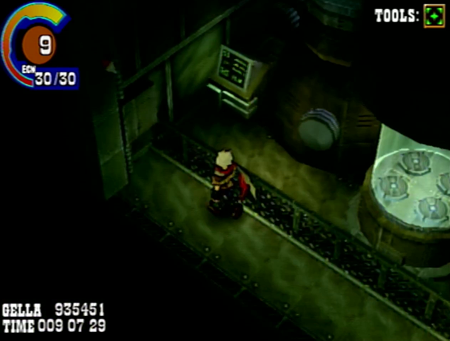
Like every other guest character, he isn’t “really” there. But it is nice to know Virginia gets some daddy-daughter time.
Fun fact: Werner taught Virginia how to use her ARMs, so nearly every character that has ever "joined" our party is a trained combatant that does jack all while they are traveling with us. Janus, his boys, Maya, and her entire family all could have helped, but never did. Shane is the only one that gets a free passivism pass.
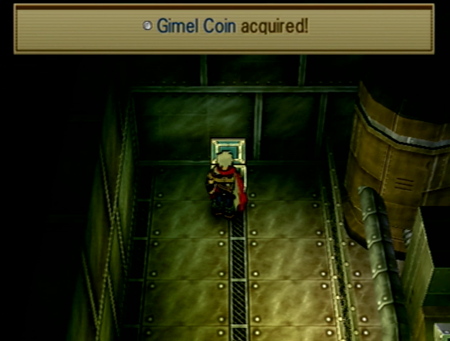
Guess a boss is coming up.

This switch needs a little extra heft.
So dropping from this grate should help.
Danger room! This platform quickly rescinds once you step on it.

But there is a switch over there.
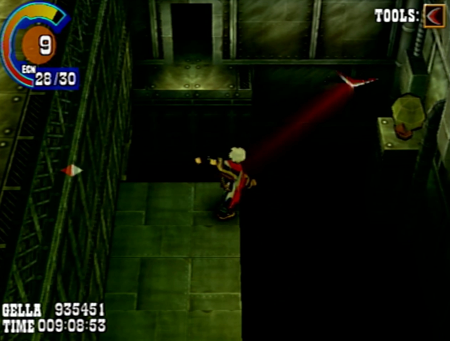
Go! Boomerang!.... Maybe steer it better on the return swing.
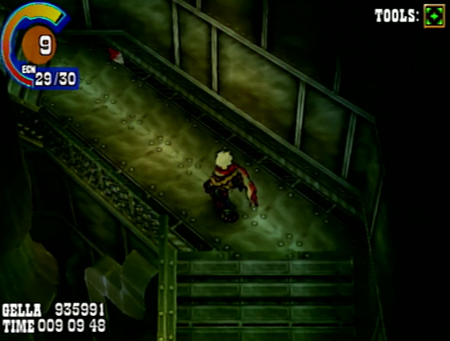
Okay, not a big deal. Another security apparatus down.
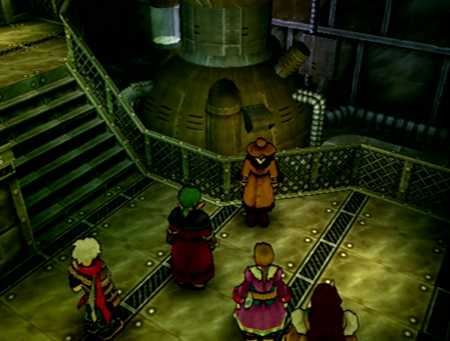
Werner? Got something to say?
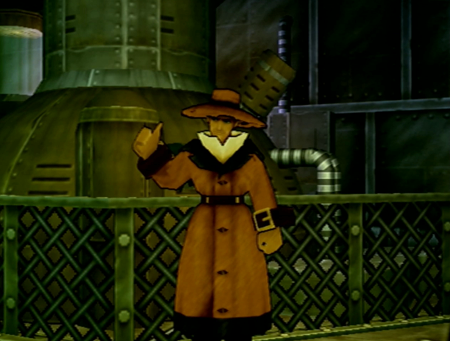
“Get a load of this jabroni.”
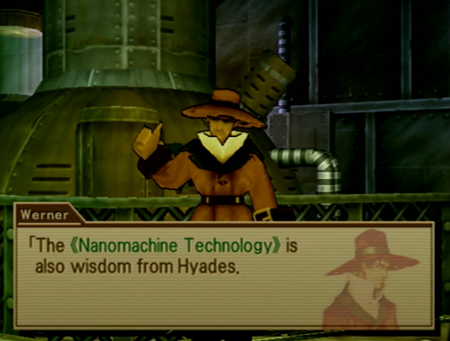
Is this new information? I feel like it has been emphasized before.
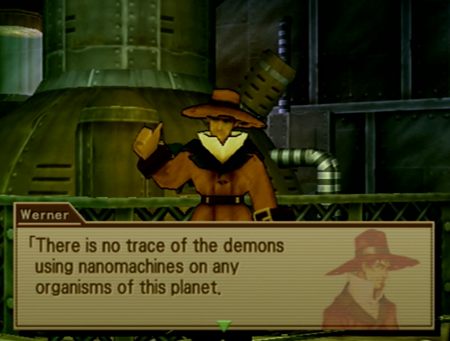
So nanomachines are amazing, but there is no evidence they were ever used on any biological creatures around town. This calls into question what the abundant nanomachines around Filgaia were even doing…
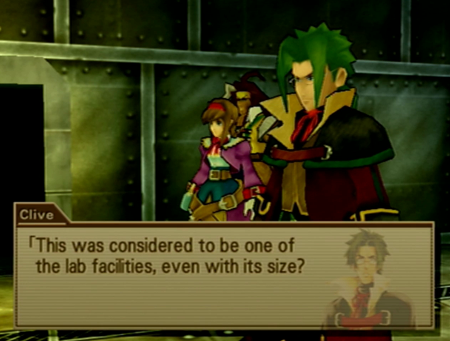
But anywho.
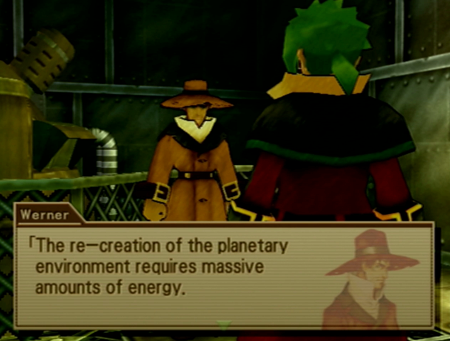
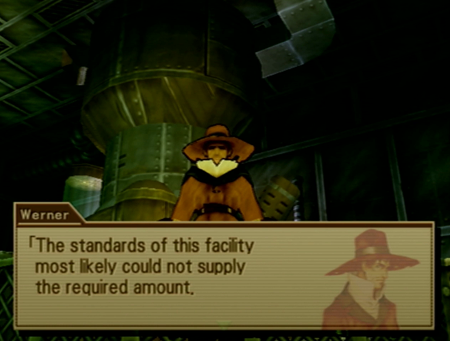
Yes, this was 100% a “lesser” Yggdrasil facility.
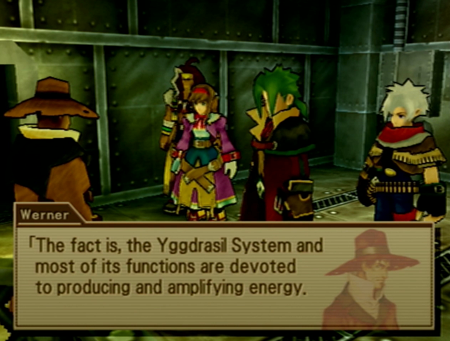
But it didn’t have the power-orb of Yggdrasil. You need a lot of power to get one of these plants going. Write that down. It will be a plot point.
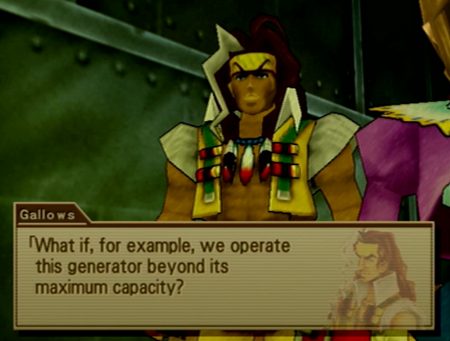
“Then we all die. Next question?”
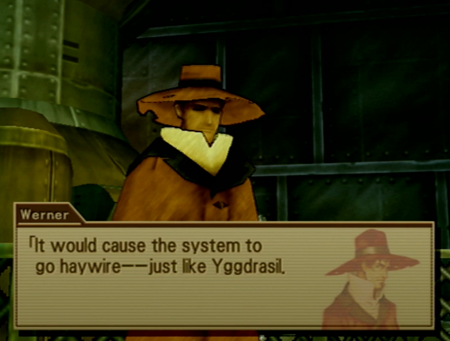
Oh, so the planet is just destroyed. Again.
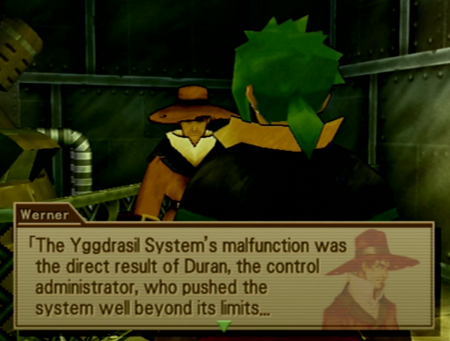
Duran, Duran, what are we going to do with you? You are notorious.
Revelation!
Werner believes that the Yggdrasil “accident” was no accident, but deliberate sabotage instigated by Duran. Note that apparently even the semi-immortal Prophets had no idea this was happening.
Unfortunately, we don’t know why Duran would do such a thing (while laughing!). A moment of silence for the jokerized.
“Searching everywhere but the actual Yggdrasil Plant where everything happened… but good hustle!”
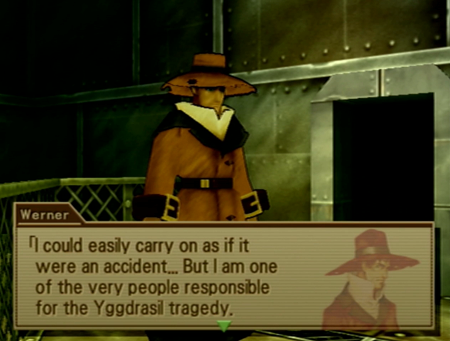
“Oh bother. I’m a bad daddy.”
“Please never say that again, Mr. Maxwell.”
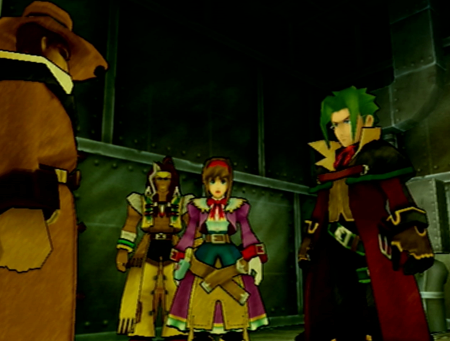
Look out behind you!
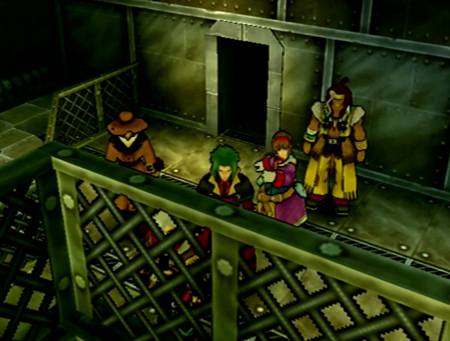
Here it comes!
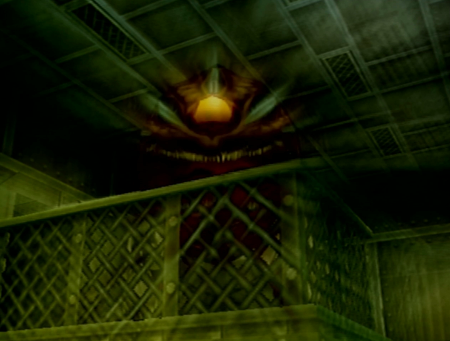
We were getting too many plot dumps at once, so we may as well fight a Beholder.
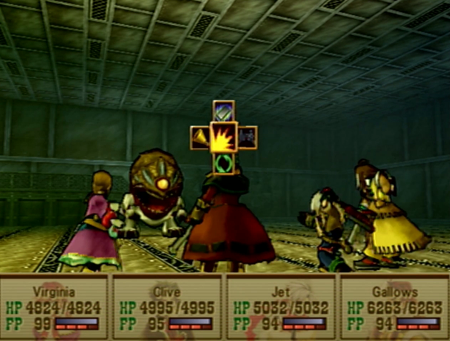
Oh, my bad. This Beholder has a body. A nice, legally distinct body.
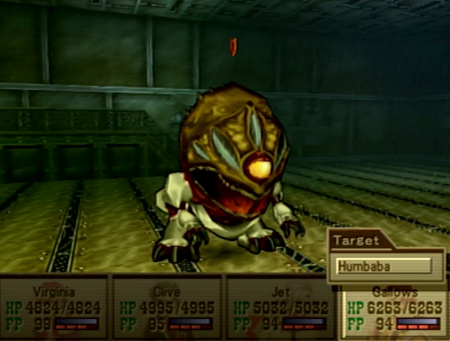
Humbaba? Oh we gettin’ Gilgamesh in here.
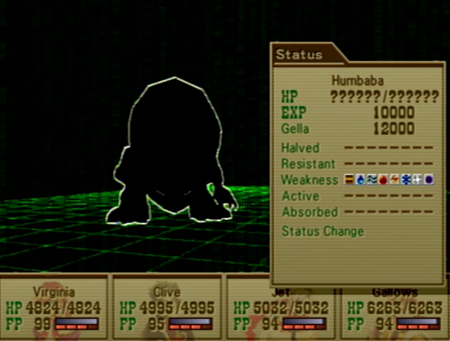
I… think we’re supposed to use elemental magic in this fight.
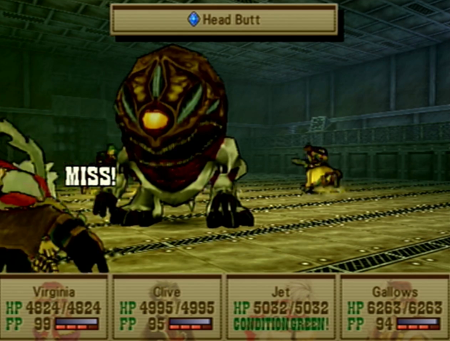
As a design concession to how you can be way overpowered for this dungeon thanks to available sidequests (and, side note, now we are wee gods on both playthroughs), many of the plot bosses are borderline puzzle fights for this section of the game.
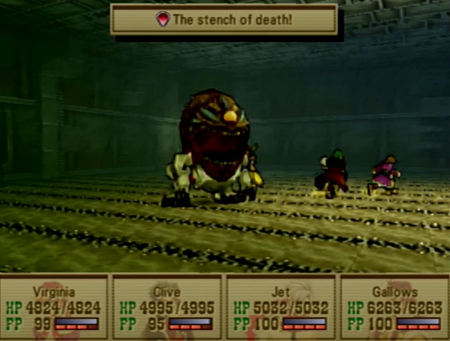
Humbaba’s big deal is that he’s got a countdown to a party-wide instant death attack.
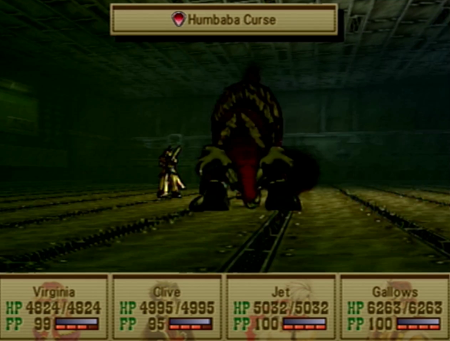
Humbaba uses Humbaba’s Curse every three rounds. In fact, his pattern is always headbutt – warning – death curse. Humbaba’s Curse is a 100% accurate instant death spell that will kill everybody… Assuming they don’t have a death-ward ability equipped.
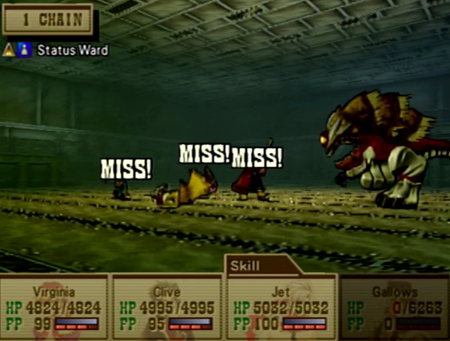
You are guaranteed to have one death-ward available on the Cosmic Cog medium, but any Holy Grails you have picked up along the way will help, too. As you can see with Gallows here, if you do not have a death-ward ability equipped… you dead.
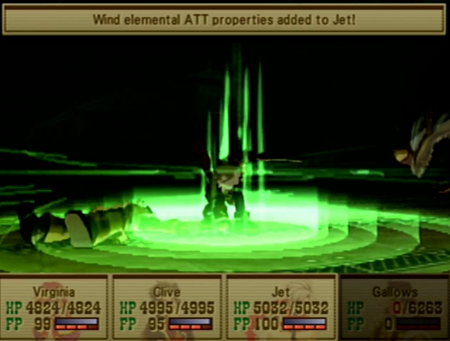
So since this thing is so damned weak to elemental attacks, imbue your boys with elemental attacks, and have Gallows and Virginia toss off the usual spells. … I mean, assuming everyone is alive.
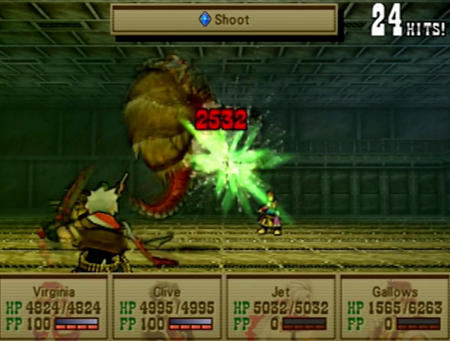
You can really do some damage with those elemental-weapon attacks. Remember to equip the Weakness ability if you have Luceid handy.
And that’s that. On the “real” playthrough, I exploited weaknesses and murdered this sucker before his first death attack.
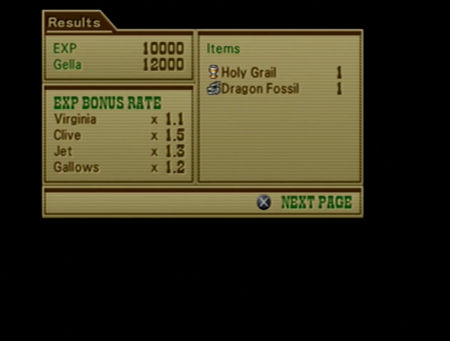
That Holy Grail would have been good to have before the fight!
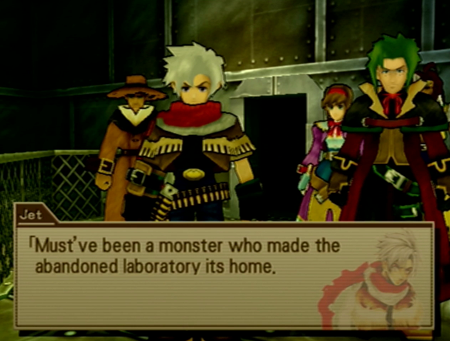
“Random boss monster spewing fatal breath. No big deal.”

It’s impossible to screenshot, but there is the sound effect of a little girl laughing here. Wonder what that was about…

Anywho, little dungeon left here.
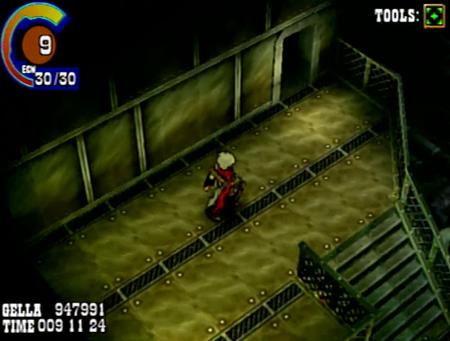
Like the entryway, the boss room here is kind of a trick, as there is a door that you might think you walked through and/or is decorative, but is technically unexplored.
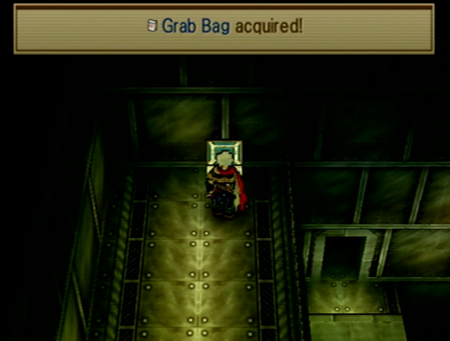
It’s got some treasure, and a scenic view of that area with the collapsing floor.
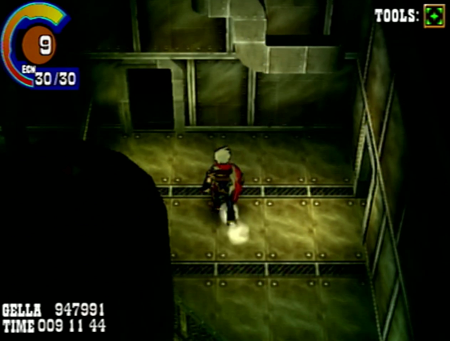
And another treasure room!
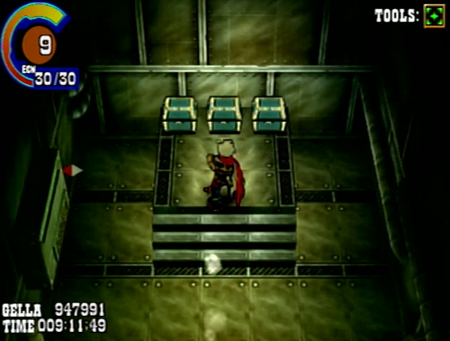
Which is good…
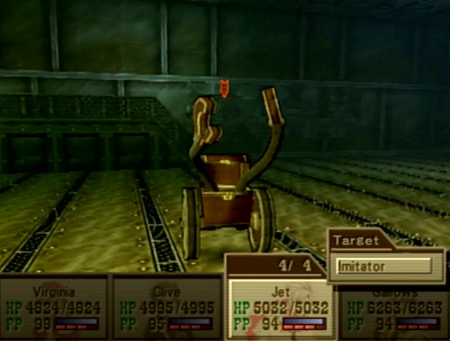
And bad…
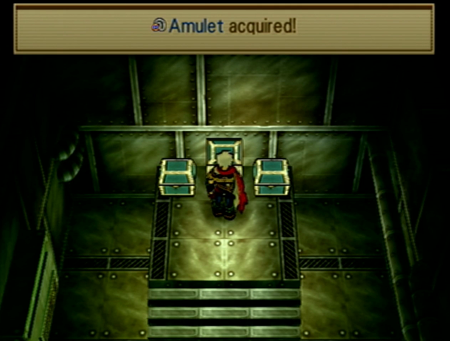
But you do score another amulet. It blocks against status ailments when guarding, if you have forgotten. We have a few at this point. It would be really useful in a fight where a monster counts down to a devasting status attack on a telegraphed turn.
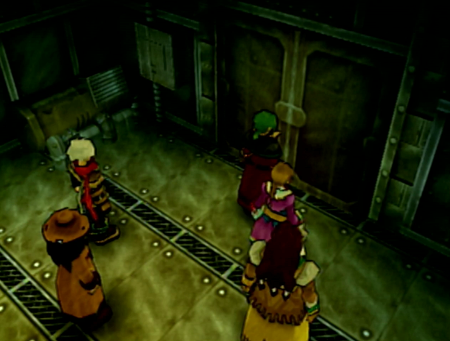
Now we’re at the actual end.
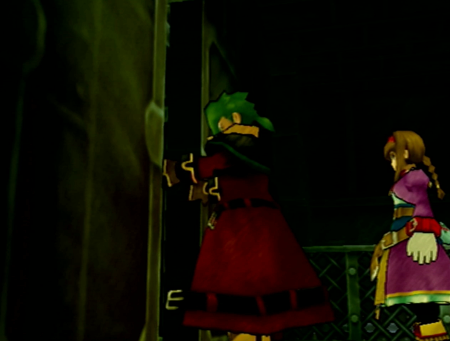
And you thought Humbaba had a “smell of death”…
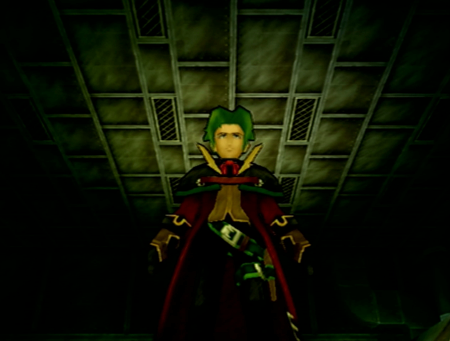
“Yep, that’s his rotting corpse.”
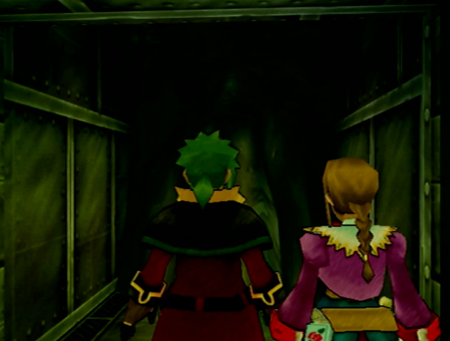
“It’s totally there. Can totally see it.”
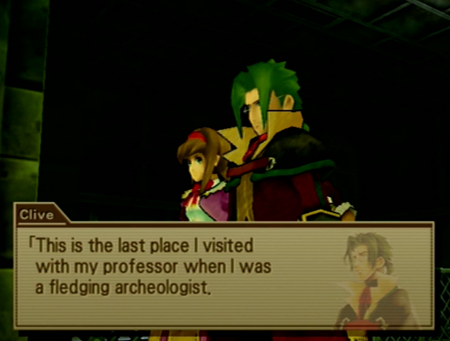
“Man, was that a difficult conversation to have with my fiancée.”
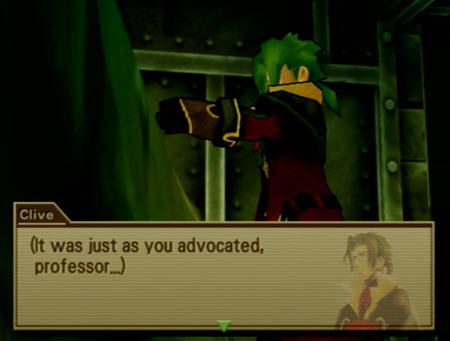
“You were right: Everyone had their memories wiped by some unknown force. And this guy in the hat standing right over there knows exactly why, but he won’t tell me. I should remind him of my ARM…”
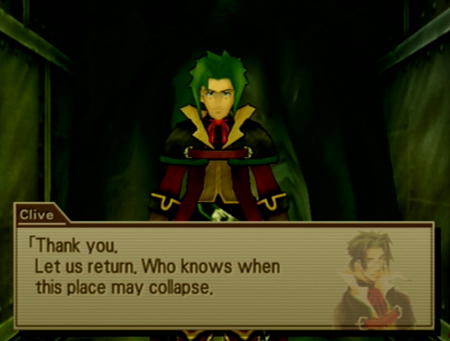
“What was that?”
“We all might die here. May as well leave.”
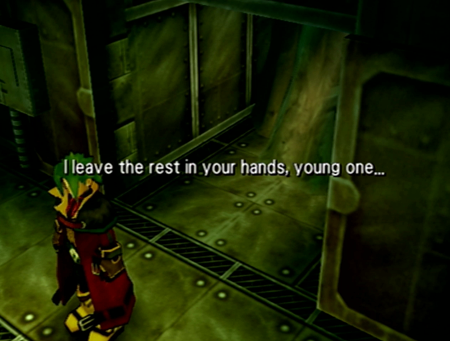
“Maaaake a world that suuuuuucks slightly leeeeeess…”
Looks like another vaguely techno dungeon. Not as bad as Yggdrasil, but pretty close to Faraway Lands.
“Fun lore, fake dad.”
“Man, I always forget to bring flowers...”
I always appreciate how Gallows is a pretty consistent buffoon, but an empathetic buffoon. This is in stark contrast to Jet, who is just a jackass.
Everyone is concerned this PS2 game is going to turn into a PS4 Sad Dad game.
“You know? The one that killed my friend and teacher? Oh, fignuts, I’m sad again.”
Little on the nose, dungeon.
First thing we’re going to do here is get some ups.
This treasure area is completely skippable, and if you don’t immediately identify that grating in the first room as something other than window dressing, you might miss this area entirely.
There were two treasure rooms accessible from this fork, and a total of five treasures. Score!
Now moving on to the dungeon proper.
Mushrooms ‘n hands
Mushrooms ‘n hands
Best of friends
It’s mushrooms ‘n hands
Any and all fungi should be immolated on sight.
These guys work just like their buddies in the timer dungeon or Gunner’s Heaven: they are annoying, and will attempt to cancel turns or reduce accuracy. They won’t kill you, but they will slow you down.
Kind of dig the design on the knuckles, though. Eat your heart out, Wall Masters.
Okay, let’s get a move on.
Oh! One of those wheel-based locking mechanisms. I should be keeping track of how many of these there are across the game. I think we’re at three?
Break time.
This is a direct quote from Siegfried, like, hours ago.
(Flashback! Again!)
Though it is closer to Berlitz's comment from the flashback. Clive has a lousy memory.
“This planet is Unicron. Major plot twist. Got it all figured out.”
So Clive’s theory is that the demons want to screw up the planet. Duh.
“We routinely get hit with a magic spell that turns us into bronze statues. An item sold by a mundane merchant changes us back. It seems possible.”
“We turned this planet into a craphole. Twice. We can do it again.”
So secret truth or something: this was an old Yggdrasil-esque rejuvenation center. The kind you read about in murals.
"Daddy worked at Yggdrasil! Is Daddy here? Or... a smaller Daddy?"
“The impossible dream of maybe getting a decent potato somewhere on this toilet of a planet.”
Moving on to find… I don’t know… more nanites?
Hey! It’s that security system I’m always hearing about.
“Is your dad in that pile of dirt?”
“No. Different pile. Also, not my dad.”
“How about that pile over there?”
Simple puzzle. Throw crate at crystal. No big.
Now we’re up to the laser controls.
Dammit! I was in the middle of something!
Seriously? Bro? There is nothing threatening about “Caterpillar Attack”. That’s like having a move called “Scrunchy Sit Down”.
Eat ice, insect.
Okay, now Clive can get some cathartic, explosive revenge on the security system.
Clive started the game with the bomb tool. Do you suppose this is why he got them in the first place?
That’s a little too high to jump in one go…
But there are some nearby stairs to make our life easier.
This is a little bit of a trick. Despite how it may look, you cannot hit the switch/crystal with anything from this grate.
Have to get up close and personal.
Now we’re good.
That doesn’t look suspicious at all.
Gonna go ahead and ram right into that.
Good. Another tube room.
“Was the machine WALL-E?”
“I knew I shouldn’t have let you watch my daughter’s DVDs…”
“That’s a tube, Virginia.”
“It’s the small thing. The thing you can’t see. Just… uh… imagine there is something in there.”
“Where have I heard about those before…”
“Oh yeah! That thing that damn near killed me and crippled me for a week.”
“Mostly because my cat keeps knocking over my microscopes…”
“You think nanomachines are cheap, Virginia? Gotta get your materials somewhere.”
Daddy sense tingling!
Jet, please do not reflexively shoot Werner.
“I knew if we started talking about super science, you would show up!”
Daddy conference!
That is the politest way to tell someone they’re a dangerous idiot I have ever seen.
Technology can be good or bad! Gasp!“In other words, nanomachines imbedded within the body are programmed to rewrite the structure of living organisms. Everything would be okay if this is promoting the rejuvenation of the environment, but an unseen enemy is misusing the lost technology. It is believed that this enemy is using the nanomachine to devour and destroy the environment and to change it into something completely different.”
“So the demons are butt cancer!”
“Gallows… it… It can just be any cancer…”
Where have we seen a living example of this before?
Oh yeah, that dead guy.
So complete with visual aids, Wild Arms really wants you to understand that Siegfried’s plan is to transform the whole planet into a “demon” in the same way that Janus was eventually overtaken.
“Do you think the planet will have, like, wings? Or a tail?”
“… Maybe?”
This is shocking! We get it!
“It probably would be a worse planet than we have now. I… think.”
Well we were going to let the giant, menacing demon do whatever he wanted, but I guess we should actually address the issue.
Anywho, I guess we got the clue we needed here? May as well stop by the ol’ gravesite.
Werner joins the party!
Like every other guest character, he isn’t “really” there. But it is nice to know Virginia gets some daddy-daughter time.
Fun fact: Werner taught Virginia how to use her ARMs, so nearly every character that has ever "joined" our party is a trained combatant that does jack all while they are traveling with us. Janus, his boys, Maya, and her entire family all could have helped, but never did. Shane is the only one that gets a free passivism pass.
Guess a boss is coming up.
This switch needs a little extra heft.
So dropping from this grate should help.
Danger room! This platform quickly rescinds once you step on it.
But there is a switch over there.
Go! Boomerang!.... Maybe steer it better on the return swing.
Okay, not a big deal. Another security apparatus down.
Werner? Got something to say?
“Get a load of this jabroni.”
Is this new information? I feel like it has been emphasized before.
So nanomachines are amazing, but there is no evidence they were ever used on any biological creatures around town. This calls into question what the abundant nanomachines around Filgaia were even doing…
But anywho.
Yes, this was 100% a “lesser” Yggdrasil facility.
But it didn’t have the power-orb of Yggdrasil. You need a lot of power to get one of these plants going. Write that down. It will be a plot point.
“Then we all die. Next question?”
Oh, so the planet is just destroyed. Again.
Duran, Duran, what are we going to do with you? You are notorious.
Revelation!
“It was inside Yggdrasil's archived data...The Yggdrasil System was secretly pre-programmed to go haywire! None of the council members knew about it...The program was -hidden-! But why...!? For what reason!? … It wasn't a mistake...Duran was laughing at the time...”
Werner believes that the Yggdrasil “accident” was no accident, but deliberate sabotage instigated by Duran. Note that apparently even the semi-immortal Prophets had no idea this was happening.
Unfortunately, we don’t know why Duran would do such a thing (while laughing!). A moment of silence for the jokerized.
“Searching everywhere but the actual Yggdrasil Plant where everything happened… but good hustle!”
“Oh bother. I’m a bad daddy.”
“Please never say that again, Mr. Maxwell.”
Look out behind you!
Here it comes!
We were getting too many plot dumps at once, so we may as well fight a Beholder.
Oh, my bad. This Beholder has a body. A nice, legally distinct body.
Humbaba? Oh we gettin’ Gilgamesh in here.
I… think we’re supposed to use elemental magic in this fight.
As a design concession to how you can be way overpowered for this dungeon thanks to available sidequests (and, side note, now we are wee gods on both playthroughs), many of the plot bosses are borderline puzzle fights for this section of the game.
Humbaba’s big deal is that he’s got a countdown to a party-wide instant death attack.
Humbaba uses Humbaba’s Curse every three rounds. In fact, his pattern is always headbutt – warning – death curse. Humbaba’s Curse is a 100% accurate instant death spell that will kill everybody… Assuming they don’t have a death-ward ability equipped.
You are guaranteed to have one death-ward available on the Cosmic Cog medium, but any Holy Grails you have picked up along the way will help, too. As you can see with Gallows here, if you do not have a death-ward ability equipped… you dead.
So since this thing is so damned weak to elemental attacks, imbue your boys with elemental attacks, and have Gallows and Virginia toss off the usual spells. … I mean, assuming everyone is alive.
You can really do some damage with those elemental-weapon attacks. Remember to equip the Weakness ability if you have Luceid handy.
And that’s that. On the “real” playthrough, I exploited weaknesses and murdered this sucker before his first death attack.
That Holy Grail would have been good to have before the fight!
“Random boss monster spewing fatal breath. No big deal.”
It’s impossible to screenshot, but there is the sound effect of a little girl laughing here. Wonder what that was about…
Anywho, little dungeon left here.
Like the entryway, the boss room here is kind of a trick, as there is a door that you might think you walked through and/or is decorative, but is technically unexplored.
It’s got some treasure, and a scenic view of that area with the collapsing floor.
And another treasure room!
Which is good…
And bad…
But you do score another amulet. It blocks against status ailments when guarding, if you have forgotten. We have a few at this point. It would be really useful in a fight where a monster counts down to a devasting status attack on a telegraphed turn.
Now we’re at the actual end.
And you thought Humbaba had a “smell of death”…
“Yep, that’s his rotting corpse.”
“It’s totally there. Can totally see it.”
“Man, was that a difficult conversation to have with my fiancée.”
“You were right: Everyone had their memories wiped by some unknown force. And this guy in the hat standing right over there knows exactly why, but he won’t tell me. I should remind him of my ARM…”
“What was that?”
“We all might die here. May as well leave.”
“Maaaake a world that suuuuuucks slightly leeeeeess…”
“You were the shitz, Berlitz.”
Next time on Wild Arms: The pinnacle of all fantasy super science.
Watch out! Beat Humbaba quick before he sneezes everyone out of the fight!
I don't quite remember how the story goes from here, but it's going to turn out that the reason why no one remembers anything is Nanomachines, isn't it?
I don't quite remember how the story goes from here, but it's going to turn out that the reason why no one remembers anything is Nanomachines, isn't it?
Surprisingly no!
The eventual answer is that it will turn out that everyone was simultaneously doing whippets when Yggdrasil exploded, so they forgot what the world used to be like in the ensuing whippet-hangover.
...
Wait, maybe it wasn't that.
But it will turn out to not be nanomachines, at least.
... Mostly.
Nanomachines might have been involved! But they're not, like, the reason. Long story short is that we already "know" the answer, just not the exact "how". And the "how" isn't a blanket "nanomachines, son,", so WA3 gets a point for at least being remotely original.
The "twist" of nanomachines is something I don't mind spoiling, because it is something the game has already stated repeatedly. We'll get there eventually, but it is 100% a demon doing a "we're not so different, you and I" and the plot framing it like this was unexpected.
It's pi day! That means it is March 14, which is also Ogre Day. Long ago, there was a red ogre and a blue ogre who were very close friends. Even after the red ogre died, the blue ogre waited for the red ogre to arrive at the train station every day. This day was named to praise that ogre's loyalty and friendship.
Chapter 50: Looking Up
Previously on Wild Arms 3: We said good-bye to Clive’s mentor/father-in-law at the ancient nanomachine plant where he was buried alive. Pretty typical day. And as soon as Clive paid his respects…
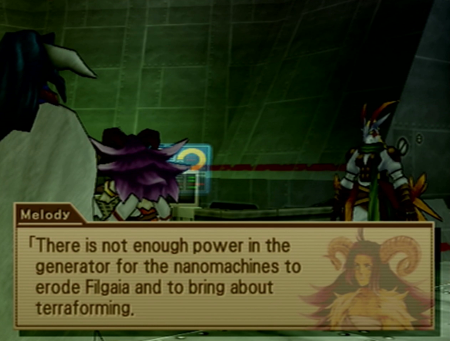
We got a lovely little cutaway to our favorite demon gang.
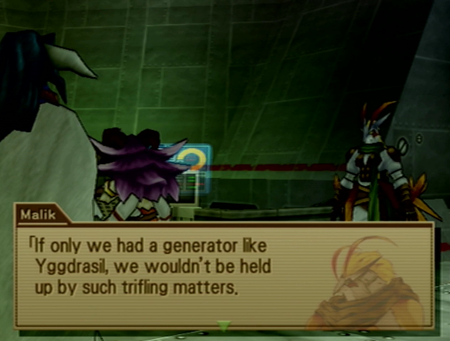
Where are they? We don’t know. What are they doing? We have no idea. But what do they need? -The Power-.

“Can we just build a new one?”
“Who built the old one?”
“Man, we were terrible at our jobs…”
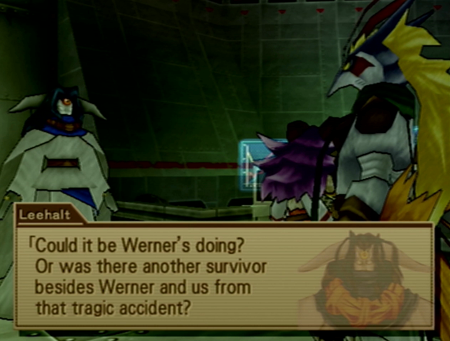
Remember how Yggdrasil’s power source was stolen? We still don’t have a culprit for that. Not like Werner is walking around with a big ol’ orb.
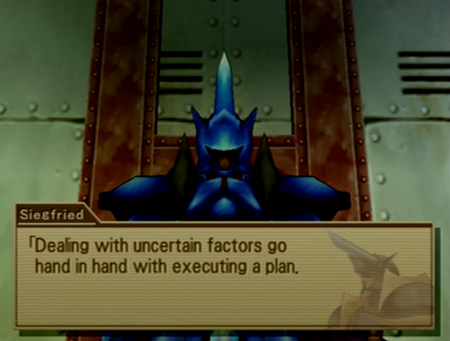
Pointy-helmeted boss
And speaking of getting out, we have about half a dungeon to go here, and it seems like we’ve been doing this for a while, so we’ll take a little break to admire the techno-organic plumbing.
Next time on Wild Arms: We’re Back! A Family’s Story.
Chapter 50: Looking Up
Previously on Wild Arms 3: We said good-bye to Clive’s mentor/father-in-law at the ancient nanomachine plant where he was buried alive. Pretty typical day. And as soon as Clive paid his respects…
We got a lovely little cutaway to our favorite demon gang.
Where are they? We don’t know. What are they doing? We have no idea. But what do they need? -The Power-.
“Can we just build a new one?”
“Who built the old one?”
“Man, we were terrible at our jobs…”
Remember how Yggdrasil’s power source was stolen? We still don’t have a culprit for that. Not like Werner is walking around with a big ol’ orb.
Pointy-helmeted boss
checking in.
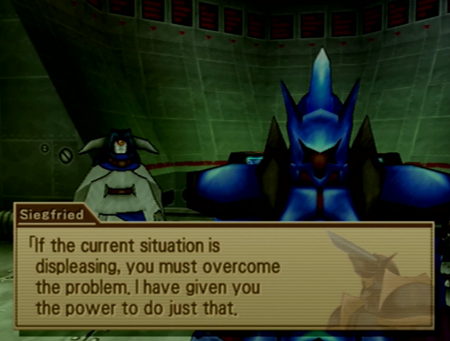
“Do our demon forms have some kind of… super vision? Or maybe infrared…”
“No. Just throw poison at the problem like all demons used to do.”
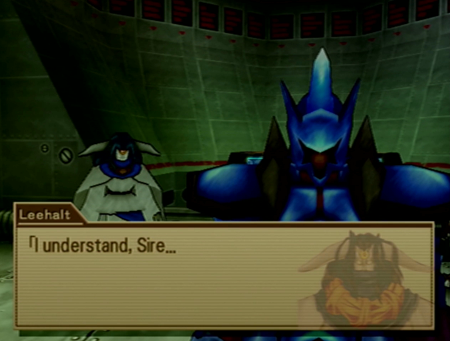
Leehalt is such a bootlicker.
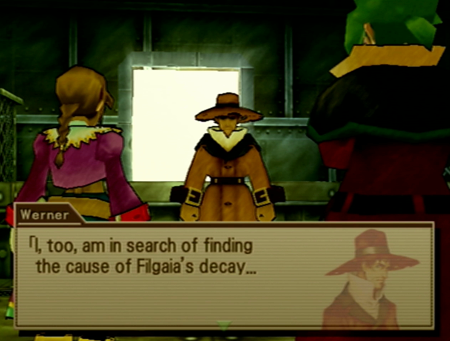
Meanwhile, back at the dungeon we are so close to never seeing again…
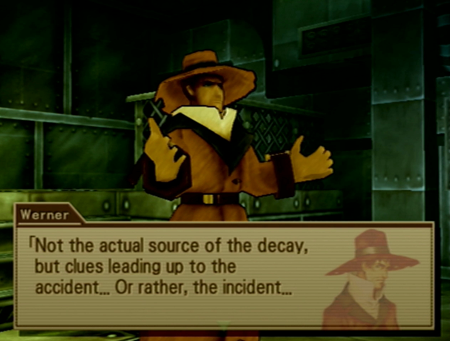
“I know the source of the decay. It was me. But why me? Oh, Guardians, why me!?”

“You are a good daddy. Totally blameless in every way.”
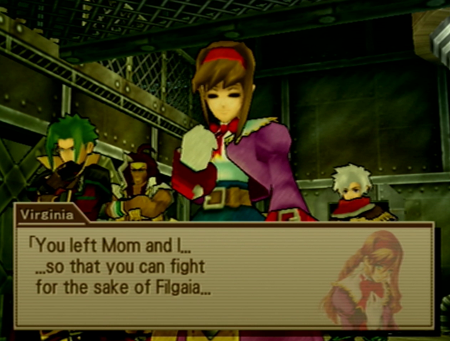
“All very good. Mom died of a broken heart for a good reason. Totally great death. Alone. Pining for you…”
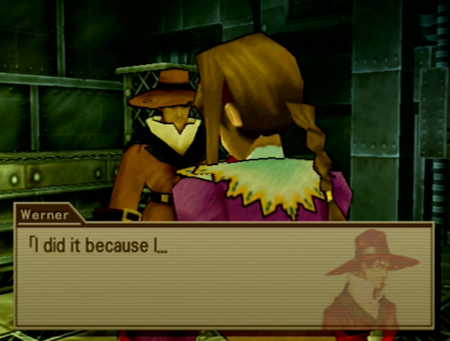
“Please say you’re a robot, please say you’re a robot, please…”
“Not now, Clive!”
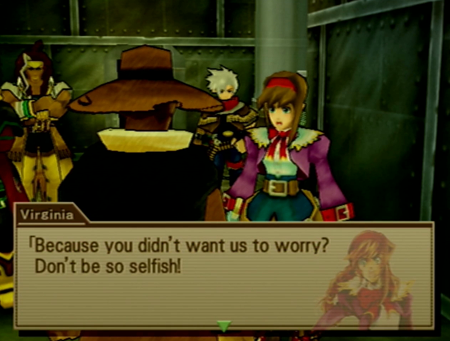
“Because my daughter kept interrupting me…”
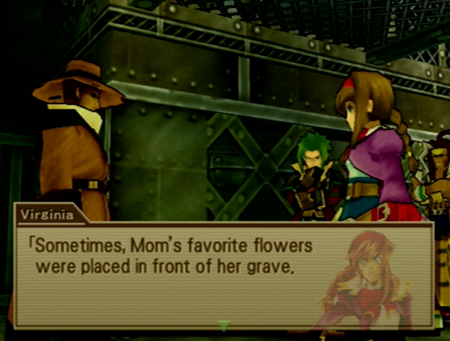
She finally figured it out! The mailman had a huge crush on Mrs. Maxwell!
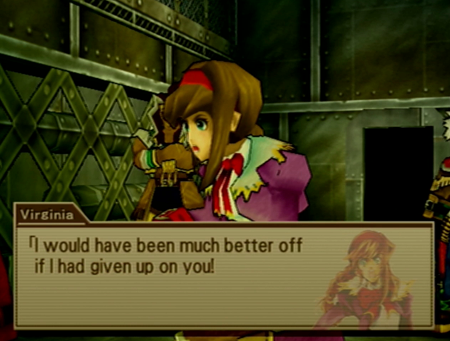
Werner’s “good day sir” animation is tops. Does he turn his whole body via hat?

“It’s all I know how to do!”
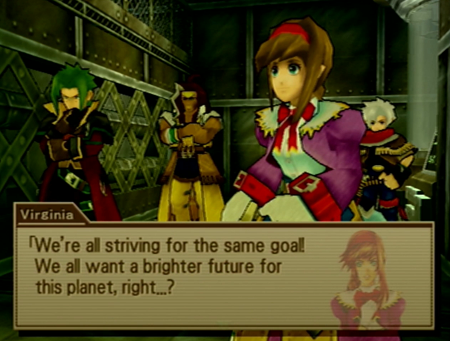
“And we’ve seen you fight a golem and a prophet solo! You would be more useful on this team than Jet!”
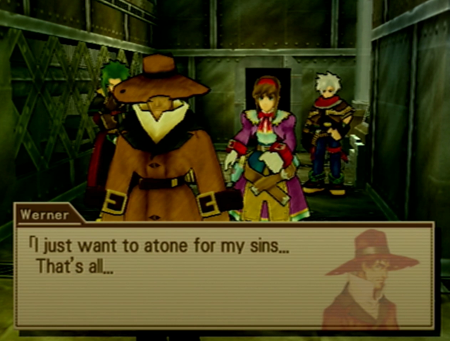
“Gotta book it to Filagaia’s last remaining Catholic church.”
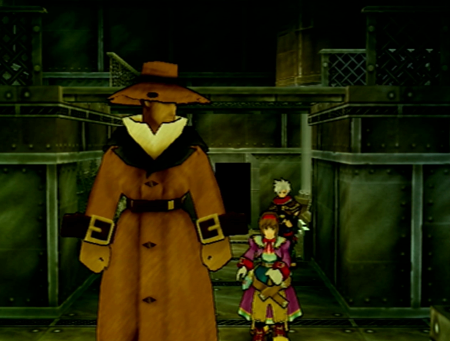
“To the Daddy Van!”
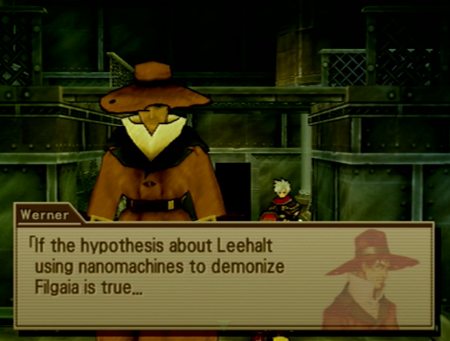
“Crap. I forgot to give you plot hooks for the next dungeon. That was the one thing I was supposed to remember to do…”
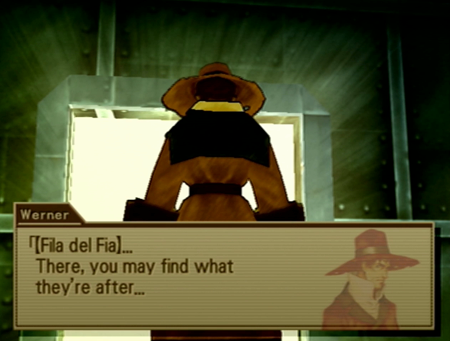
The demons are chasing a gigantic energy source, and Werner tells us we might find one first at Fila del Fia.
… And why Werner hasn’t nabbed it himself in the last ten years is a good question…
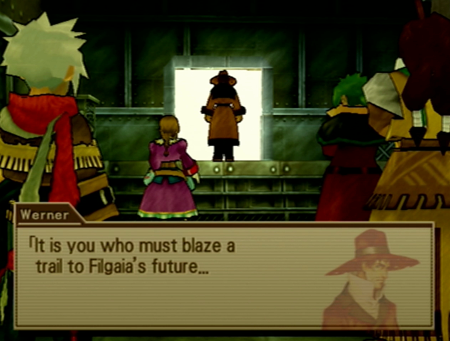
“I’m just gonna go get high in my van.”
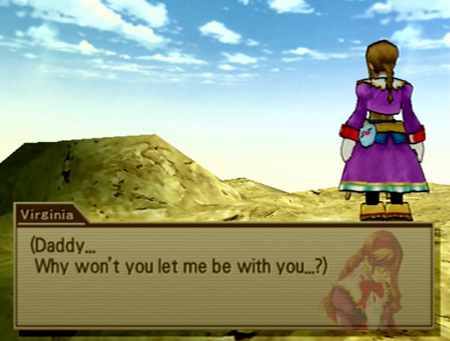
He has told you, like, six times at this point! Daddy guilt is real!
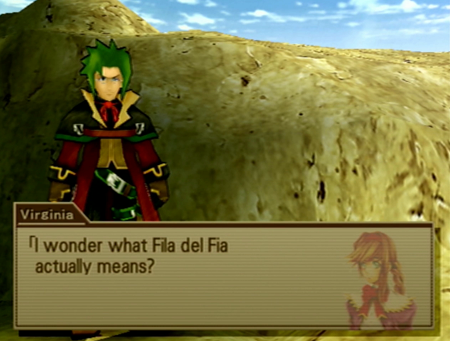

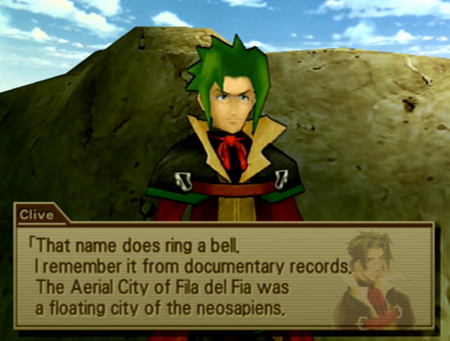
Ah yes, the sky city that randomly appeared in a book a little while back.
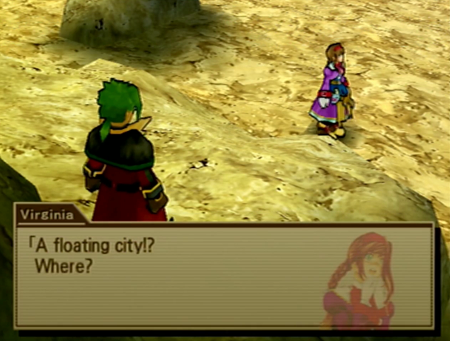
Virginia is exactly as excited as I would be.
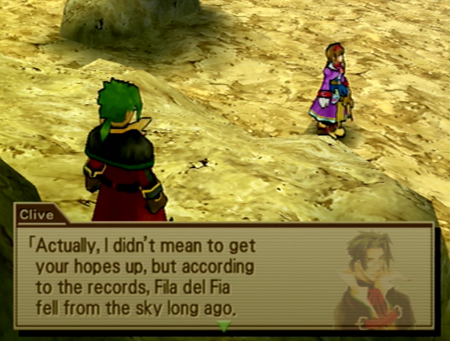
Booooooooooo.
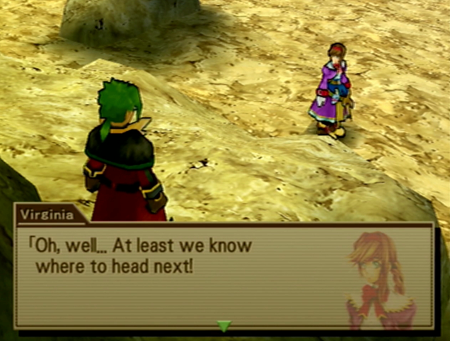
“Wherever that city fell down! … Do we have directions?”
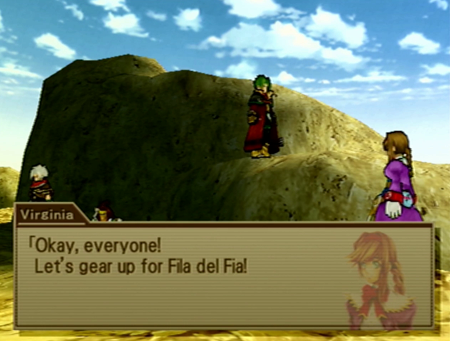
Should we get some kind of gravity-lock boots, or… a helmet?
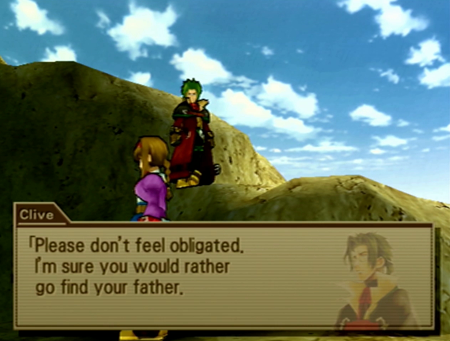
“Which shouldn’t be hard, as this whole adventure took place on an isolated island…”

“Surely if I do this, daddy will praise me…”
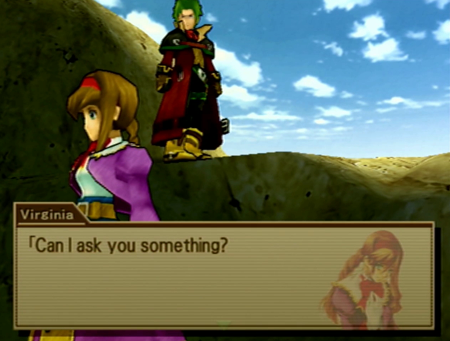

“Duurrrr talking hard.”
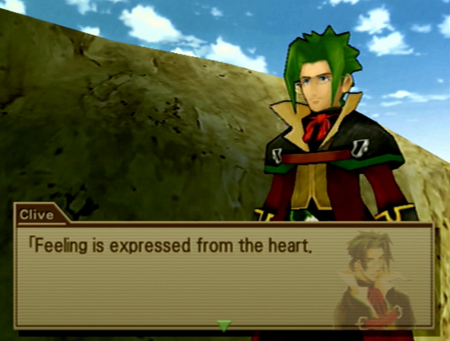
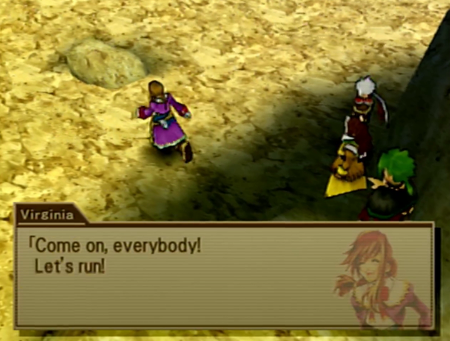
Clive slipped Virginia one of those cheese sticks wrapped in ham, so she’s back to her usual, peppy self.

Like…. Maybe… a…. Crater?
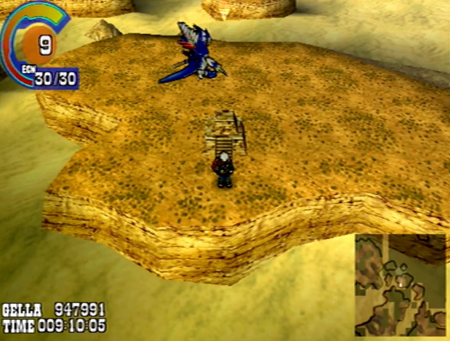
So, as a first for the game (give or take how Nidhogg Pass worked), we do not receive any sort of directions or clues for the next mandatory dungeon. That said, you may recall the seemingly hundreds of NPCs and signs that refer to a big, whopping crater.
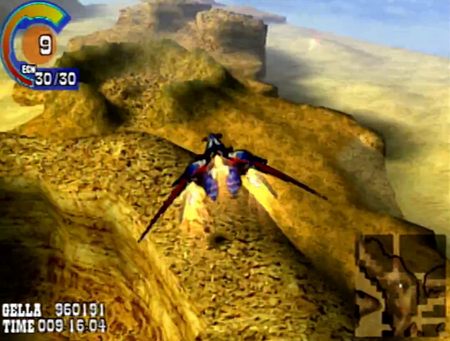
And we’ve got a dragon-airship, so it is pretty easy to find.
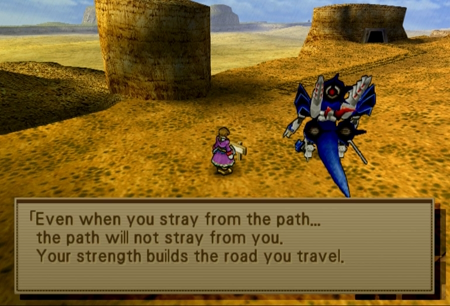
Like with Clive’s mystery map for the last dungeon, you do not need an airship at this point in the game, but it sure doesn’t hurt.
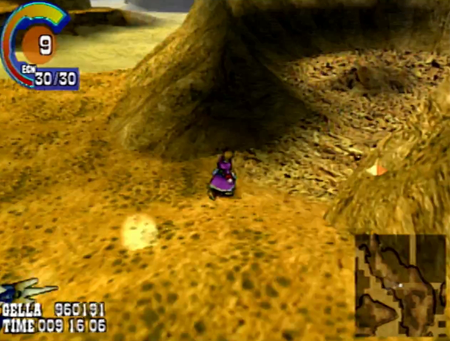
If you explore this area earlier in the game (maybe because every third person on this planet suggests it), you will find nothing.
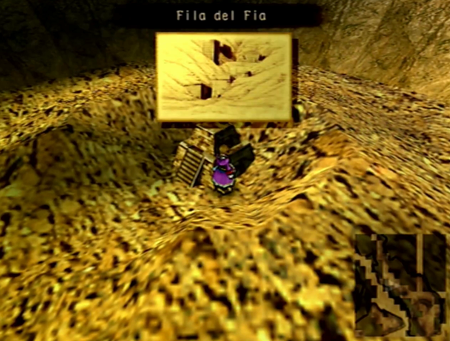
But now that daddy has plot-activated the place, we’ve got a dungeon.

Laputa this ain’t.

Filgaia has a legal system: confirmed.
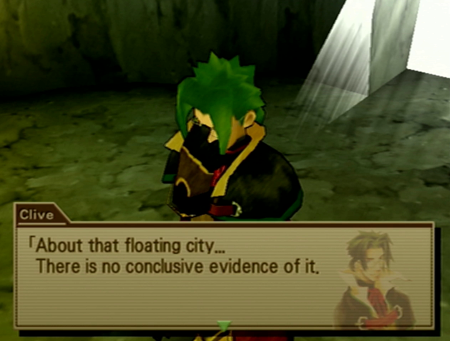
This gigantic crater we’re standing in could have been caused by anything!
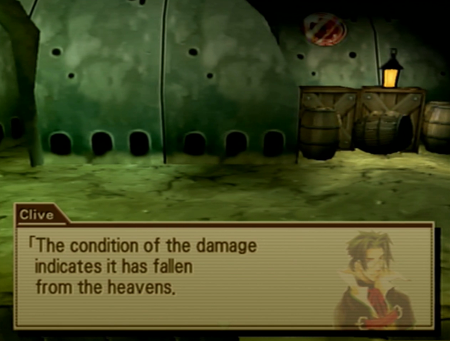
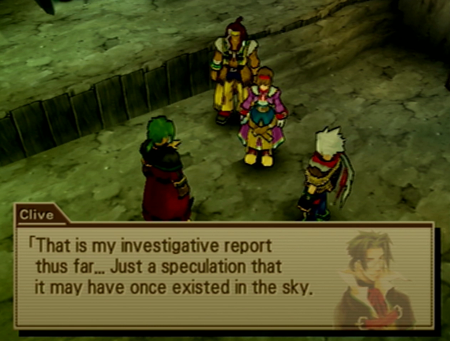
Let’s not jump to any conclusions just because we live in a magical world with floating hand monsters that are equally as aerodynamic as a city.
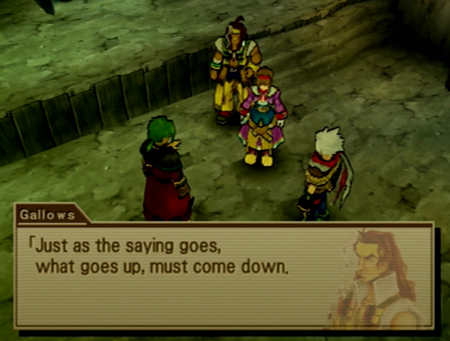
Big words from a guy who flew here on a mobile weapons platform/demon airplane.
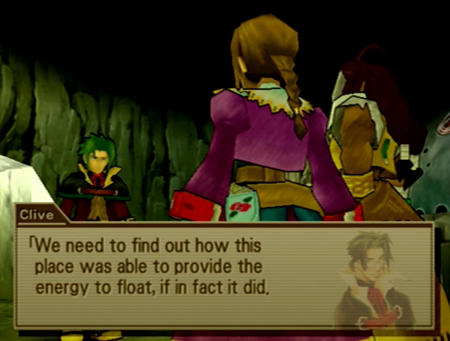
“If anybody around here sees a battery the size of a Buick, give a shout.”
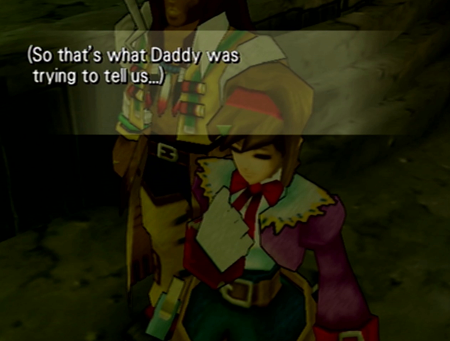
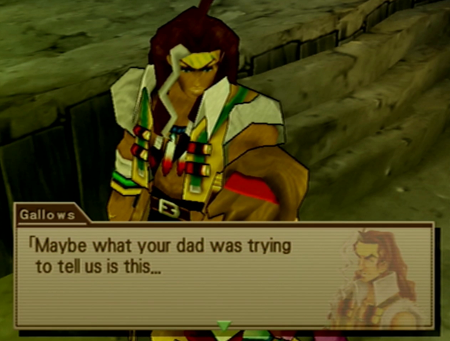
Gallows is 100% aware that Virginia has only two (2) interests in this whole world (and where has Maya been lately).
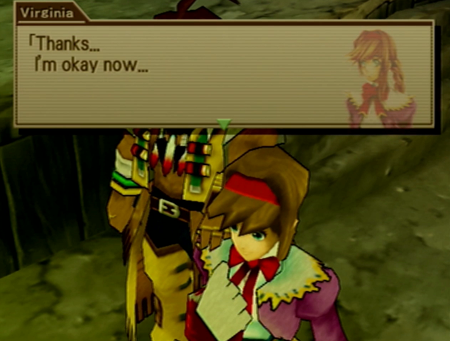
“Just… just… I wanted to see a floating city so bad…”
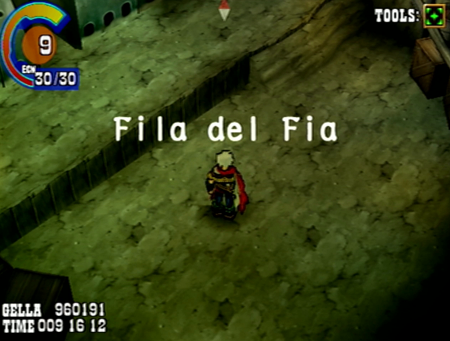
Let’s unravel this thread!
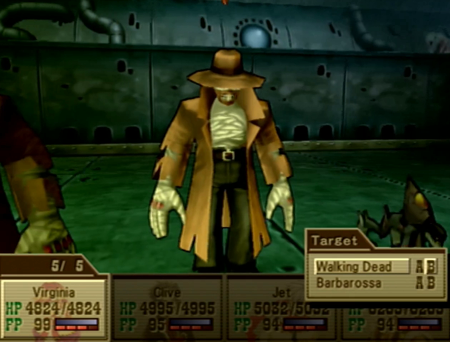
Dungeon monster roundup! You ever notice how the zombie monsters in this game dress exactly like Werner?
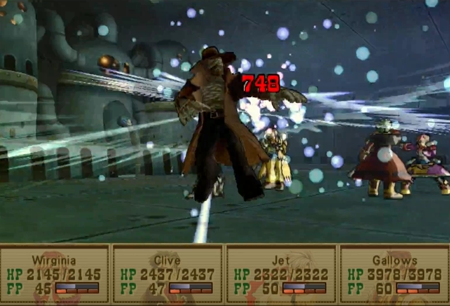
Whatever. Blast ‘em with light magic.
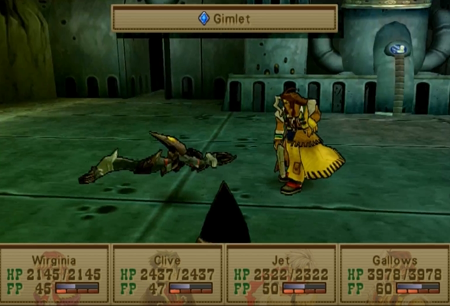
These weirdos are like those spikey dogs we saw at the coliseum. They’re tremendously less deadly here, but still electricity-flavored.
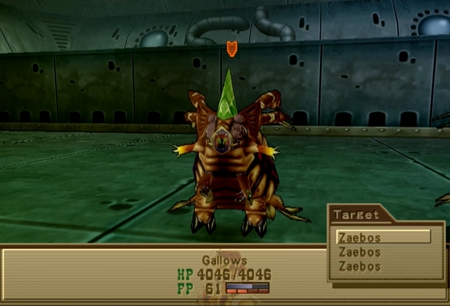
And this dumb caterpillar returns from the last dungeon. He wasn’t a threat then, either!
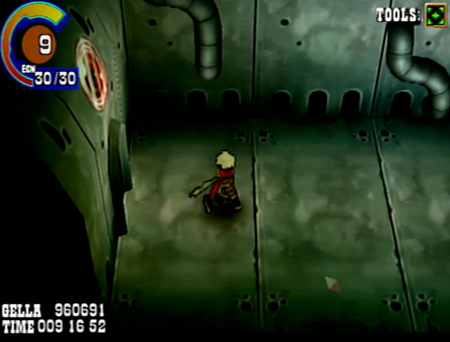
Monsters all present and accounted for? Okay, let’s traipse through this fallen city.
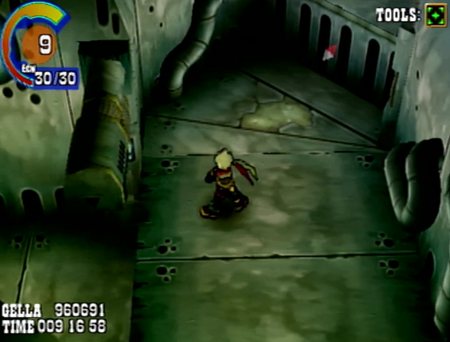
I would have really appreciated a cool, “ruined” town from the past, but this whole thing is mostly the city sewers. This makes good plot sense (a flying city would have to have a huge mechanical infrastructure to keep the place going, and said structure would be more likely to survive the fall/years of decay than the residential district), but still a letdown for someone that enjoys fantasy tropes.
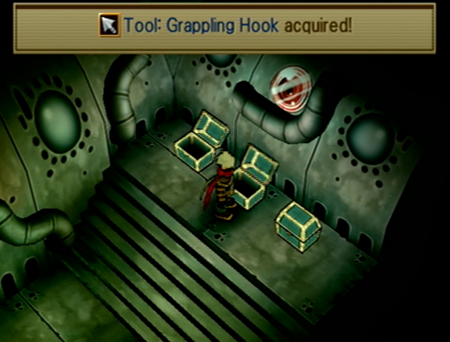
And we got a new tool for what goes up.

Clive’s grappling hook is more or less an upgrade on Ashley’s flare gun from Wild Arms 2. It is very different from the grappling tools in previous Wild Arms titles.

Previous grappling wires (belonging to Jack and Kanon) went sideways, like the boomerang. Our newest tool goes “up” in the 3-D environment. This means Clive can get us some height.
This allows for some more interesting dungeon design, but comes with the drawback of grappling points almost always being “obvious” ceiling objects that would never exist (or be displayed/rendered) if not for the express purpose of “you should use the grappling hook here”.
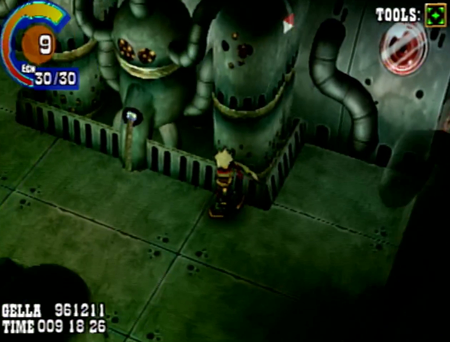
And speaking of dungeon design, let’s take a look at this furnace thingy.
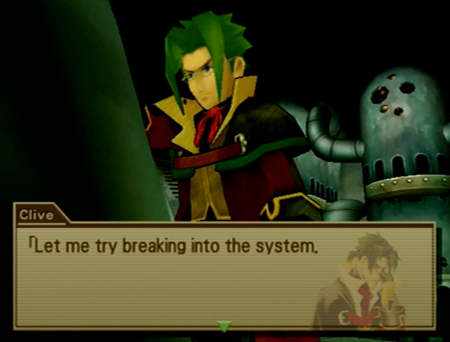
It’s only a centuries old computer terminal from an ancient civilization. I’m sure you can hack it in no time, Zero Cool.
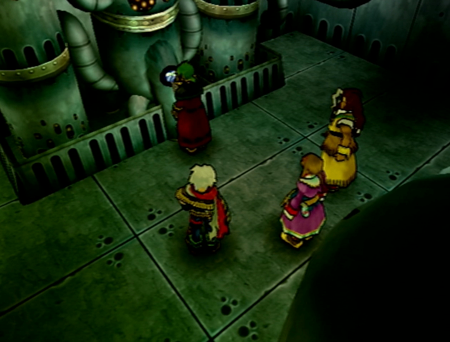
Beep boop.
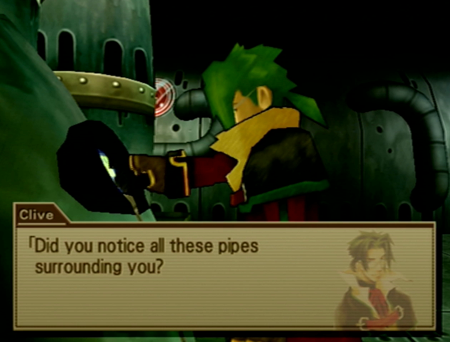
“It turns out we’re in the Mushroom Kingdom.”
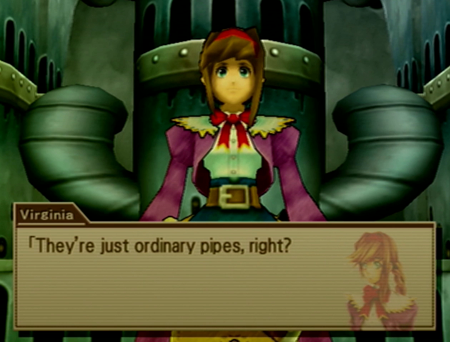
You sweet summer child…
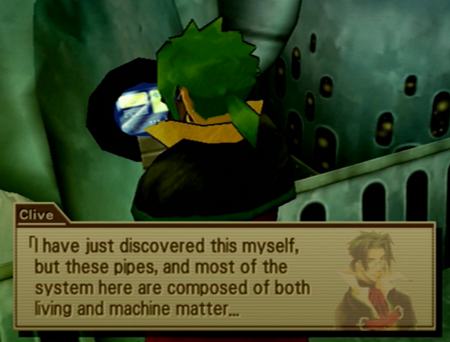
Dragon pipes!
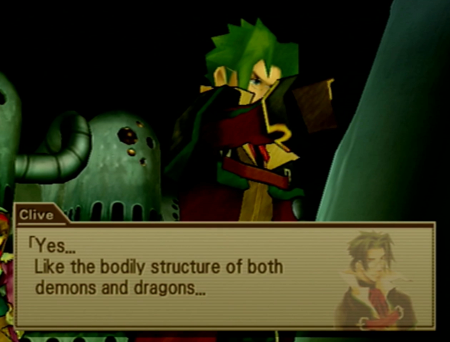
And the Maximals in Beast Machines! … But that isn’t relevant right now.
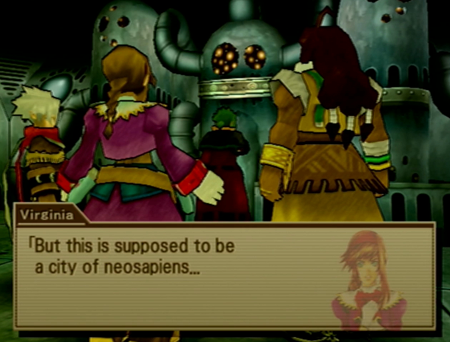
I cannot believe they hang a “surprise” on this plot after it has been explained, like, six times at this point. Were you listening to Shane at all?
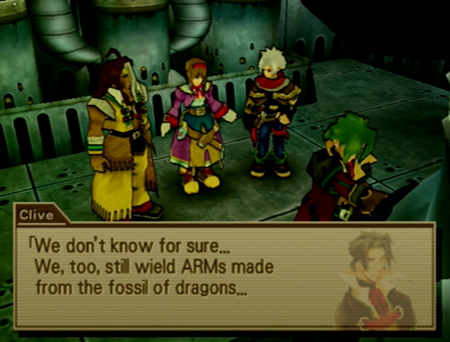
Gee, you think there might be some overt connection between Neo Sapians, Demons, and the current crop of whatever counts as humanity? Like maybe how we can all use “demon” weapons? And you don’t see a whole lot of Elws around…
See? Virginia is coming around here.
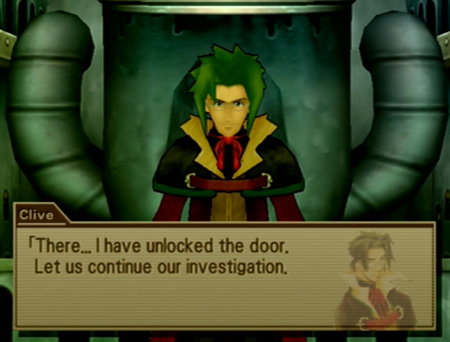
Whatever. Moving on in more ways than one.
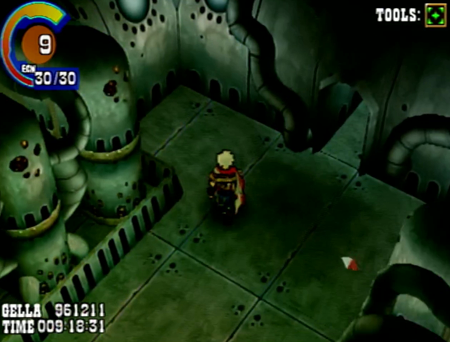
Stupid living pipes…
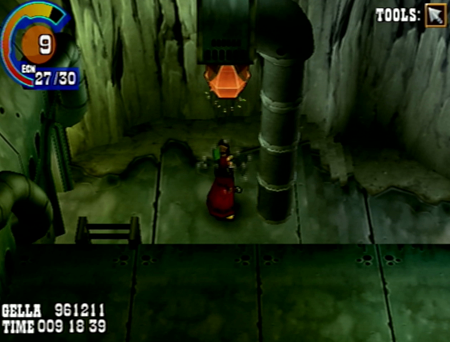
Grappling Hook usage #2: hit switches/objects that are above the party. This is how it most resembles WA2’s Ashley’s flare gun, as that tool was unintuitively used to smack ceiling switches, too. Still not certain how nobody died from that… Or at least got a flare-burn…
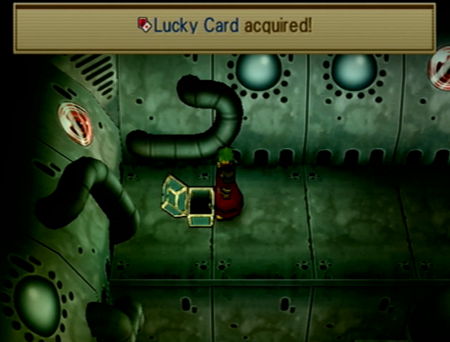
Treasures are around, of course. Good thing the same treasures have been in the same ruins for centuries!
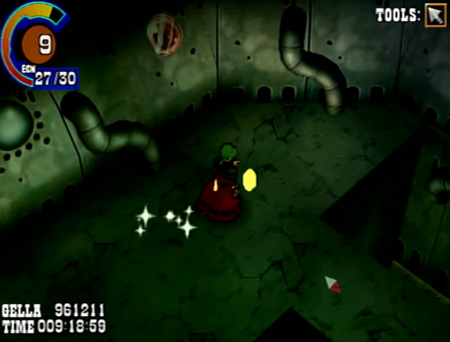
Dangerous footing ahead.
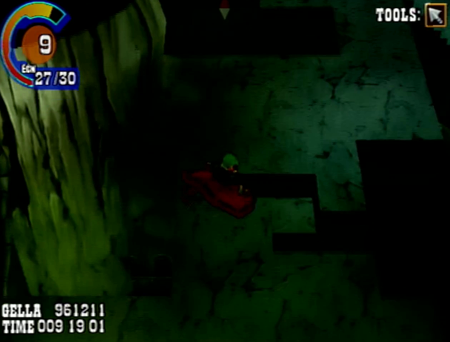
Walking around this “bridge” area is a free trip to the abyss (not that Abyss).
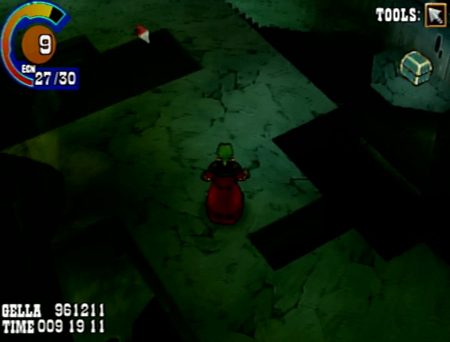
So remember you have a “sneak” button and take it slowly.
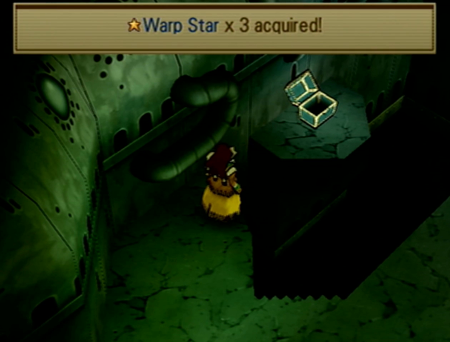
Afterwards, use the steady doll to score some treasure. If you already have the Teleport Orb, this haul is particularly useless.
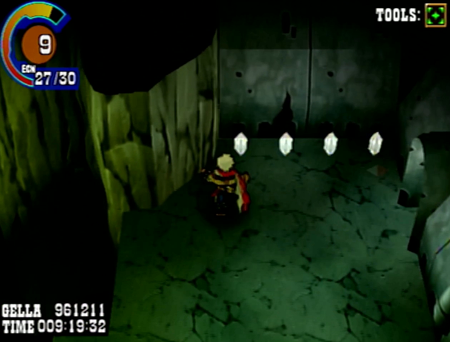
Crack kills.
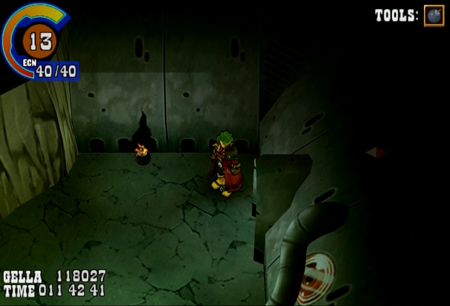
So blow it up.
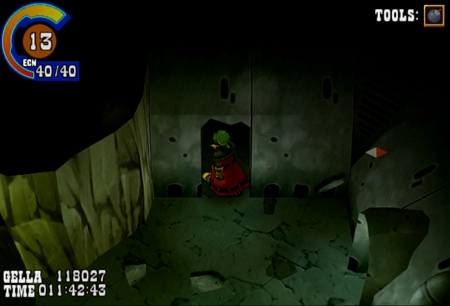
Treasure room!
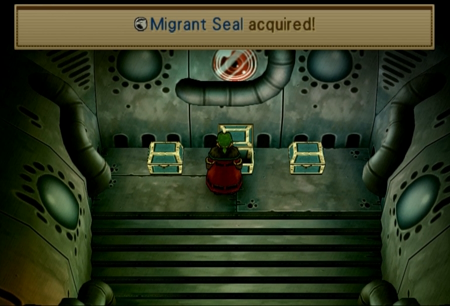
Important treasure room!
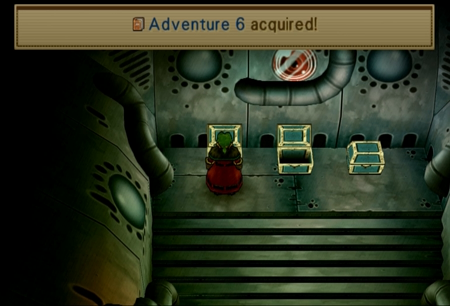
I want to say this hidden area contains the most easily missed Adventure book. The rest are generally out in the open (the last one we found was a 100% drop from a mandatory boss).
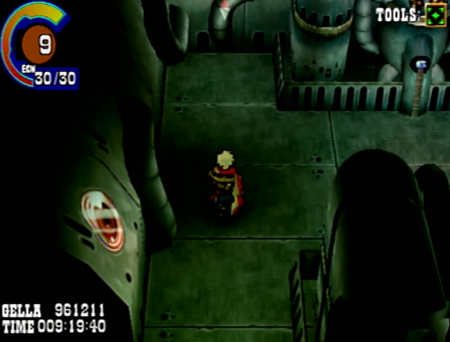
It is time to talk about pipes again.
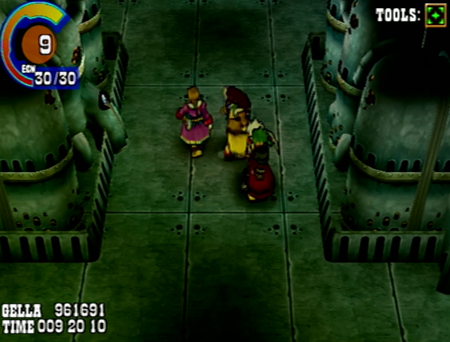
Everybody! Get in talking positions!
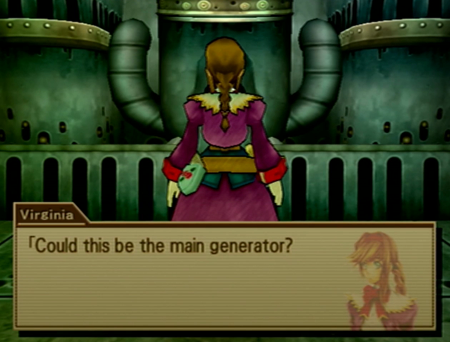
“This generator that looks exactly like the last generator? And isn’t protected by a boss or anything?”
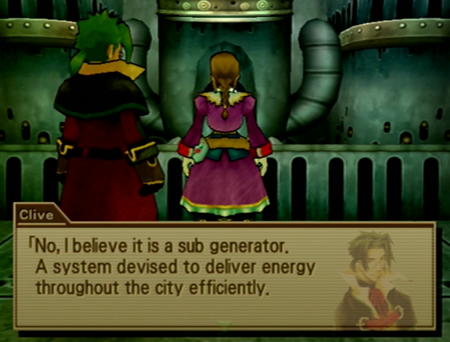
“Are you saying there are submarines here, too!?”
“What?”
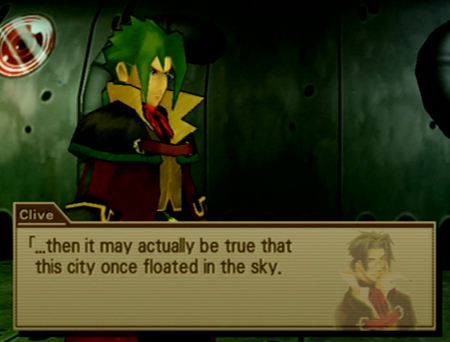
This place has an impressive electrical grid, so, logically, it must have flown through the sky.
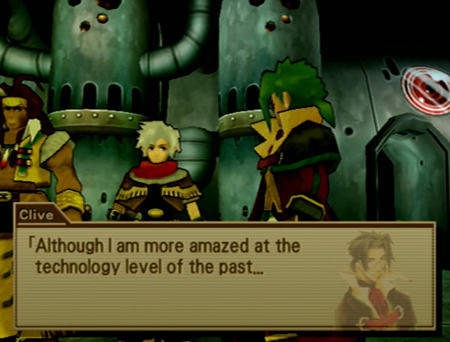
Whether or not it could fly, it is still extraordinary to Clive.
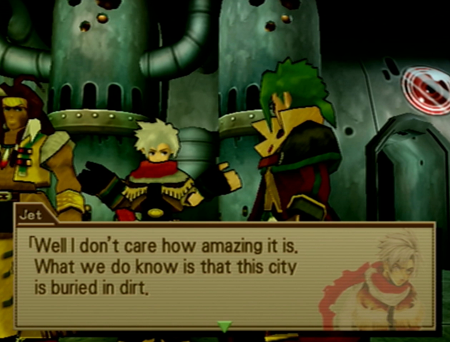
Excellent point, asshole.
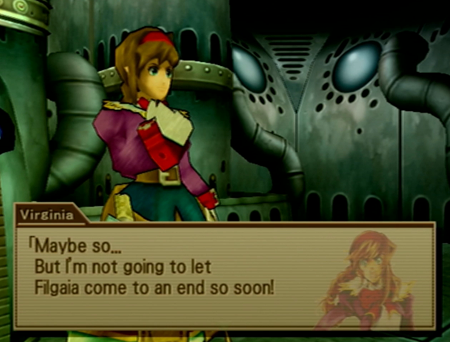
Jet’s nihilism is instantly met with Virginia’s optimism. Scientifically speaking, I think this means that having Werner as an active parent in your life makes you a worse person.
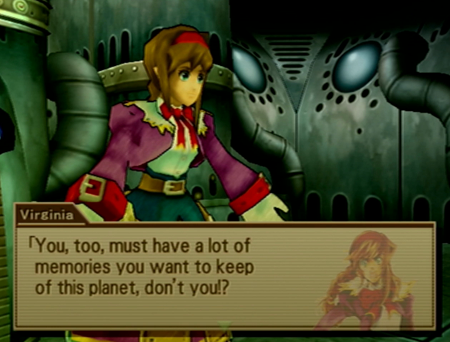
Guess which word you shouldn’t have used here, Virginia.
I got a timer in the bottom right of the screen that says you have at least a few hours of memories.
Major downer.
Jet: gradually showing social improvement.

But still grumpy as all get out.
“Do our demon forms have some kind of… super vision? Or maybe infrared…”
“No. Just throw poison at the problem like all demons used to do.”
Leehalt is such a bootlicker.
Meanwhile, back at the dungeon we are so close to never seeing again…
“I know the source of the decay. It was me. But why me? Oh, Guardians, why me!?”
“You are a good daddy. Totally blameless in every way.”
“All very good. Mom died of a broken heart for a good reason. Totally great death. Alone. Pining for you…”
“Please say you’re a robot, please say you’re a robot, please…”
“Not now, Clive!”
“Because my daughter kept interrupting me…”
She finally figured it out! The mailman had a huge crush on Mrs. Maxwell!
Sorry. I did all those sidequests, and forgot to park Virginia at a food truck somewhere in there. She’s swinging all over the place because she’s hangry.“That was you, wasn't it, Daddy...!? Those flowers gave me hope that maybe some day, you might return! I would have been much better off if I had given up on you!”
Werner’s “good day sir” animation is tops. Does he turn his whole body via hat?
“It’s all I know how to do!”
“And we’ve seen you fight a golem and a prophet solo! You would be more useful on this team than Jet!”
“Gotta book it to Filagaia’s last remaining Catholic church.”
“To the Daddy Van!”
“Crap. I forgot to give you plot hooks for the next dungeon. That was the one thing I was supposed to remember to do…”
The demons are chasing a gigantic energy source, and Werner tells us we might find one first at Fila del Fia.
… And why Werner hasn’t nabbed it himself in the last ten years is a good question…
“I’m just gonna go get high in my van.”
He has told you, like, six times at this point! Daddy guilt is real!
Ah yes, the sky city that randomly appeared in a book a little while back.
Virginia is exactly as excited as I would be.
Booooooooooo.
“Wherever that city fell down! … Do we have directions?”
Should we get some kind of gravity-lock boots, or… a helmet?
“Which shouldn’t be hard, as this whole adventure took place on an isolated island…”
“Surely if I do this, daddy will praise me…”
“Duurrrr talking hard.”
See why I assign Clive the Love Guardian? I mean, not literally, as he needs the Courage Guardian to do maximum damage… But metaphorically!“Words do not express feeling. Feeling is expressed from the heart. And I strongly believe that feelings can be shared without words.”
Clive slipped Virginia one of those cheese sticks wrapped in ham, so she’s back to her usual, peppy self.
Like…. Maybe… a…. Crater?
So, as a first for the game (give or take how Nidhogg Pass worked), we do not receive any sort of directions or clues for the next mandatory dungeon. That said, you may recall the seemingly hundreds of NPCs and signs that refer to a big, whopping crater.
And we’ve got a dragon-airship, so it is pretty easy to find.
Like with Clive’s mystery map for the last dungeon, you do not need an airship at this point in the game, but it sure doesn’t hurt.
If you explore this area earlier in the game (maybe because every third person on this planet suggests it), you will find nothing.
But now that daddy has plot-activated the place, we’ve got a dungeon.
Laputa this ain’t.
Filgaia has a legal system: confirmed.
This gigantic crater we’re standing in could have been caused by anything!
Let’s not jump to any conclusions just because we live in a magical world with floating hand monsters that are equally as aerodynamic as a city.
Big words from a guy who flew here on a mobile weapons platform/demon airplane.
“If anybody around here sees a battery the size of a Buick, give a shout.”
Jesus, Virginia.(So that's what Daddy was trying to tell us...Daddy didn't leave on his own...He was guiding me all along. Daddy and I are working together...)
Gallows is 100% aware that Virginia has only two (2) interests in this whole world (and where has Maya been lately).
“Just… just… I wanted to see a floating city so bad…”
Let’s unravel this thread!
Dungeon monster roundup! You ever notice how the zombie monsters in this game dress exactly like Werner?
Whatever. Blast ‘em with light magic.
These weirdos are like those spikey dogs we saw at the coliseum. They’re tremendously less deadly here, but still electricity-flavored.
And this dumb caterpillar returns from the last dungeon. He wasn’t a threat then, either!
Monsters all present and accounted for? Okay, let’s traipse through this fallen city.
I would have really appreciated a cool, “ruined” town from the past, but this whole thing is mostly the city sewers. This makes good plot sense (a flying city would have to have a huge mechanical infrastructure to keep the place going, and said structure would be more likely to survive the fall/years of decay than the residential district), but still a letdown for someone that enjoys fantasy tropes.
And we got a new tool for what goes up.
Clive’s grappling hook is more or less an upgrade on Ashley’s flare gun from Wild Arms 2. It is very different from the grappling tools in previous Wild Arms titles.
Previous grappling wires (belonging to Jack and Kanon) went sideways, like the boomerang. Our newest tool goes “up” in the 3-D environment. This means Clive can get us some height.
This allows for some more interesting dungeon design, but comes with the drawback of grappling points almost always being “obvious” ceiling objects that would never exist (or be displayed/rendered) if not for the express purpose of “you should use the grappling hook here”.
And speaking of dungeon design, let’s take a look at this furnace thingy.
It’s only a centuries old computer terminal from an ancient civilization. I’m sure you can hack it in no time, Zero Cool.
Beep boop.
“It turns out we’re in the Mushroom Kingdom.”
You sweet summer child…
Dragon pipes!
And the Maximals in Beast Machines! … But that isn’t relevant right now.
I cannot believe they hang a “surprise” on this plot after it has been explained, like, six times at this point. Were you listening to Shane at all?
Gee, you think there might be some overt connection between Neo Sapians, Demons, and the current crop of whatever counts as humanity? Like maybe how we can all use “demon” weapons? And you don’t see a whole lot of Elws around…
See? Virginia is coming around here.
Whatever. Moving on in more ways than one.
Stupid living pipes…
Grappling Hook usage #2: hit switches/objects that are above the party. This is how it most resembles WA2’s Ashley’s flare gun, as that tool was unintuitively used to smack ceiling switches, too. Still not certain how nobody died from that… Or at least got a flare-burn…
Treasures are around, of course. Good thing the same treasures have been in the same ruins for centuries!
Dangerous footing ahead.
Walking around this “bridge” area is a free trip to the abyss (not that Abyss).
So remember you have a “sneak” button and take it slowly.
Afterwards, use the steady doll to score some treasure. If you already have the Teleport Orb, this haul is particularly useless.
Crack kills.
So blow it up.
Treasure room!
Important treasure room!
I want to say this hidden area contains the most easily missed Adventure book. The rest are generally out in the open (the last one we found was a 100% drop from a mandatory boss).
It is time to talk about pipes again.
Everybody! Get in talking positions!
“This generator that looks exactly like the last generator? And isn’t protected by a boss or anything?”
“Are you saying there are submarines here, too!?”
“What?”
This place has an impressive electrical grid, so, logically, it must have flown through the sky.
Whether or not it could fly, it is still extraordinary to Clive.
Excellent point, asshole.
Jet’s nihilism is instantly met with Virginia’s optimism. Scientifically speaking, I think this means that having Werner as an active parent in your life makes you a worse person.
Guess which word you shouldn’t have used here, Virginia.
I got a timer in the bottom right of the screen that says you have at least a few hours of memories.
Major downer.
Jet: gradually showing social improvement.
But still grumpy as all get out.
And speaking of getting out, we have about half a dungeon to go here, and it seems like we’ve been doing this for a while, so we’ll take a little break to admire the techno-organic plumbing.
Next time on Wild Arms: We’re Back! A Family’s Story.
Oh boy I hope you get to meet Gritty while you're there!
(this is in reference to how early translations to this location prior to the game's NA release called it Philadelphia and thanks to that I can't think of it any other way)
(this is in reference to how early translations to this location prior to the game's NA release called it Philadelphia and thanks to that I can't think of it any other way)
(don't worry, this update includes an even more esoteric Philadelphia joke)
Welcome to Spring, everybody! Today is March 21, Spring Equinox. My mother told me that the length of day and night become the same today. Why that makes the day any better than other days, I have no idea. Nor do I know why we have to go to school, nor do I know why... (grumble, grumble)
Chapter 51: It's Going Down
Previously on Wild Arms 3: Filgaia has a flying city! Or… it used to. Turns out that big ol’ city had a big ol’ crash, and now we are exploring the wreckage to see if they left anything useful.
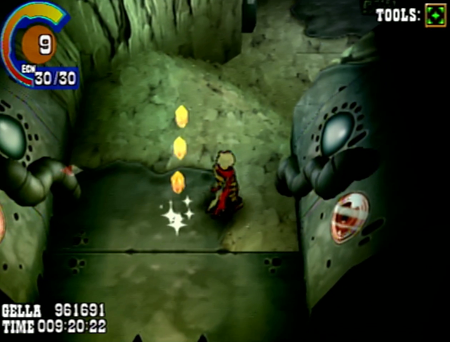
We’re not super optimistic, though.
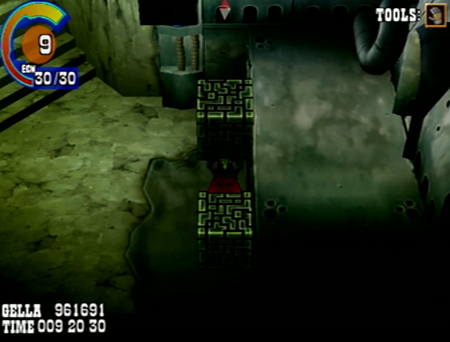
They did leave behind a number of puzzles at least.
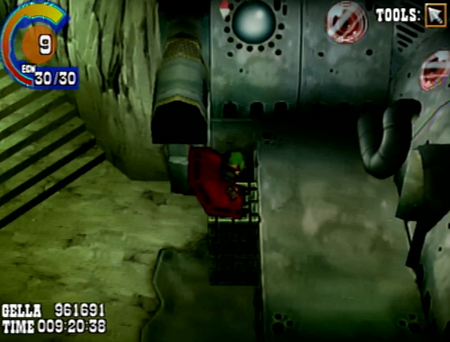
This one is a double Clive-event. Use his Mighty Gloves to make a platform out of blocks, then use the grapple to get up on those blocks.
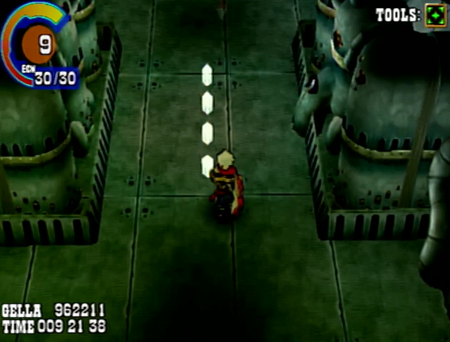
At least this dungeon is slightly more interesting than our typical cave environs.
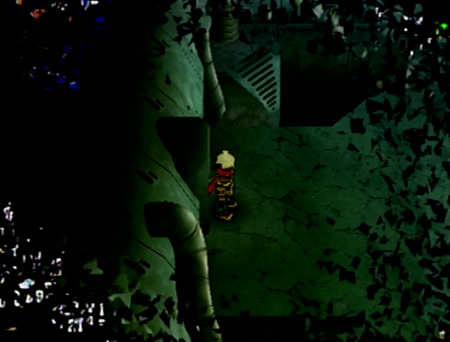
But an unavoidable battle means it is time to pay attention.
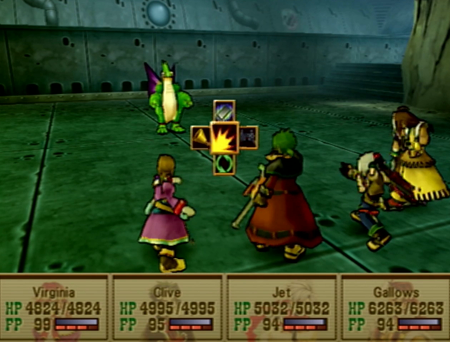
We’re not completely done with this dungeon, but we do have a boss to tackle.
As mentioned previously, likely to account for the possibility of doing quests “out of order”, a number of mandatory bosses in this section are “puzzle fights”. Can you
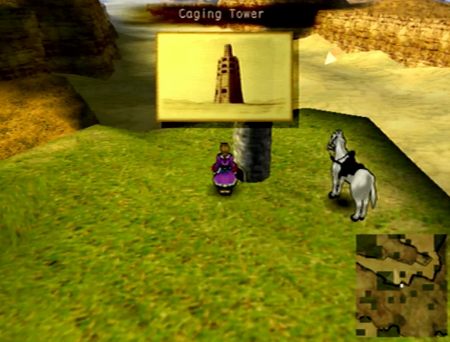
Certainly doesn’t sound like a trap!
Next time on Wild Arms: The final battle.
Welcome to Spring, everybody! Today is March 21, Spring Equinox. My mother told me that the length of day and night become the same today. Why that makes the day any better than other days, I have no idea. Nor do I know why we have to go to school, nor do I know why... (grumble, grumble)
Chapter 51: It's Going Down
Previously on Wild Arms 3: Filgaia has a flying city! Or… it used to. Turns out that big ol’ city had a big ol’ crash, and now we are exploring the wreckage to see if they left anything useful.
We’re not super optimistic, though.
They did leave behind a number of puzzles at least.
This one is a double Clive-event. Use his Mighty Gloves to make a platform out of blocks, then use the grapple to get up on those blocks.
At least this dungeon is slightly more interesting than our typical cave environs.
But an unavoidable battle means it is time to pay attention.
We’re not completely done with this dungeon, but we do have a boss to tackle.
As mentioned previously, likely to account for the possibility of doing quests “out of order”, a number of mandatory bosses in this section are “puzzle fights”. Can you
guess the gimmick of Chameleon Man?

He’s weak to ice, but there’s always a twist with chameleons.
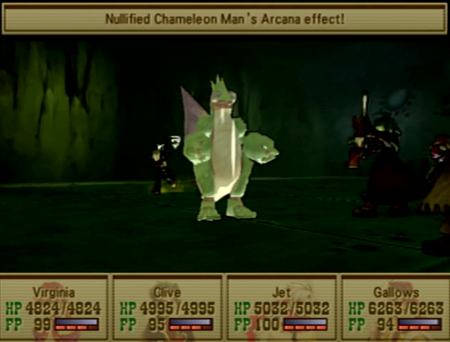
Be sure to start by dispelling… whatever he has going on? It was on that stat screen, and I should really know what those icons mean by now…
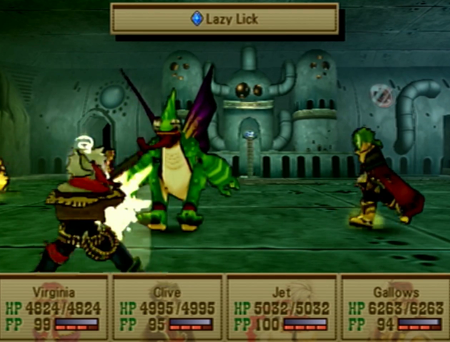
His main offense seems to be sticking your characters with depression. This means they will accrue FP incredibly slowly (1 FP per round).
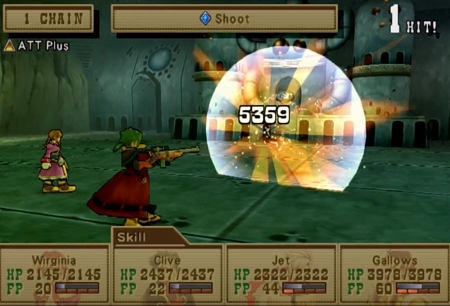
And our main offense is shooting the guy.
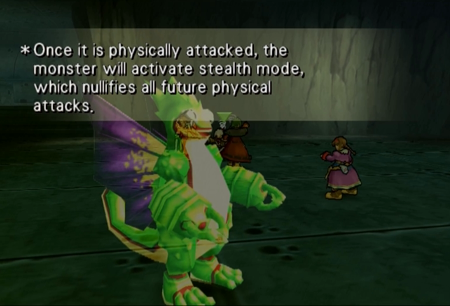
But this robot master reject can go intangible/invisible after a physical attack.
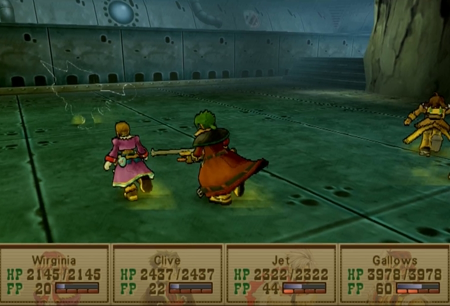
This makes it hard to aim!
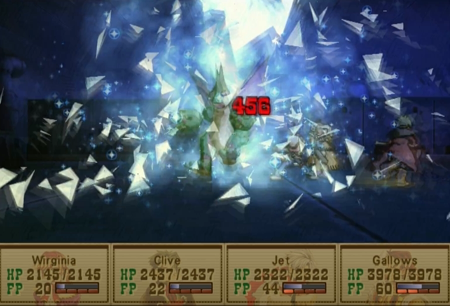
So, naturally, this is when you whip out the ice magic. The trick here is that you have to manage your own depression, and somehoworder a pizza so you eat at least something today you stupid loser that cannot even get out of your pajamas what are you doing with your life have enough FP to effectively use your arcana.
Over on the New Game+ playthrough, I actually killed Chameleon Man all in one hit. This led to an amusing bit where the tutorial explained the trick for victory while Chameleon Man was exploding.

Anywho, Chameleon Man will go back to being tangible after two turns… but he is unlikely to survive that long. Have Clive shoot on the first round, let everyone use ice spells or items after that (and Clive’s 100% accurate lock on still works), and Chameleon Man will feel your sting shortly.
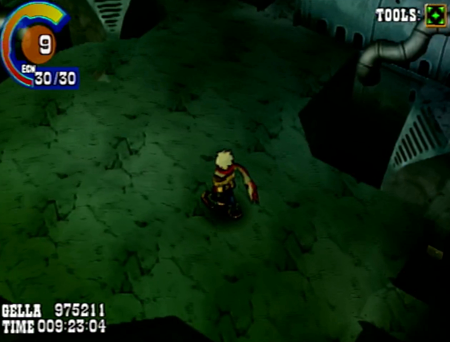
No denouement, no mention of the defeated chameleon. Real loser there. Between this and that eyeball that was just hanging around last dungeon, it really feels like we are fighting “filler” bosses.
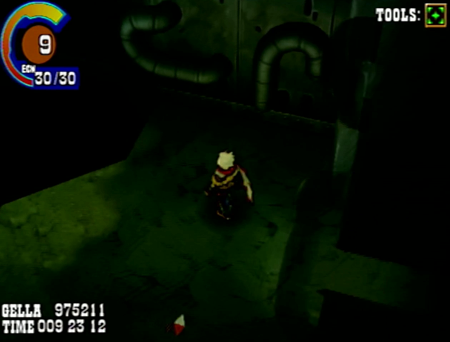
These pipes have got to smell bad, right? Regular pipes have a tendency to hold some nasty odors, but techno-organic pipes that have been “dead” for hundreds of years have got to be awful.
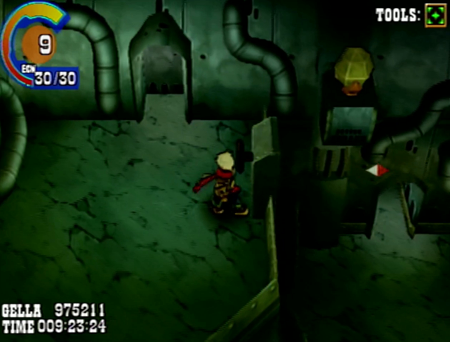
Time for a multipart puzzle.
Turn the lever to flip over the crystal switch. Then freeze the lever so the switch won’t flip back to the other direction. This one is fun, as there is juuuuust enough time for you to nearly get in position to hit the crystal, so you might not realize you have to do the freeze trick initially.
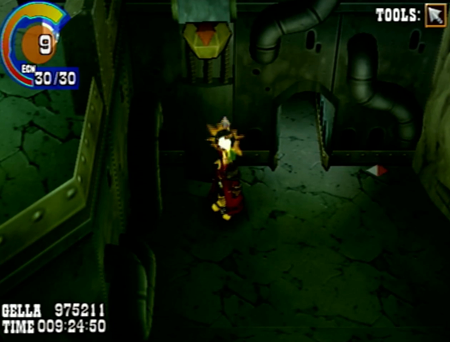
And then it’s just a matter of Clive remembering to look up.
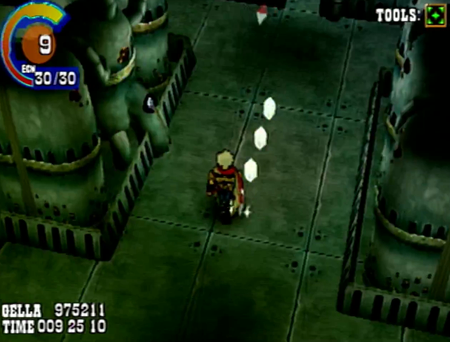
There can’t be much left to this floating city, right?
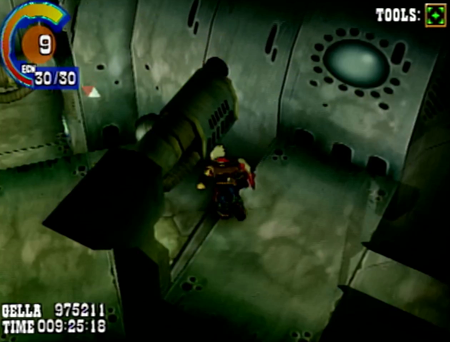
You can drop down for a little treasure haul.
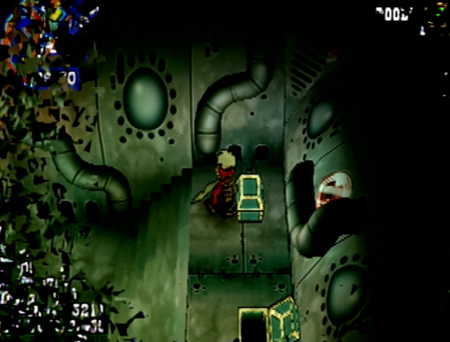
I am going to log every trapped treasure chest if it kills me.
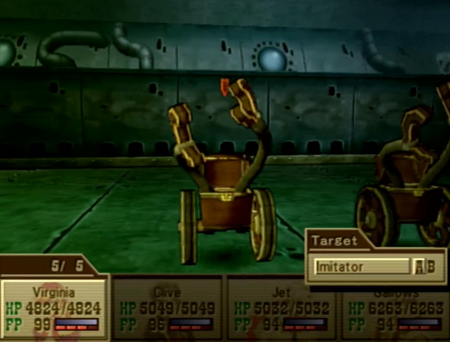
Kills me from boredom, obviously…
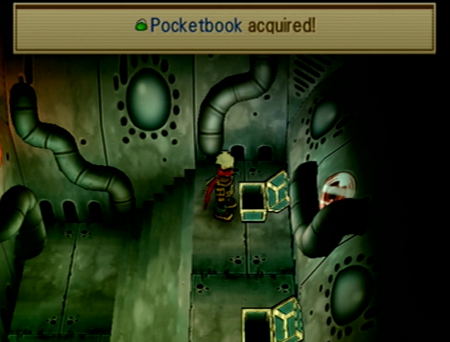
Pocketbook can increase your Gella returns by 25%. It does stack with the Gella Plus ability you already have on the Luck Medium, so if you are anxious for more cash, equip this immediately.
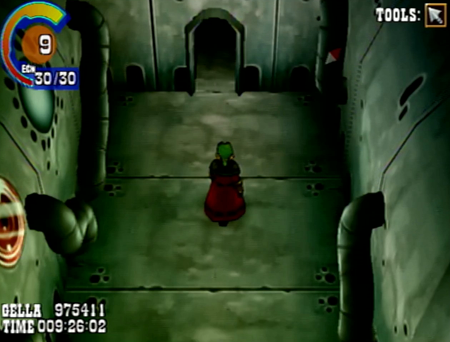
Back to the beaten trail.
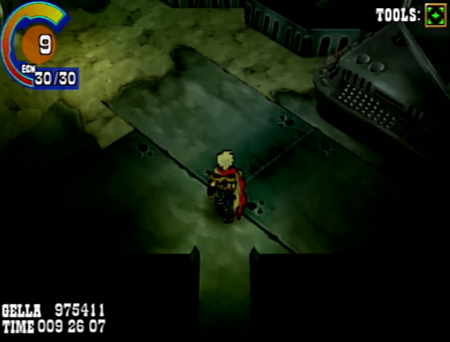
Last room.
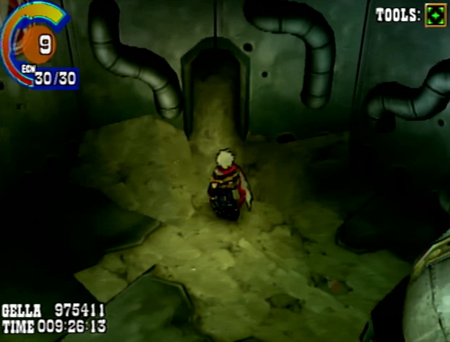
There is technically somewhere to go from here, but it is inaccessible. Congratulations on finishing this dungeon. You are a super player.
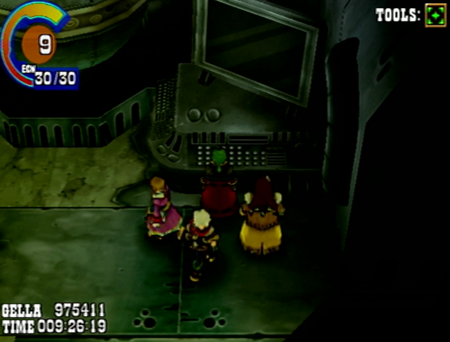
You must look at this computer to make any progress, though.
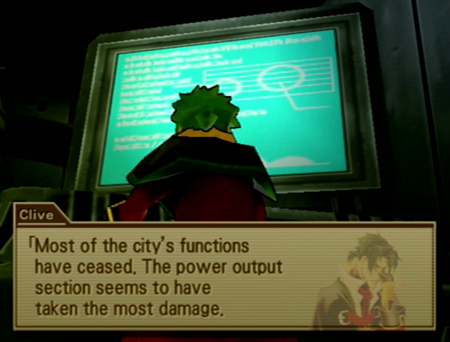
Yet it still works. I have a laptop that stops functioning if I burp near it.
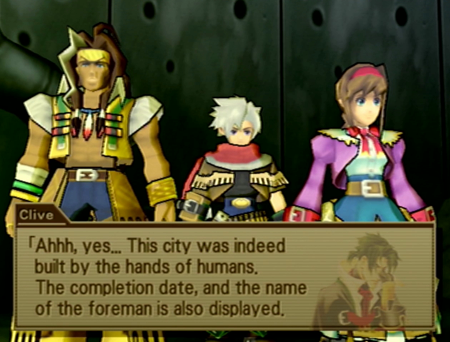
“Beelzebub McEatpeople. That’s a human name, right?”
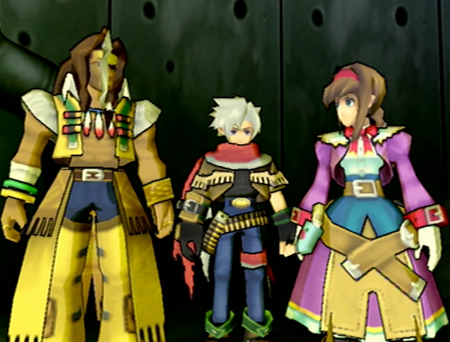
“That’s so interesting, Clive! Continue!”
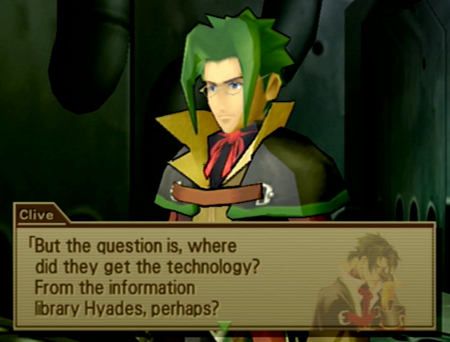
Come on, man! You’re so close!
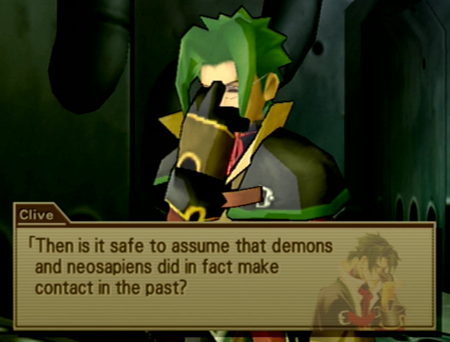
REMEMBER YOUR MURALS!
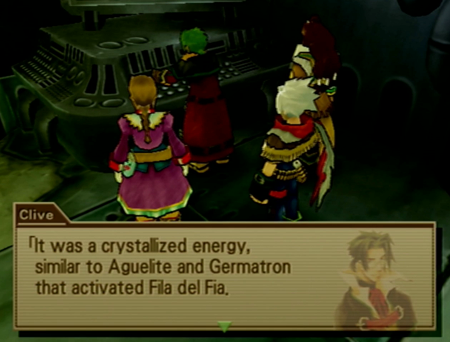
Anywho, recall those rocks that blew up an entire dungeon? Turns out they had something similar powering this rocket town and all the people that dwell within the rocket town.
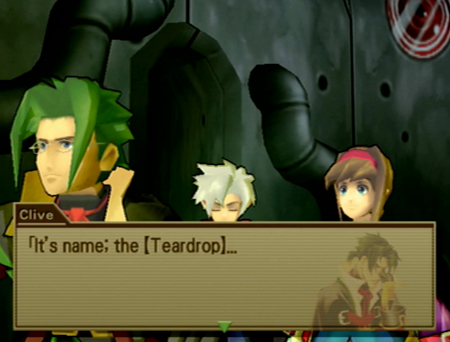
Weeo Weeo Weeo Wild Arms alert!
The Teardrop was the number one macguffin of Wild Arms (1). Your playable princess started the game with it as a family heirloom/tool, but you lost track of it around the end of the prologue when said princess had to trade it to demonkind (and Siegfried!) to save her whole kingdom from being destroyed. Or… further destroyed, I guess. Then, a significant portion of the game was simply the quest to get the Teardrop back, and it was eventually discovered the gem had god-level power tracing back to ancient times. It could power ancient machines and revive demon parasite monsters equally effectively.
In other words, the Teardrop was your basic RPG “most important object in the universe” item, and is probably best likened to the recurring crystals of Final Fantasy. For a Wild Arms fan, this moment is like hearing, “it says here the ancient king used a sword named -Excalibur-.”
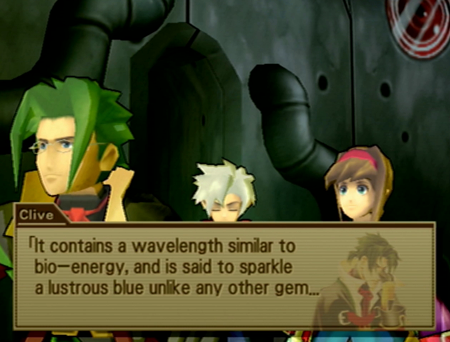
Yep, that’s our teardrop.
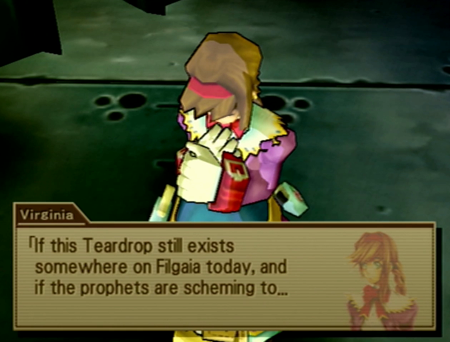
Yeah, we need to get it. Duh.
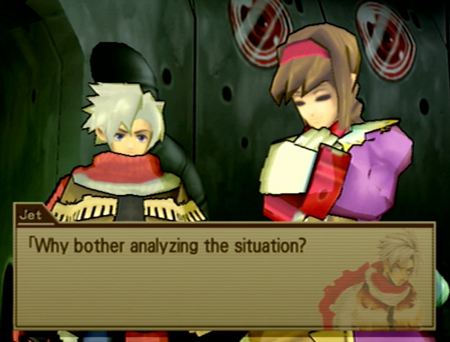
Jet, it was so nice when you weren’t talking for, like, half the game.
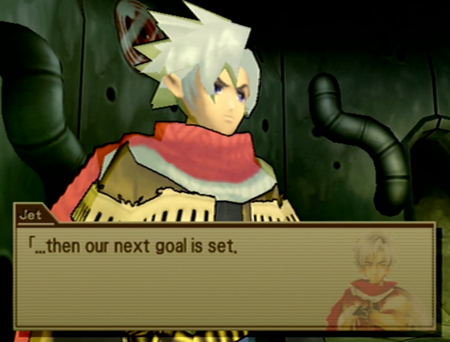
At least he’s more of a team player, now. Let’s go find the Teardrop!
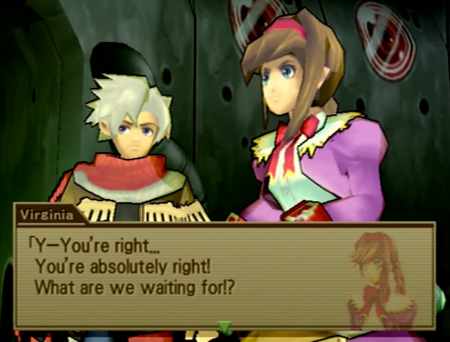
“Clive, did this ancient civilization leave a note?”
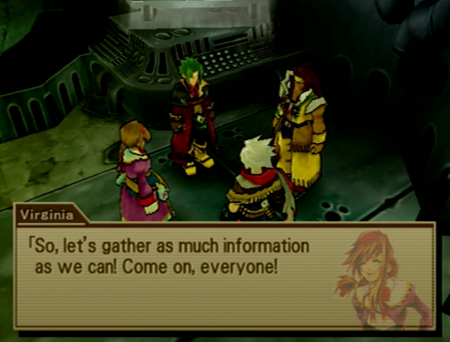
Two dungeons in a row where Virginia finds nothing, but is overly optimistic. Do you think the Hope Medium is leaking?
Uh… guess we have to see ourselves out.
Jet? Shut-up.
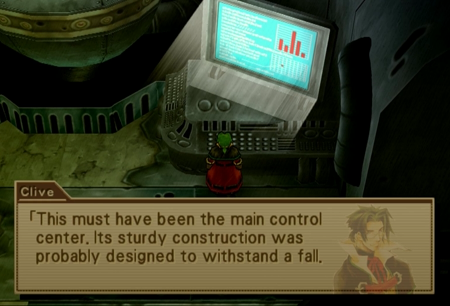
Thanks for filling in that potential plot hole, Clive.
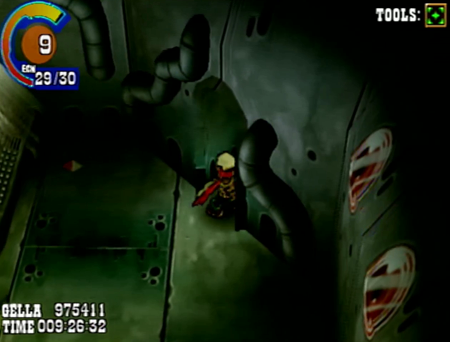
Really nothing to do here, eh? Fine, we’ll leave.
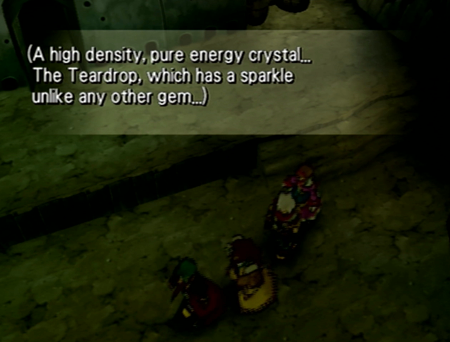
Luckily, we don’t have to walk all the way backwards through the dungeon, as narration sees us to the exit.
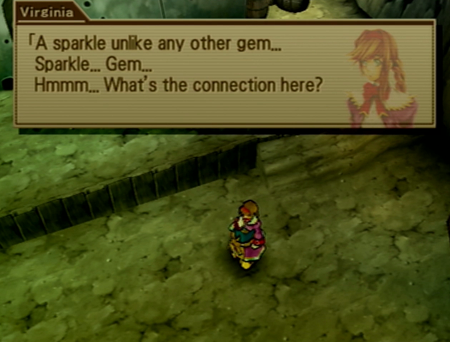
Yes… I wonder… Does this remind you of anyone special, Virginia?

Someone with fancy boots?

And an entire family of misfits?

Guardians bless the Wild Arms 3 artist that decided this woman needed a distinct sneezing character portrait.
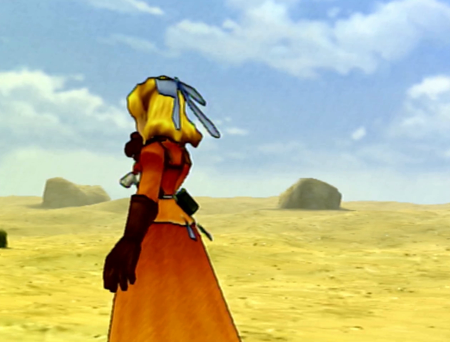
Hey everybody! It’s Maya! Bet you didn’t see that coming!
Wild Arms 3’s #1 reason for needing a remake with voice acting confirmed.
Aw, all sorts of brotherly love this update.
So, looks like these yokels are having a good time in the middle of nowhere.
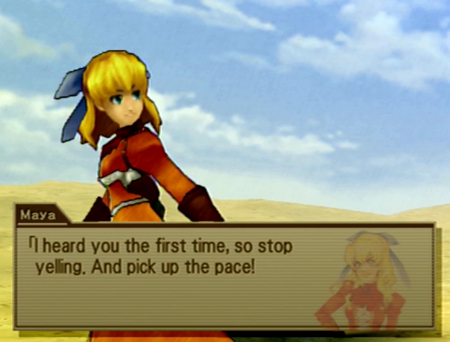
She gets so insensitive when she hasn’t seen Virginia for a while.
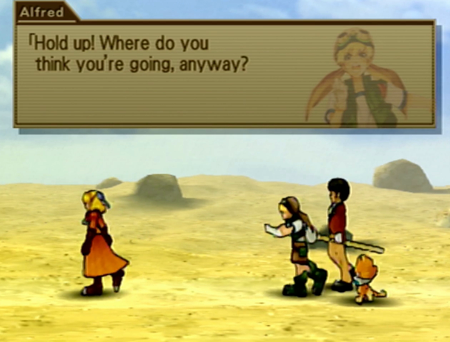
“Seriously! Where are we!? This whole planet has like, twenty landmarks!”
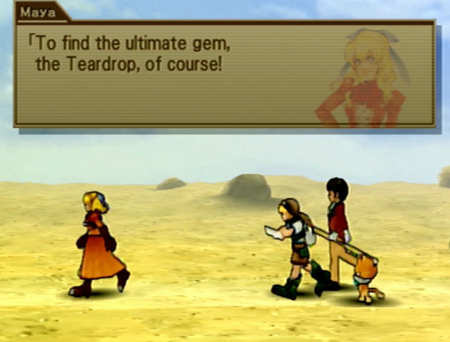
What a coincidence! We were just talking about that!
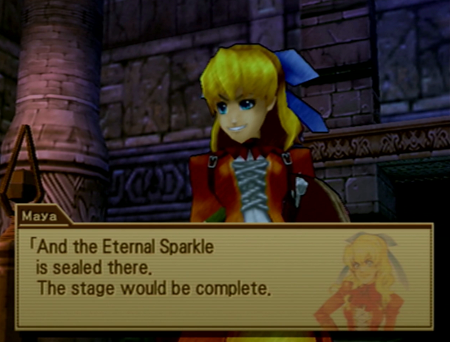
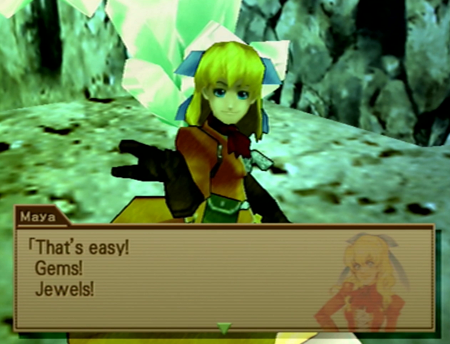
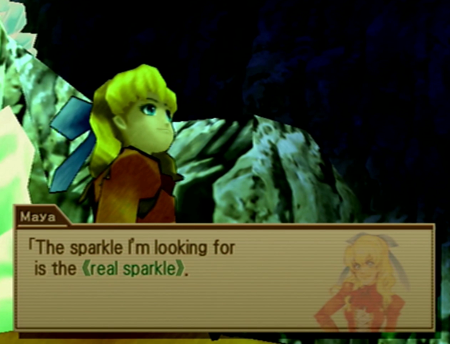
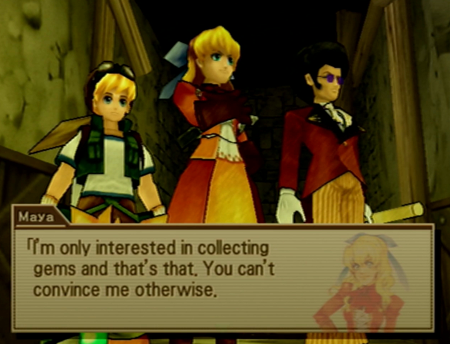

(flashbacks to earlier times)
Combine the information we just acquired with Maya’s comments/actions before, and you’ll realize the Teardrop was always Maya’s goal. This also explains why she was always in "ancient ruins" and so informed about the artifacts therein.
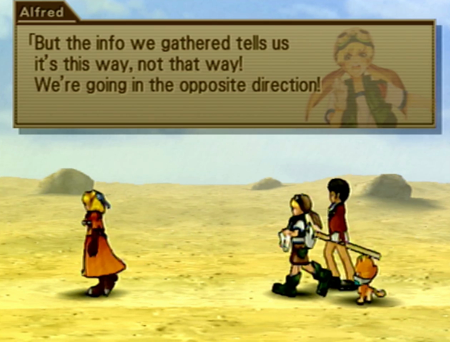
Though there may be a reason she hasn’t found her prize yet.
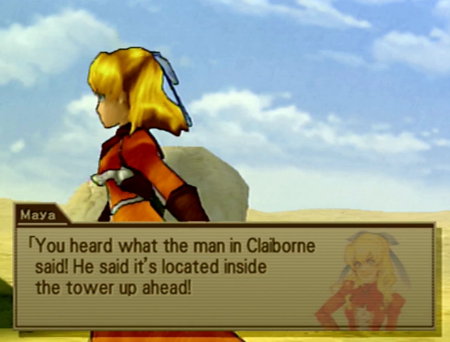
Claiborne! Use our omniscient narration powers to write down that clue for later!
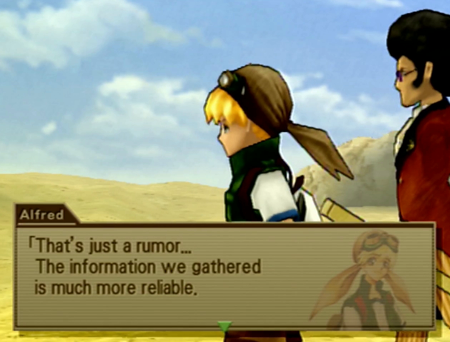
Apparently the Schrodinger family has the ability to get NPCs to talk about something other than craters.
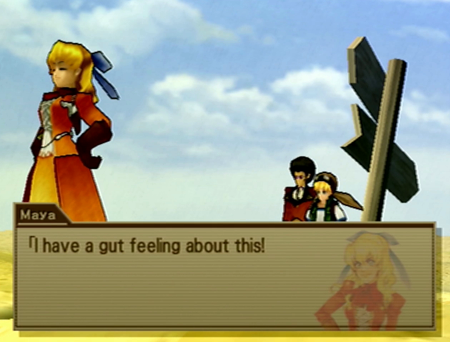
Girl, in that corset, your gut can barely eke out a grumble, left alone a feeling.
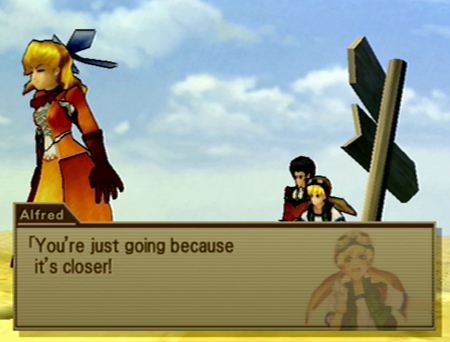
Oh no you didn’t.
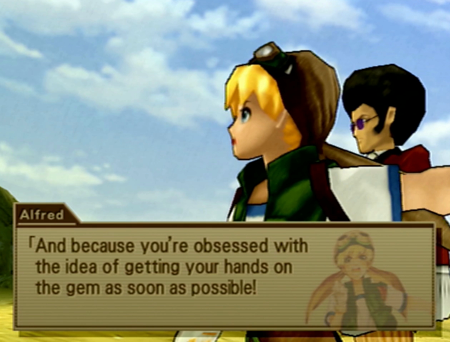
Taking a shortcut can lead you astray, Maya.
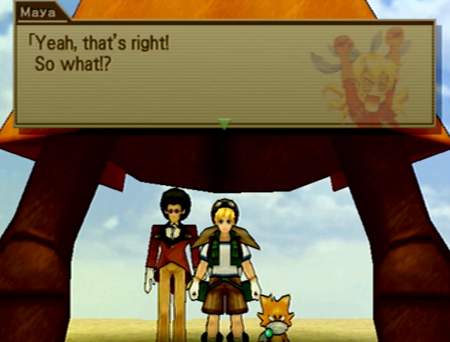
I swear the odds of dynamic camera angles upticks roughly 1000% when Maya is around.
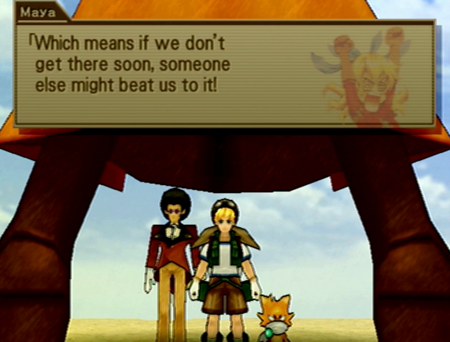
May as well chase down every lead. It beats getting a real job.
Alfred is shy around strangers, but seems to be the only one capable of actually standing up to his sister.
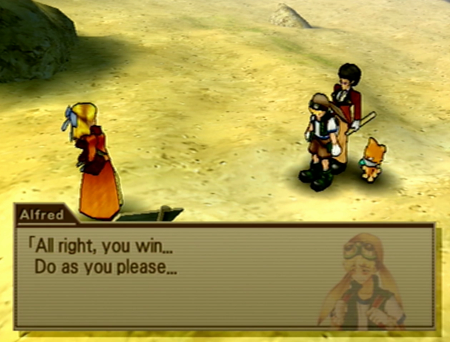
Mostly.
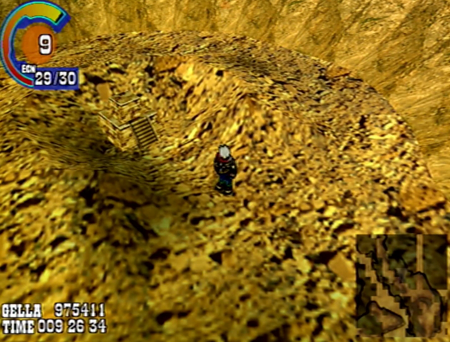
So “we” don’t have a lead to the next dungeon, but let’s say we just know that heading back to Claiborne next is our best bet.
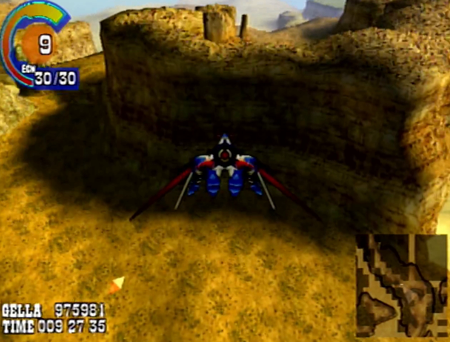
And we could fly our big honking airship over to that one-horse town…
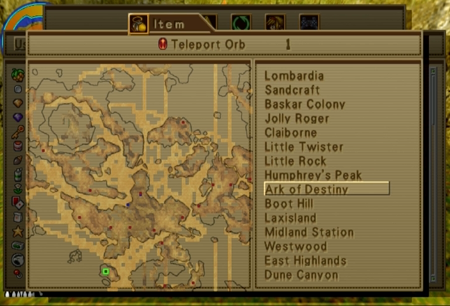
But we just got a new tool, so let’s stop back at the Ark of Destiny first.

Fun fact: for some inscrutable reason, the Ark of Destiny library has a second floor that is only accessible via grappling hook. This is what happens when you accept architectural contributions from billionaire philanthropist Bruce Wayne.
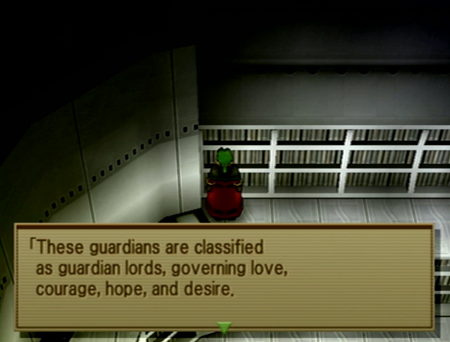
So now we can access what I believe are the final readable books in this Let’s Play. Note that we are nowhere near done with this game, we’ve just run out of towns.
Our first book is a really useless “clue” on finding the Guardian Lords. The townsfolk at Baskar are more helpful than this.
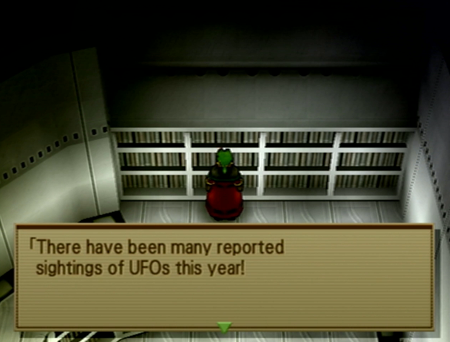
Guardians help us all, this is another sidequest “clue”. If we want to claim this book is useful, it obliquely references the fact that when we discover aliens, we should equip protections against (smelly) status effects.
Note also that this book confirms the widespread usage of the imperial measuring system in Filgaia.

This is the only book on this floor sealed by a duplicator.
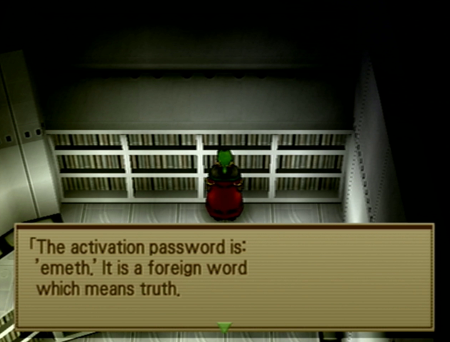
This is some cool lore that will be relevant for the second-to-last dungeon. We will revisit this book when it is applicable. Also, once again, we have confirmation that Hebrew is an ancient language on Filgaia.
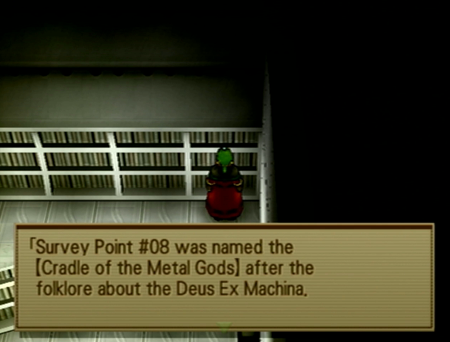
And our final book is a clue to a dungeon that will be a little closer on the timeline… but we still have a few more sections to go. Note that despite the fact that this book straight up gives you exact coordinates to the dungeon, you will not be able to activate/find the place until talking to a specific NPC at the time it is relevant. I did not realize this, and probably wasted about fifteen minutes smacking the radar button in one useless circle…
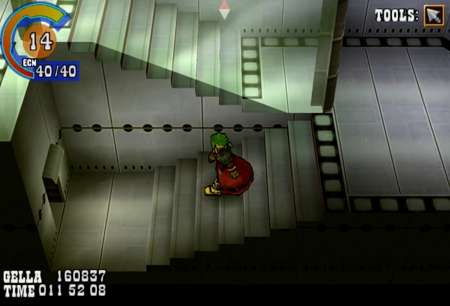
Now that we are done reading, it’s back to the basement.
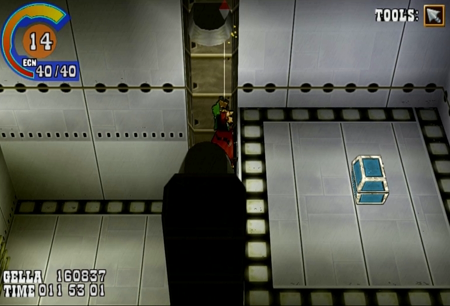
First, we will use a duplicator to find a room where you need to use that newly acquired grappling hook for some minor treasure.
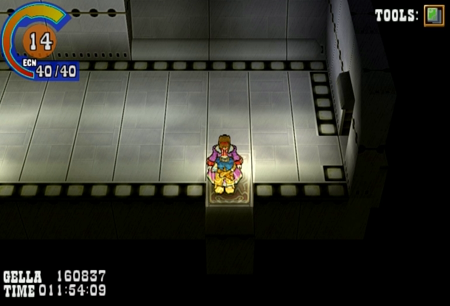
And then we will use another duplicator to access the pain zone.
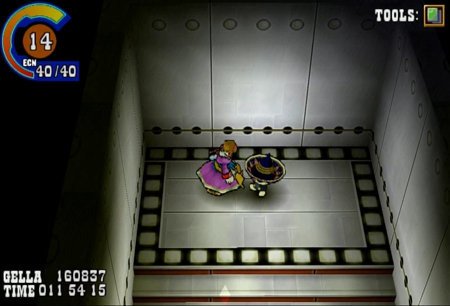
The Ark of Destiny contains a series of rooms in its basement that all require different tools you find from about the midpoint of Wild Arms 3 on. This room might be confusing, though, as it contains no treasures or puzzles, just a miscolored save robot. We know that the Ark of Destiny maintains all of the world’s save ‘bots, but this little dude that just jiggles and refuses to save your game is… perplexing.
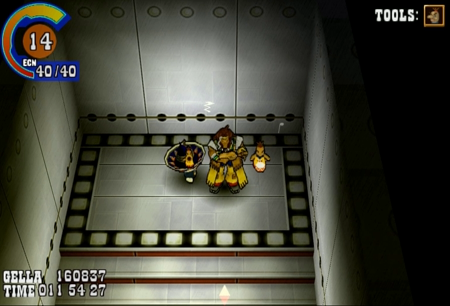
But, by process of elimination with the other rooms, you may determine that this room is the only place where using Gallows’s Kramer Dolls is the right solution.
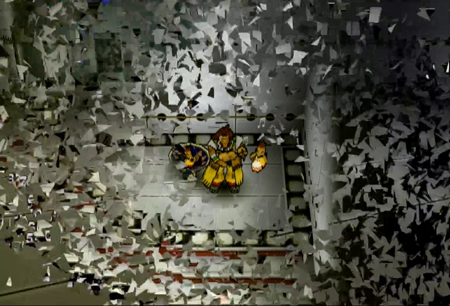
And then you may determine you’ve made a terrible mistake.
At least he does a happy little dance.
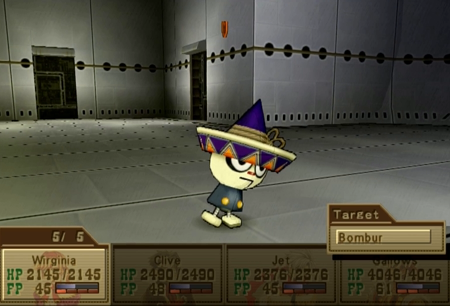
So Bombur here is a bona fide super boss. A great many guides will recommend you do not even attempt this maniac until the end of the game.
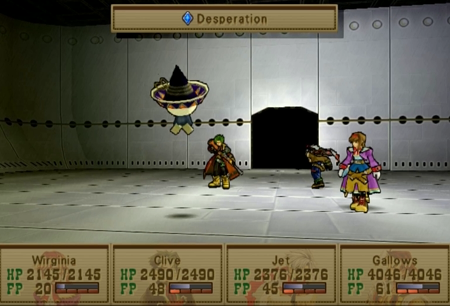
But I come here with the full knowledge of another Wild Arms 3 playthrough or two, so I know what I am doing. I can handle this!
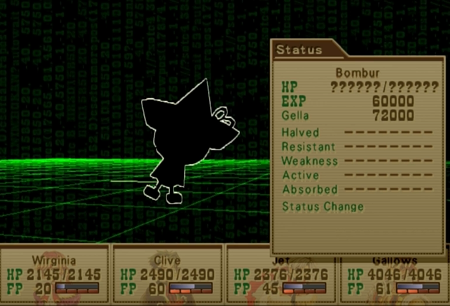
Bombur is one of the easier “super bosses”. It has a general physical attack that isn’t too bad…
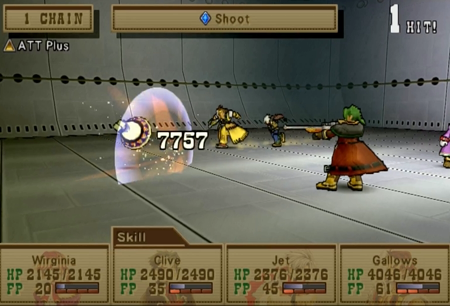
And Clive’s ATT Plus-boosted attack is going to be bad for Bombur.
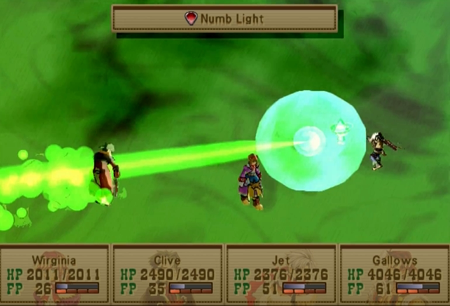
Bombur also has the ability to inflict Amnesia on a character. You generally want to cure that immediately just so you can enjoy Bombur’s large experience cache.
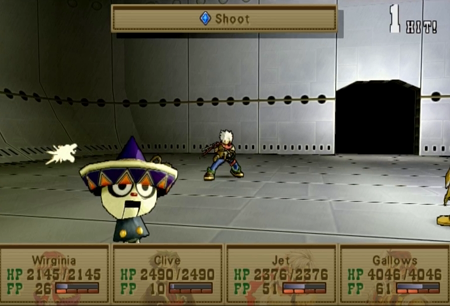
Nine times out of ten, Bombur is not a threat.

But then it uses Wheel Laser, and half your party can lose half its health.
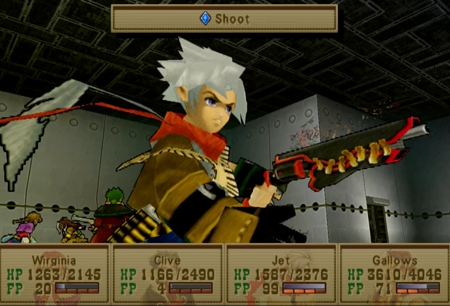
There is no guaranteed defense against Wheel Laser. This is why a lot of people recommend you simply come back when you have more levels/HP.
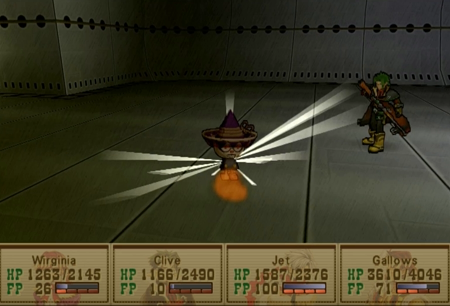
But honestly? It’s RNG, and the guardians were smiling upon me this time. Wheel Laser was only used once or twice, and Gallows with Weakness and Clive with ATT Plus were able to wear down the robot quickly. This is an “easy” super boss, because its greatest strength is random, and it is found inches away from an inn and save point. Just try again if you find yourself being lasered.
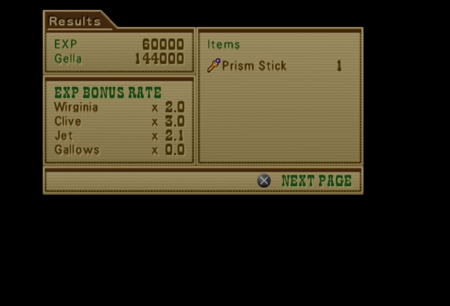
Hit me with your Prism Stick. Je t'adore, ich liebe.
Prism Stick adds the ability SOS FP Boost. This ability is already part of Raftina/Love Medium’s oeuvre, and is only useful in extremely limited situations. Given you have to “consume” the one Prism Stick you will ever find (in the Abyss, there is the Demiurgos random monster that has a 1% drop rate… but we already covered what a crap shoot that can be…), it is hard to choose who “gets” this skill. Clive and his eventual Final Arts would make sense, but he already has his skill points going to so many things…
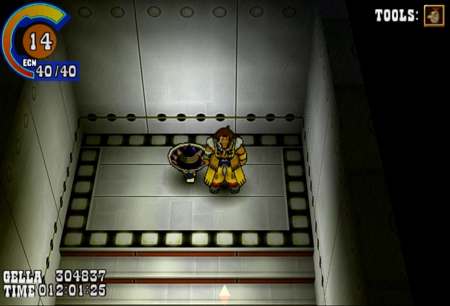
And that’s that. Bombur sticks around, but you cannot fight him over and over again. He will actually be “used” by another tool at a later date.
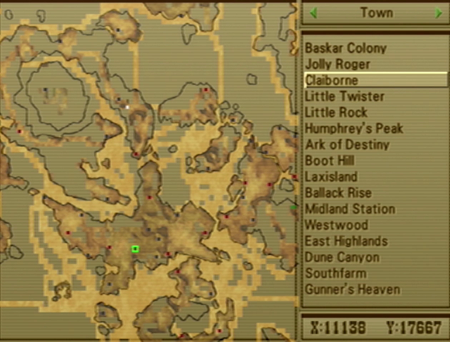
Okay! Back on track! To Claiborne!

Here we are. Do you guys have any dragon chow for my ride?
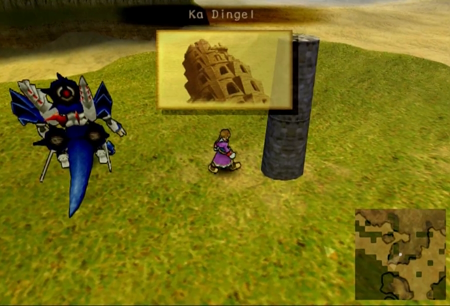
You know what? Let’s not go there. It’s a silly place.
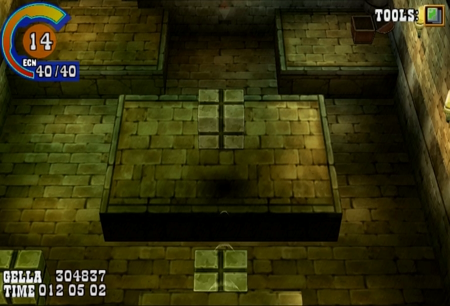
Ka Dingel is that dungeon where Janus lost his humanity in more ways than one. It was the big finale of Chapter 1, and now we are back with tools that absolutely wreck those meager puzzles of the past.
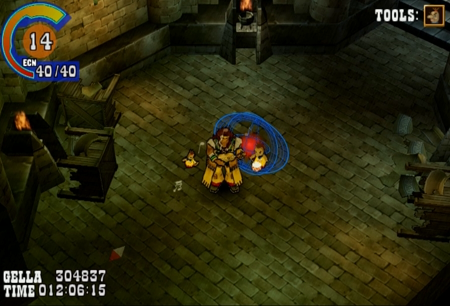
Way back when, we fought a turtle about halfway up this tower. After the fight, this mysterious object appeared. Now it is time to deal with this thingy…
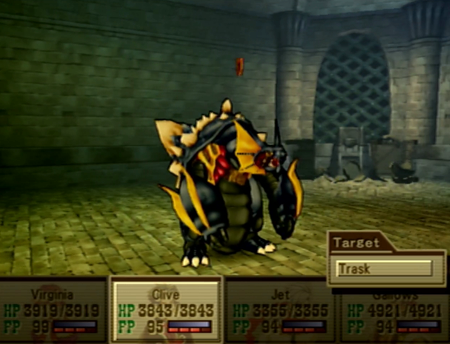
(the old version)
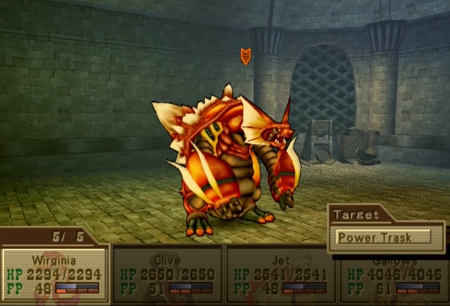
(the new hotness)
Same caveat as Bombur: you should wait until the end of the game to fight this monster if you are not accompanied by an adult. I am a glutton for punishment, though.
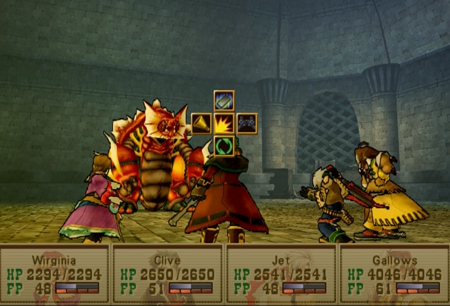
Turtle punishment.
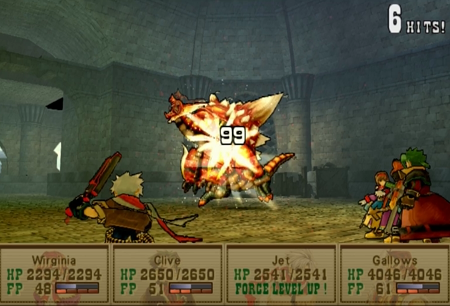
Power Trask is similar to Boring Trask in that he has ridiculous physical defense. That's 99 damage from a character that normally does slightly better.
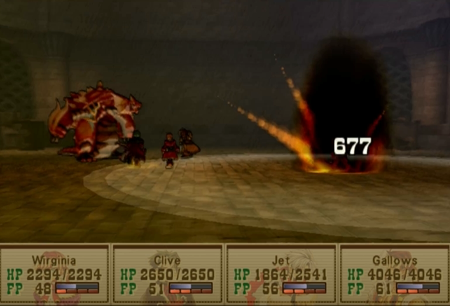
And missiles that do some significant damage.
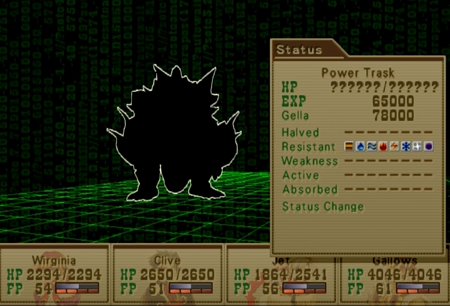
Boring Trask was a puzzle fight with two solutions: you could crack his shell with fire and ice magic to allow physical attacks through, or just focus exclusively on magic. Power Trask is now invulnerable to shell cracks, and he is similarly armored up against all elemental attacks.
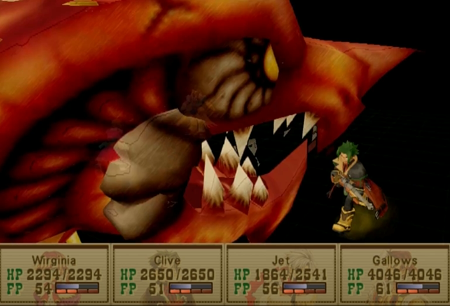
Are about to become Trask's latest pizza topping?
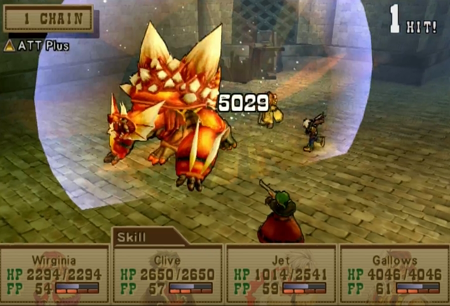
Well, apparently Clive is such a powerhouse at this point, Power Trask’s defenses don’t mean $^&@. That helps!
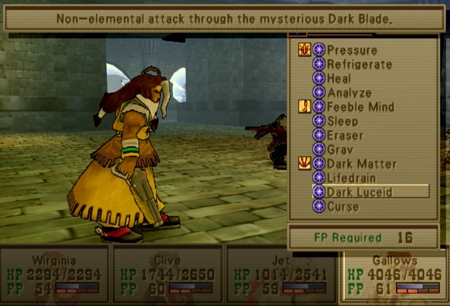
But the real winner here is the spell that you knew was coming if you were paying attention. Power Trask is resistant to all elemental attacks, which means this is one of the few situations where (likely glitched) Dark Luceid actually works.
And boy howdy does it work. Weakness does not boost this damage, but if Gallows has a decent magic stat, you have your solution to this fight.
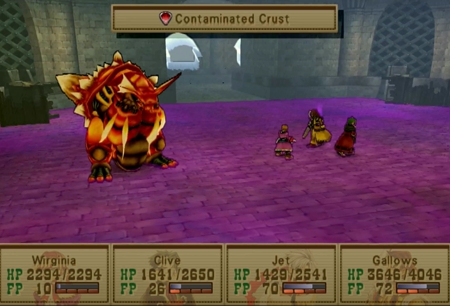
Power Trask’s signature move will occur after it absorbs enough damage. Technically, this kind of high defense battle could last forever (just ask anyone that has ever felled a Shuckle), but Contaminated Crust will turn the arena into poison. Now everyone in your party loses a big chunk of HP every round regardless of Trask’s attacks.
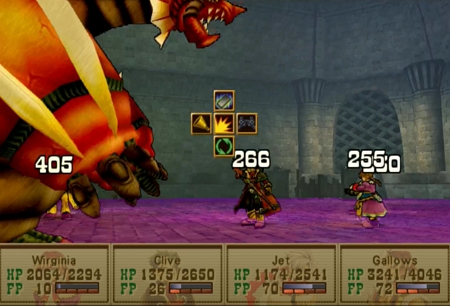
And, no, disappointingly enough, equipping any kind of poison protection will not prevent Contaminated Crust damage. It is just a blanket percentage of your HP drained every round.
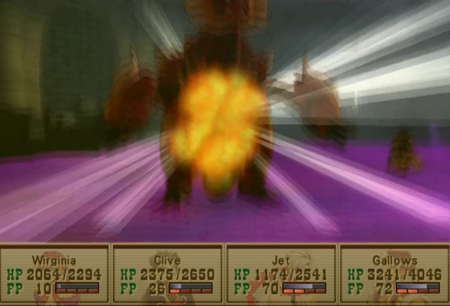
But Contaminated Crust means you are doing some damage, so keep it up, and you should be in the clear in no time. A fun option is to use the Time Medium's Replay command on Gallows so he does the inordinate Dark Luceid damage twice. You'll shred your opponent into turtle soup!

And our reward is Golden Dawn. Damn, does that sound a lot more interesting than it actually is. This provides the Lifebringer skill, which, at maximum points, will mean your VIT gauge holds five times your maximum HP (as opposed to just one times your max). This is great for the Abyss and arguably useless everywhere else on the planet. You’re never that far from an inn…
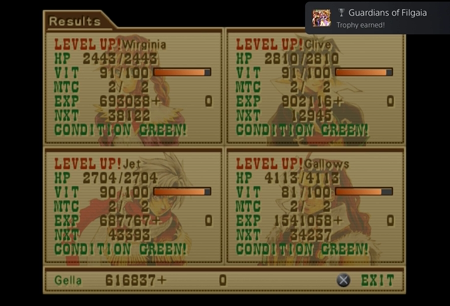
Oh! The Playstation 5 version got a trophy for our efforts here. Oddly, this has nothing to do with the super boss, Guardians of Filgaia is a trophy for getting everyone over level 50. Super bosses do help with that experience point count…
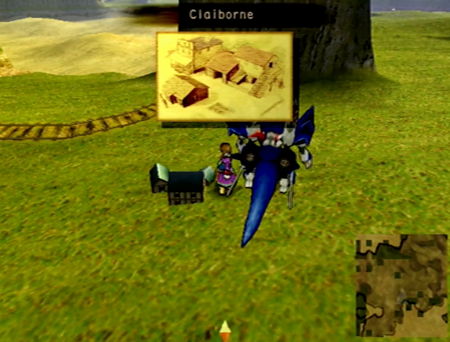
Our “normal” party is getting pretty strong here by soaking up all this sidequest experience… but hey! They’re not complete monsters yet…
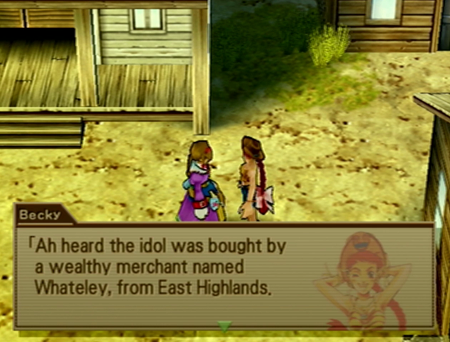
Welcome to Claiborne (again). Some of the locals are still trying to lead us to sidequests we have already completed.
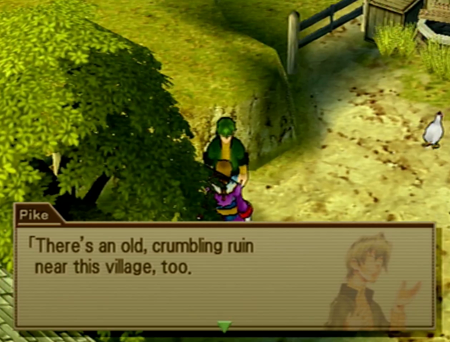
Thank you, Pike. You’re always useful.
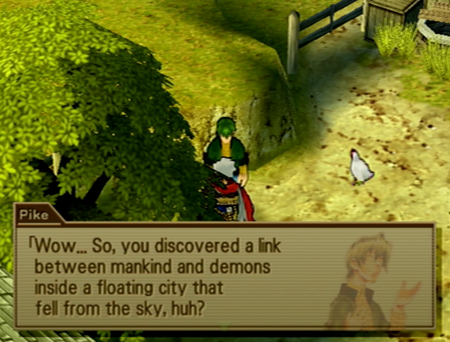
Pretty normal day!
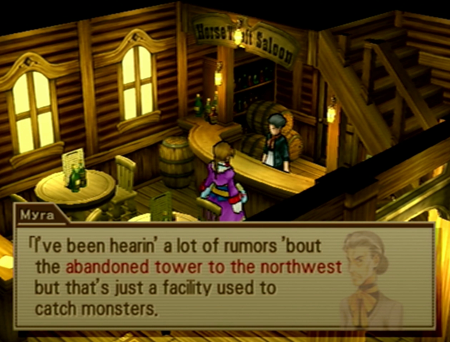
Myra gives us the distinct directions to our next dungeon.
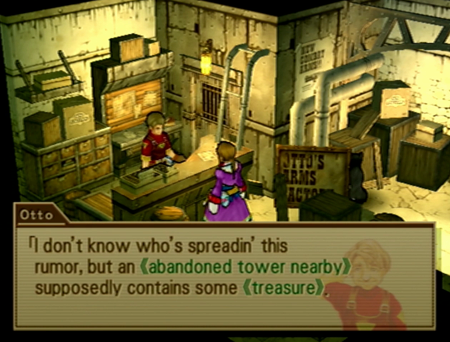
Otto is also on the same page. A lot of this sounds pretty fishy, though…
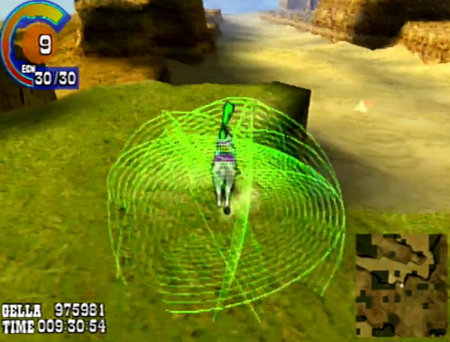
Whatever, let’s see if we can find this Pokémon tower.
He’s weak to ice, but there’s always a twist with chameleons.
Be sure to start by dispelling… whatever he has going on? It was on that stat screen, and I should really know what those icons mean by now…
His main offense seems to be sticking your characters with depression. This means they will accrue FP incredibly slowly (1 FP per round).
And our main offense is shooting the guy.
But this robot master reject can go intangible/invisible after a physical attack.
This makes it hard to aim!
So, naturally, this is when you whip out the ice magic. The trick here is that you have to manage your own depression, and somehow
Over on the New Game+ playthrough, I actually killed Chameleon Man all in one hit. This led to an amusing bit where the tutorial explained the trick for victory while Chameleon Man was exploding.
Anywho, Chameleon Man will go back to being tangible after two turns… but he is unlikely to survive that long. Have Clive shoot on the first round, let everyone use ice spells or items after that (and Clive’s 100% accurate lock on still works), and Chameleon Man will feel your sting shortly.
No denouement, no mention of the defeated chameleon. Real loser there. Between this and that eyeball that was just hanging around last dungeon, it really feels like we are fighting “filler” bosses.
These pipes have got to smell bad, right? Regular pipes have a tendency to hold some nasty odors, but techno-organic pipes that have been “dead” for hundreds of years have got to be awful.
Time for a multipart puzzle.
Turn the lever to flip over the crystal switch. Then freeze the lever so the switch won’t flip back to the other direction. This one is fun, as there is juuuuust enough time for you to nearly get in position to hit the crystal, so you might not realize you have to do the freeze trick initially.
And then it’s just a matter of Clive remembering to look up.
There can’t be much left to this floating city, right?
You can drop down for a little treasure haul.
I am going to log every trapped treasure chest if it kills me.
Kills me from boredom, obviously…
Pocketbook can increase your Gella returns by 25%. It does stack with the Gella Plus ability you already have on the Luck Medium, so if you are anxious for more cash, equip this immediately.
Back to the beaten trail.
Last room.
There is technically somewhere to go from here, but it is inaccessible. Congratulations on finishing this dungeon. You are a super player.
You must look at this computer to make any progress, though.
Yet it still works. I have a laptop that stops functioning if I burp near it.
“Beelzebub McEatpeople. That’s a human name, right?”
“That’s so interesting, Clive! Continue!”
Come on, man! You’re so close!
REMEMBER YOUR MURALS!
Anywho, recall those rocks that blew up an entire dungeon? Turns out they had something similar powering this rocket town and all the people that dwell within the rocket town.
Weeo Weeo Weeo Wild Arms alert!
The Teardrop was the number one macguffin of Wild Arms (1). Your playable princess started the game with it as a family heirloom/tool, but you lost track of it around the end of the prologue when said princess had to trade it to demonkind (and Siegfried!) to save her whole kingdom from being destroyed. Or… further destroyed, I guess. Then, a significant portion of the game was simply the quest to get the Teardrop back, and it was eventually discovered the gem had god-level power tracing back to ancient times. It could power ancient machines and revive demon parasite monsters equally effectively.
In other words, the Teardrop was your basic RPG “most important object in the universe” item, and is probably best likened to the recurring crystals of Final Fantasy. For a Wild Arms fan, this moment is like hearing, “it says here the ancient king used a sword named -Excalibur-.”
Yep, that’s our teardrop.
Yeah, we need to get it. Duh.
Jet, it was so nice when you weren’t talking for, like, half the game.
At least he’s more of a team player, now. Let’s go find the Teardrop!
“Clive, did this ancient civilization leave a note?”
Two dungeons in a row where Virginia finds nothing, but is overly optimistic. Do you think the Hope Medium is leaking?
Uh… guess we have to see ourselves out.
Jet? Shut-up.
Thanks for filling in that potential plot hole, Clive.
Really nothing to do here, eh? Fine, we’ll leave.
Luckily, we don’t have to walk all the way backwards through the dungeon, as narration sees us to the exit.
Yes… I wonder… Does this remind you of anyone special, Virginia?
Someone with fancy boots?
And an entire family of misfits?
Guardians bless the Wild Arms 3 artist that decided this woman needed a distinct sneezing character portrait.
Hey everybody! It’s Maya! Bet you didn’t see that coming!
Wild Arms 3’s #1 reason for needing a remake with voice acting confirmed.
Aw, all sorts of brotherly love this update.
So, looks like these yokels are having a good time in the middle of nowhere.
She gets so insensitive when she hasn’t seen Virginia for a while.
“Seriously! Where are we!? This whole planet has like, twenty landmarks!”
What a coincidence! We were just talking about that!
(flashbacks to earlier times)
Combine the information we just acquired with Maya’s comments/actions before, and you’ll realize the Teardrop was always Maya’s goal. This also explains why she was always in "ancient ruins" and so informed about the artifacts therein.
Though there may be a reason she hasn’t found her prize yet.
Claiborne! Use our omniscient narration powers to write down that clue for later!
Apparently the Schrodinger family has the ability to get NPCs to talk about something other than craters.
Girl, in that corset, your gut can barely eke out a grumble, left alone a feeling.
Oh no you didn’t.
Taking a shortcut can lead you astray, Maya.
I swear the odds of dynamic camera angles upticks roughly 1000% when Maya is around.
May as well chase down every lead. It beats getting a real job.
Alfred is shy around strangers, but seems to be the only one capable of actually standing up to his sister.
Mostly.
So “we” don’t have a lead to the next dungeon, but let’s say we just know that heading back to Claiborne next is our best bet.
And we could fly our big honking airship over to that one-horse town…
But we just got a new tool, so let’s stop back at the Ark of Destiny first.
Fun fact: for some inscrutable reason, the Ark of Destiny library has a second floor that is only accessible via grappling hook. This is what happens when you accept architectural contributions from billionaire philanthropist Bruce Wayne.
Guardians do not only reside within physical power. Guardians can also exist within the heart, acting as the power that sustains life. These guardians are classified as guardian lords, governing love, courage, hope, and desire. These four powers normally exist in the heart, paving a way for the future...However, in today's world, love, courage, and hope have disappeared, and desire has been warped. The guardian lords have been deprived of all their power, and are on the brink of extinction. They have transformed their will into a rock, and wait patiently for a true warrior to arrive...They wish to entrust the power that sustains life to this warrior, so that he may bring forth a future...
So now we can access what I believe are the final readable books in this Let’s Play. Note that we are nowhere near done with this game, we’ve just run out of towns.
Our first book is a really useless “clue” on finding the Guardian Lords. The townsfolk at Baskar are more helpful than this.
Are we under attack by UFOs!? There have been many reported sightings of UFOs this year! This issue will give you a first hand account of an alien encounter! Six young boys witnessed a red shining object falling from the sky. They called in the local sheriff to investigate the scene with them. As they got closer and closer, an irritating odor began to emanate. When they finally reached the scene, what they saw was unbelievable--a silver, flat object, about eight yards in diameter was emitting a red light. All of a sudden... An alien, about ten feet tall with beady eyes appeared before them!! This alien was the source of that terrible smell, and it began to float in the air, moving about in a sliding motion. Frightened out of their minds, the six boys and the sheriff ran from the nearest town. Half an hour later, when others came to investigate the scene, all that was left was that terrible stench, with nothing else in sight. What did the alien want? Why did he visit this planet? These are questions we would like to discuss in next month's issue...
Guardians help us all, this is another sidequest “clue”. If we want to claim this book is useful, it obliquely references the fact that when we discover aliens, we should equip protections against (smelly) status effects.
Note also that this book confirms the widespread usage of the imperial measuring system in Filgaia.
This is the only book on this floor sealed by a duplicator.
The Ice Queen has been assigned to guard Mimir's Well, the place where wisdom is granted. The Ice Queen is a powerful entity stored within Hyades' data. It will eliminate the target without affecting the surrounding area. The activation password is: 'emeth'. It is a foreign word which means truth. I believe this password and the entity are appropriate for guarding Mimir's Well. The Ice Queen will target anyone who has not been registered with an authorized pattern, so please be careful. Non-council members should not set foot in Mimir's Well.
This is some cool lore that will be relevant for the second-to-last dungeon. We will revisit this book when it is applicable. Also, once again, we have confirmation that Hebrew is an ancient language on Filgaia.
Survey Point #08 was named the [Cradle of the Metal Gods] after the folklore about the Deus Ex Machina. The excavation of the ruin faced difficulties from the get go, as the ruin was located high atop a cliff where access was difficult. A plan to penetrate the ruin from underground was devised, and work began on converting a cave into a tunnel, which would lead into the ruin. The initial construction point began at coordinates X:8296, Y:22777. This was to be a large step forward for the Order. The tunnel construction was proceeding smoothly, until a sudden cave-in halted all operations. Construction has been put on hold indefinitely until a plan is devised to remove the debris.
And our final book is a clue to a dungeon that will be a little closer on the timeline… but we still have a few more sections to go. Note that despite the fact that this book straight up gives you exact coordinates to the dungeon, you will not be able to activate/find the place until talking to a specific NPC at the time it is relevant. I did not realize this, and probably wasted about fifteen minutes smacking the radar button in one useless circle…
Now that we are done reading, it’s back to the basement.
First, we will use a duplicator to find a room where you need to use that newly acquired grappling hook for some minor treasure.
And then we will use another duplicator to access the pain zone.
The Ark of Destiny contains a series of rooms in its basement that all require different tools you find from about the midpoint of Wild Arms 3 on. This room might be confusing, though, as it contains no treasures or puzzles, just a miscolored save robot. We know that the Ark of Destiny maintains all of the world’s save ‘bots, but this little dude that just jiggles and refuses to save your game is… perplexing.
But, by process of elimination with the other rooms, you may determine that this room is the only place where using Gallows’s Kramer Dolls is the right solution.
And then you may determine you’ve made a terrible mistake.
At least he does a happy little dance.
So Bombur here is a bona fide super boss. A great many guides will recommend you do not even attempt this maniac until the end of the game.
But I come here with the full knowledge of another Wild Arms 3 playthrough or two, so I know what I am doing. I can handle this!
Bombur is one of the easier “super bosses”. It has a general physical attack that isn’t too bad…
And Clive’s ATT Plus-boosted attack is going to be bad for Bombur.
Bombur also has the ability to inflict Amnesia on a character. You generally want to cure that immediately just so you can enjoy Bombur’s large experience cache.
Nine times out of ten, Bombur is not a threat.
But then it uses Wheel Laser, and half your party can lose half its health.
There is no guaranteed defense against Wheel Laser. This is why a lot of people recommend you simply come back when you have more levels/HP.
But honestly? It’s RNG, and the guardians were smiling upon me this time. Wheel Laser was only used once or twice, and Gallows with Weakness and Clive with ATT Plus were able to wear down the robot quickly. This is an “easy” super boss, because its greatest strength is random, and it is found inches away from an inn and save point. Just try again if you find yourself being lasered.
Hit me with your Prism Stick. Je t'adore, ich liebe.
Prism Stick adds the ability SOS FP Boost. This ability is already part of Raftina/Love Medium’s oeuvre, and is only useful in extremely limited situations. Given you have to “consume” the one Prism Stick you will ever find (in the Abyss, there is the Demiurgos random monster that has a 1% drop rate… but we already covered what a crap shoot that can be…), it is hard to choose who “gets” this skill. Clive and his eventual Final Arts would make sense, but he already has his skill points going to so many things…
And that’s that. Bombur sticks around, but you cannot fight him over and over again. He will actually be “used” by another tool at a later date.
Okay! Back on track! To Claiborne!
Here we are. Do you guys have any dragon chow for my ride?
You know what? Let’s not go there. It’s a silly place.
Ka Dingel is that dungeon where Janus lost his humanity in more ways than one. It was the big finale of Chapter 1, and now we are back with tools that absolutely wreck those meager puzzles of the past.
Way back when, we fought a turtle about halfway up this tower. After the fight, this mysterious object appeared. Now it is time to deal with this thingy…
(the old version)
(the new hotness)
Same caveat as Bombur: you should wait until the end of the game to fight this monster if you are not accompanied by an adult. I am a glutton for punishment, though.
Turtle punishment.
Power Trask is similar to Boring Trask in that he has ridiculous physical defense. That's 99 damage from a character that normally does slightly better.
And missiles that do some significant damage.
Boring Trask was a puzzle fight with two solutions: you could crack his shell with fire and ice magic to allow physical attacks through, or just focus exclusively on magic. Power Trask is now invulnerable to shell cracks, and he is similarly armored up against all elemental attacks.
Are about to become Trask's latest pizza topping?
Well, apparently Clive is such a powerhouse at this point, Power Trask’s defenses don’t mean $^&@. That helps!
But the real winner here is the spell that you knew was coming if you were paying attention. Power Trask is resistant to all elemental attacks, which means this is one of the few situations where (likely glitched) Dark Luceid actually works.
And boy howdy does it work. Weakness does not boost this damage, but if Gallows has a decent magic stat, you have your solution to this fight.
Power Trask’s signature move will occur after it absorbs enough damage. Technically, this kind of high defense battle could last forever (just ask anyone that has ever felled a Shuckle), but Contaminated Crust will turn the arena into poison. Now everyone in your party loses a big chunk of HP every round regardless of Trask’s attacks.
And, no, disappointingly enough, equipping any kind of poison protection will not prevent Contaminated Crust damage. It is just a blanket percentage of your HP drained every round.
But Contaminated Crust means you are doing some damage, so keep it up, and you should be in the clear in no time. A fun option is to use the Time Medium's Replay command on Gallows so he does the inordinate Dark Luceid damage twice. You'll shred your opponent into turtle soup!
And our reward is Golden Dawn. Damn, does that sound a lot more interesting than it actually is. This provides the Lifebringer skill, which, at maximum points, will mean your VIT gauge holds five times your maximum HP (as opposed to just one times your max). This is great for the Abyss and arguably useless everywhere else on the planet. You’re never that far from an inn…
Oh! The Playstation 5 version got a trophy for our efforts here. Oddly, this has nothing to do with the super boss, Guardians of Filgaia is a trophy for getting everyone over level 50. Super bosses do help with that experience point count…
Our “normal” party is getting pretty strong here by soaking up all this sidequest experience… but hey! They’re not complete monsters yet…
Welcome to Claiborne (again). Some of the locals are still trying to lead us to sidequests we have already completed.
Thank you, Pike. You’re always useful.
Pretty normal day!
Myra gives us the distinct directions to our next dungeon.
Otto is also on the same page. A lot of this sounds pretty fishy, though…
Whatever, let’s see if we can find this Pokémon tower.
Certainly doesn’t sound like a trap!
Next time on Wild Arms: The final battle.
I'd only accept a fully voiced remake of Wild ARMS 3 if they included a mode where you played through the game from Maya's perspective, just maximize the Schrodinger quota. If you're gonna do it, why not go all the way right?