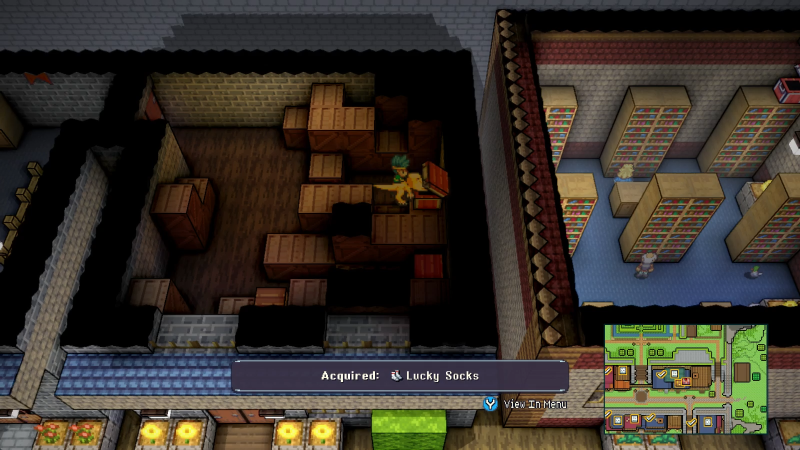
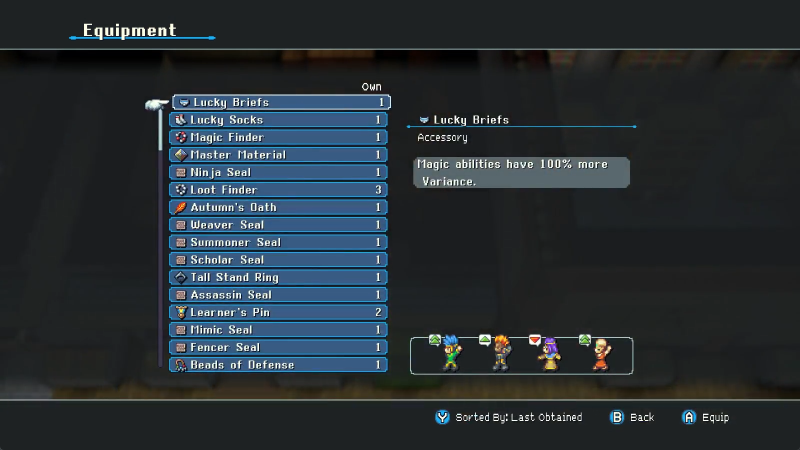
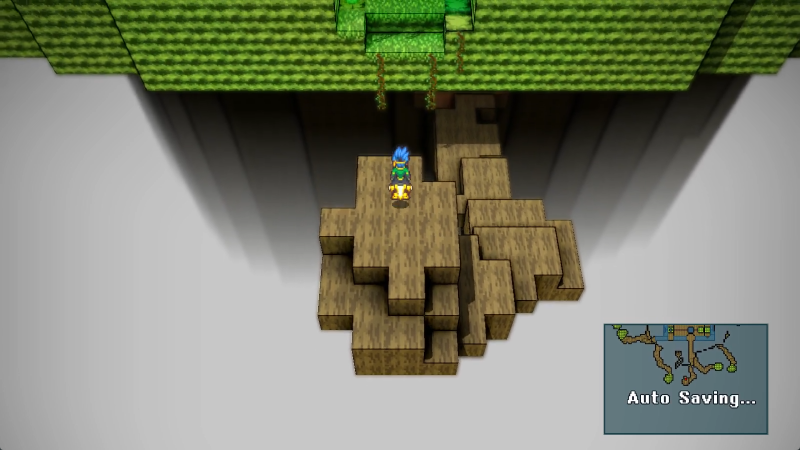
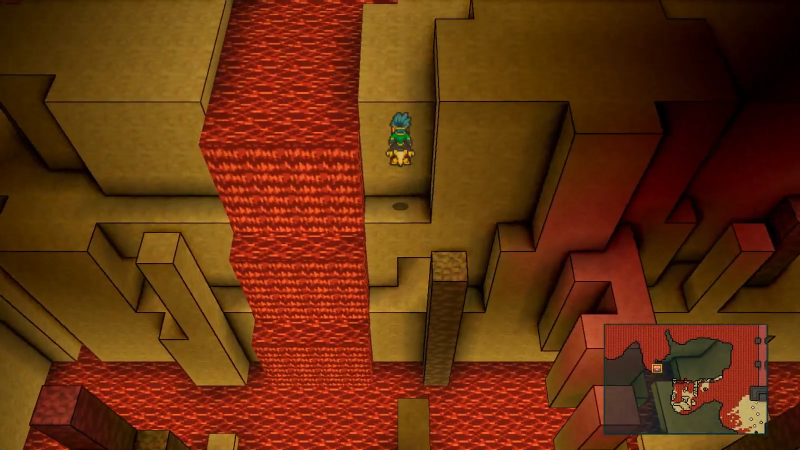
Okay, so we're hitting a bit of what I might call the endgame slump of Crystal Project. Not that the game isn't fun here, mind you; I'm still having a blast. It's also very little exploration of new areas, the areas you are exploring are massive and featureless (i.e. the entire ocean) and there's no new classes to discover, only bone-crunching boss fights. Which is, again, still fun, but doesn't really make for efficient LP work, y'know? More time spent on my end with less to show for it.
Just a little warning for now. I'll still try to get weekly updates to the best of my ability, but expect them to be shorter.

I also have to contend with some bosses just not wanting to die when I fight them. I don't even think Pah is that hard compared to Ioske, I'm just not seeing the code for this one.

So exploring and boss fights are both time-consuming and low-reward. That leaves me with one ugly alternative.

Ugh... Quintar breeding.
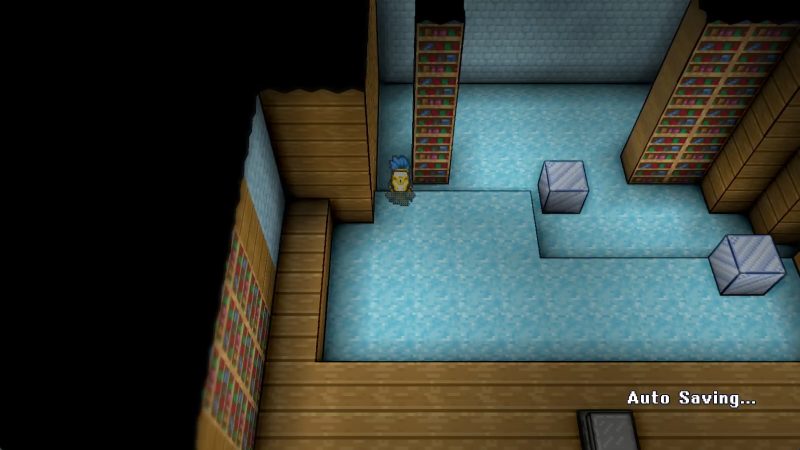
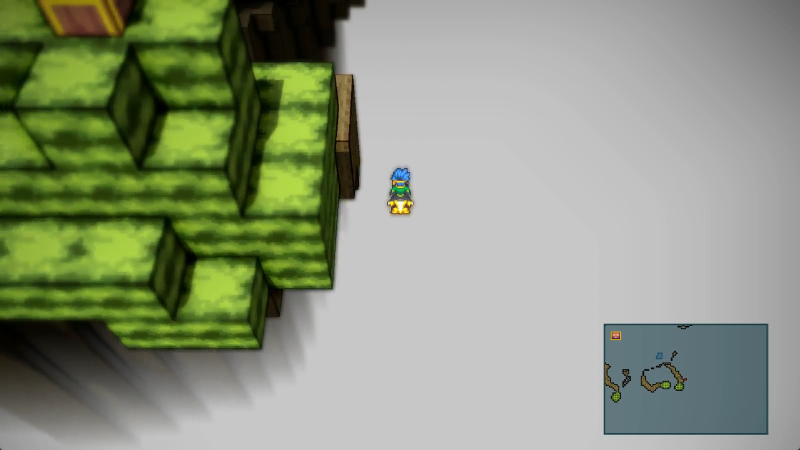
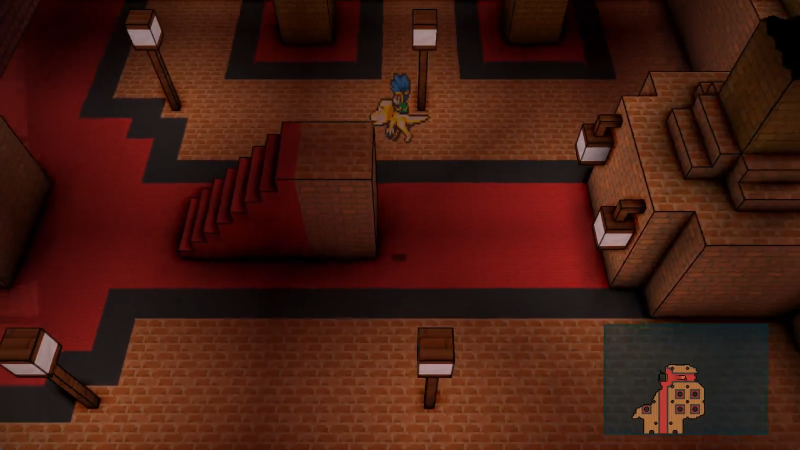
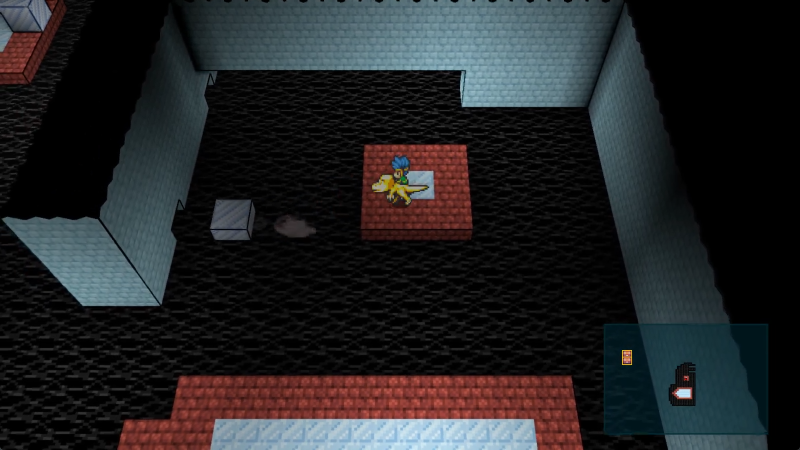
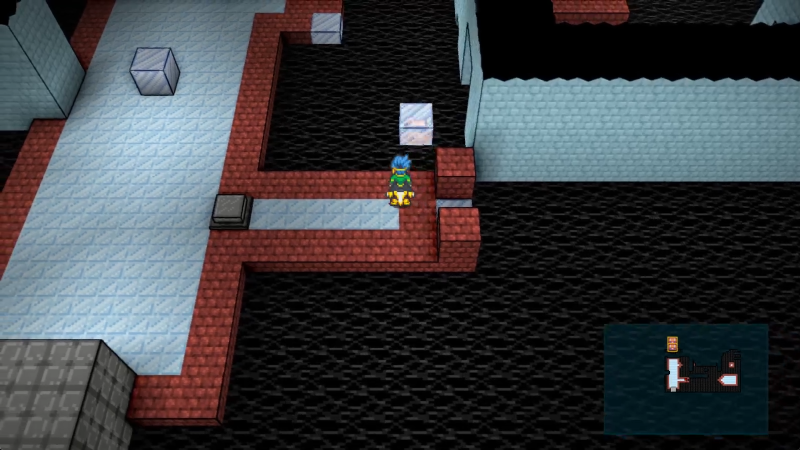
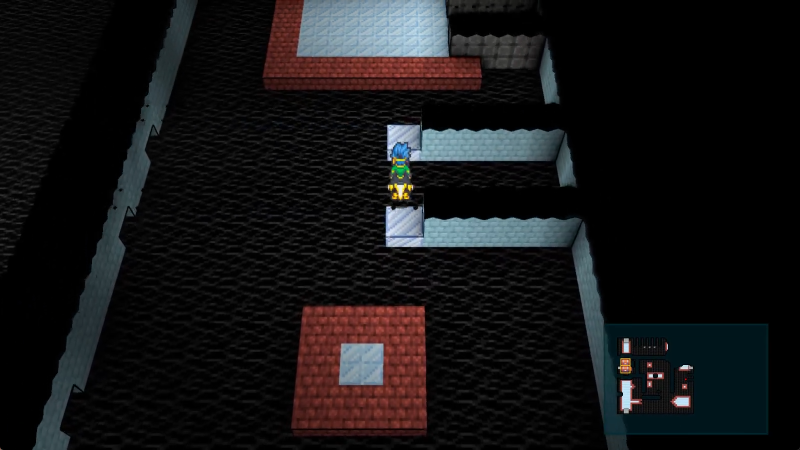
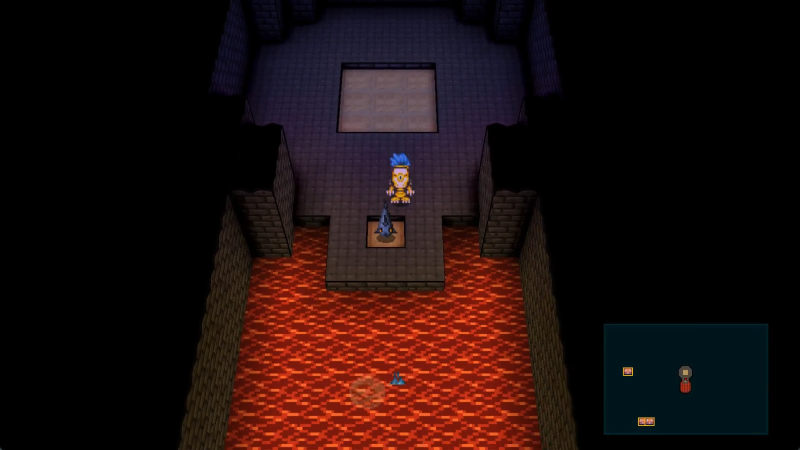
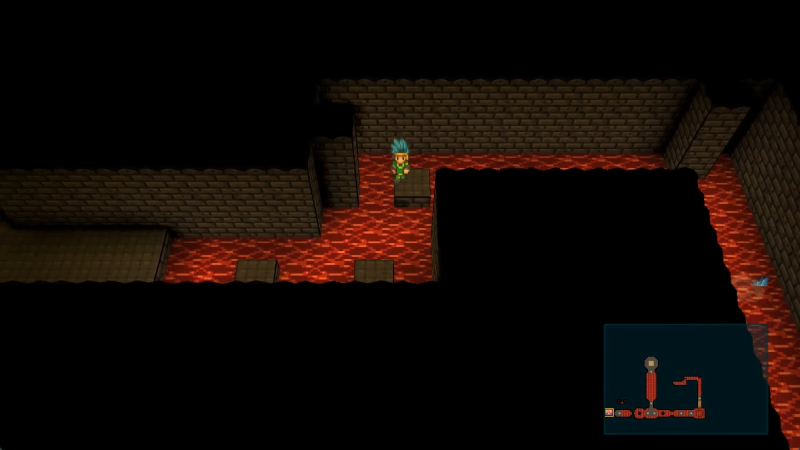
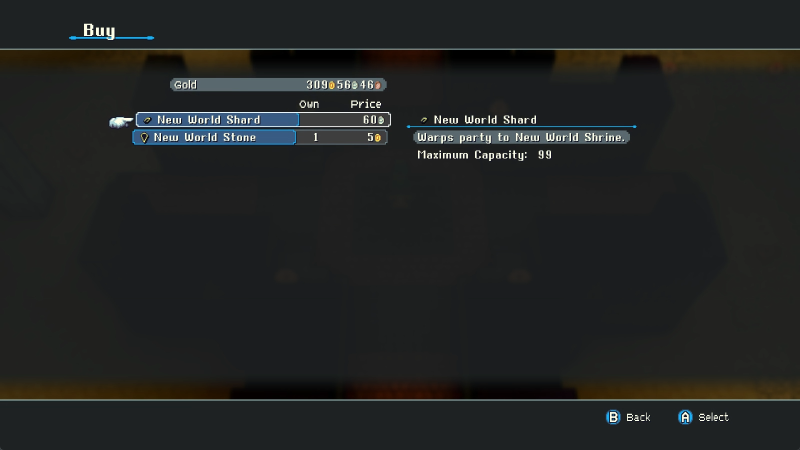
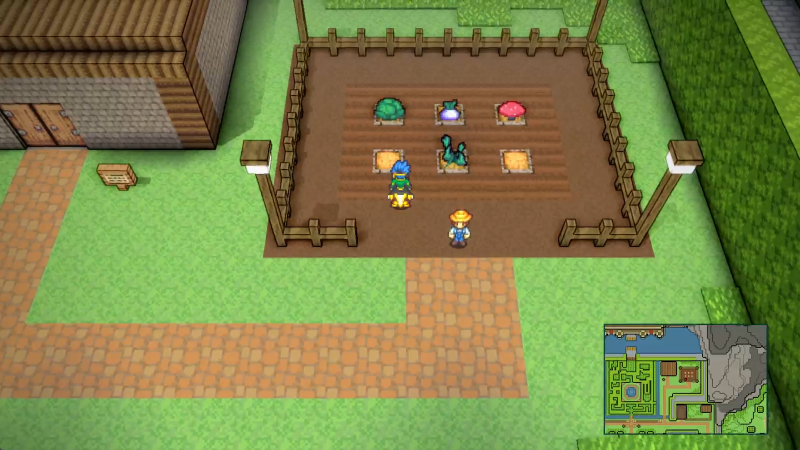
I will be following a guide for this because I have done it at least twice now without a guide and I'm not inflicting that on myself anymore than I have to. Whether you're following a guide or not, this guy here at the west edge of Poko Poko Desert is virtually a requirement.

This at least indicates the first point at which actually spending money at the Quintar shop is worth doing. A Desert Quintar summoned via Ocarina is faster than a Flute-summoned one. Which means if you don't want to do any Quintar breeding, you can stop here.

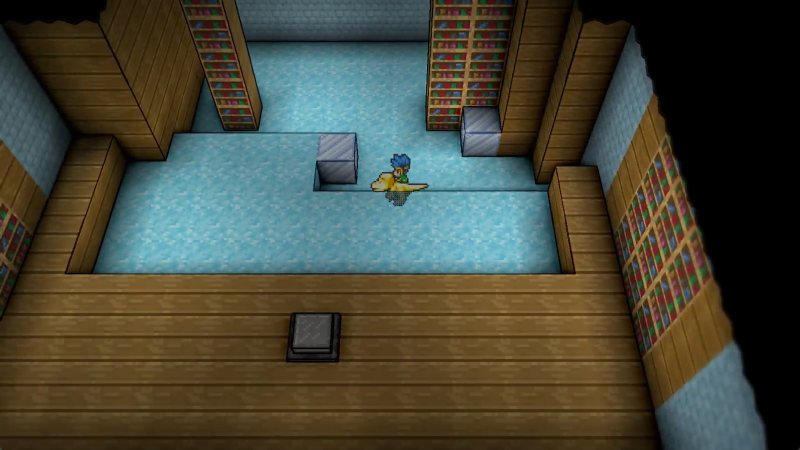
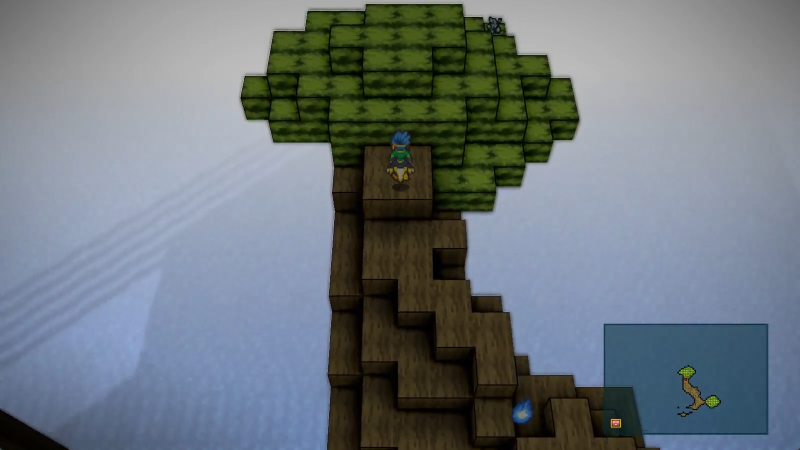
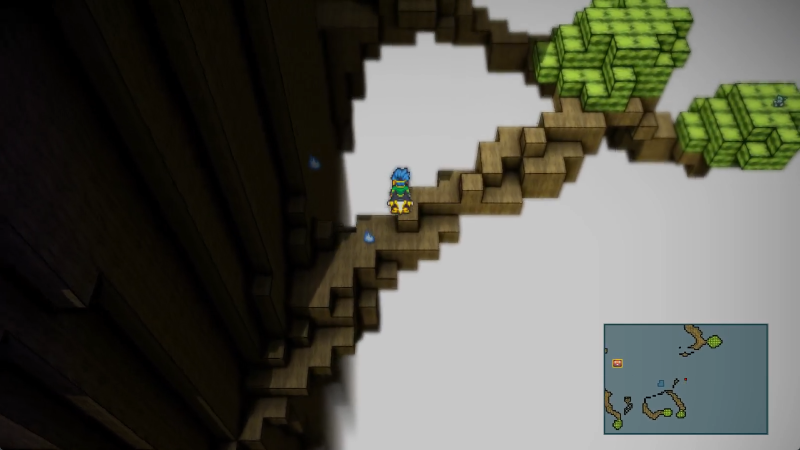
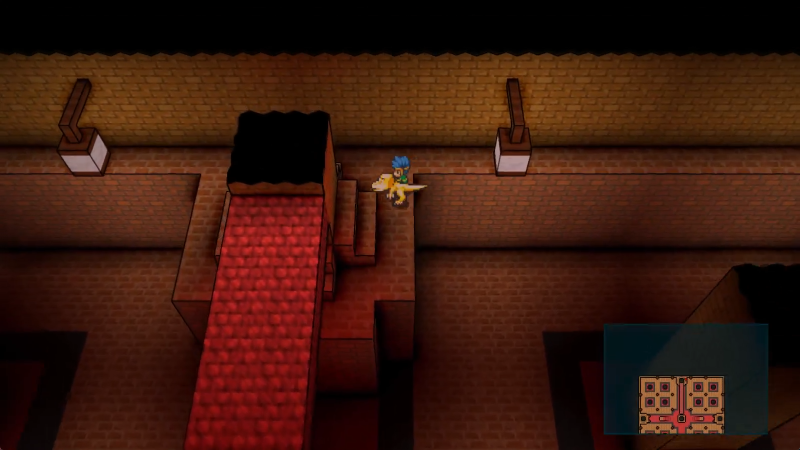
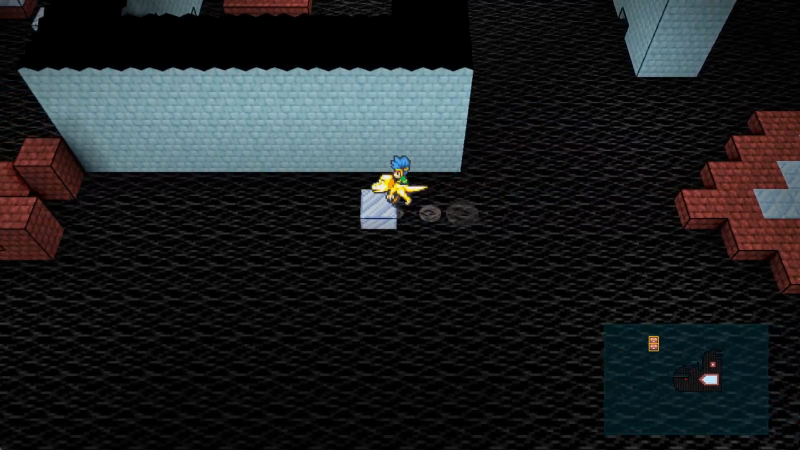
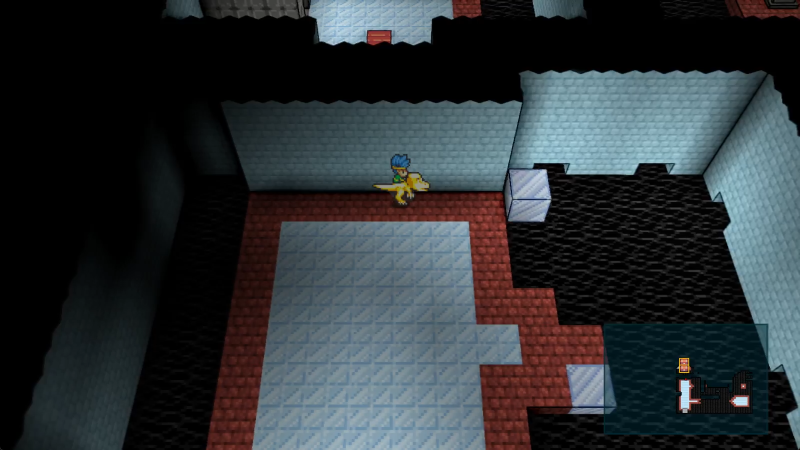
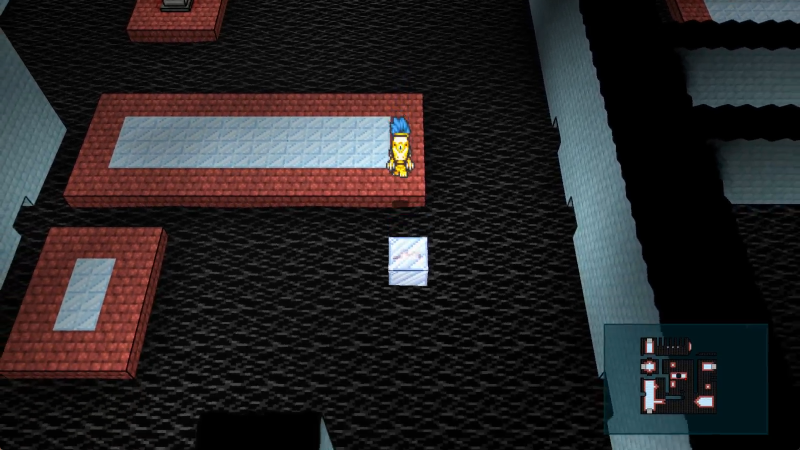
Next up is this one hidden way up by Northern Stretch. This is, to my knowledge, the only place you can get a River Quintar.

I find it prudent at this stage to point out that this game was written well before "woke" became a pejorative of the conservatives.

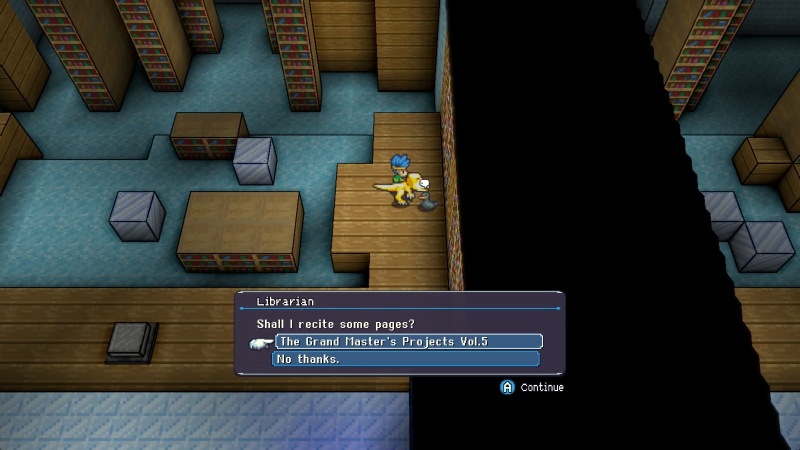
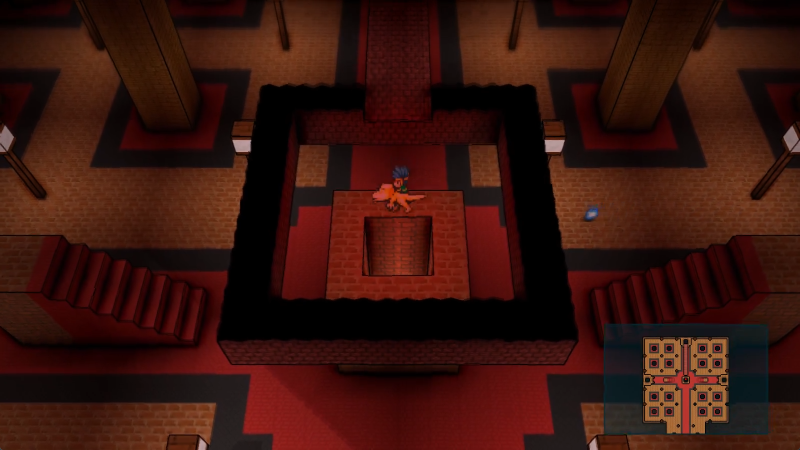
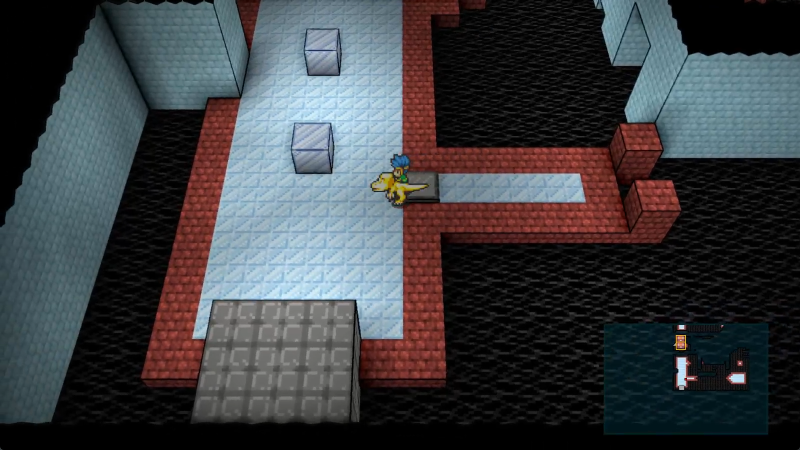
Only one left to begin our horrible incestuous time-wasting adventure.

GOLB

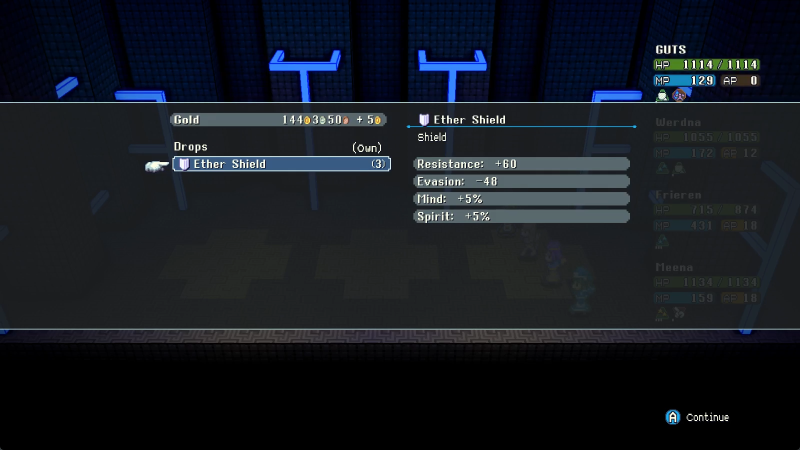
Also this staff, which I take no great pride in saying I used once on a Chemist well into lategame. Again: fixed healing can be boosted.

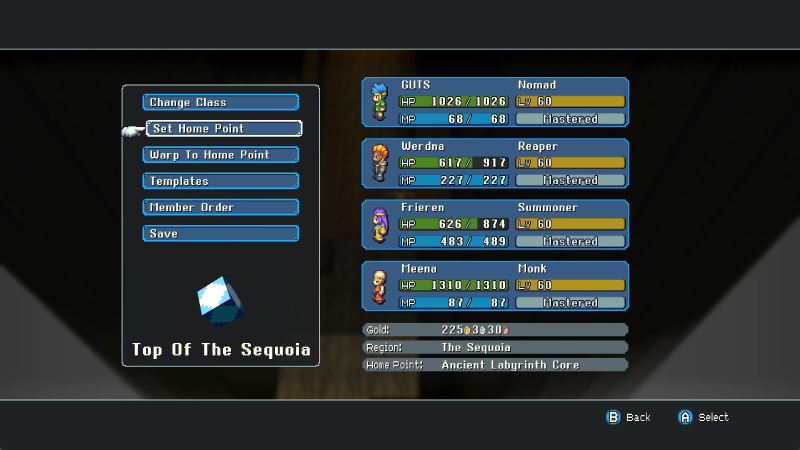
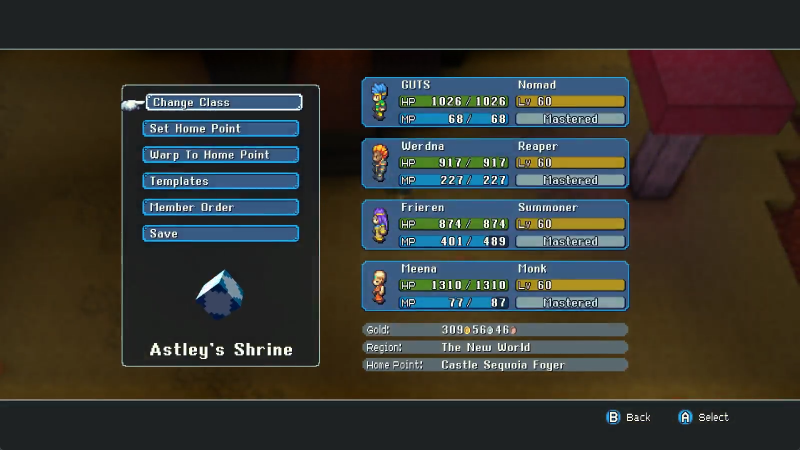
Anyway, just take a nice look at my cash prior to starting this entire exercise. It's a comfy total borne of endgame adventuring. The vast majority of it will be sunk into Quintar breeding, even without the 12 gold upfront for the Quintar Ocarina.

Blah blah blah you can select a Quintar from the nursery to assign to the Ocarina.

Gonna hatch all three eggs, which is another... 10.50 gold. Great.

You are prompted to name each and every Quintar you hatch. Most of them will not see use save as links in a breeding chain. At least it is a place from which I can apply my hidden talent of giving disposable characters in video games the goofiest possible names.

So we have our first Quintar. This is the space I'm gonna use to talk in full detail about Quintar breeding.
First up is the Quintar's type. Already pretty well documented, this is what determines the properties the Quintar has beyond running and being bad at jumping. There are eight different types that I'll go over in roughly ascending order of rarity. Red and Blue Quintar are the standard issue and have no special qualities. Desert Quintar, as we've already experienced, are faster. River Quintar can run on water but not dive below. Highland Quintar are able to jump two blocks high like an unmounted person. Black Quintar can glide like owls. Aqua Quintar can dive and swim like Salmon. And, finally, Golden Quintar have all especial properties described above in a single banana-yellow package. The upshot of this is that your Quintar Ocarina, given the right mount, can replace almost all of your existing mount summon tools (except the Ibek Bell).
Next up is Nature. There's five natures, which are kinda sorta like genders, which determine how Quintar can breed. The only incompatibility is with same-nature Quintar, who simply replicate the "and so they were both bottoms" meme and don't get anything done. We'll go in the order we discovered them. Fiendish Quintar, when breeding, always produce offspring that's identical to them; same nature, same type. Which makes them utterly useless for our purposes (and explains the Quintar Enthusiast's disdain for their eyeballs, insofar as that can be explained). Brutish Quintar will always pass on their type to their offspring but never their nature, so Skuptus here will only have Desert children but their natures can be anything. (Technically, if you breed Brutish and Fiendish, the type is inherited from the Brutish, but don't do that it's pointless). Fancy Quintar can ONLY be obtained by breeding, never found in the wild (again, somewhat explaining the Quintar Enthusiast's actions) and have the capacity for mutations that result in a completely different type from either parent. Trusty Quintar, conversely, can only be found in the wild, never obtained via breeding. And finally, Woke is a fifth one to round out the selection, resulting in most breeding being a dance between Brutish, Woke, and Fancy natures until such time as you get the mutations needed to reach Golden. Clear as mud, right?
Finally, there's Status, and while the other two properties are nice and straightforward, Status is anything but. In order for Quintar to mate, they have to both be Happy! which means managing the food they're eating and their racing. I have NO EARTHLY IDEA how this stat is calculated, and to my best observations there are three hidden stats that correspond to the total here, those being Hunger, Mood, and Stamina. In order to be Happy! a Quintar must not be hungry at all, have enough stamina for mating, and be in a good enough mood. The main way you influence this is with the various food items sold at the shop, but if there is a method to the madness therein, I have yet to glean it despite, again, having done this at least twice. Usually I just pad it out with cheese and berries, then do extra races to burn off the calories, but after a point you have to just go away for a bit and let the Quintar resettle, in my experience. If there is a better way to do it PLEASE LET ME KNOW THIS IS TEDIOUS.

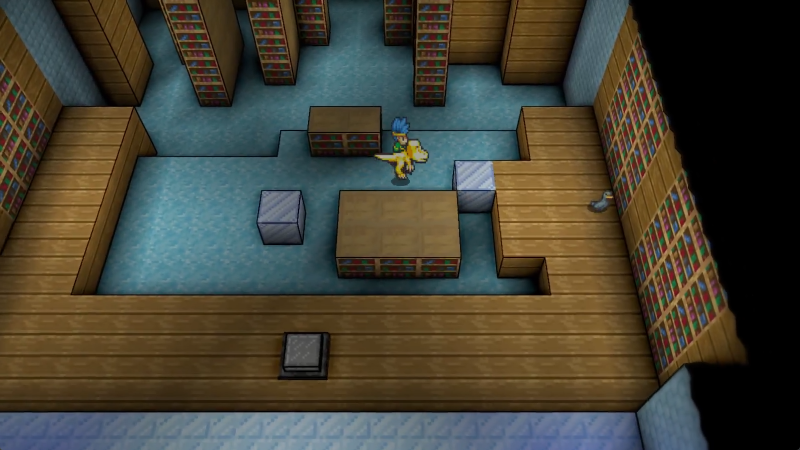
Anyway, to get things started here we need four Quintar. We've got a Desert and our Trusty Blue here.

And a Woke River one.

You can always see the outcome of any potential mating before committing to the bit which is nice. But even if we get both Quintar involved to be Happy! there's one... one last step.

Oh yeah this duck can tell you what your type does.

The last step... is QUINTAR RACING.
In isolation, a Quintar race isn't usually too bad. On each course you'll have three other racers to deal with, including one star racer that usually pulls ahead of the pack early on. Northern Stretch is a relatively inoffensive course, and the contenders are all pretty standard fare with the star racer being a River Quintar that can't leverage their unique trait. The main issue is that if you mess up, it's VERY easy to lose ground to a point of no return. Again, Northern Stretch isn't too bad, the spikes are pretty avoidable and don't set you back very far, and there are plenty of routes that favor a more technical racer and let them cut ahead of the pack. Northern Stretch is also a very low-risk race, since the entry fee is a scant 10 silver and the winnings are five times the entry no matter the race. This makes Northern Stretch an ideal place to learn the ropes, and not half bad later on for the hidden, ugly curse of Quintar breeding.

It's not enough that Quintar have a needlessly complex system of diet, natures, and types you have to dance through to breed a Golden Quintar. No, they're also prideful! Some Quintar won't agree to mate with others unless they have enough wins on different courses under their belt! This requirement gets steeper the rarer the type of the Quintar in question.

And some of these courses are absolute bastardry!
Eastern Chasm starts introducing the "fun" of points where if you miss a jump, it may as well count as an elimination. Prize money and bragging rights are winner-takes-all, after all. The first part isn't too bad unless you luck into the exact spot needed to land on the route to Undergrowth, but woe unto the racer who misses a jump on the bridges. The ones that go over the earlier parts of the course are tough but at least that's a quick enough fall to register what's going on. It's the ones that cut over the Open Sea that are really rude. Remember, if you fall from there, you're not getting back until you wait a full eight or so seconds of airtime to hit the water, which in a race is tantamount to disqualification. Eastern Chasm does have one upside to it, and that's that it's the first course where you can mess with the opposition to any degree. In the first part, not only is it possible to get the other racers stuck on terrain, if you bodyblock one of them as they jump over spikes, they stay in the spike pit. NPCs don't follow respawn rules of spikes/water/lava/etc. after all! This can permanently eliminate one or more racers from the current run, letting you complete it at your leisure.

EAT THE FOOD TINA.

At least this course is pretty reasonable.
See, one might assume that the Chalice of Tar, as it is with multiple precarious points where you can fall off bridges and the like, is one of the harder courses. Not so, really, even factoring in that the star racer is a Desert Quintar. See, unlike most other courses, the Chalice of Tar has a massive shortcut. Simply double around the corner right as you reach the central basin, and traverse the shoreline. You can climb up even with the base Quintar jump to circumvent the entire second half of the race with more than enough time to beat even a Desert Quintar. This makes Chalice of Tar the easiest race for most types of Quintar, and the returns on your entry fee start to even earn you full gold pieces. Slow going compared to, y'know, the cost of racing and breeding in the first place, but it stems the bleeding.

Anyway, after several races, we finally get our first egg. How many races, you ask? Well, first we have to unlock enough courses to appease these jerks. River Quintar like Houhy won't deign to mate with anyone with fewer than two wins under their metaphorical belt. Desert and Highland Quintar are similarly needy. Meanwhile, Black Quintar require 3 wins on their partner, and Aqua Quintar ask for 4. Technically Golden Quintar won't mate with anyone unless they've one all five courses, but if you're trying to get your Golden Quintar to mate with someone... quit it.
So that's a minimum of two races here, assuming we did both with Beeum and unlocked courses specifically with them. But I wanted to make things a bit easier, so I ran Northern Stretch with Skuptus to ensure a bit of choice. Kinda pointless, but boy did we did it. Racing is also a useful way to whet Quintar appetites and improve their mood at the cost of some stamina, so you'll probably be doing even more races than the prescribed amount per breeding.

All of this costs money for food, incubators, and race entry, and the winnings don't come close to making up the difference, to say nothing of the sheer amount of time one must sink into the practice.

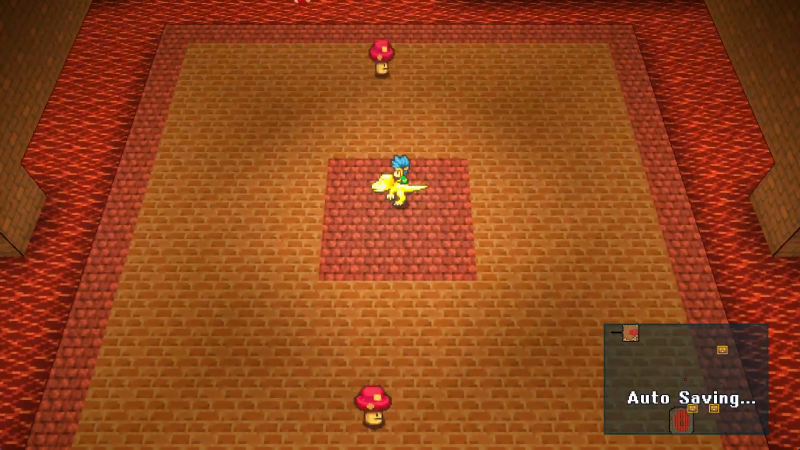
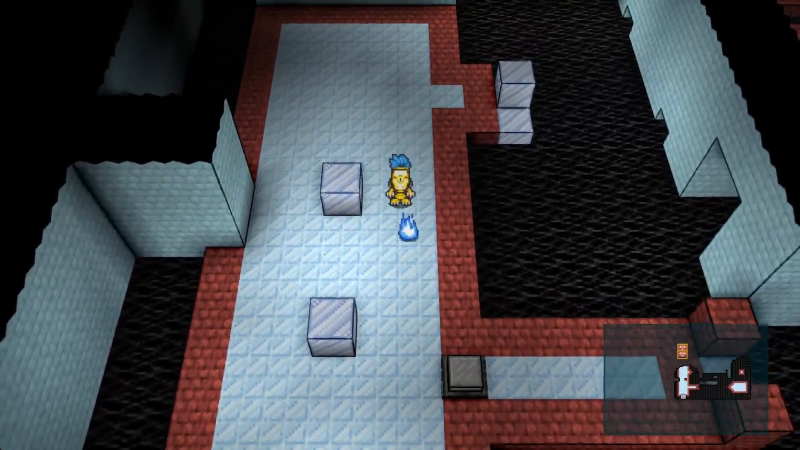
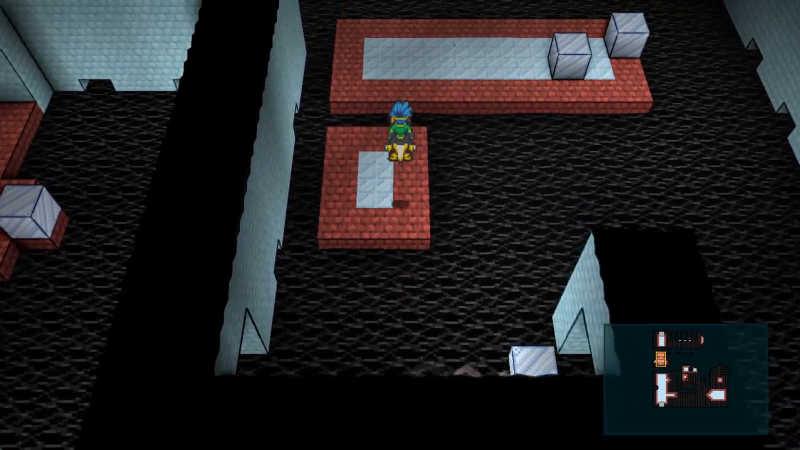
Time to get our fourth wild Quintar! Located in this virtually-imperceptible cove in the northeast part of the Quintar Reserve...

HNUUUUUUGHH.

Red Woke! This cuts... what, maybe two or three breedings out of the overall chain?

Whatever, I'm taking it.

Let's get this win over with while we're here.
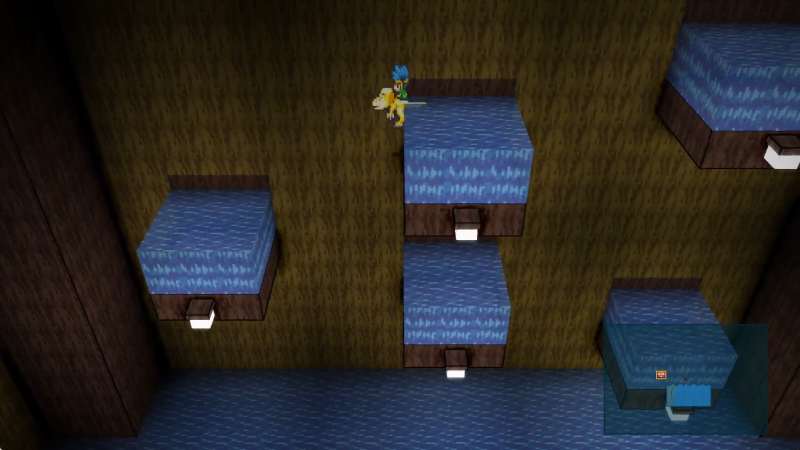
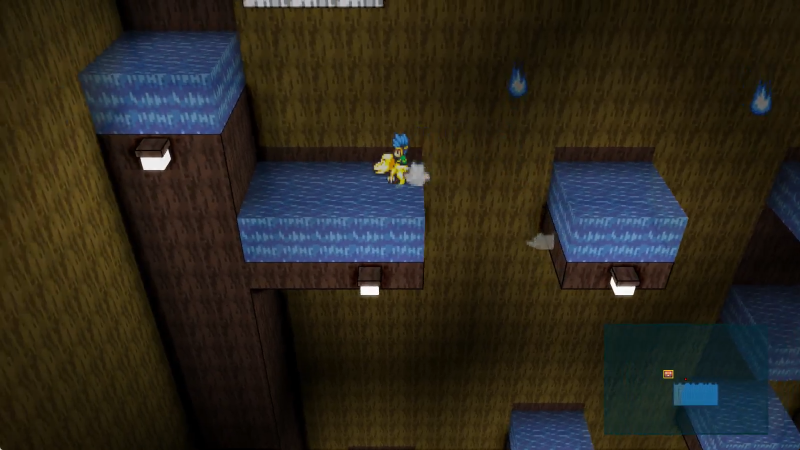
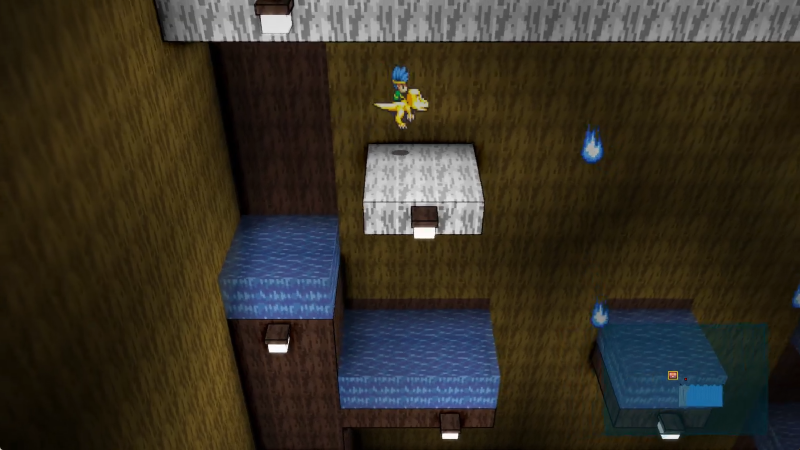
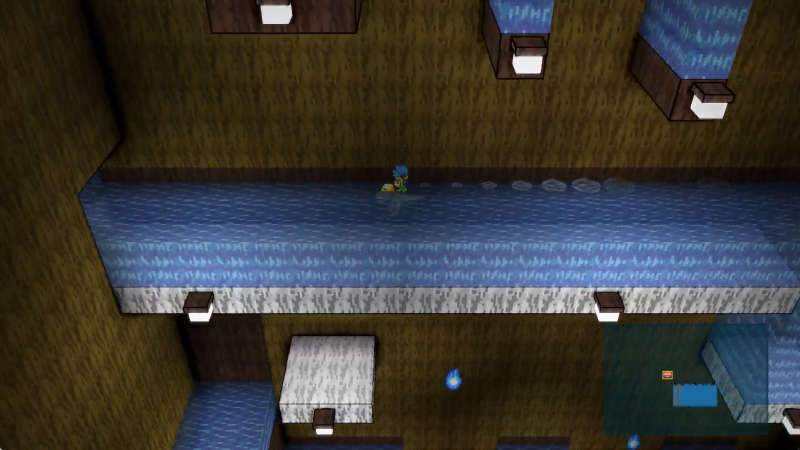
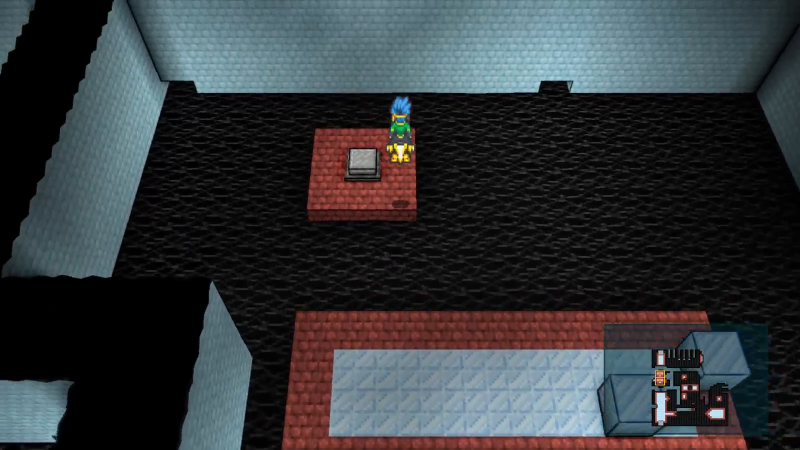
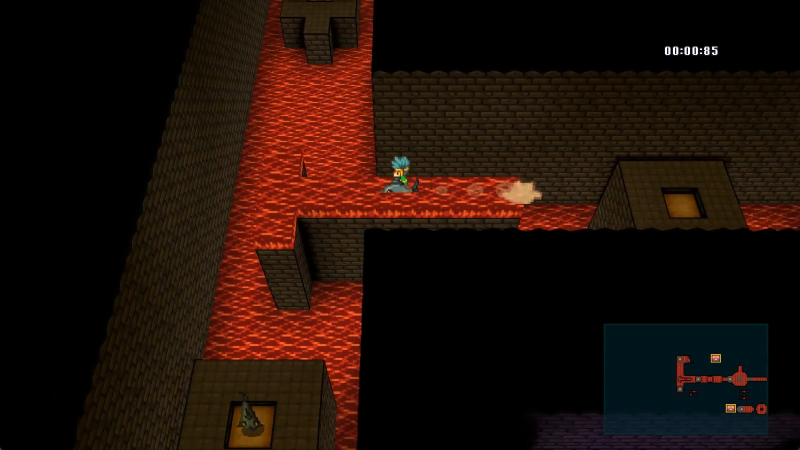
This course is brutal. First of all, it's the only course you can't explore outside of a race, which means no unique map: get a Deep Sea map or go away. Second, remember how Eastern Chasm let you scam other Quintar out of the race because of spikes not respawning NPCs? Yeah that works against you here, hard. This route is an enclosed corridor whose main obstacle is tight squeezes and loads of spikes, the latter of which do not impede the other Quintar in the least. No getting to use shortcuts to your benefit here, you just have to run the course faster, better, and more carefully than everyone else. Most people hold that Undersea Trail is the hardest course in the set, and I can't really find a lot of fault with that.

Some may argue that the final course is the hardest of all, and I can certainly agree with that on the face of it. But I'll be damned if I race the last course fair and square, this garbage takes enough time as it is.

It's time to get a unique Quintar out of all this.

Note that while I didn't HAVE to win any races for this pair, this was the fastest way I could think of to regulate their status into Happy! for both of them. Which meant another... three or so races. Bleugh.

Oh well, we have a Highland Quintar now. Now we have Infinite Money Engine forever.

See, you might not have realized it, but the Quintar race courses by and large only work because the Quintar only have a single tile of jump height. Some courses can be broken right the hell open because of the Highland Quintar's two-tile height. And lucky us, the best race to abuse this on is also the most lucrative.
Some might call me dishonest for showing off the final course with this shortcut. Do it. If you're so curious about running this course legit, do it on your own time. Quintar Reserve is like the Eastern Chasm but without the early grace period. There are countless places most Quintar will get endlessly stuck, and the sole indicator you have for your path is the dirt trail which might not even indicate your route safely. You have to jump atop trees with precision and missing will cost you the race. And unlike Eastern Chasm, there's no spikes, which means while you CAN boot the other Quintar down with proper bodyblocking to eliminate them, they can just as easily do the same to you. That said, Quintar Reserve is easily cheesed out by a Highland Quintar, who laughs in the face of the Quintar's Lament jump. And with the highest payout for a win, there's nothing stopping a player from entering a Highland Quintar into this course and getting 2 gold for a meager... 30 seconds of their time. As much as they want. You want infinite money at high speed? This is one of the better avenues for it.

Right, that's all the Quintar racing you're getting out of me. I'm gonna offscreen the rest and get on to some actual exploration.

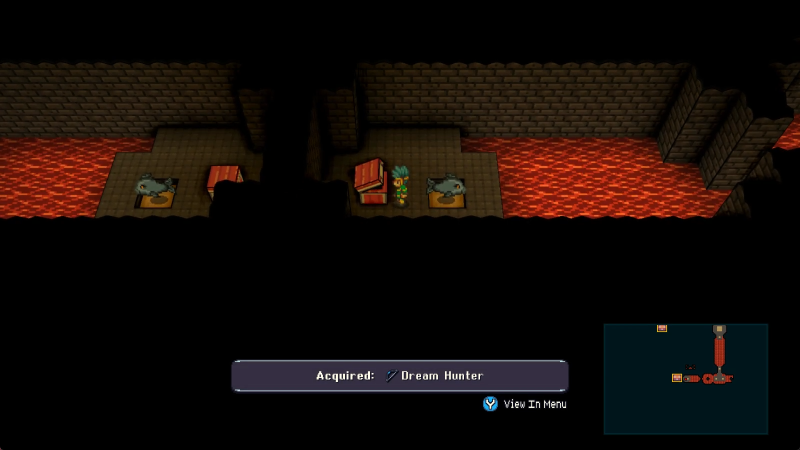
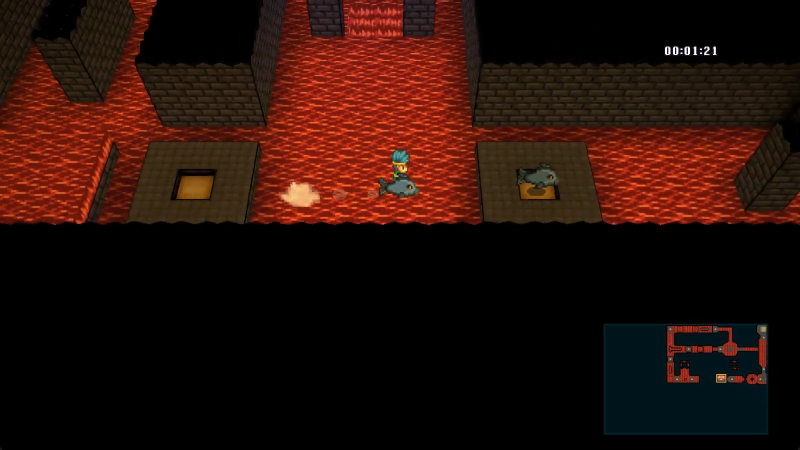
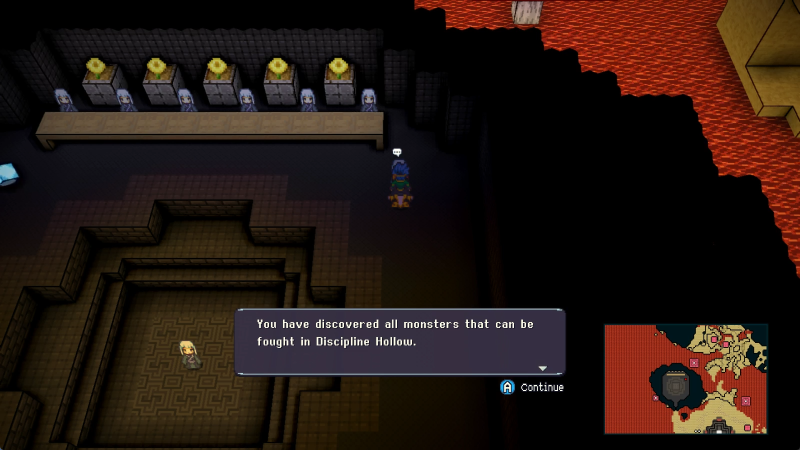
Is this the greatest enemy sprite in the game? It might be. Anyway, Shank Sharks have Snipe, Barrage, and Overload. Guess what their gameplan is. They're also pretty dang resistant to physical attacks.

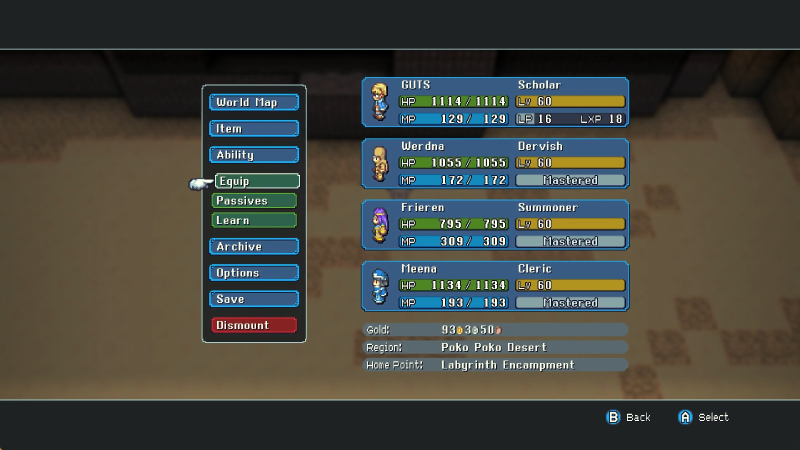
Ooooh getting close to 60! Once we hit level cap I can REALLY start going to town on end/postgame stuff.

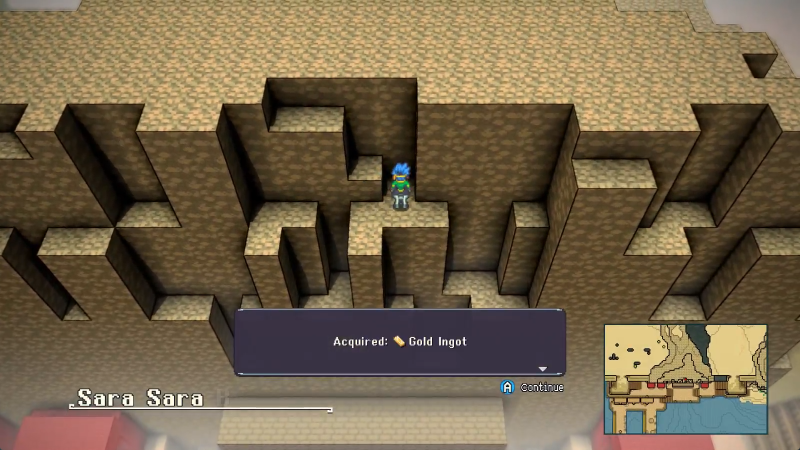
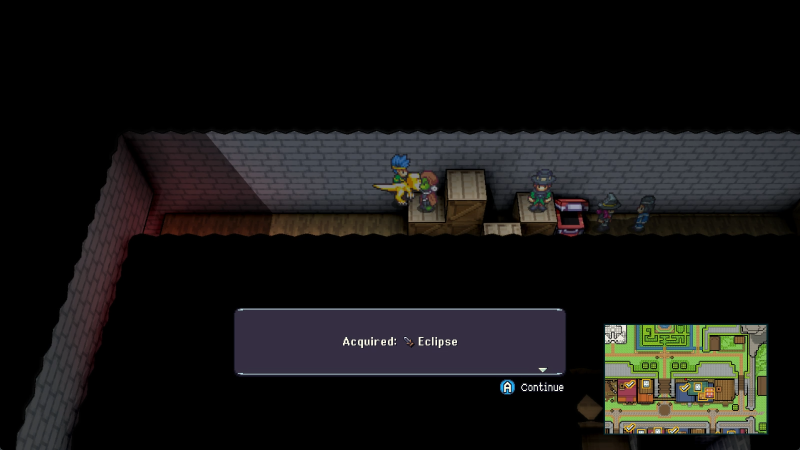
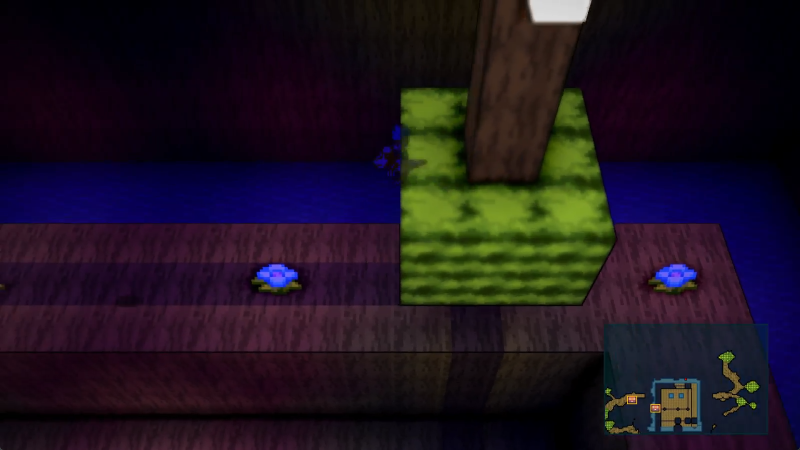
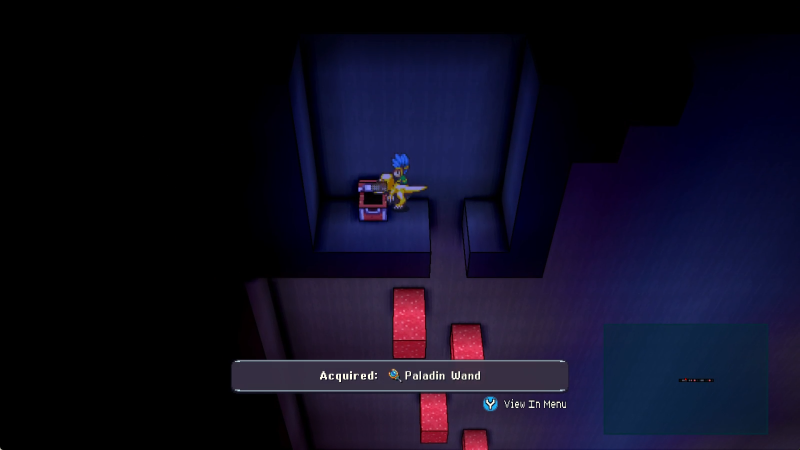
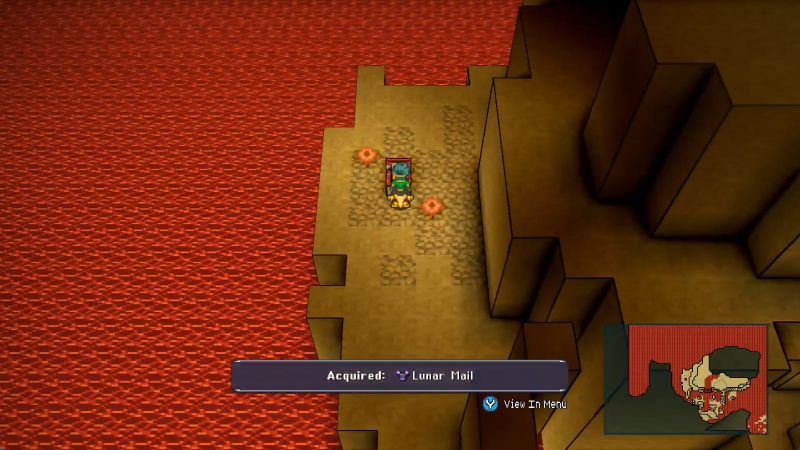
Plus, we got a Gold Staff out of that bit we found by the wrecked ship! Good!

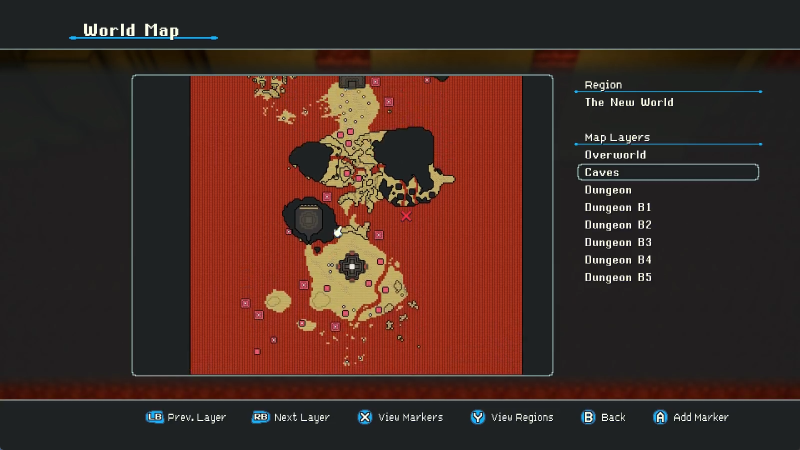
Means I can mark where Coyote is since we've explored there before. Just off the coast of Beaurior Volcano, as luck would have it. Easily reached!

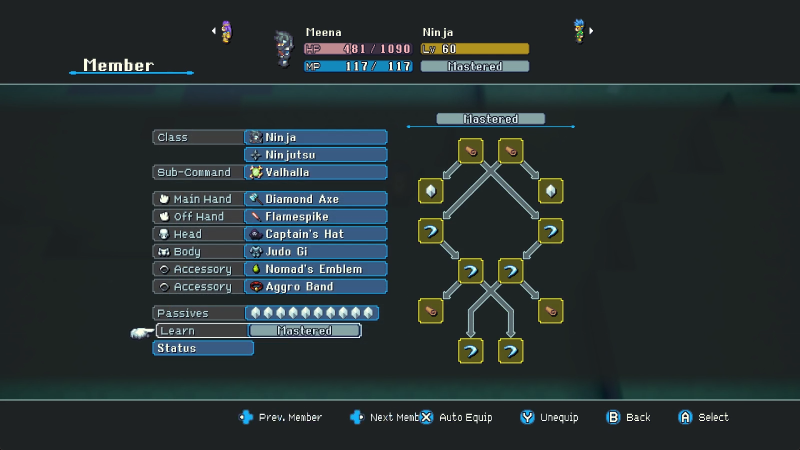
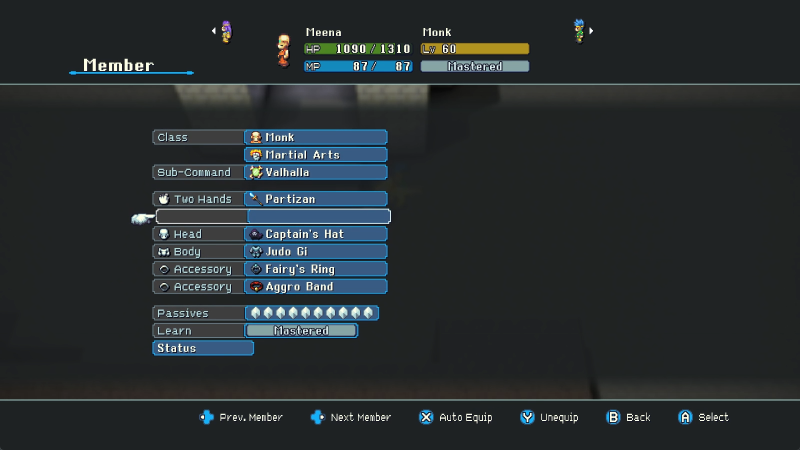
Hm... kind of inconvenient timing, but at least I can work through my class backlog a bit more.

No one else is gonna use this class. May as well.

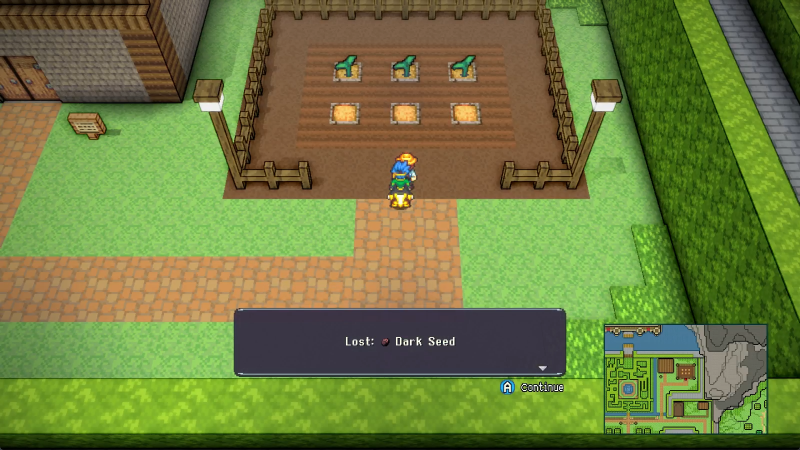
We're close to the second usage for these things I promise.

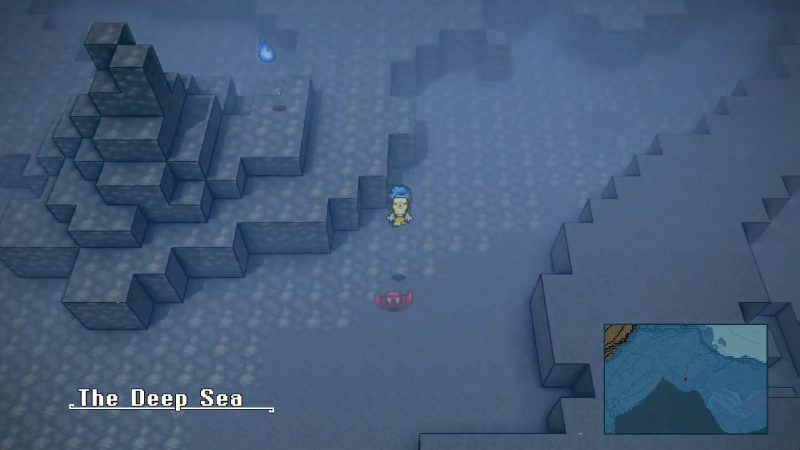
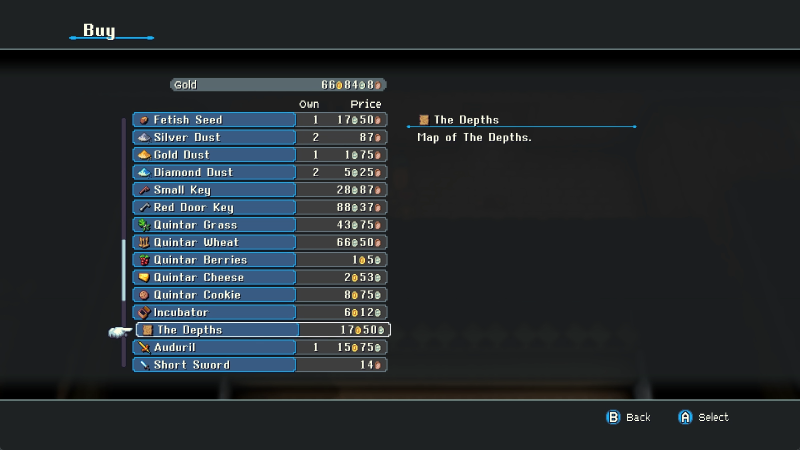
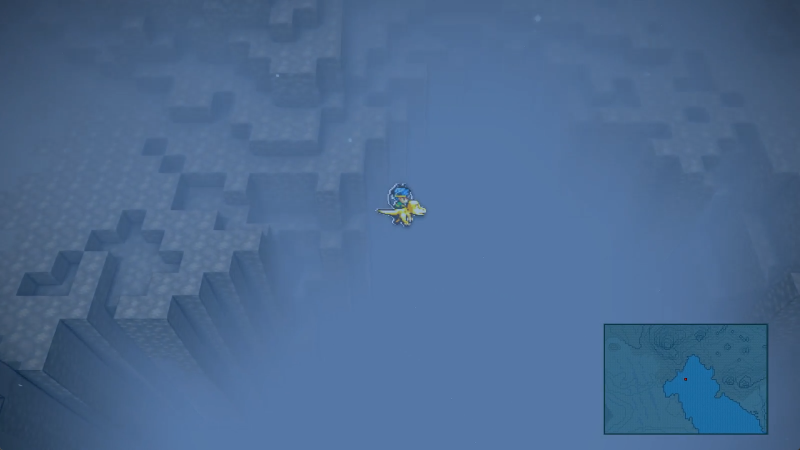
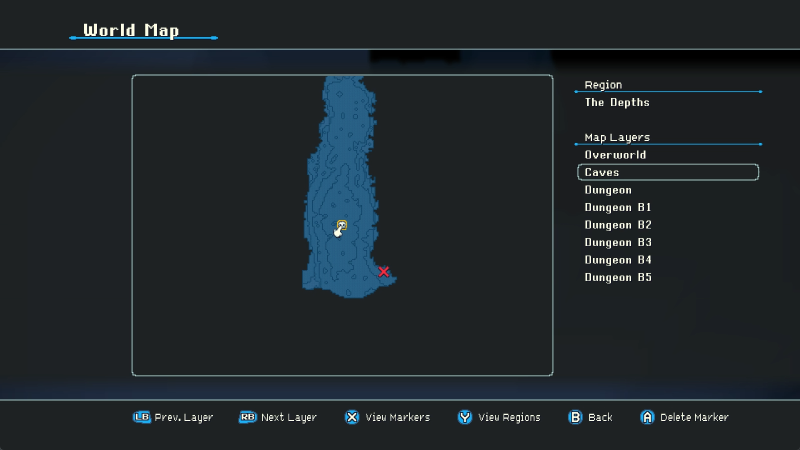
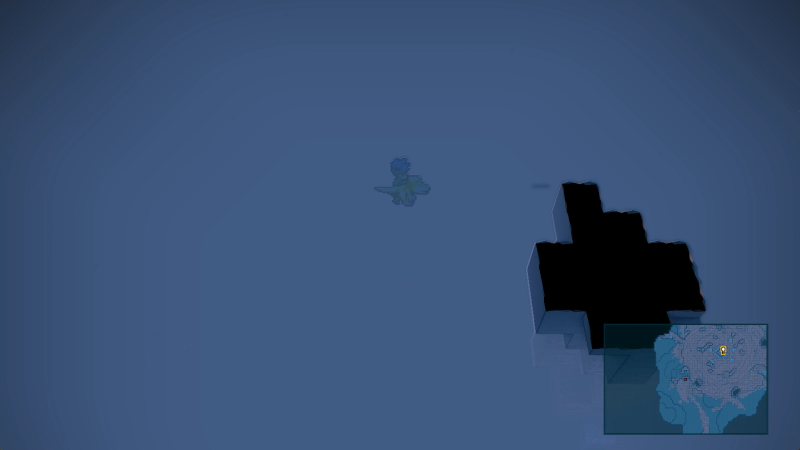
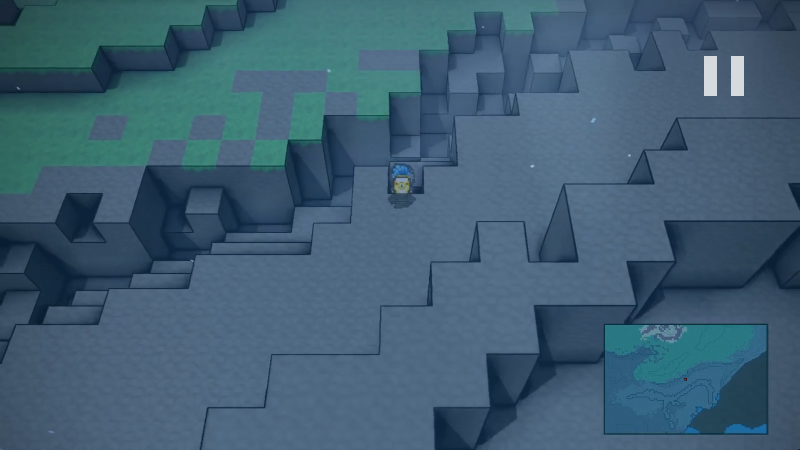
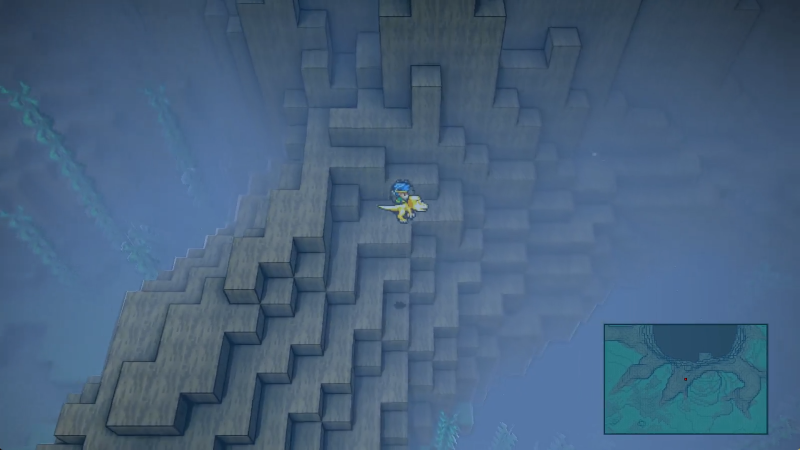
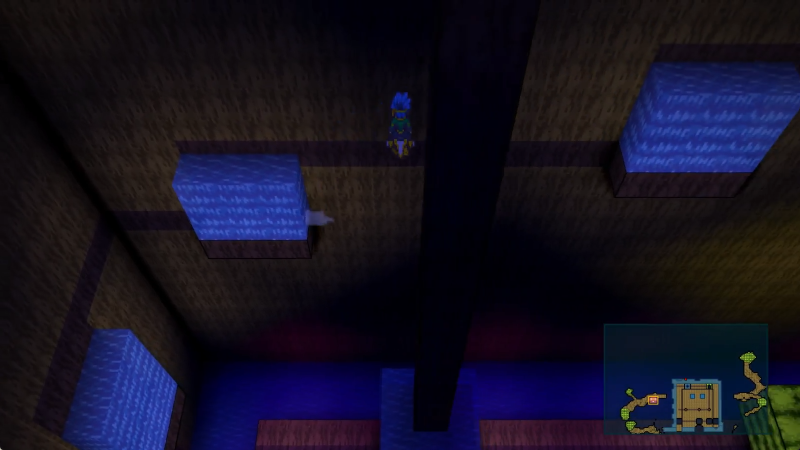
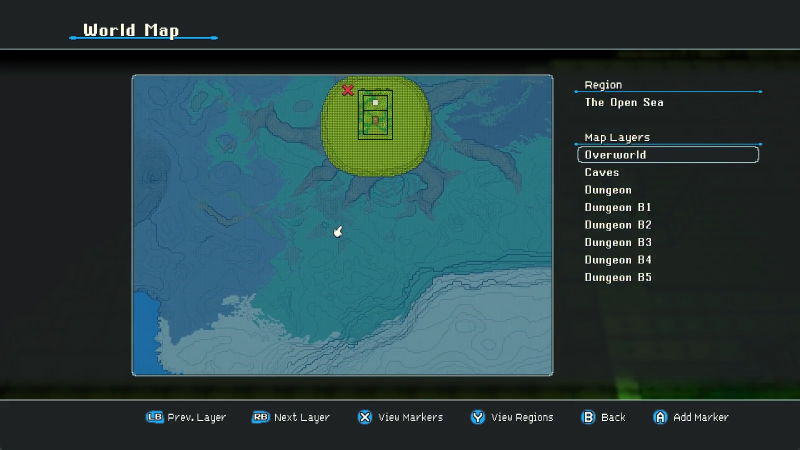
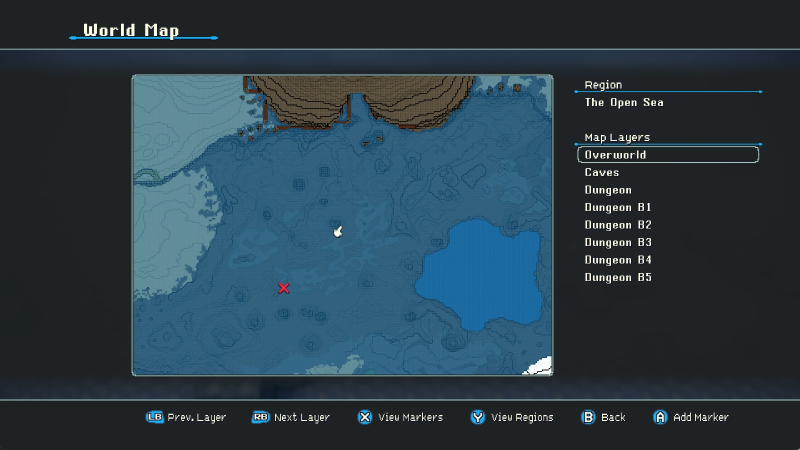
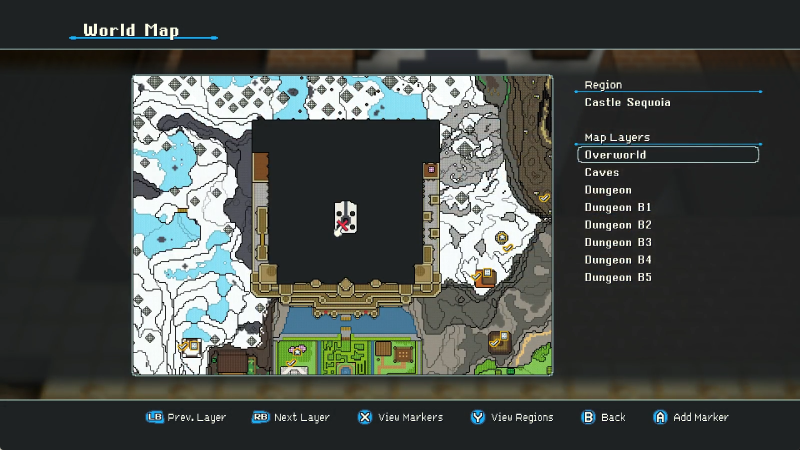
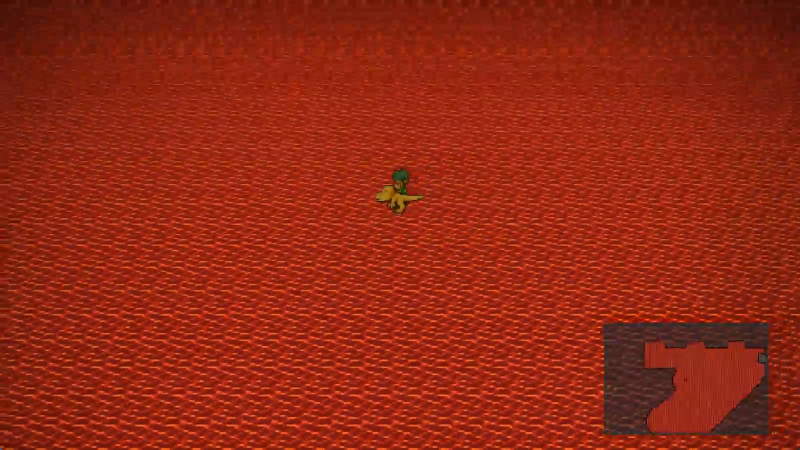
Anyway, let's do some Deep Sea mapping. Fortunately, the map takes into account what you've seen from the Open Sea already.

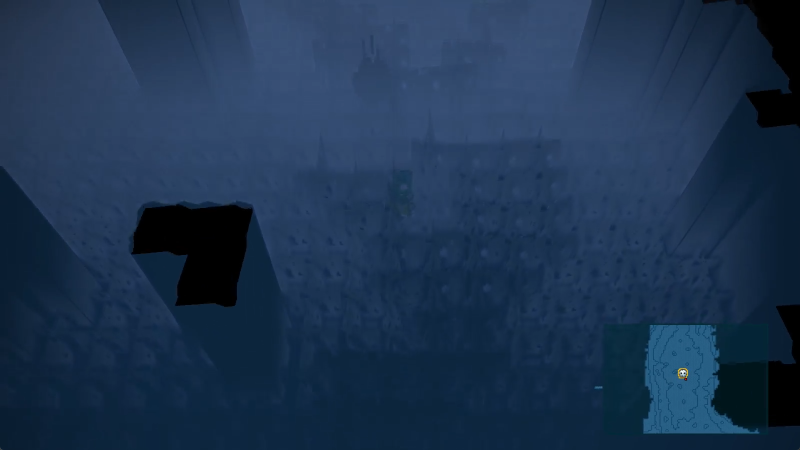
Anywhere the map cuts off into that pure blue is Depths territory and outside our paygrade for the time being. Give it like... one or two more updates.

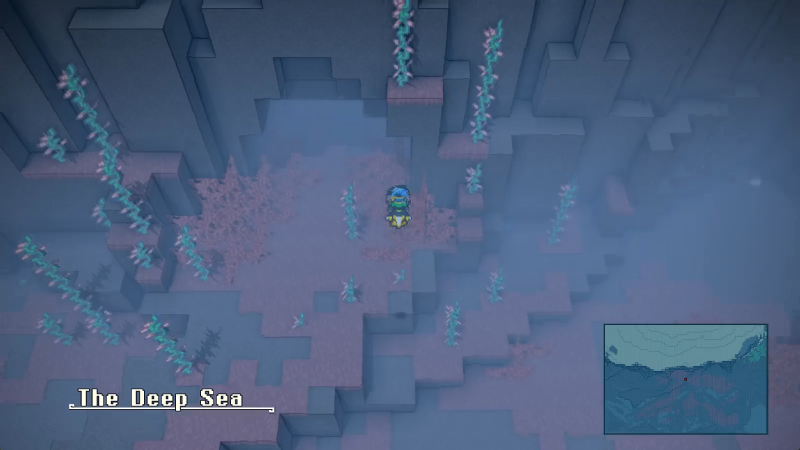
Besides, the Deep Sea has so much stuff in it I discovered entirely new things just this update! Wow! stay tuned! like and subscribe!

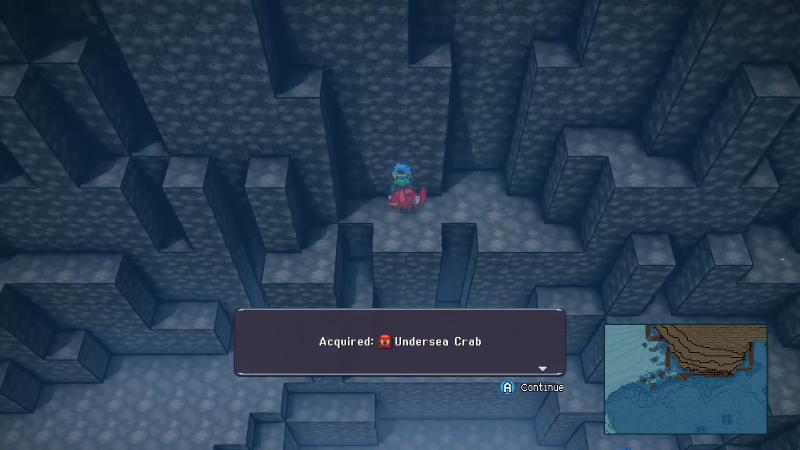
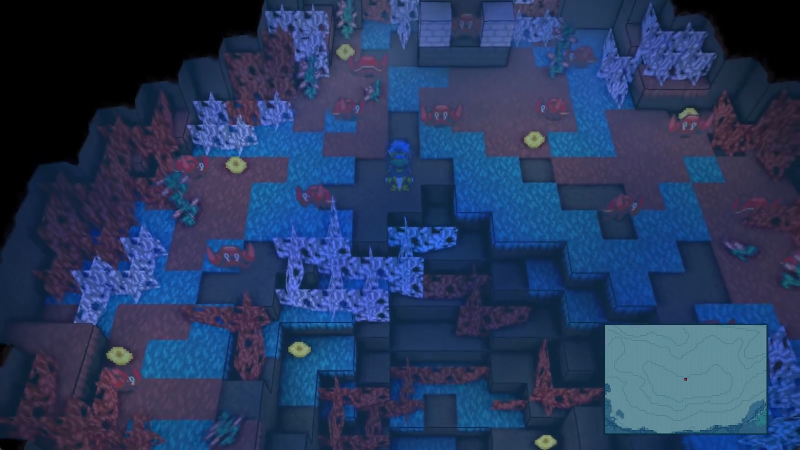
Hehe pinnacle crab.

Lots of crabs in this region!

Well, anyway.
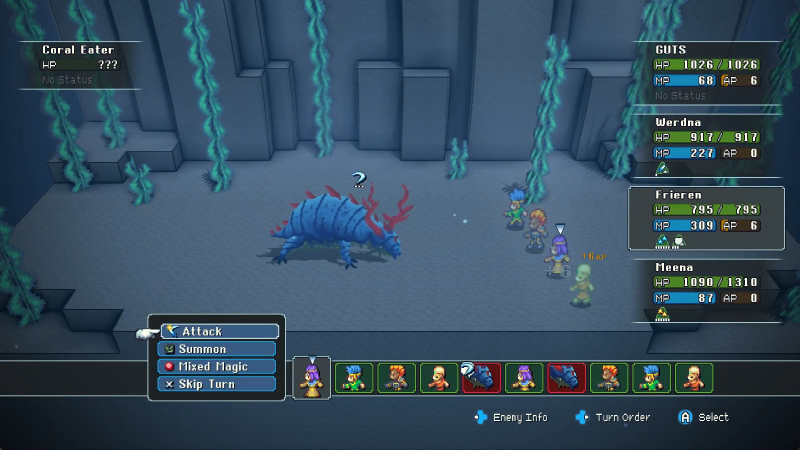
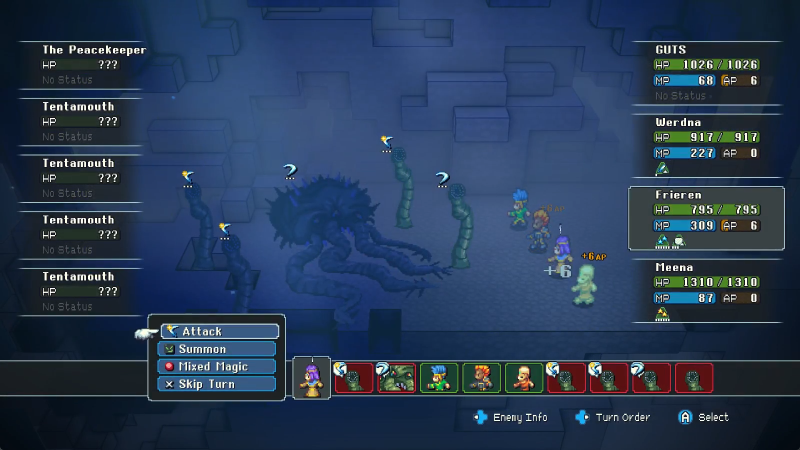
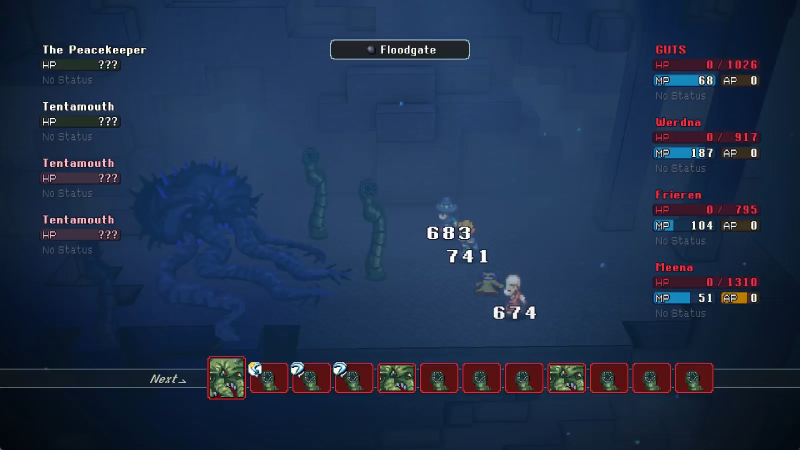
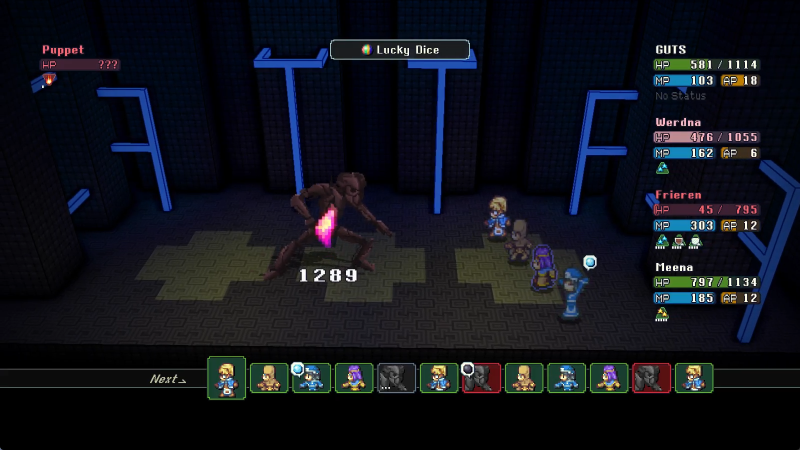
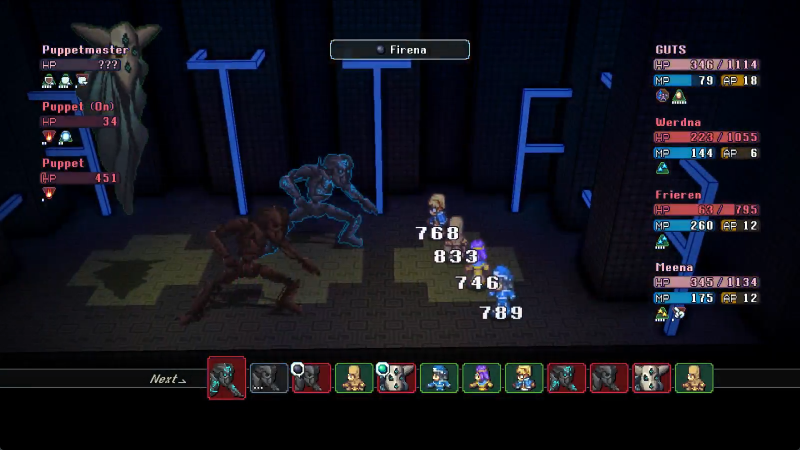
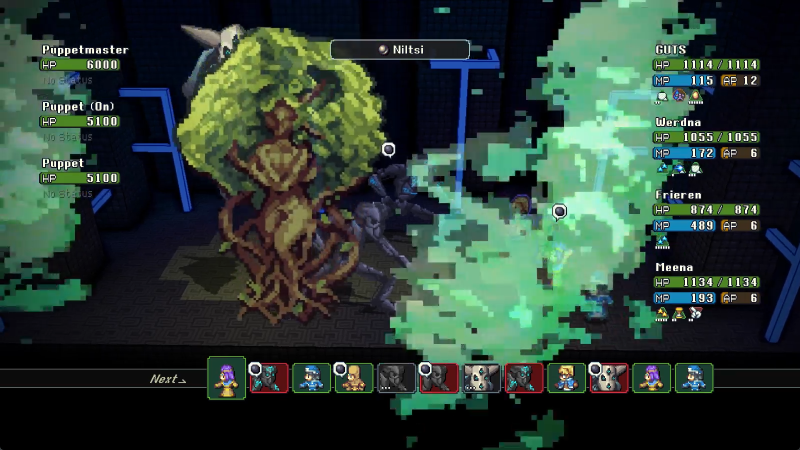
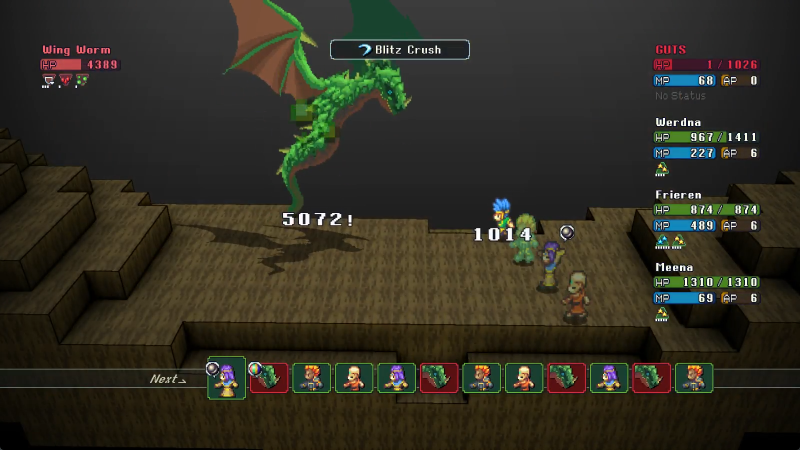
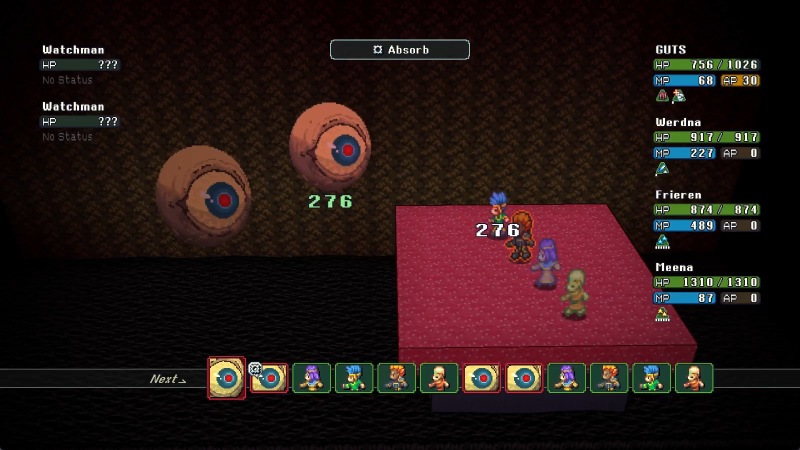
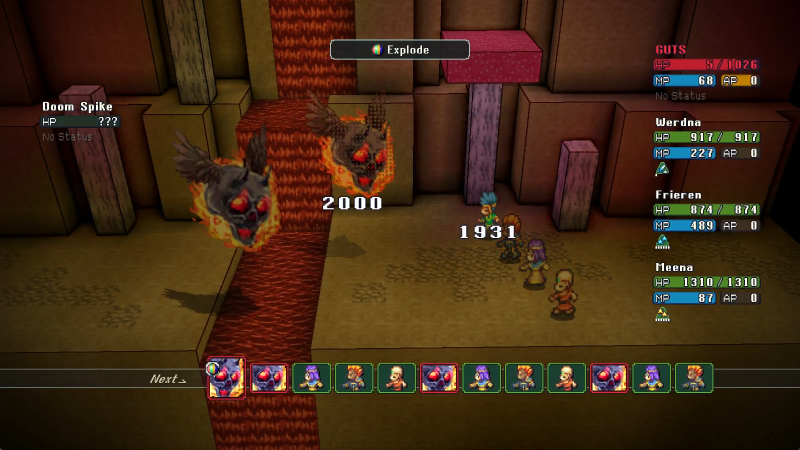
Coyote isn't a very deadly foe on their own: Impale, Jet Pulse, and Atmoshear is their entire moveset. Their gameplan is simple: force you to mistarget with Confusion, either when healing your teammates of their single target attacks, or when targeting them to proc the counter from Mind's Delusion. This auxiliary target does nothing but Insult your team, but responds to any incoming damage with Death, a spell that does exactly what it says on the label. This is a pretty devious setup, but I rather like it because as deadly as it is, you're provided with more than a few ways to answer it. Like Guaba, anyone that can avoid proccing counters (namely Samurai, Rogues, and anyone wielding a fitting katana) can go to town on Coyote without fear of reprisal. GUTS is demonstrating this even with a fresh Fencer class equipped with Samurai's Unreactable. While spells don't cut it like they did with Guaba, magicalists aren't out of options either. Consistent status clearing can wipe Confusion and keep you on target, and your Summoner can open up a free turn of whoopass with the help of Niltsi. And, of course, killing the Mind's Delusion, hard though it is, takes it out of the fight for good, leaving only Coyote as an unimpressive single foe. In the event you defeat Coyote first instead, Mind's Delusion will Escape at the first opportunity. Just uh... don't use Explode like I did. Mind's Delusion will still counter it with Death, but they'll choose a new target since their first choice will already be down.

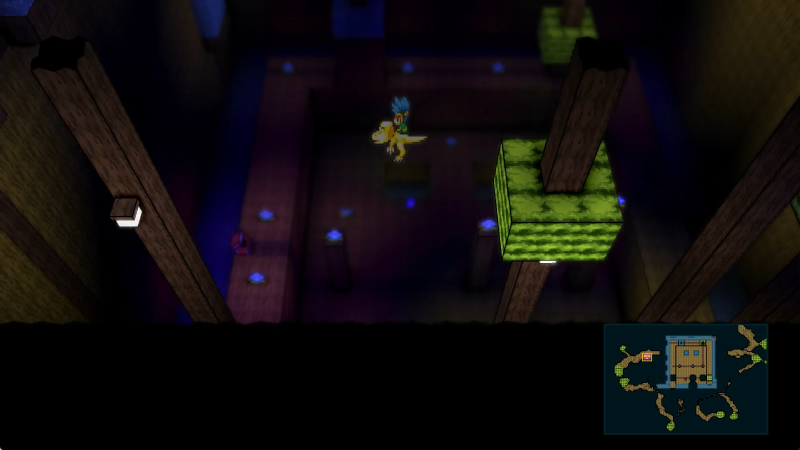
Next up, the Quizard village. Forgive the state of my map, the holes in my Tall, Tall Heights/Overpass/Northern Stretch mapping are showing the Deep Sea underneath and it just looks tacky.

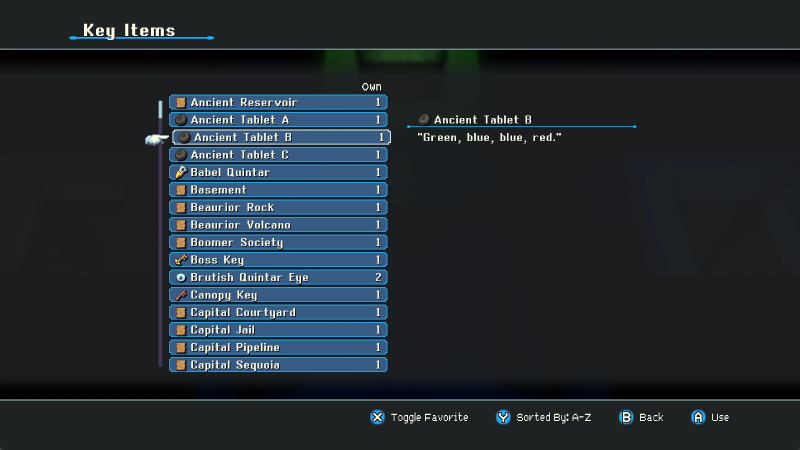
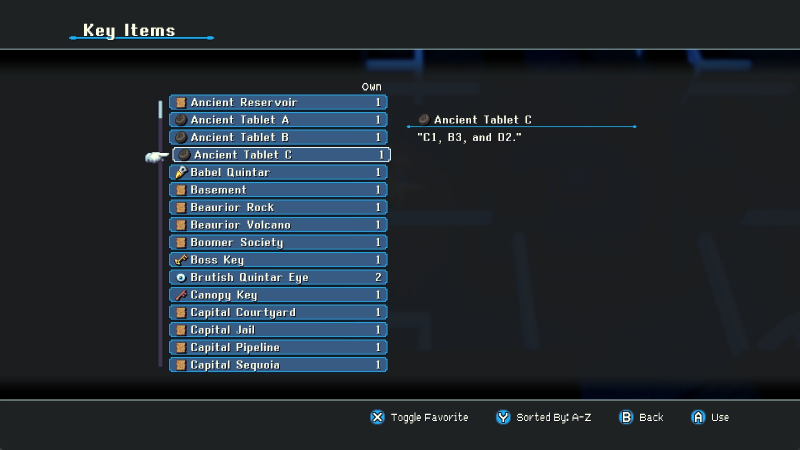
Anyway, eight Quizards down here pose us a question. I'll show the correct answer for each one, but if you've been paying attention, they shouldn't be too hard to figure out anyway.

Just went over the rationale behind this, so that's nice.

Been using Summoner? Good. Not been using Summoner? Uh-oh.

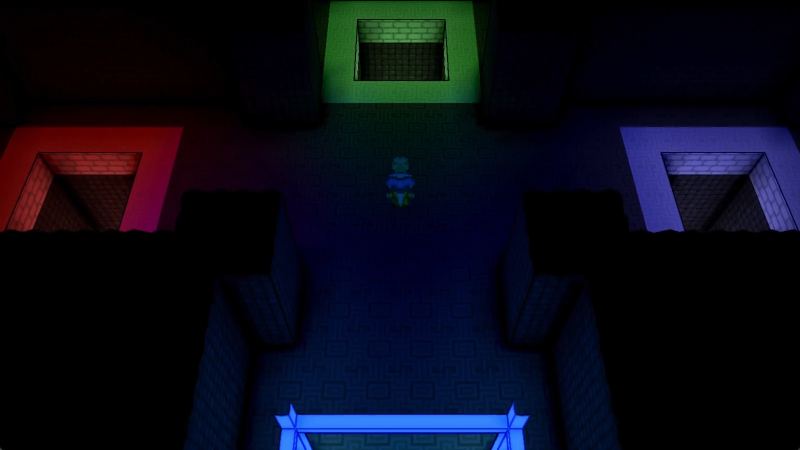
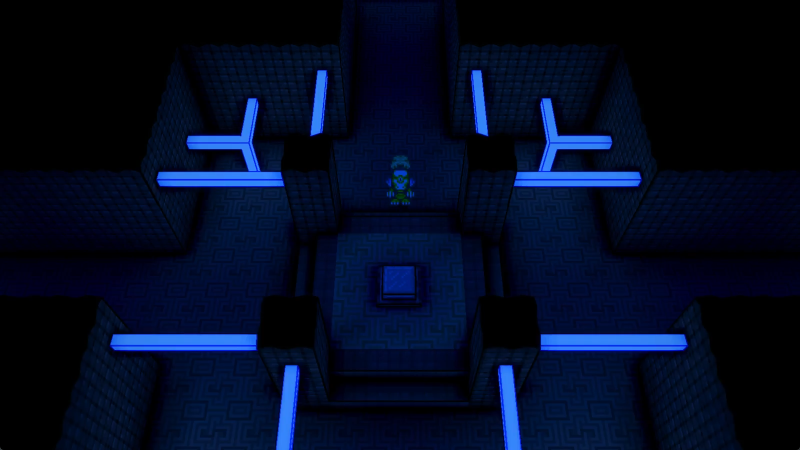
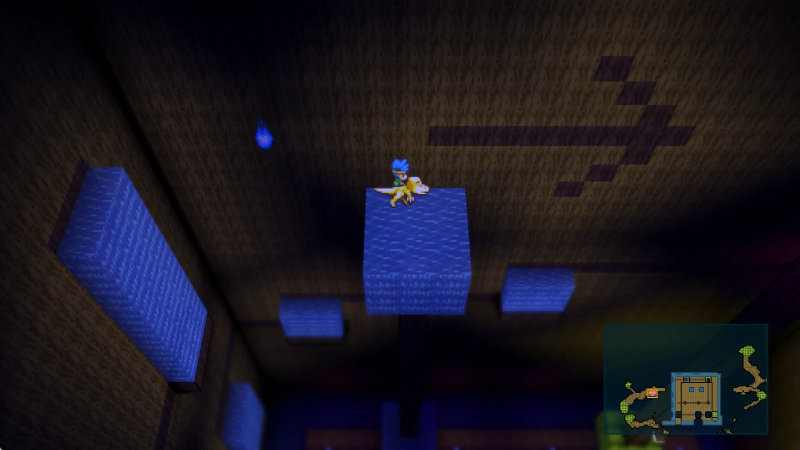
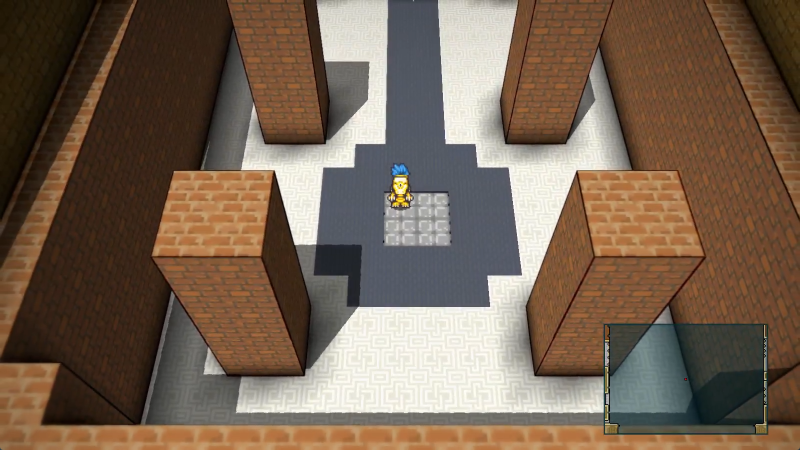
It's a simple 4x4 grid.

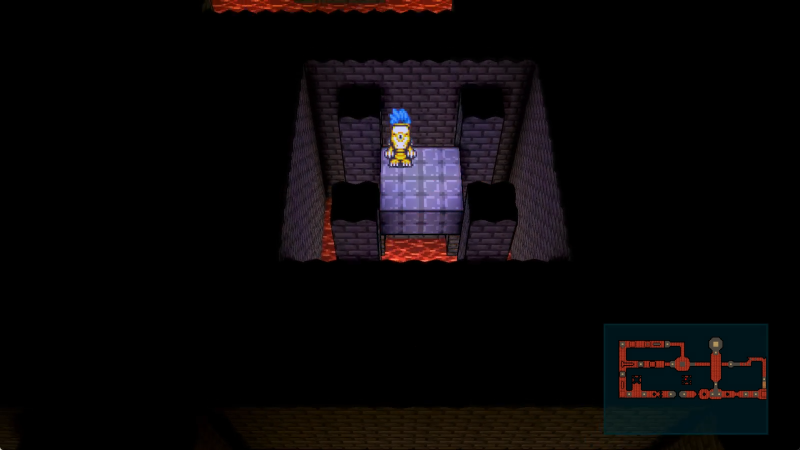
For people who haven't found it yet, this could be a clue! "Wait, there's a Crystal in Capital Sequoia?!"

Pretty easy one here.

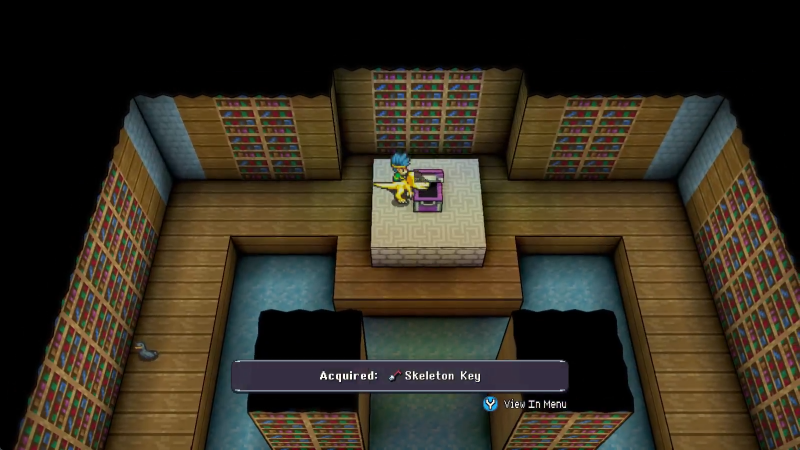
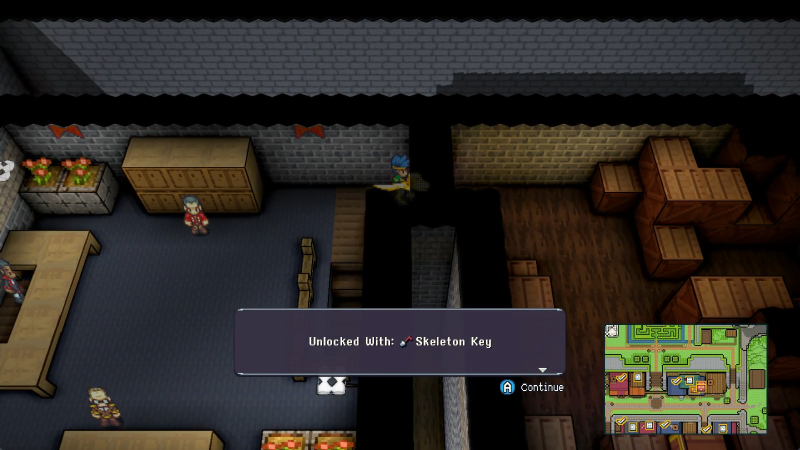
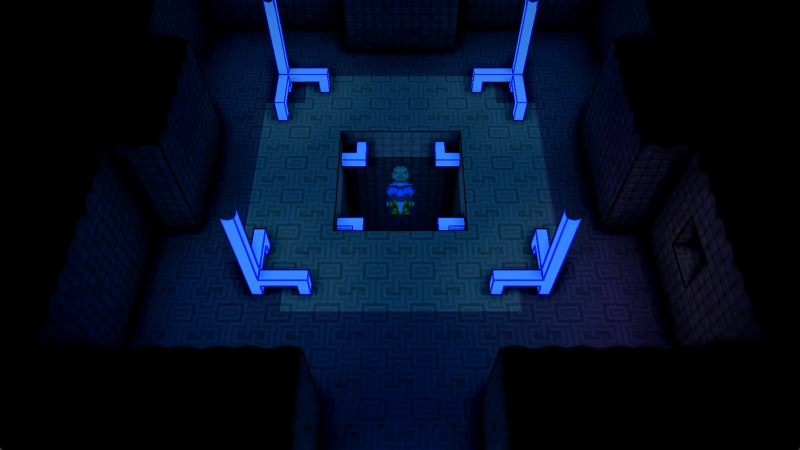
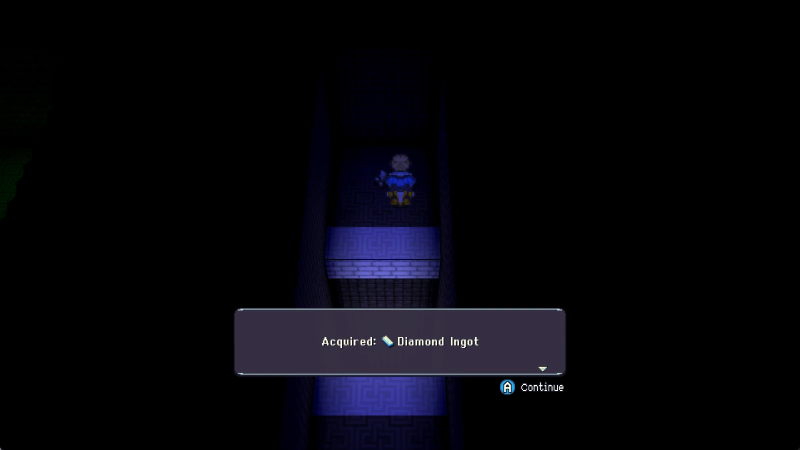
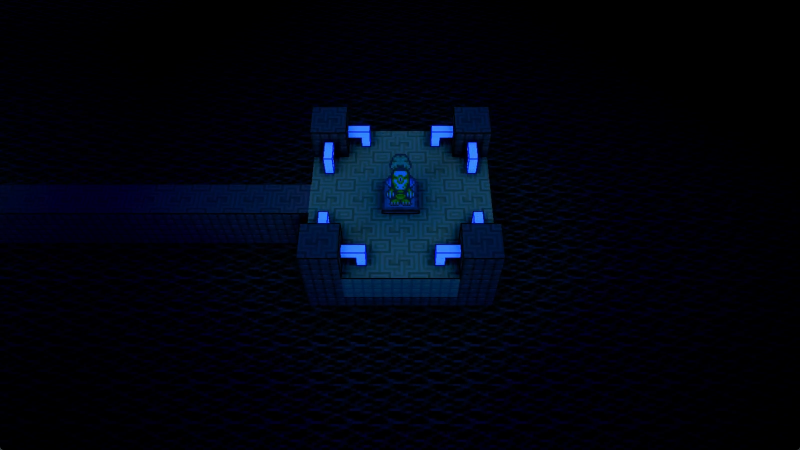
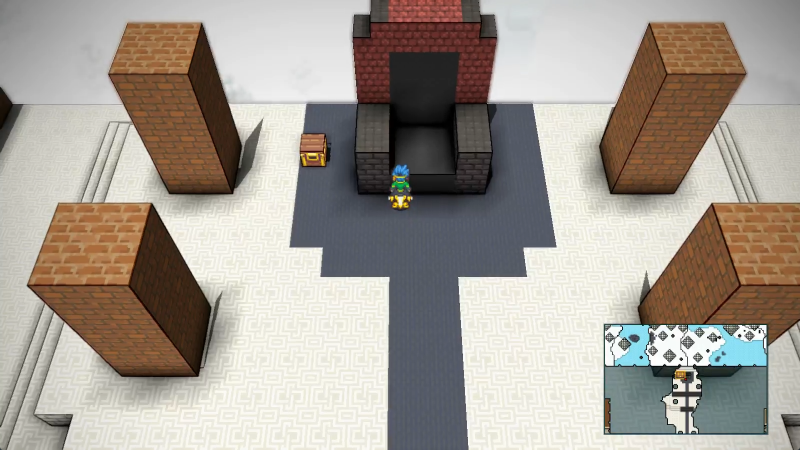
And that does it. The lock pops open as soon as we get anywhere near it.

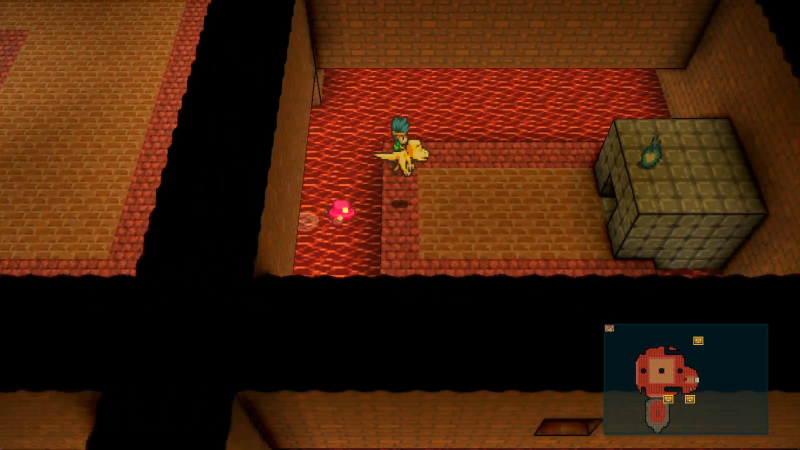
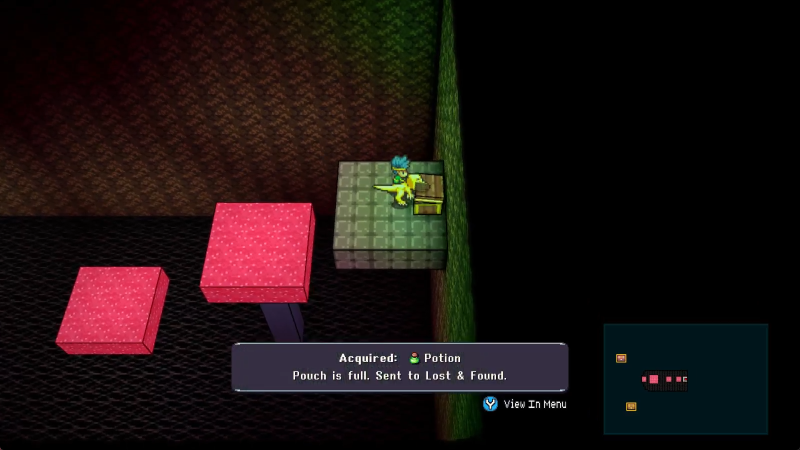
This leads to a VERY valuable item indeed. The Treasure Finder will always reveal chests on your minimap you haven't found yet, which can make for some much easier searching of the Deep Sea.

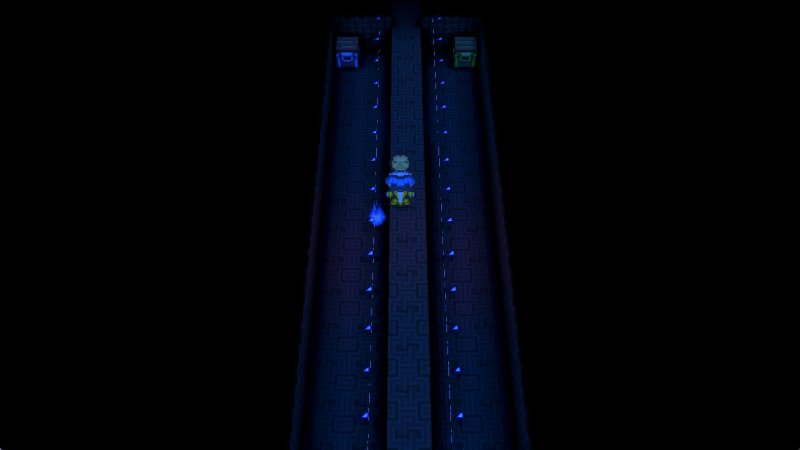
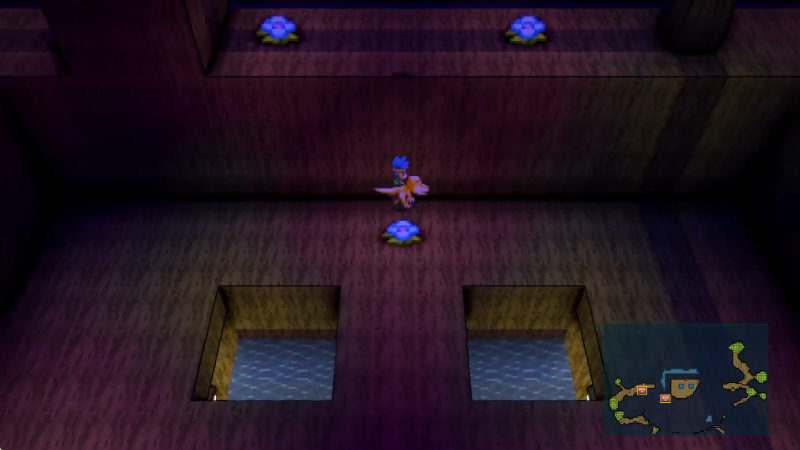
Oh yeah here's the Undersea Trail. Right by the other Quintar racing courses. Convenient map, no?

Near as I can tell, the entire tunnel is airtight. No way in from outside.

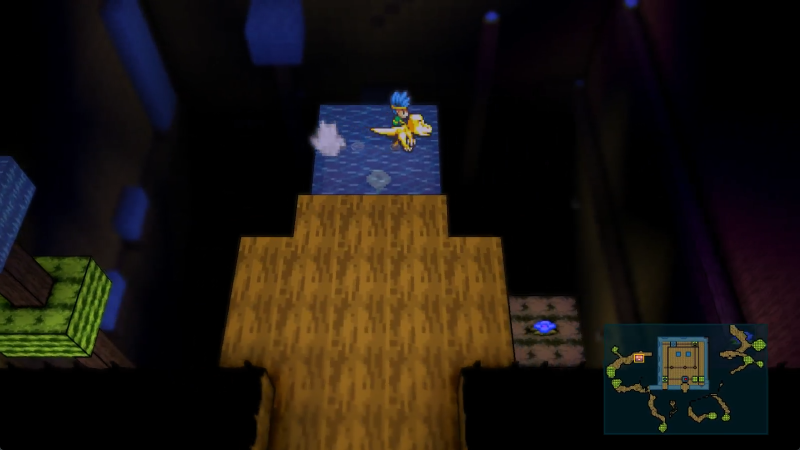
There's a couple isolated salmon swimming around, but most of them just comment on your steed. This one, though...

Salmon said:I know it's dangerous, but I'm lonely.
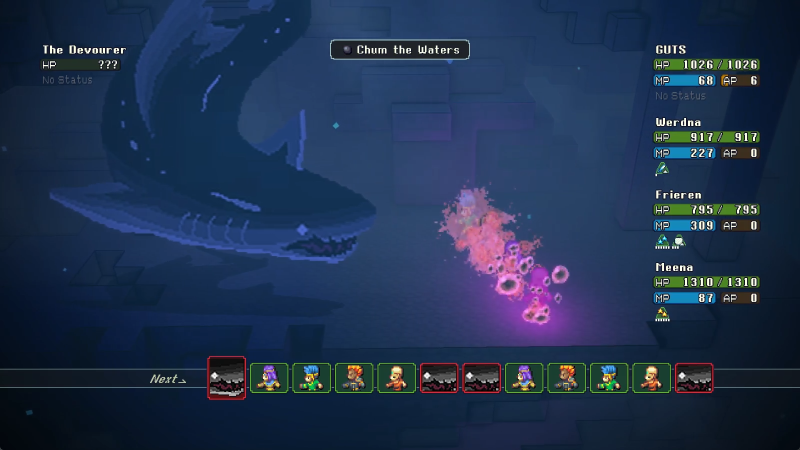
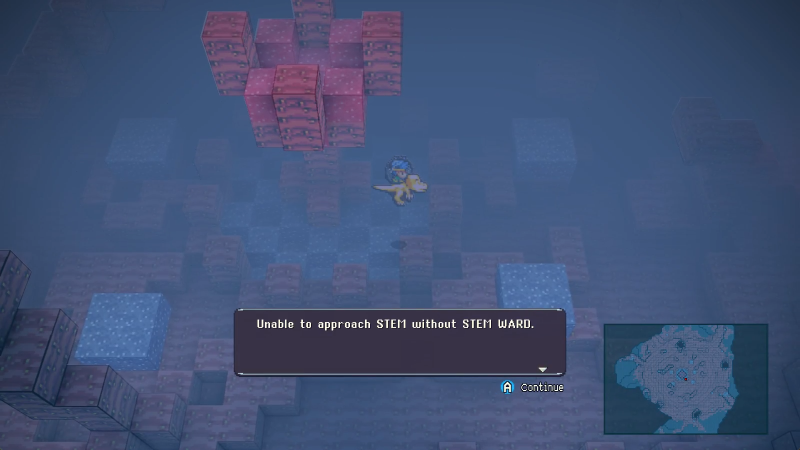
This one warns us, albeit indirectly, of a major threat lurking in the Depths.

And as soon as it tells us this, it swims down there, never to be seen again.
Again, the Depths are gonna have to wait, but we'll probably start our excursions here.

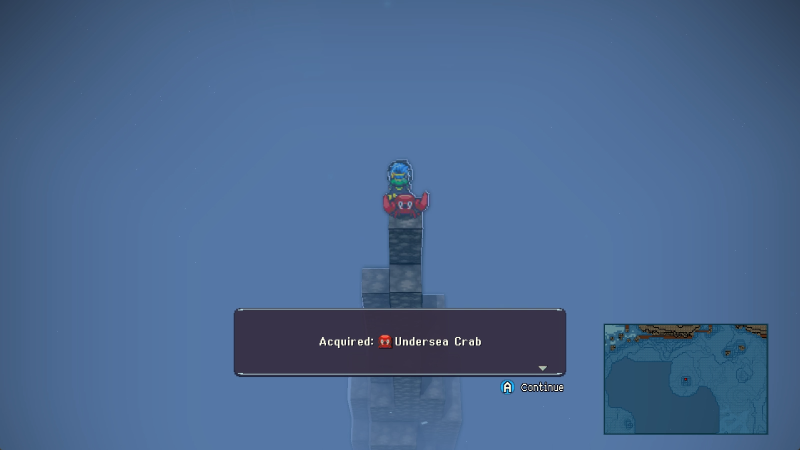
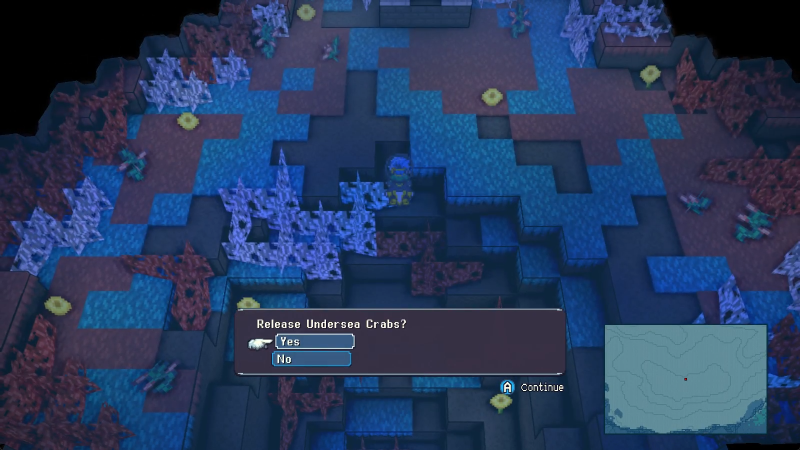
Crabs and treasure to collect, you understand.

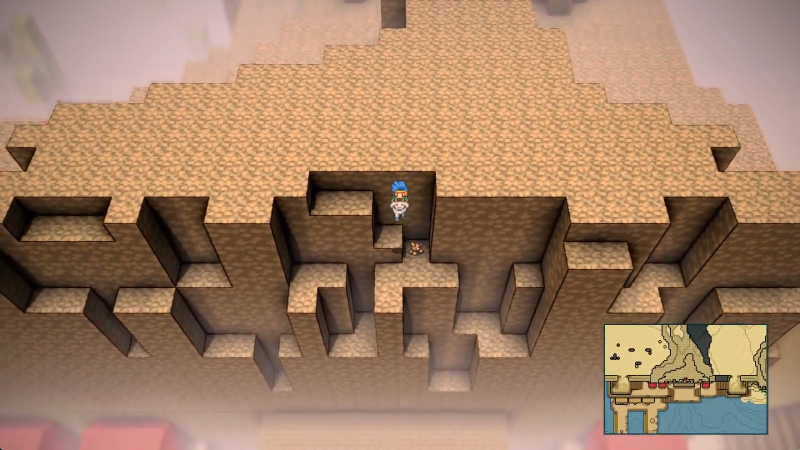
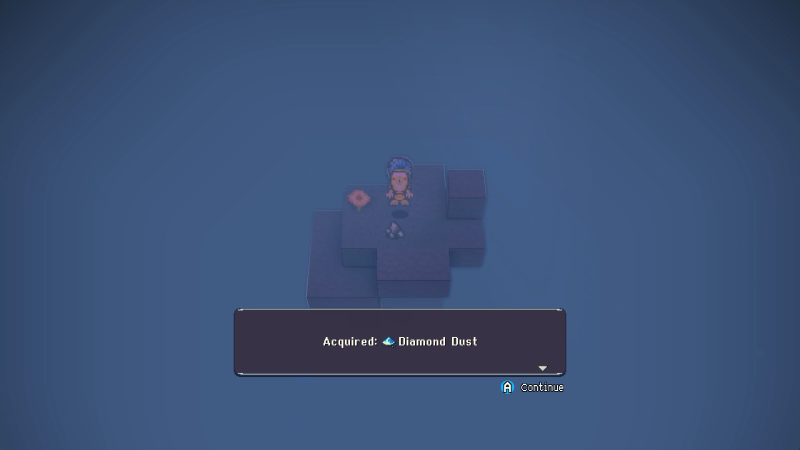
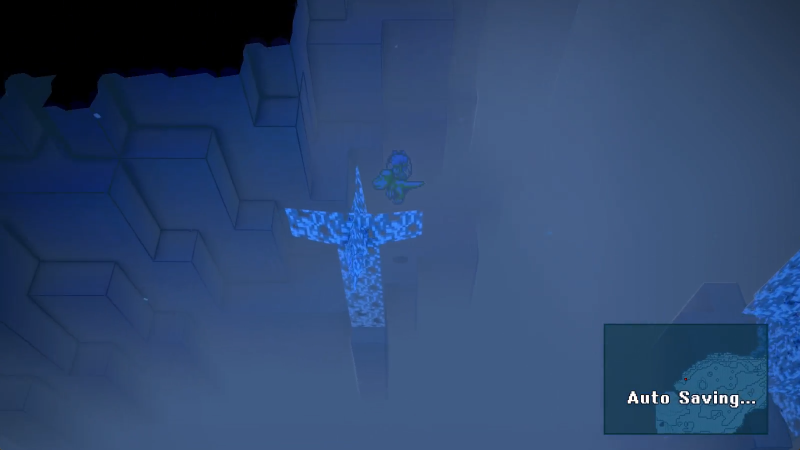
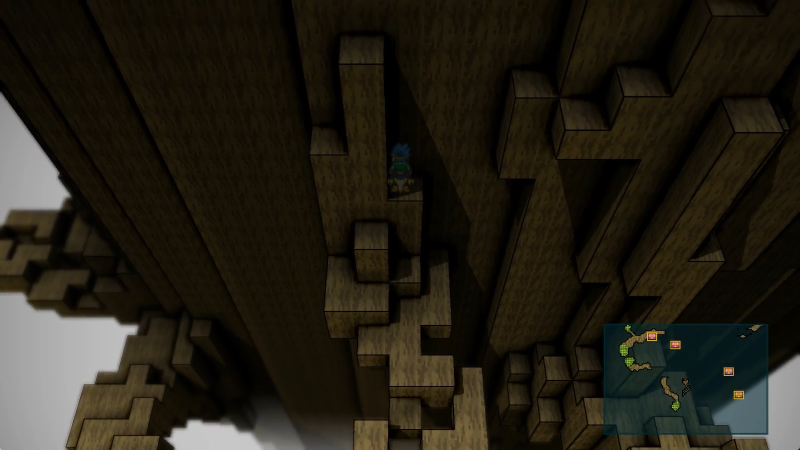
Speaking of treasure, we get our first hit with the Treasure Finder! This is a little northeast of the Quintar Reserve.

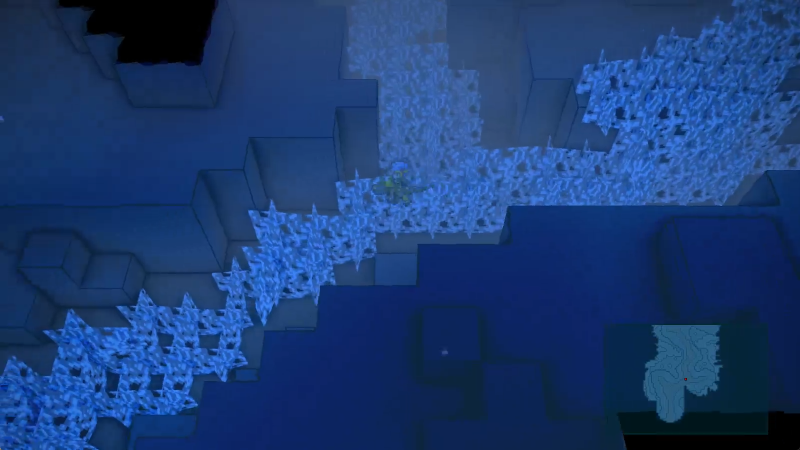
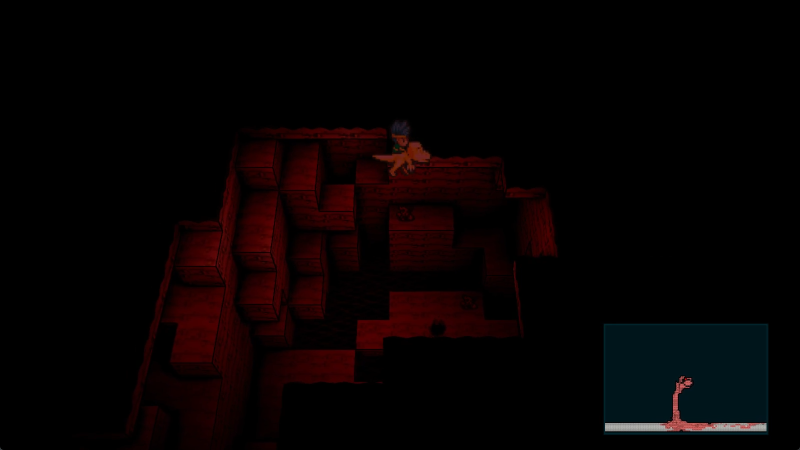
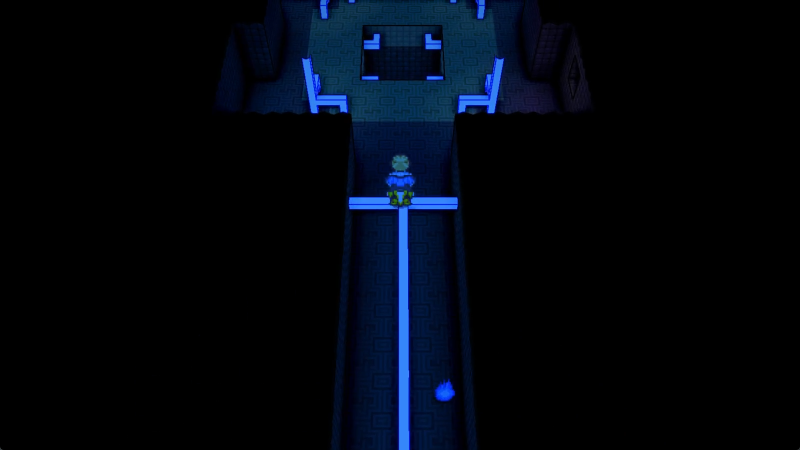
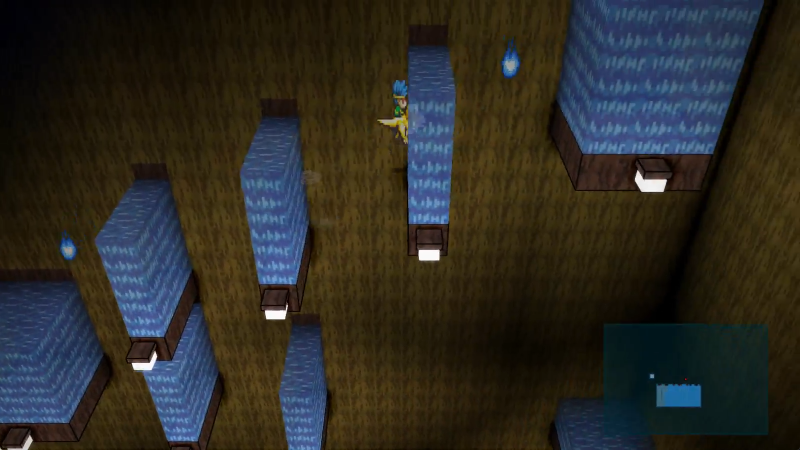
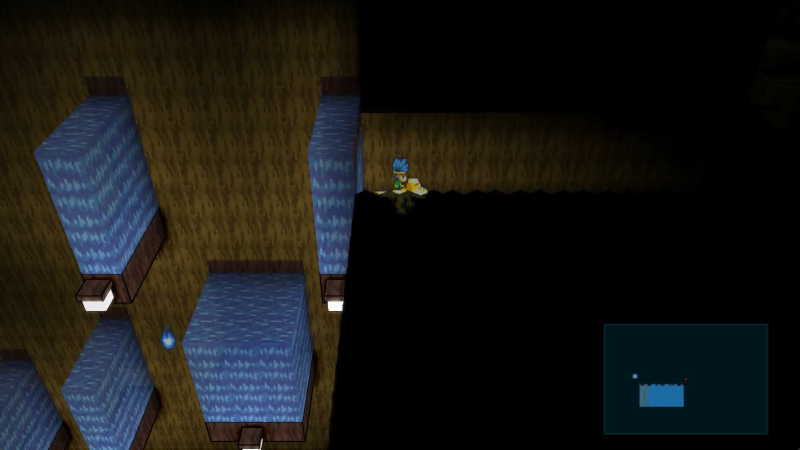
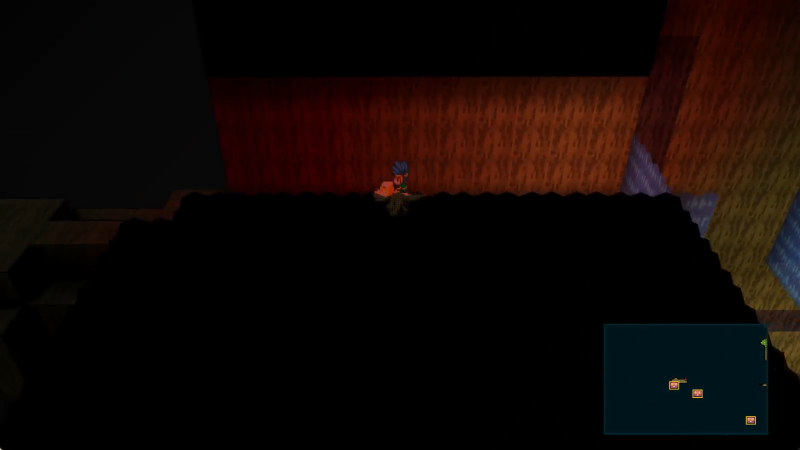
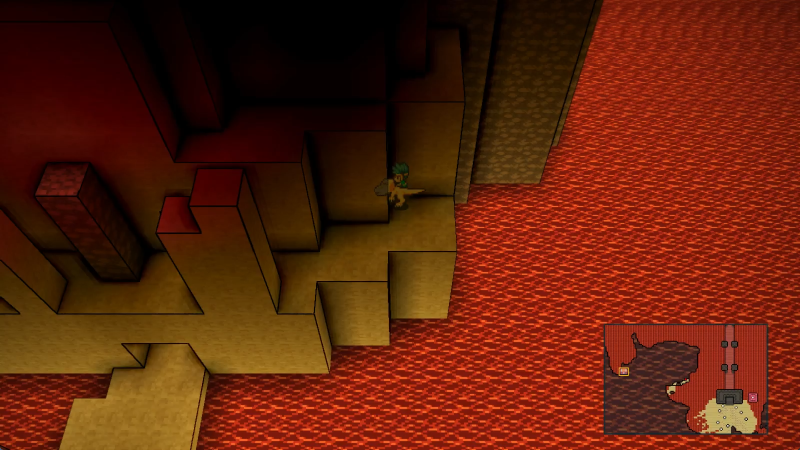
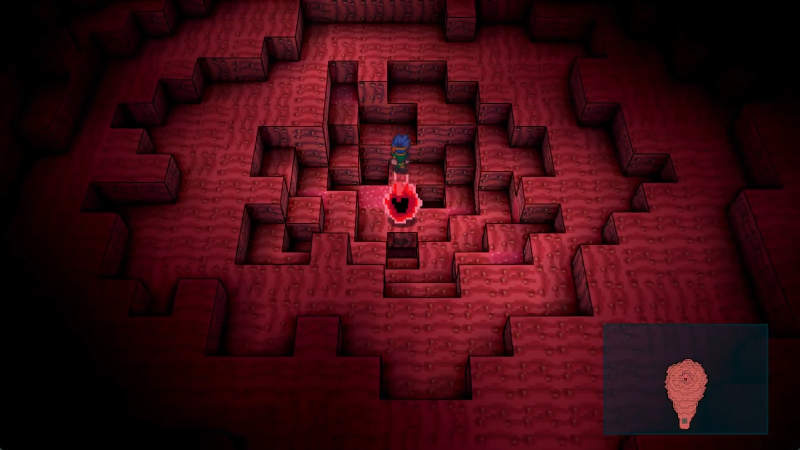
This one's a little tricky. See that outcropping next to us? It's actually a passage to a hidden cavern, guarded by a high-level foe.

Those foes waste no time in attacking passersby, ambushing them before they can figure out the secret!

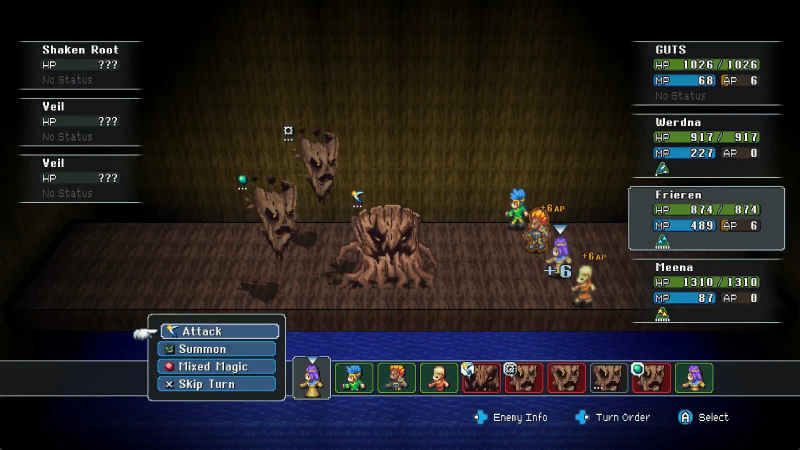
Flesh Eaters are fast and strong, combining Reaping, a self-buff of Crazed, and a nasty moveset of Fury Swipes, Blood Spiller, Blood Extract and Harden into a single package. They can tear apart an unprepared team before they can react.

I'm very prepared. It's fine, Werdna's got the highest XP anyway.

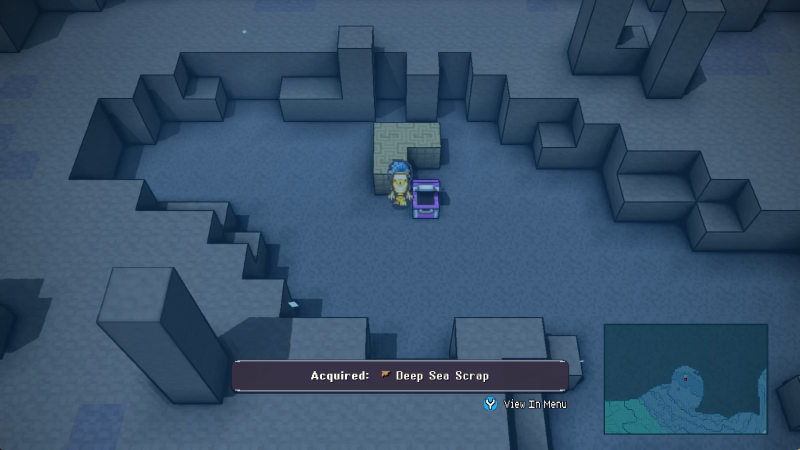
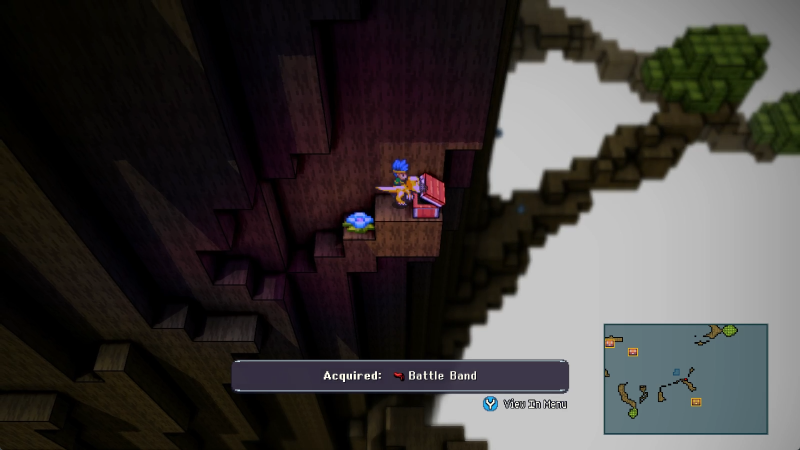
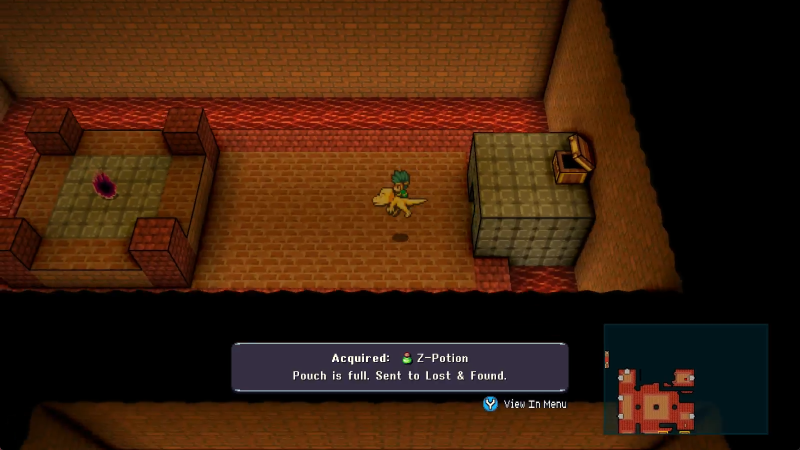
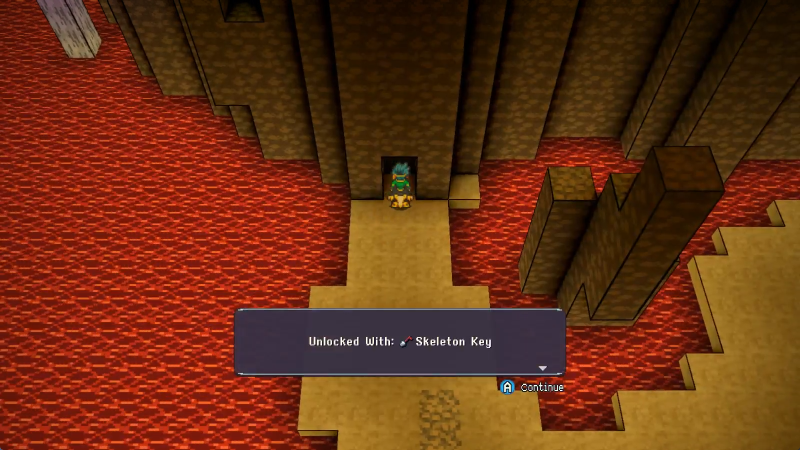
In addition to the Deep Sea Scrap, we pilfer the Forgotten Key used in the ruins offshore of Jidamba Tangle! Neato!

Speaking of Jidamba Tangle, there's still a few treasures here we've missed. Largely they're just yellow chests, so I'm not hugely upset by this.

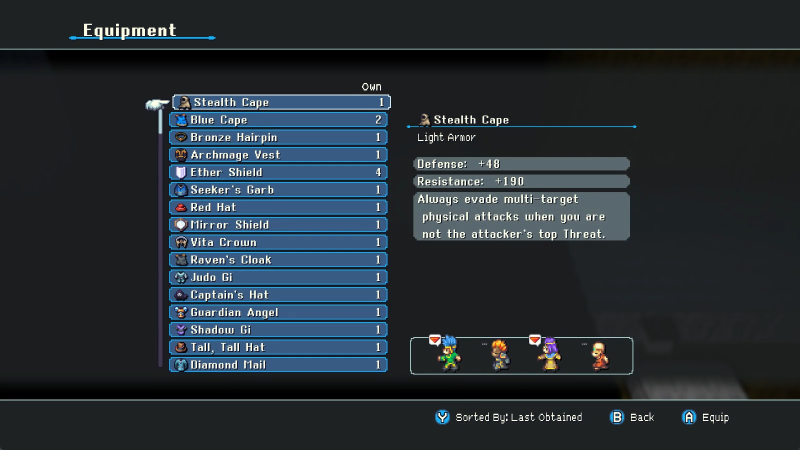
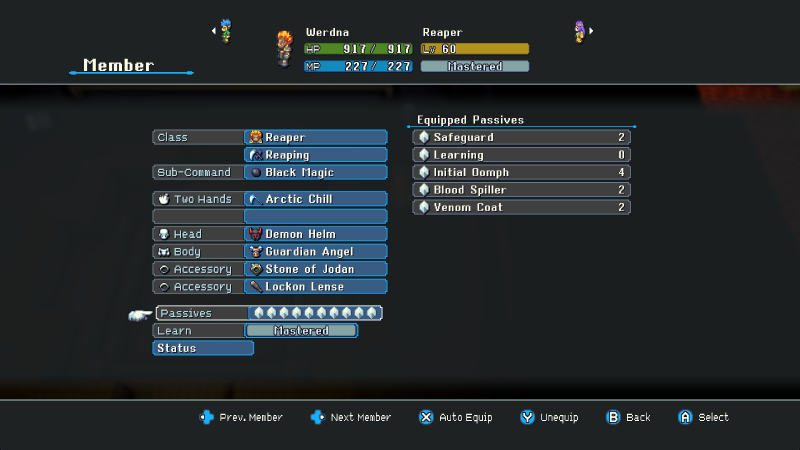
There is, however, some great armor for a heavy armor using caster. The Demon Helm provides, on top of its decent defenses, some Spell Lifesteal, highly welcome for a Reaper that's playing the class right and using a magic subcommand.

Ditto for the matching Demon Plate found on the foliage level.

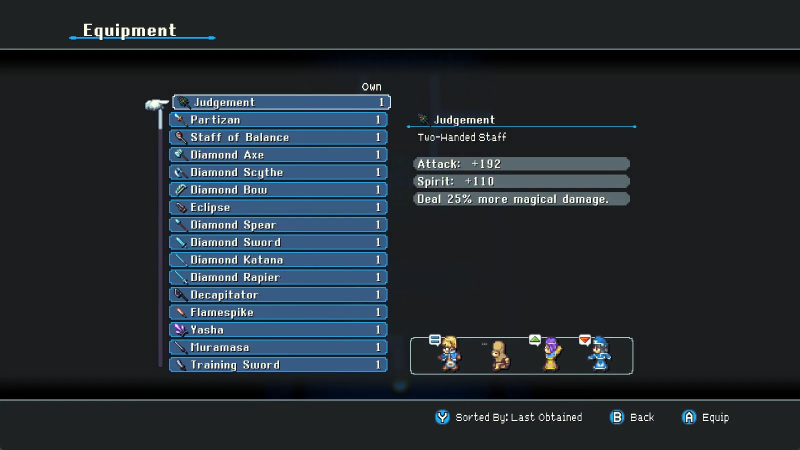
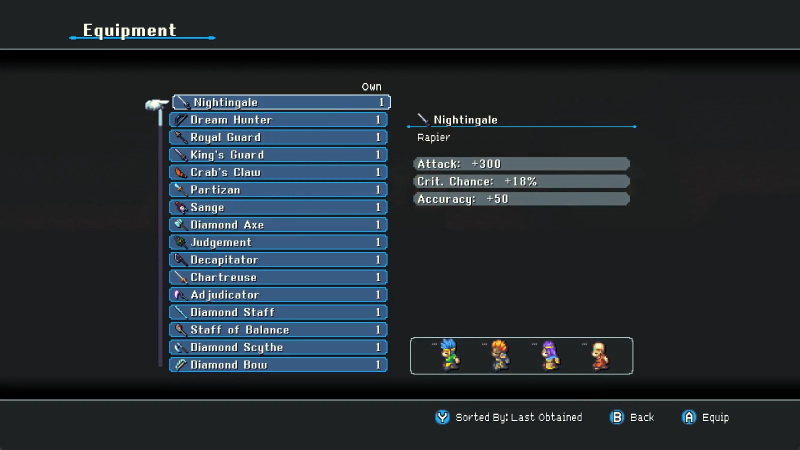
Speaking of Reapers, the Soul Keeper is an unusual but strong sword that grants Mind, Spirit, and even some MP absorb on physical attacks... at the expense of a hefty -100 max MP. Again, hybrid combatants, particularly physical fighters making use of Mixed Magic, are the ideal recipients.

Hey thanks.

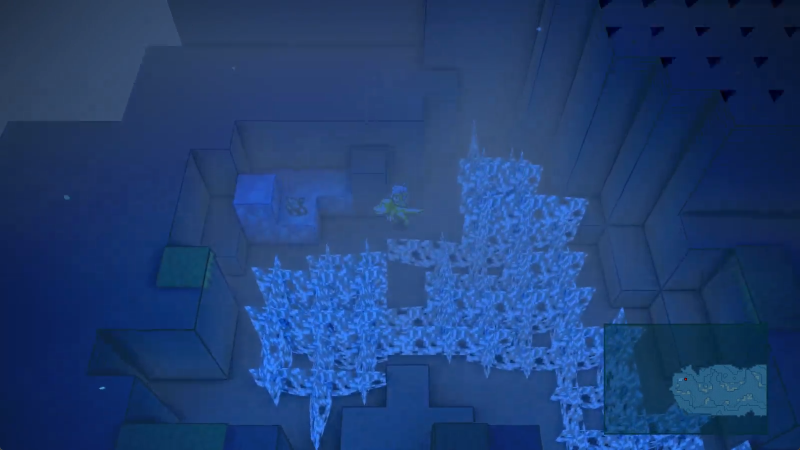
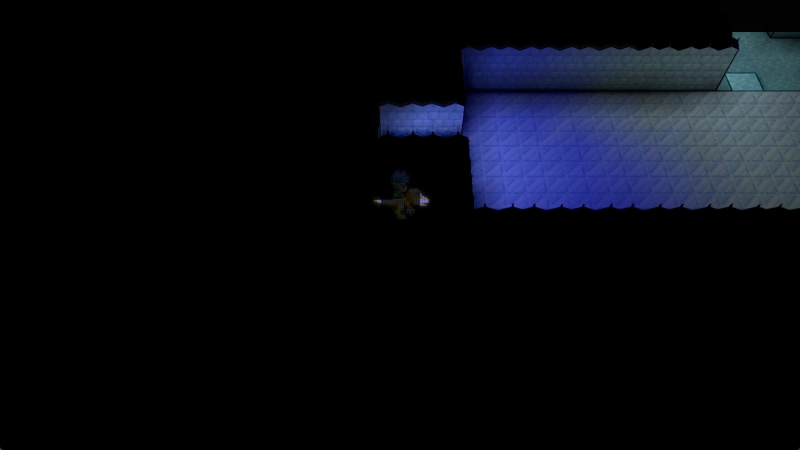
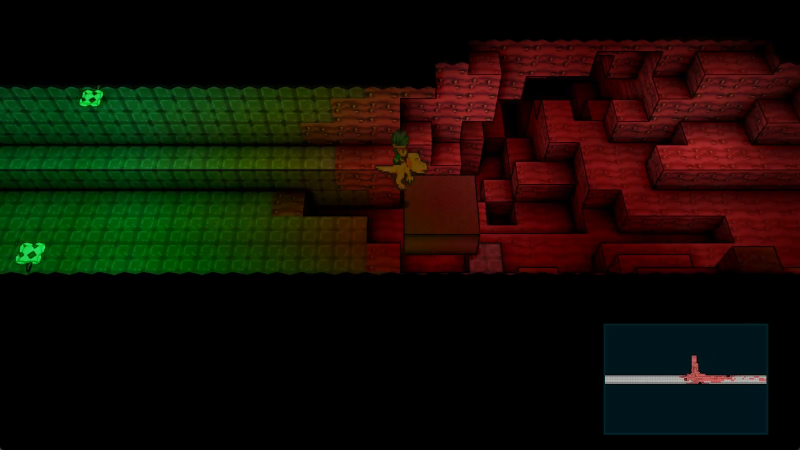
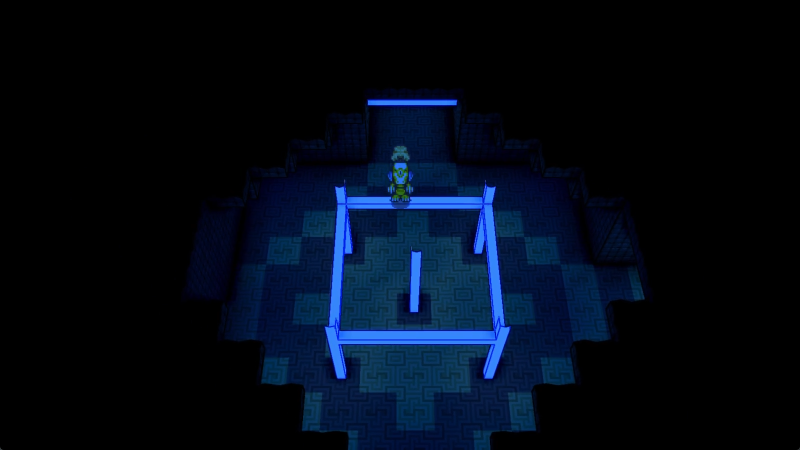
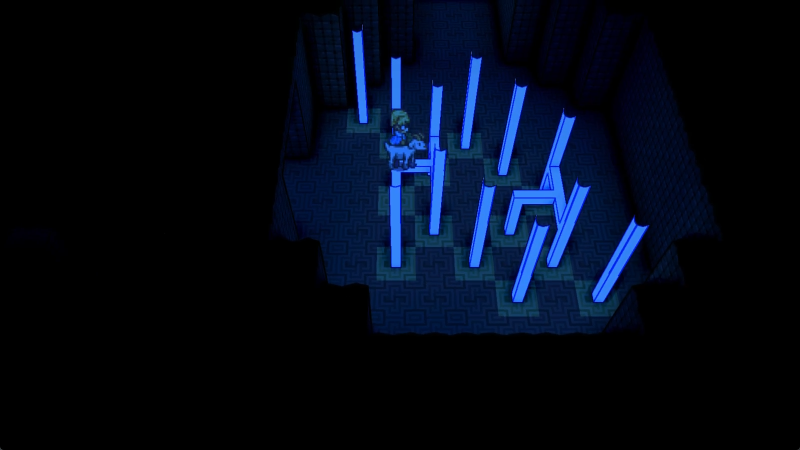
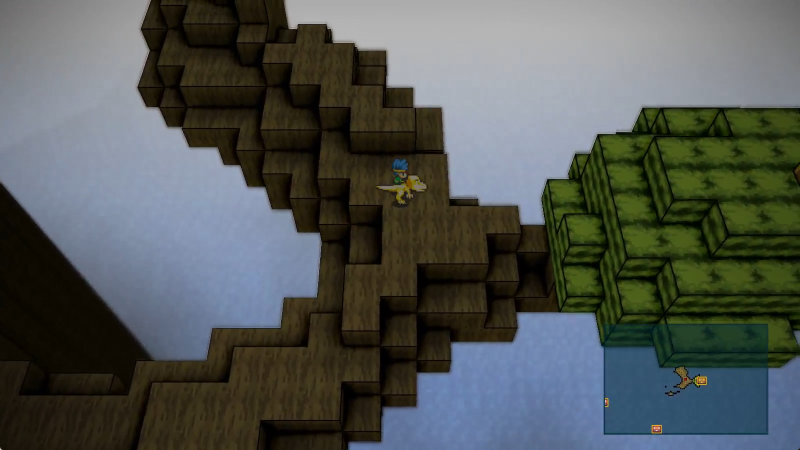
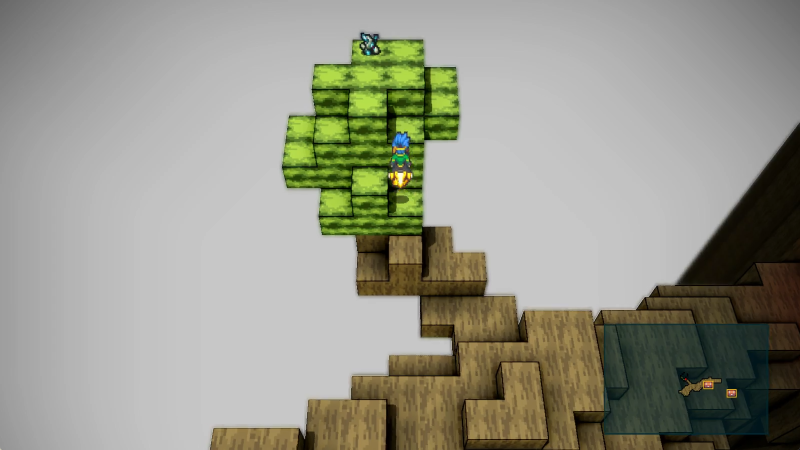
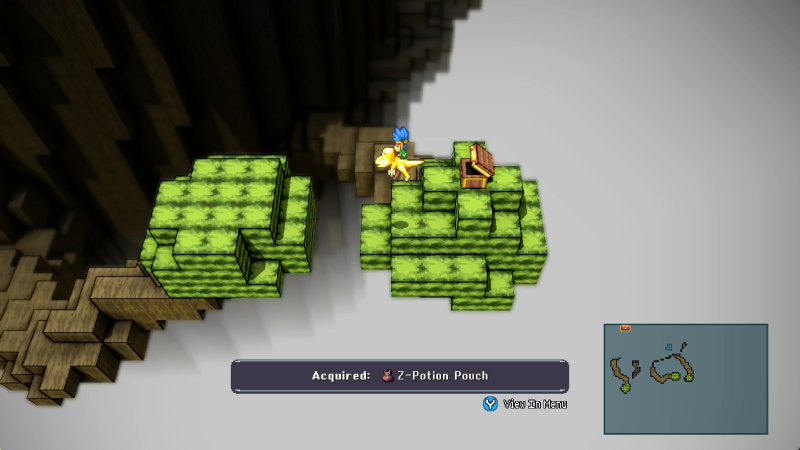
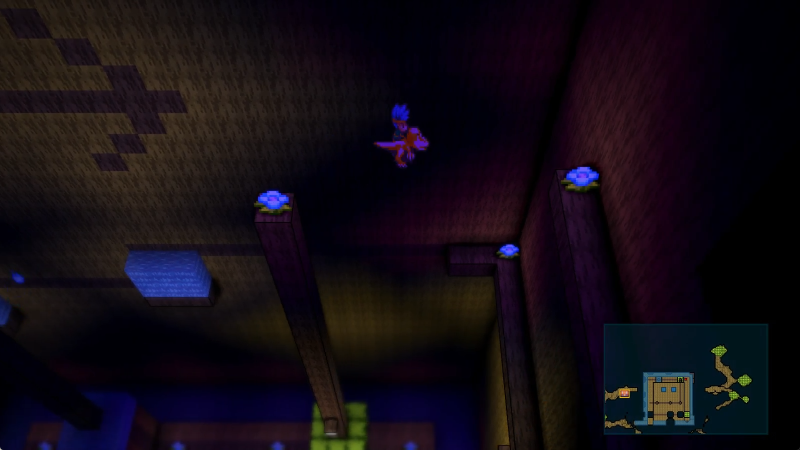
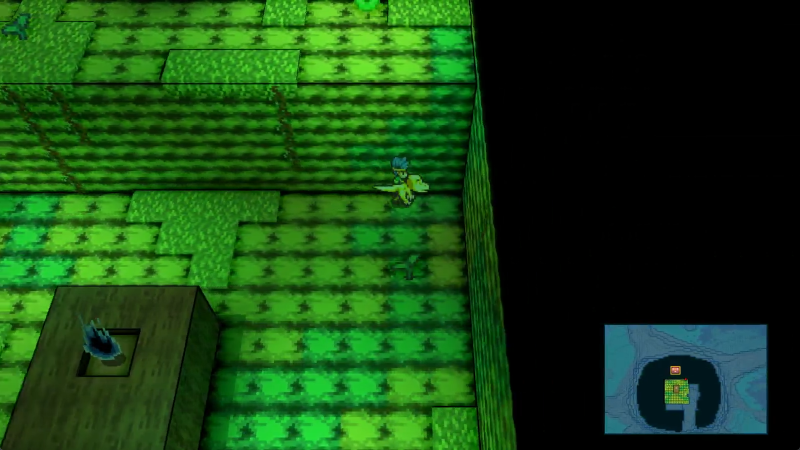
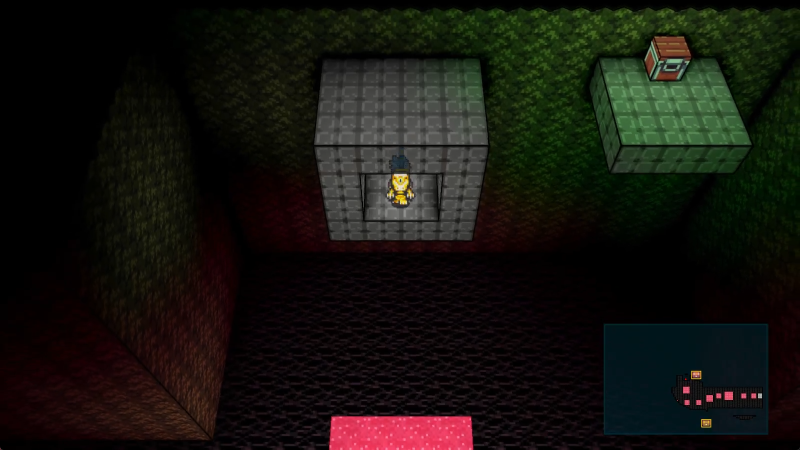
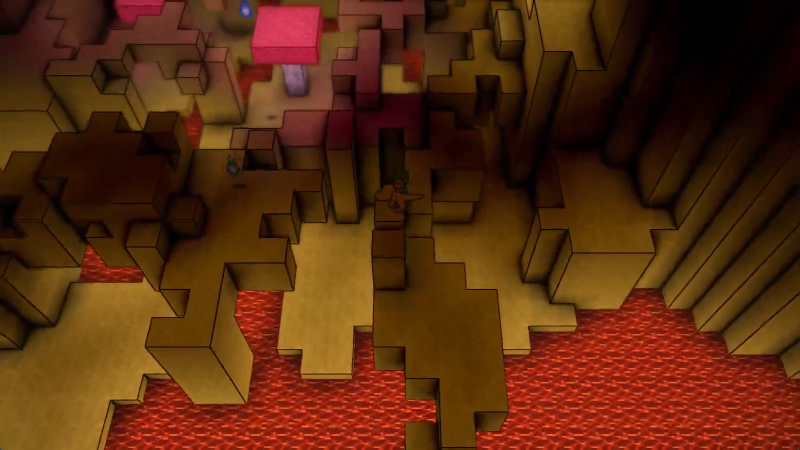
A little north of the Jidamba-side Capital Pipeline, there's another hidden spot!

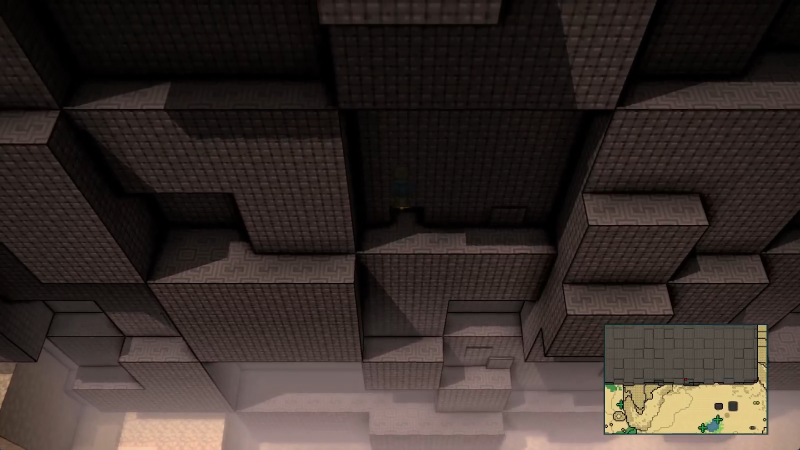
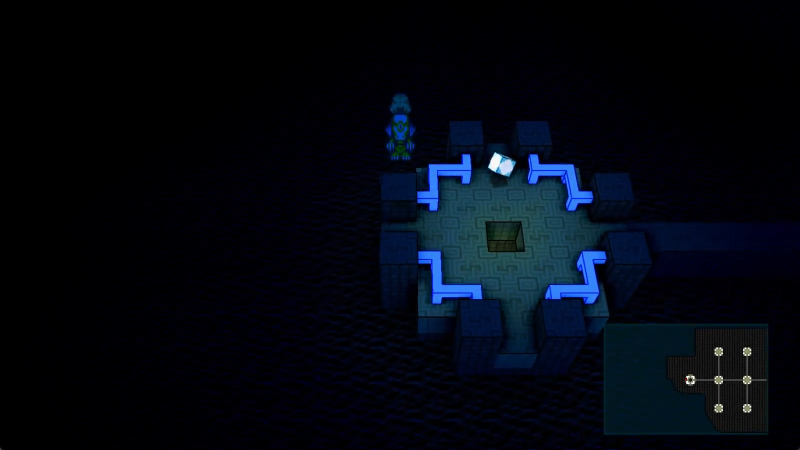
This one's a bit more of a secret maze.

Even without the Treasure Finder, the terrain hereabouts may give you a clue as to its existence.

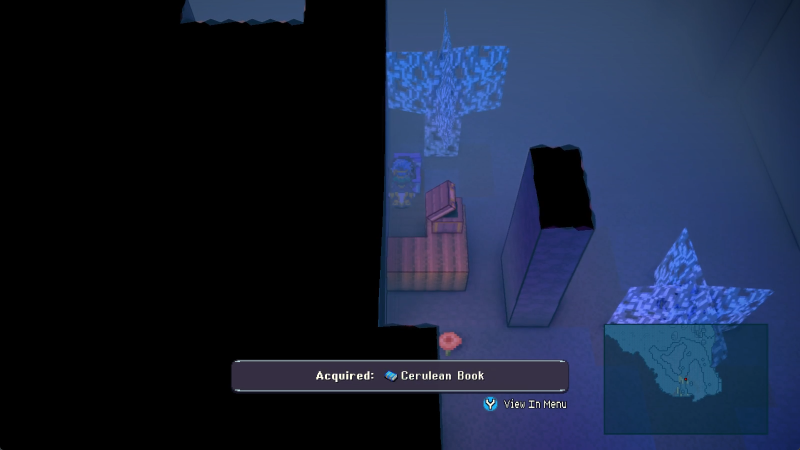
The tricky part is that the entrance to the best treasure here is... opaque, let's say.

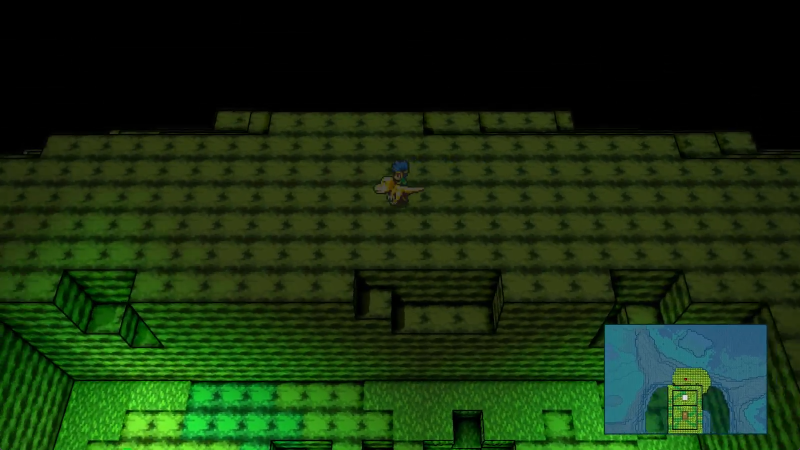
Right here!

How'd you get all the way down here? Well, let's put this to use, eh?

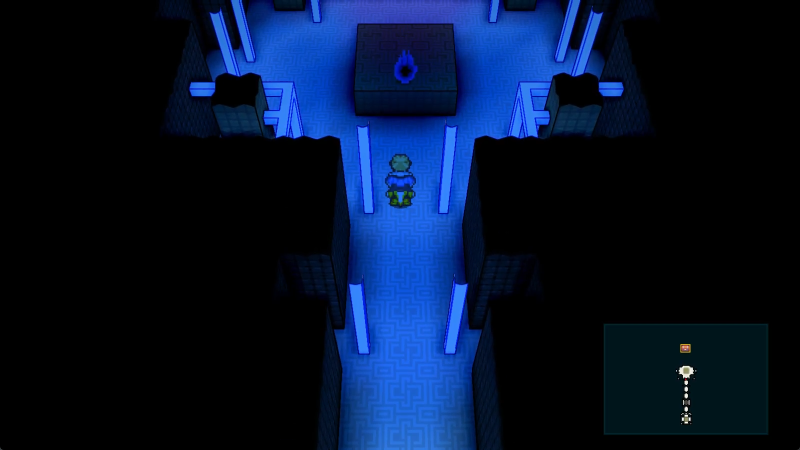
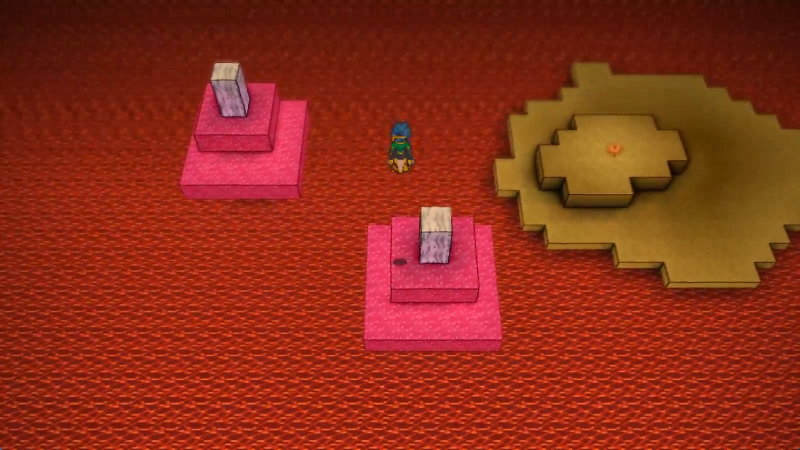
I also find this ruined shrine sunk off the east coast of the Quintar Reserve.

It's Fire resistant in particular and regular Resistance resistant to a degree! Unfortunately, whatever stone this shrine may have housed, it's long gone.

How did I forget this? Baaaaaah!

This Treasure Finder is great but also it can make you very frustrated with yourself if you find treasures left wide in the open you've passed up before. Don't take it personal if this happens in Shoudu Province and you haven't done any Sky Arena, by the way.

Lemme in loser.

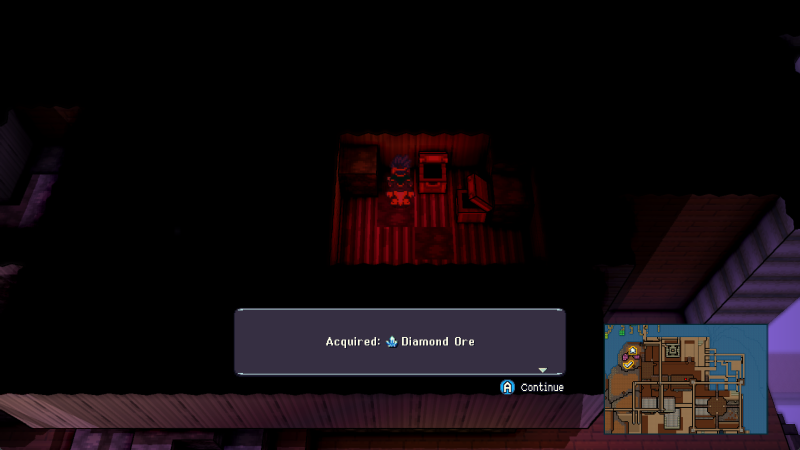
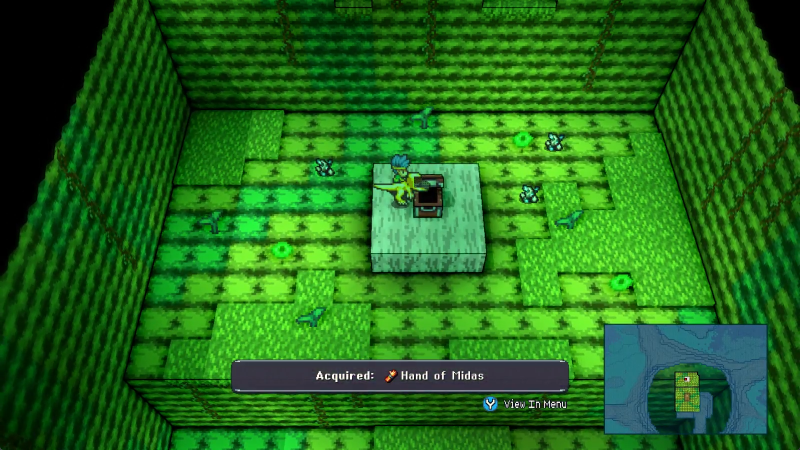
Oh! That'll be handy for later!

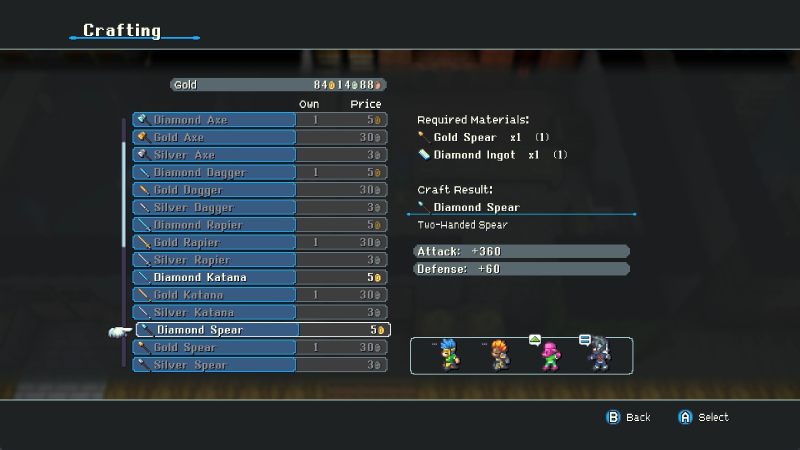
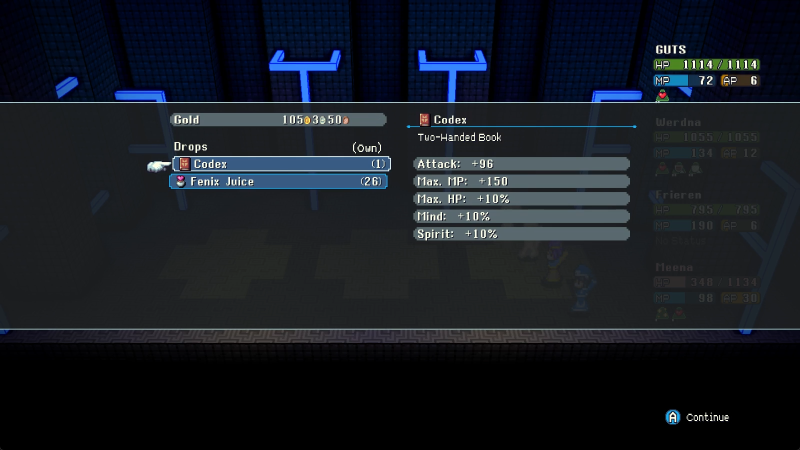
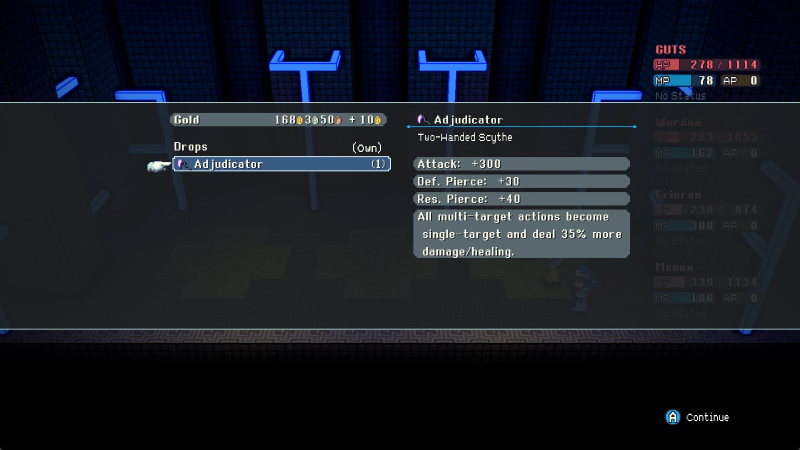
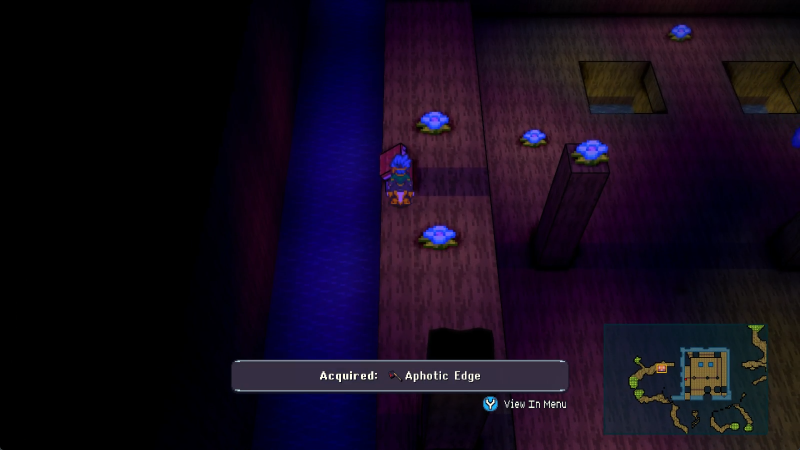
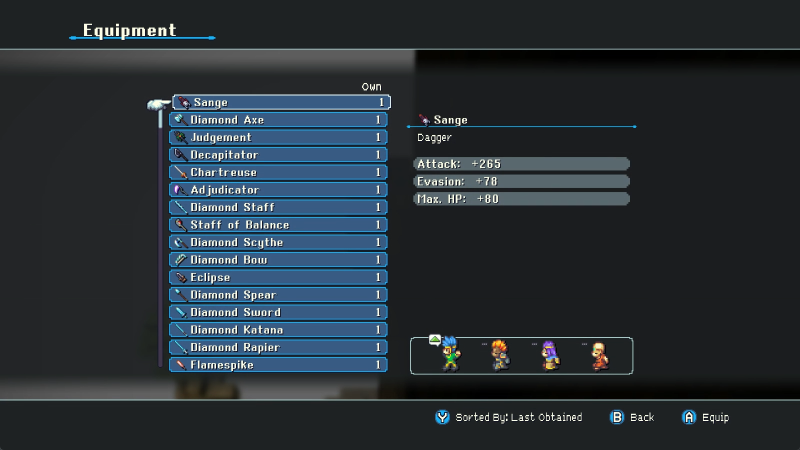
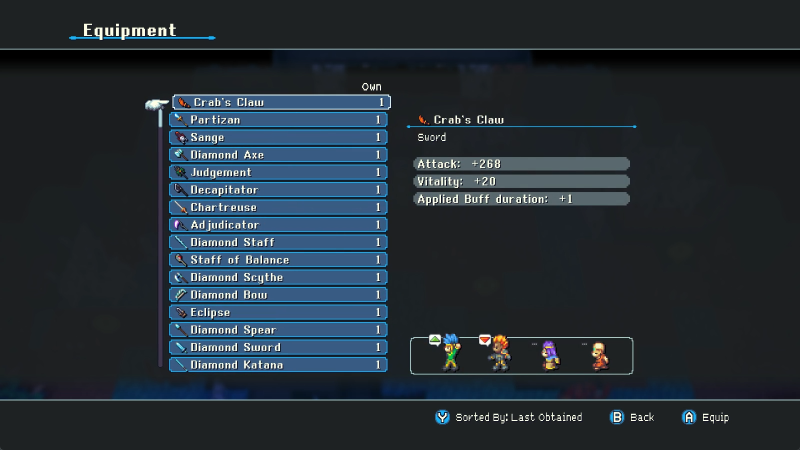
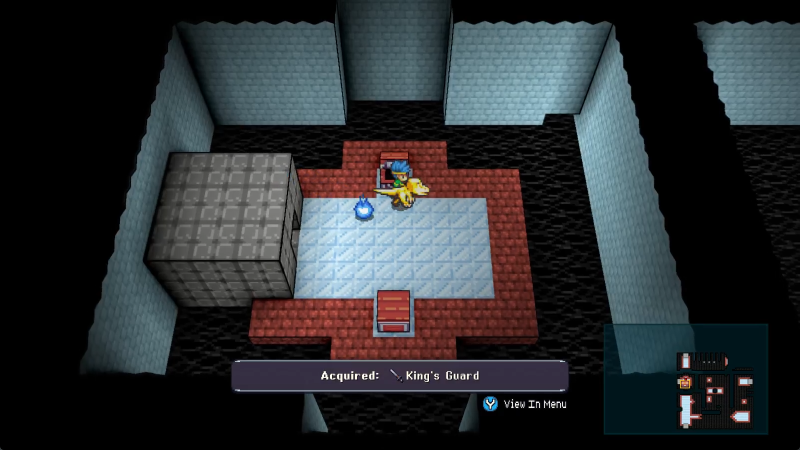
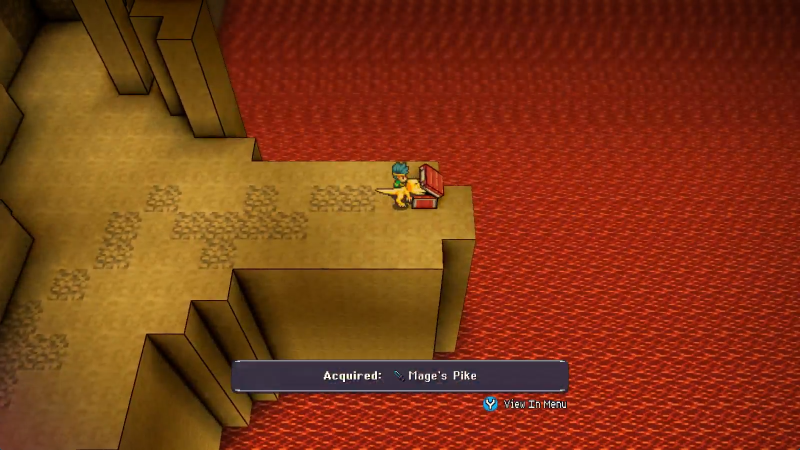
But for now, this cool axe is all we really need.

It's a pretty cool axe.

Got this fancy number when we flew from Callisto Shrine over to Delende and dived into the heart-shaped lake. Comes with a pretty solid Luck boost if you're in the mood to fish for Checkmate supercrits.

Oh I am REALLY running out of ideas for Meena. Ah well, not like this is a BAD move.

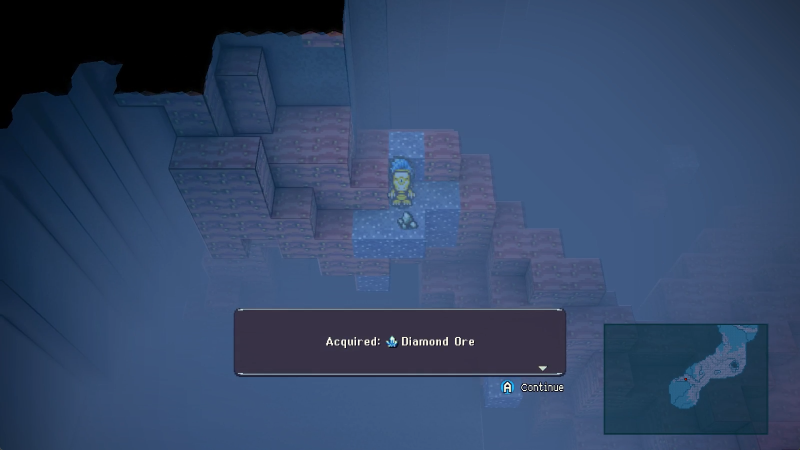
Let's clean up the last bit of what we can in Jidamba Tangle. If there are more gold veins here, I haven't found them.

I told you about Shoudu Province with the Treasure Finder I TOLD YOU

The tricky trick here is that you can see the entryway from the inn room. Anyway, Looter's Pin! It's a Luck and drop rate boost! We've got better things on both ends now but we have it and it's ours.

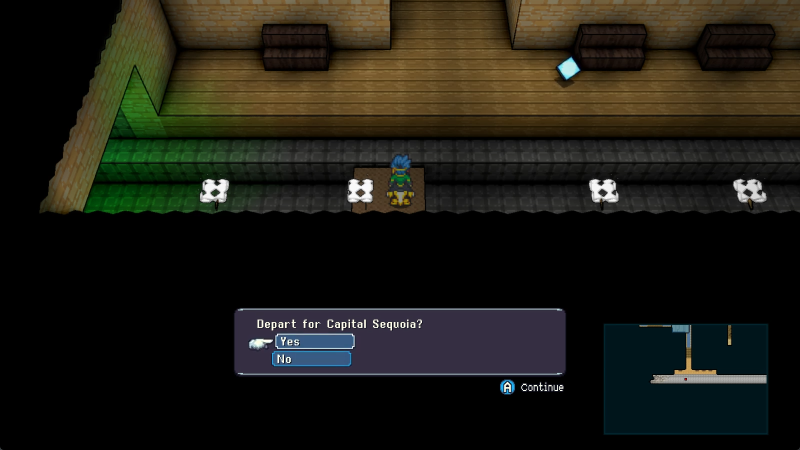
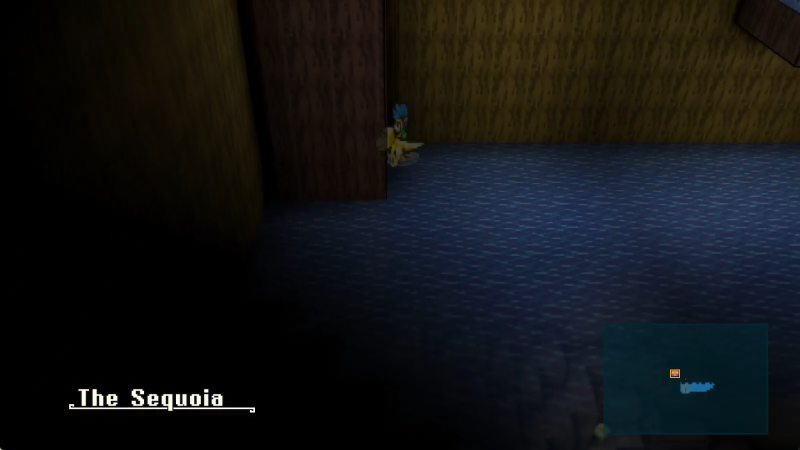
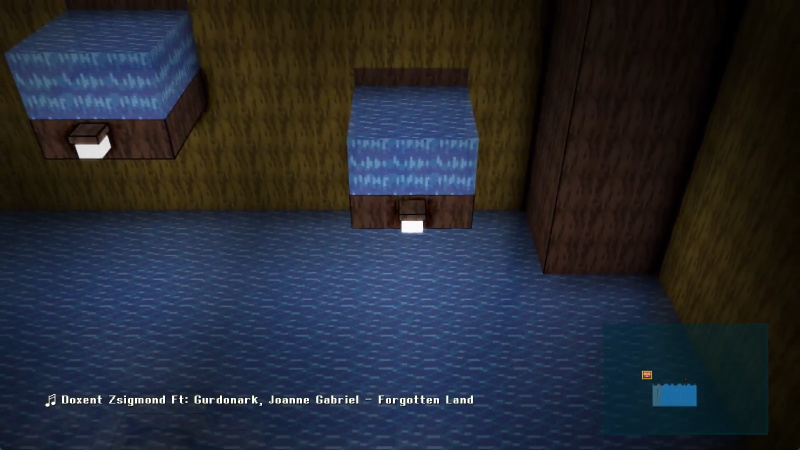
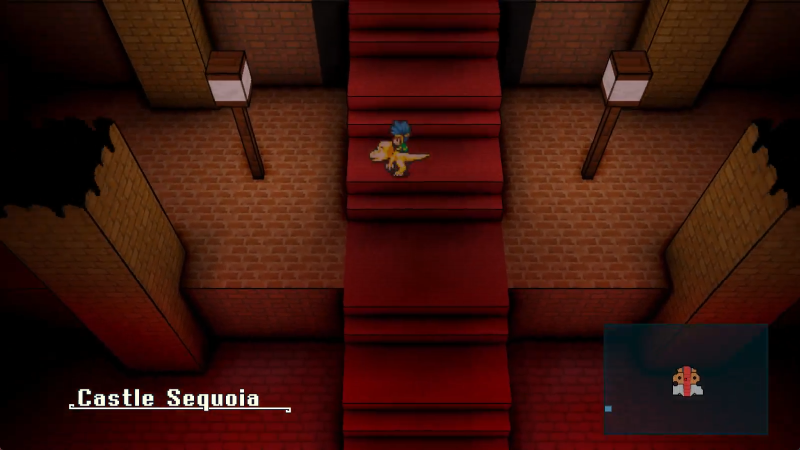
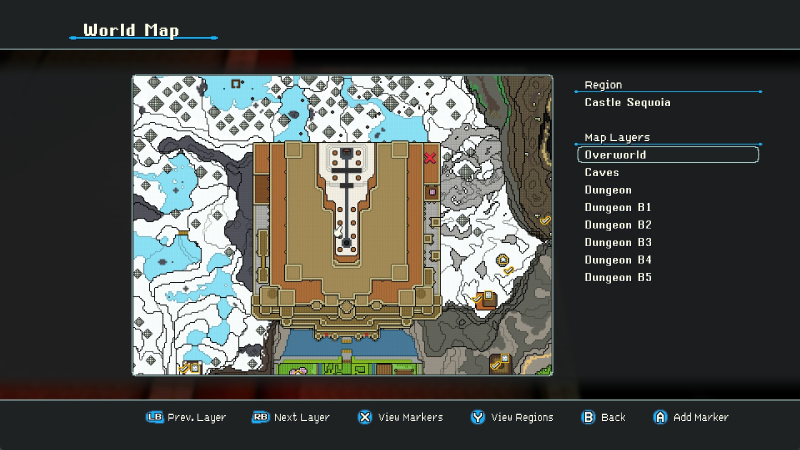
Anyway, the Sequoia. We're not gonna enter it, but we ARE putting it on the map. It IS eastish of Quintar Reserve, but also a little north, and there's nowhere for an owl to land. Swimming in is the only way to enter it.

That box will not be available for a long long long long time. But I want it. I can see it and I want it.

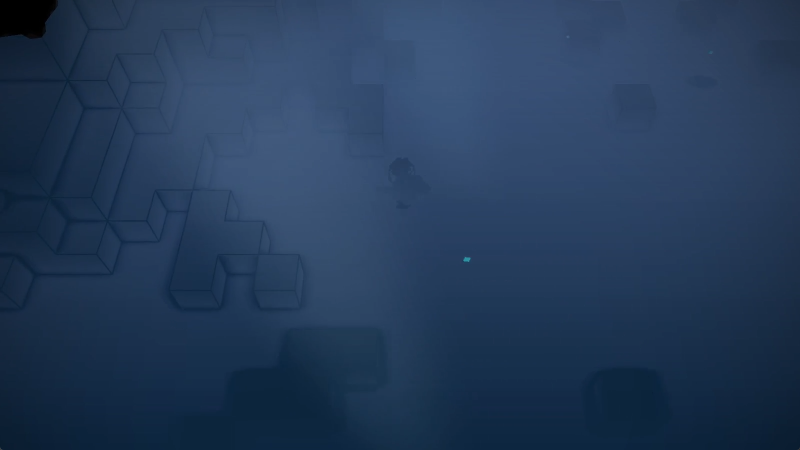
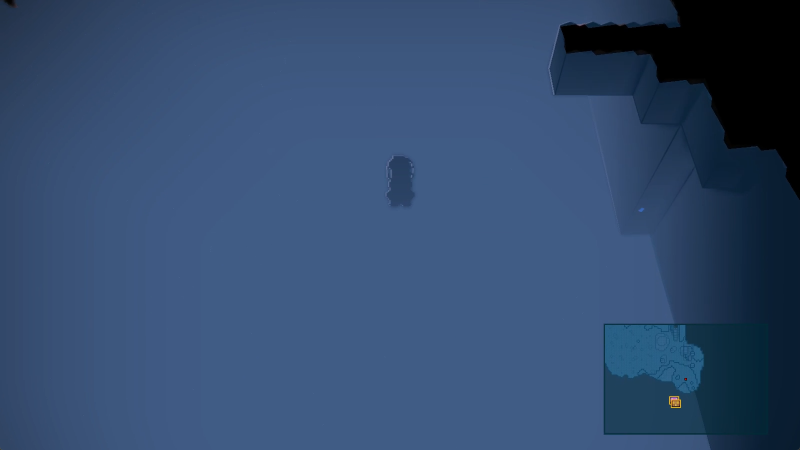
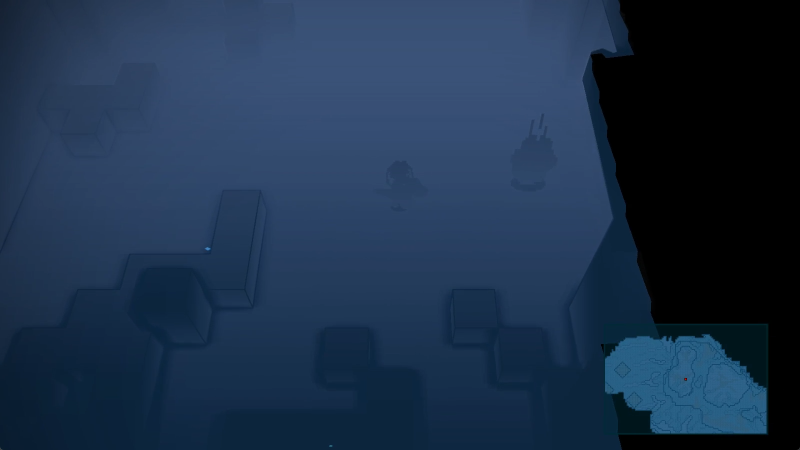
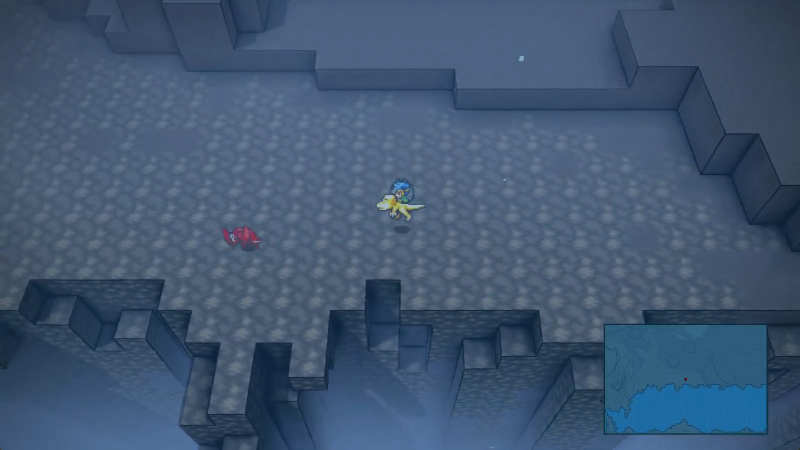
I continue mapping things out for a bit when suddenly OCTOPUS?

I've never seen this before! What is this? It's too fast for us and quickly escapes.

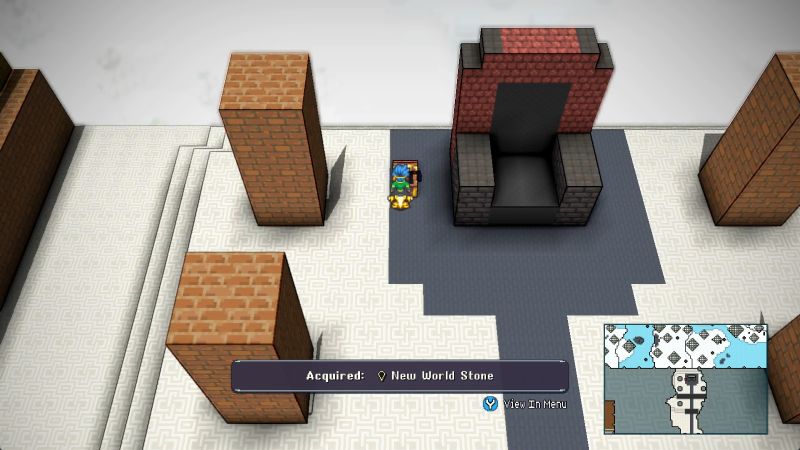
I note it for later and FINALLY find the thing I was hoping to find in my mapping the entire damn time I've been out at sea.

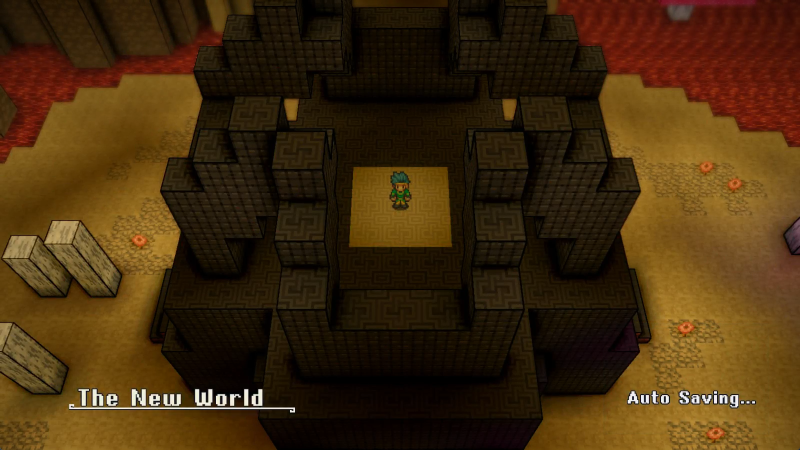
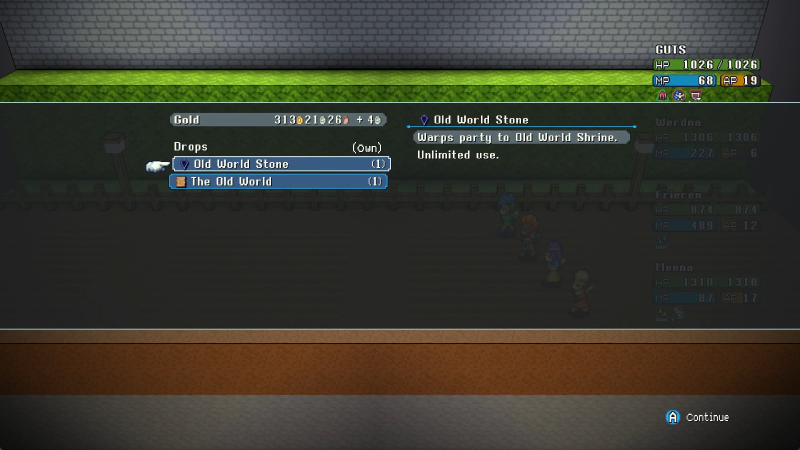
This final shrine is the last one we need, and warps us to... I believe this is southeast off the coast of Jidamba Tangle? Not exactly a convenient location for most purposes, but for exploring the Depths or the Sequoia, it's well worth it.

Anyway, the trick with the Speedy Octopus is that, by moving northeast-ish in this ONE SPECIFIC SPOT around the west side of the Sequoia, it will spawn in and run the other way. Intercept it to receive...

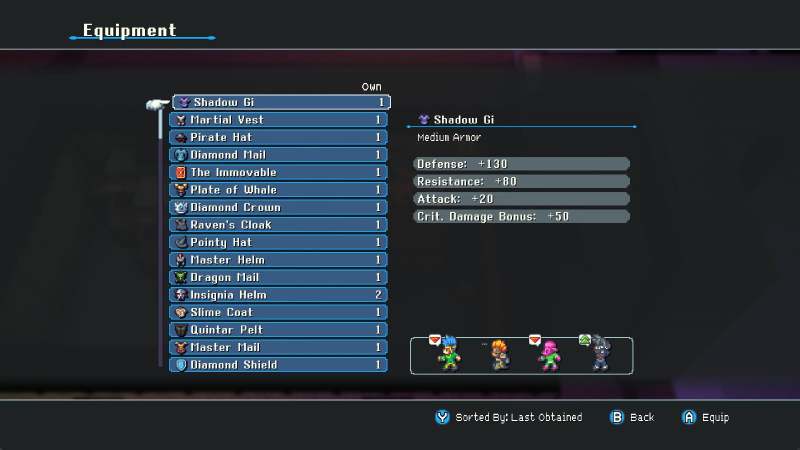
The Pointy Hat. It is... a hard to use item, given that it has a lot of penalties to enable its frankly terrifying boost of +1 debuff ticks. Like, if it wasn't for the MP magnification, that could make for a terrifying Summoner that gets a free extra turn of whatever their Summon does.

Closing the update out with some more Quintar breeding for the hell of it.

Note that because of how the nursery only has the eight slots to it, you're going to have to regularly release Quintar to make room for more. Destroying the evidence, let's call it. Completionists need not fear, there are exactly enough slots for all eight Quintar types.

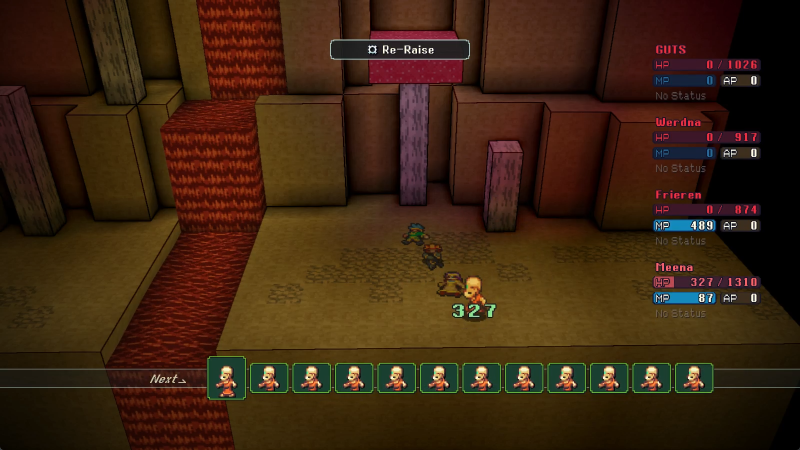
This is where our Aqua Quintar comes from, and where my update ends because I can only tolerate so much Quintar breeding at once.

I don't even know how many races I did to try to manage these persnickety dips. And this isn't even the halfway point. We still need a Black Quintar and then we need to further breed either the Black or Aqua to a Fancy.

The rarer ones have a more pronounced crest. Be impressed by this.

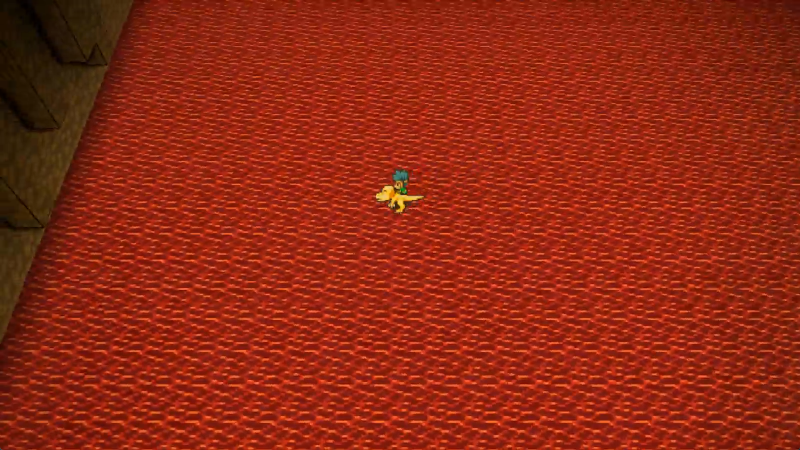
This Quintar is the same as a salmon except it can run on land. Wow!

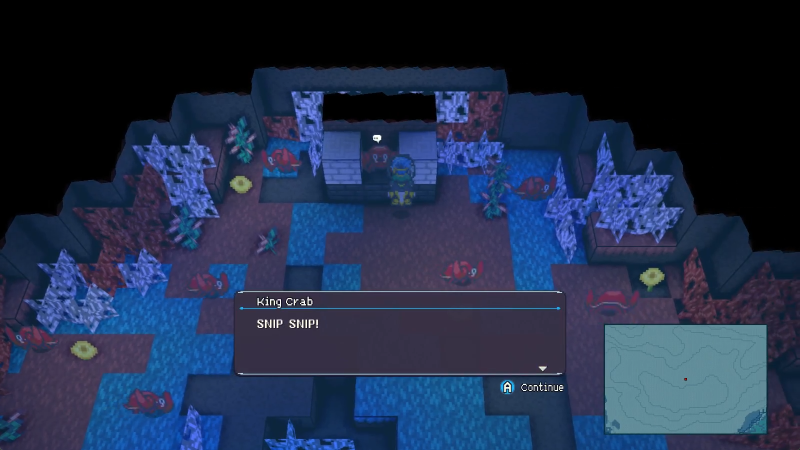
I need some catharsis. One moment, before we close it out for today.

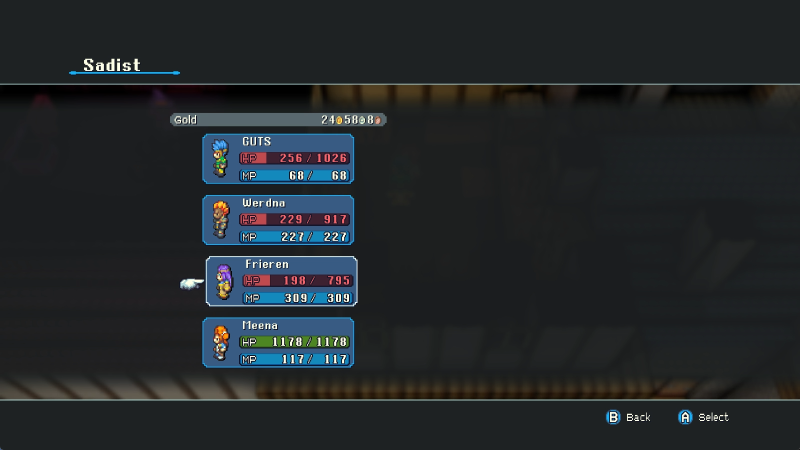
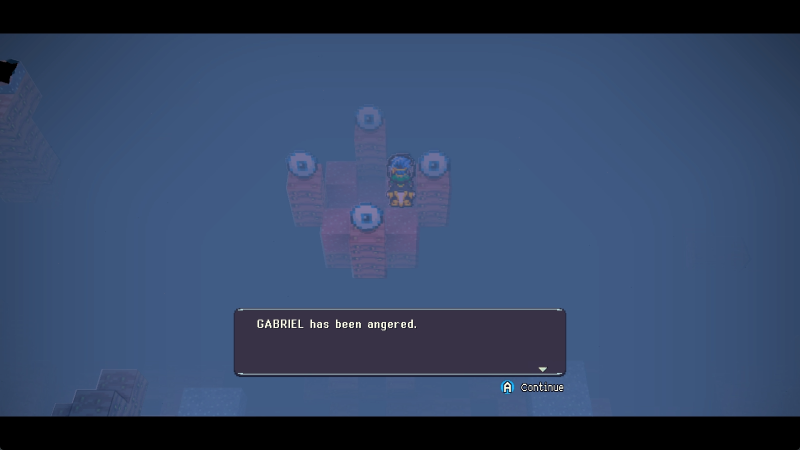
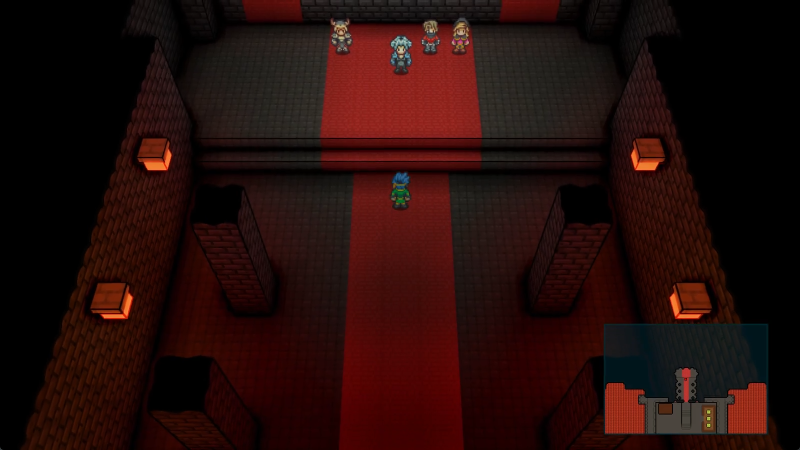
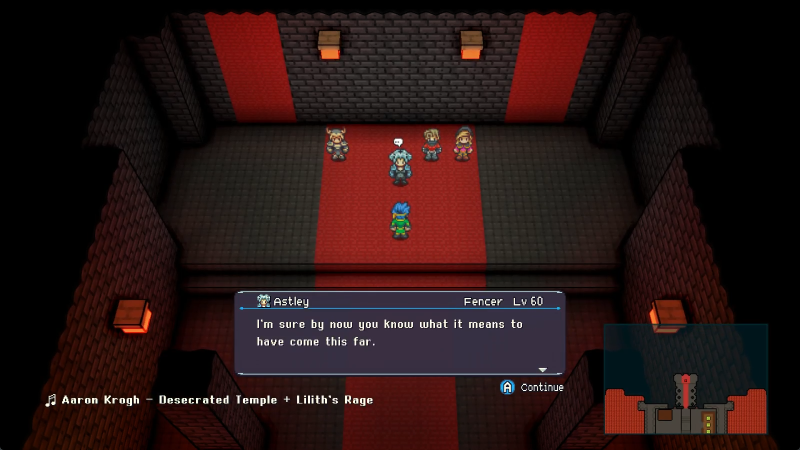
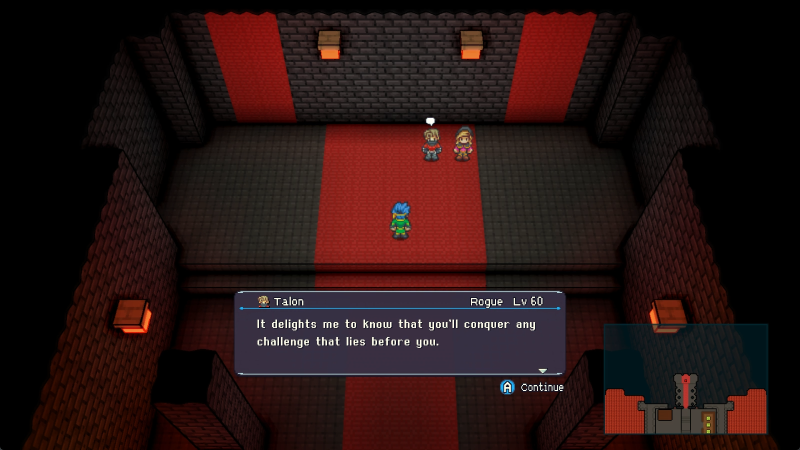
Do you know that your palace is run by a slaughterer who considers your body parts to be trophies?

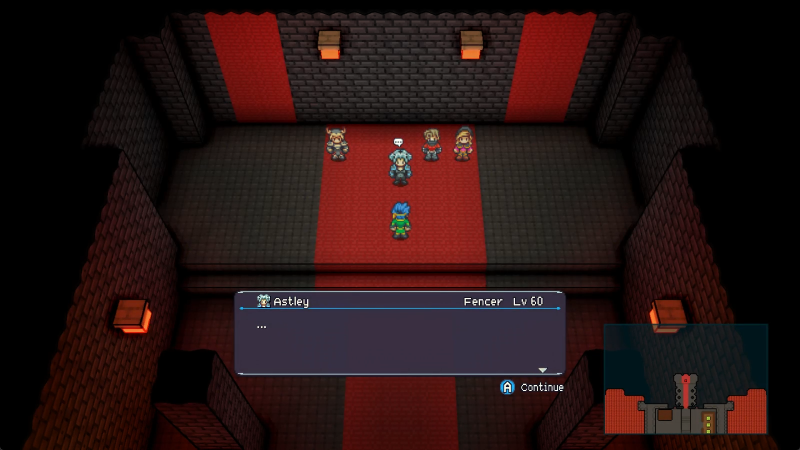
If you say so.

There's only one more thing we can get from the Quintar Enthusiast for showing him eyeballs.

Quintar Enthusiast said:THIS EYEBALL IS FROM A PROTECTED SPECIMEN!
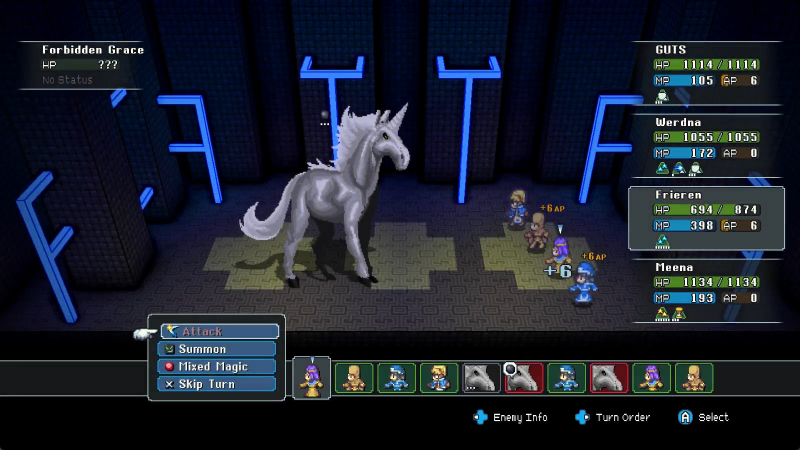
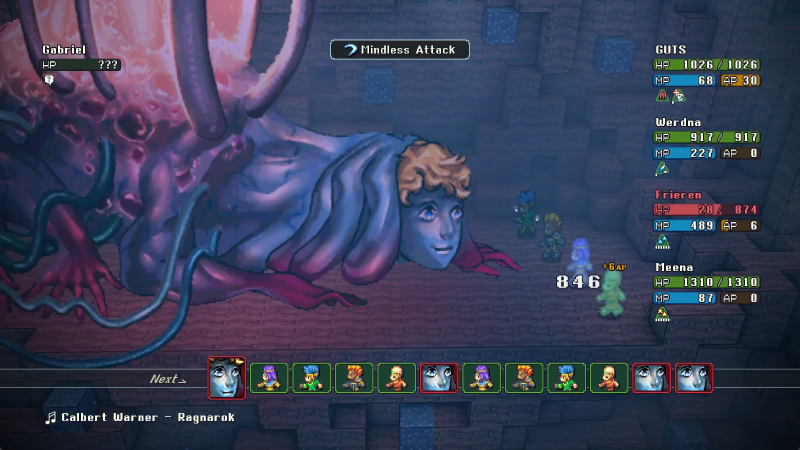
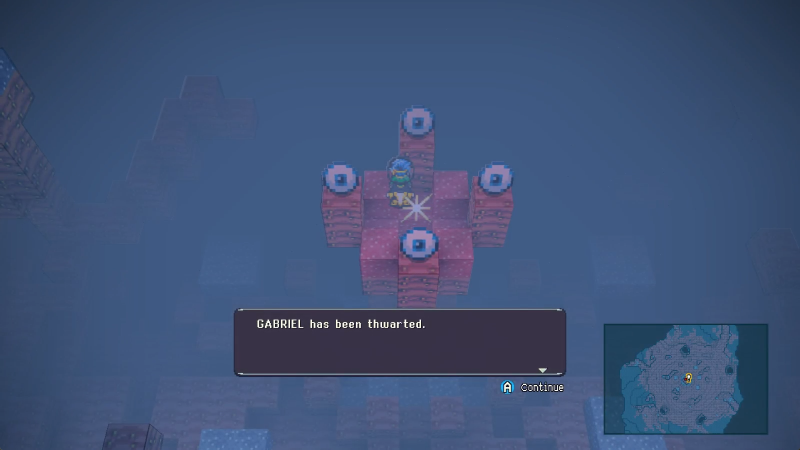
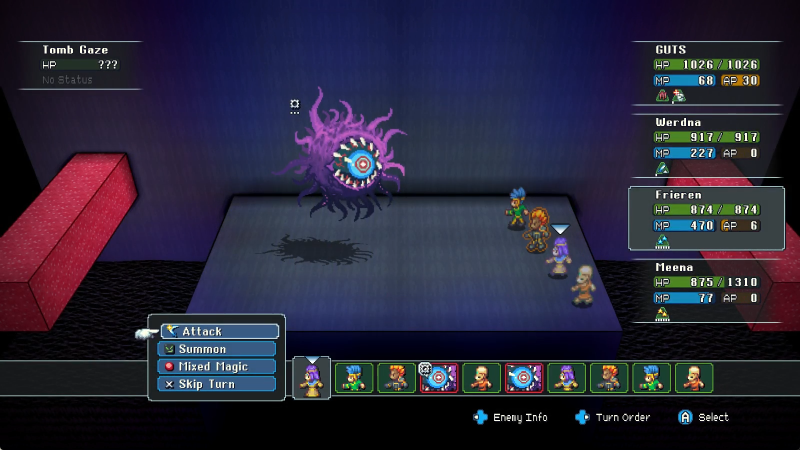
And that is a frankly baffling mental pathway and a hidden boss fight!

Unfortunately, I don't quite pull it off, but yeah! This is what happens if you show him a never-before-seen eyeball! He calls you a poacher and tries to kill you. Quintar fans, I swear.

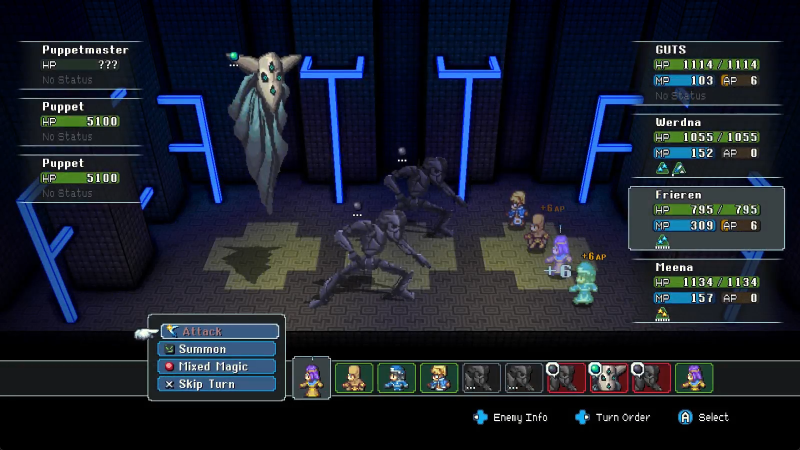
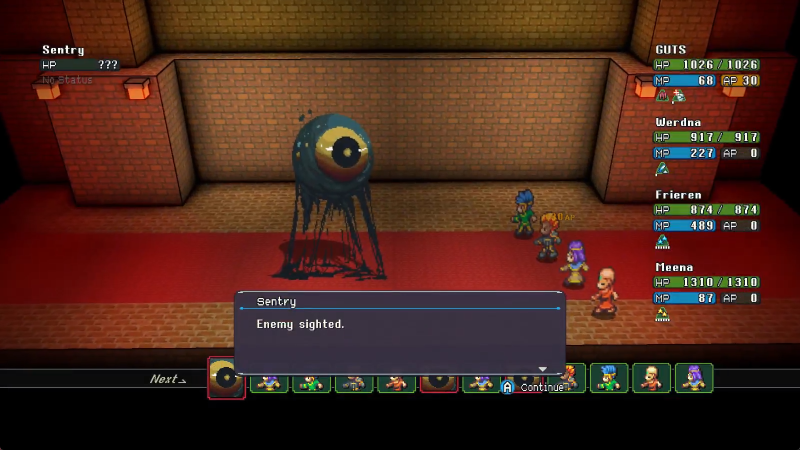
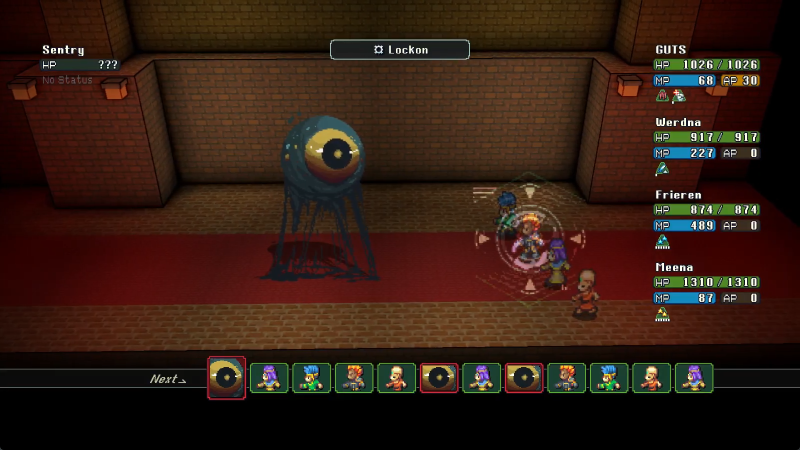
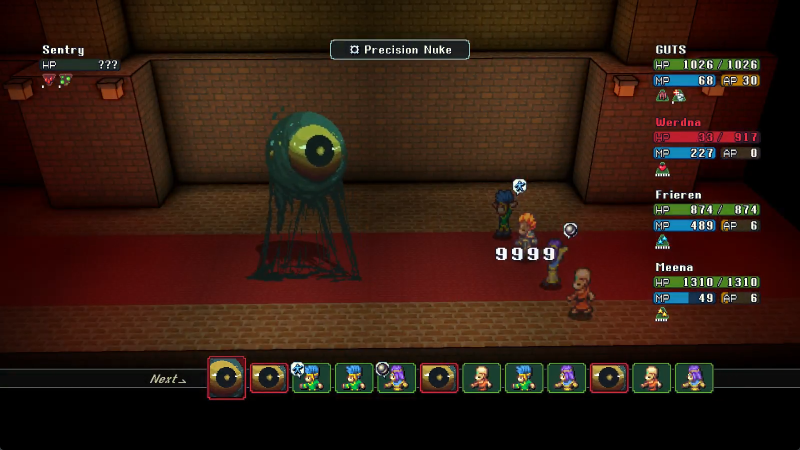
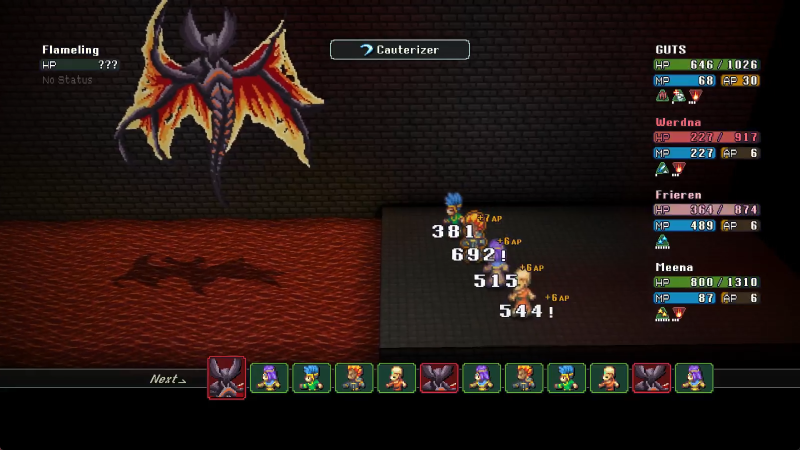
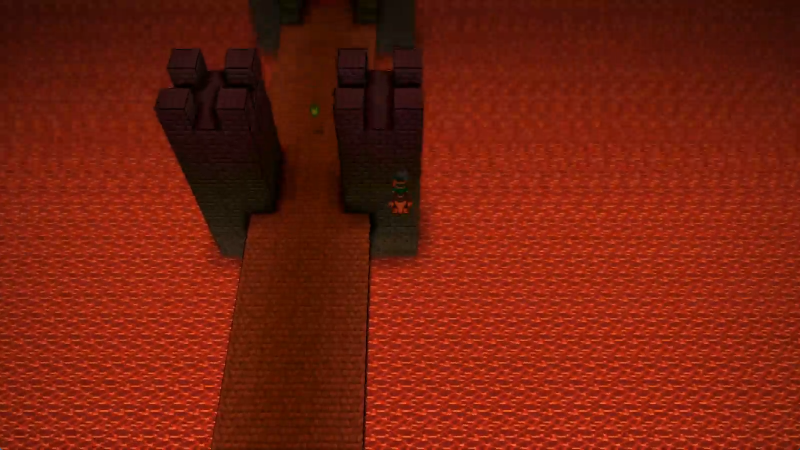
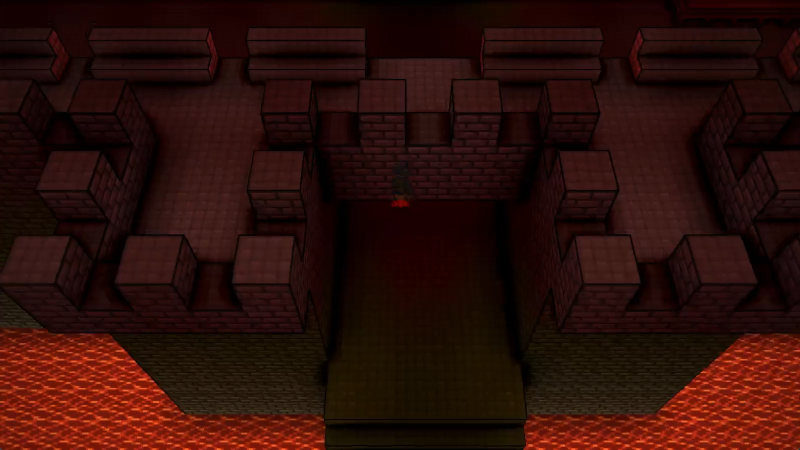
Far more achievable right now is this fight. But I wanted to beat the Quintar Enthusiast...
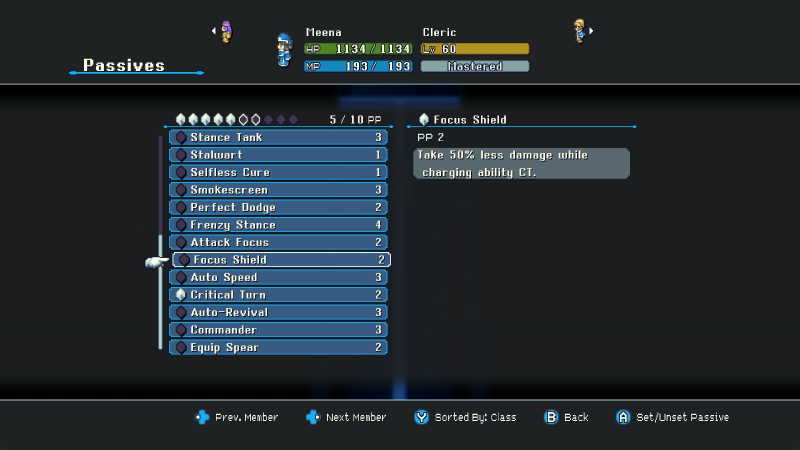
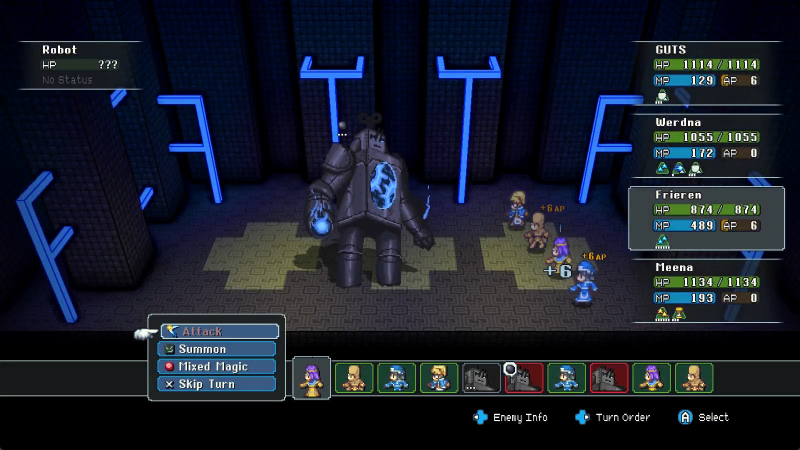
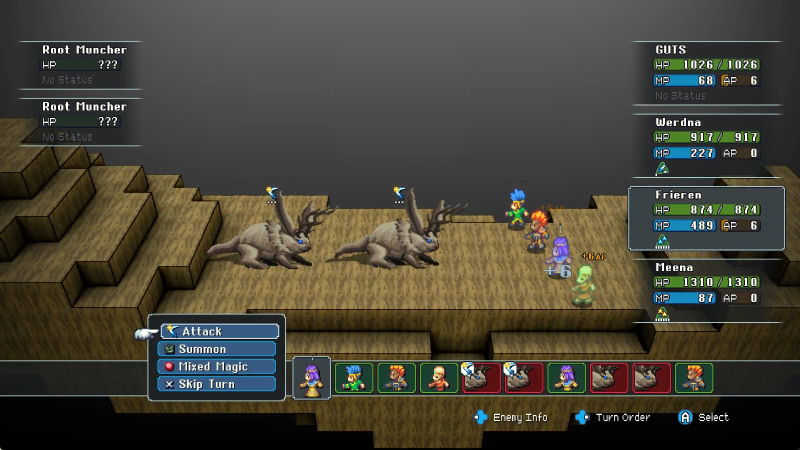
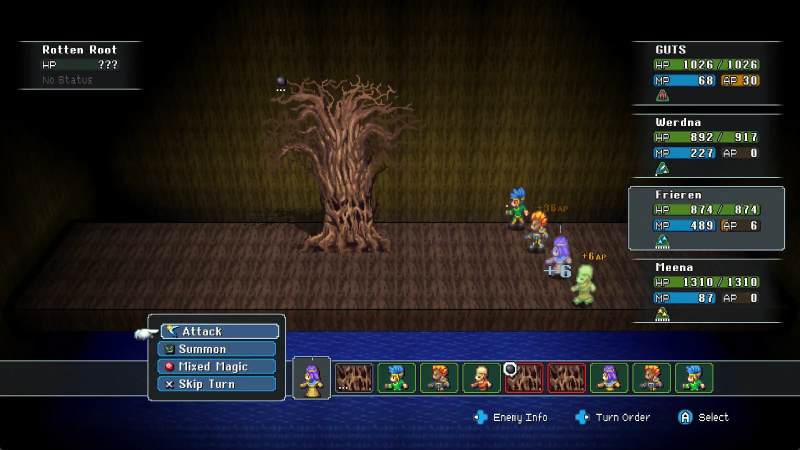
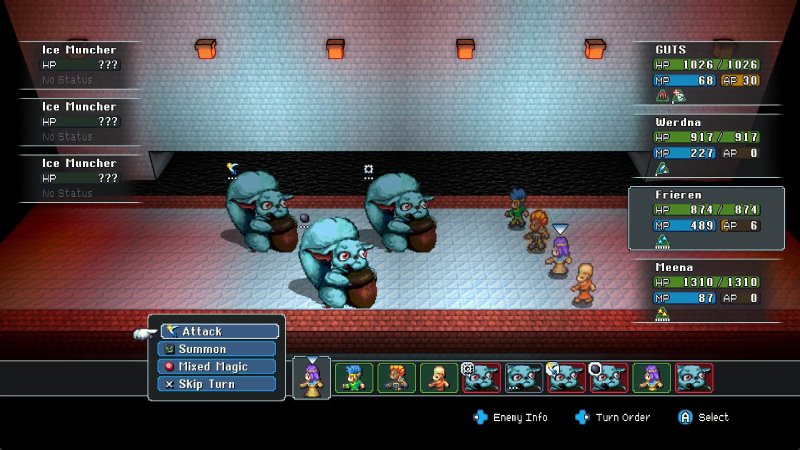
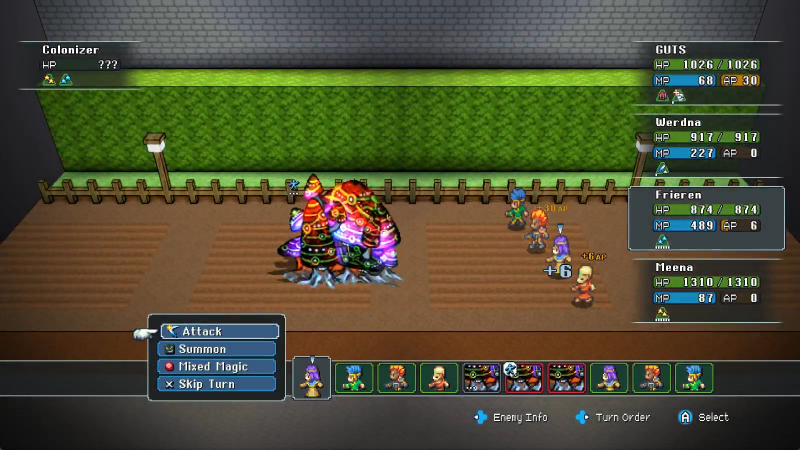
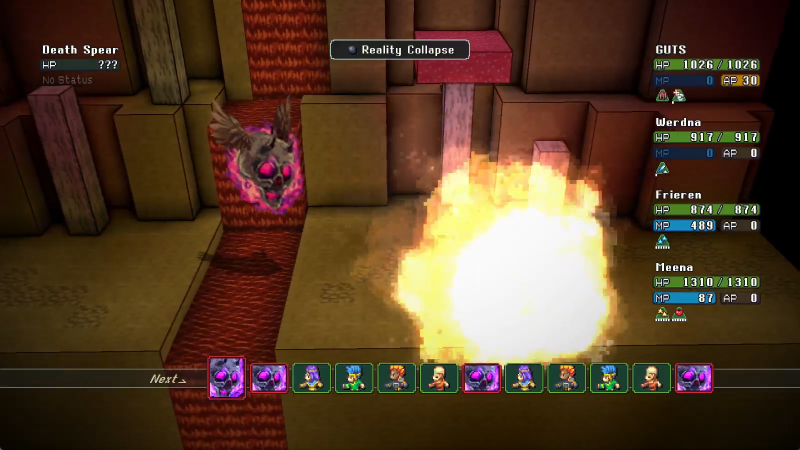
Effectively, the Ramparts Demon isn't too different from the Crag Demon. More of a focus on Burn with stuff like Fireblast and Spit Fire, less on physical lockdown as their only physical attacks are Feeding Frenzy and Bone Crunch. Still opens the fight with Fire Breath, of course. You won't likely stand a chance until you're near the level cap, but once you get there the fight is fundamental for sure. Given that their only multitarget move is Fire Breath, as long as your tank can handle the pressure you should really have no trouble whatsoever. Special mention to Valkyrie's Steel Heart stance shutting down the main form of focus fire the Ramparts Demon has, i.e. damage over time.

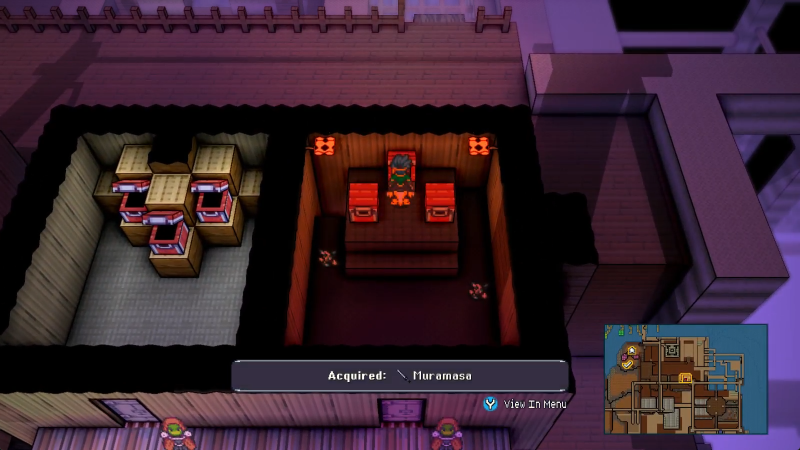
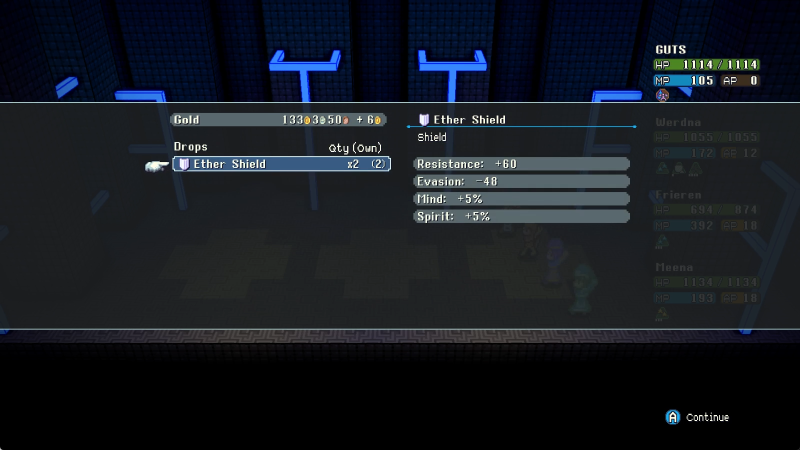
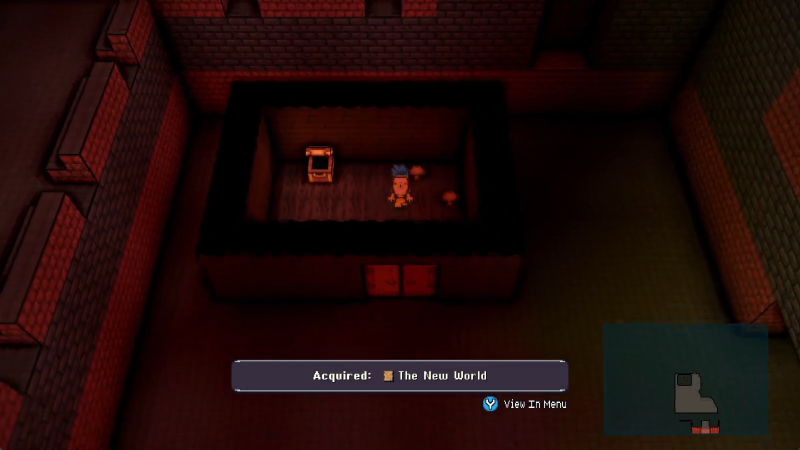
Cool sword though.

Have I mentioned that Quintar breeding takes a lot of time? Still not done yet! Next update, hopefully!
TO DO:
Build the perfect starting team.Explore Spawning Meadows.Prove the existence of black squirrels.Try to find another route out of Spawning Meadows.
Explore Delende.Cross the bridge to the Proving Meadows.Explore the Fish Hatchery.Explore the Pale Grotto.Defeat Guardian.Find the Slate Crystal.Find the Fencer class.
Explore the Soiled Den.Defeat Bone Thief.Trade an Earth Bangle to Huntie.
Explore the Basement of the Cabin on the Cliff.Defeat Gran.
Find the dogs' bones.Explore Lake Delende.Defeat Troll.
Explore Seaside Cliffs.Trade 13 Clamshells to Manana Man.Find a rare monster that drops an Earth Bangle.Explore Draft Shaft Conduit.Defeat Canal Beast.Find the Violet Crystal.Find the Shaman class.
Prove our skill to the Master Shaman.
Explore Proving Meadows.Find three crystals.Defeat Knight.Explore the Trial Caves.Find the Yellow Crystal.Find the Aegis class.Explore Skumparadise.Defeat Parasite.
Explore Yamagawa M.A.Defeat Sepulchra.Find the Aquamarine Crystal.Find the Scholar class.- Find every Monster Magic spell.
- Prove our skill to the Master Scholar.
Explore the Capital Courtyard.Find the Courtyard Key.Defeat Enami.
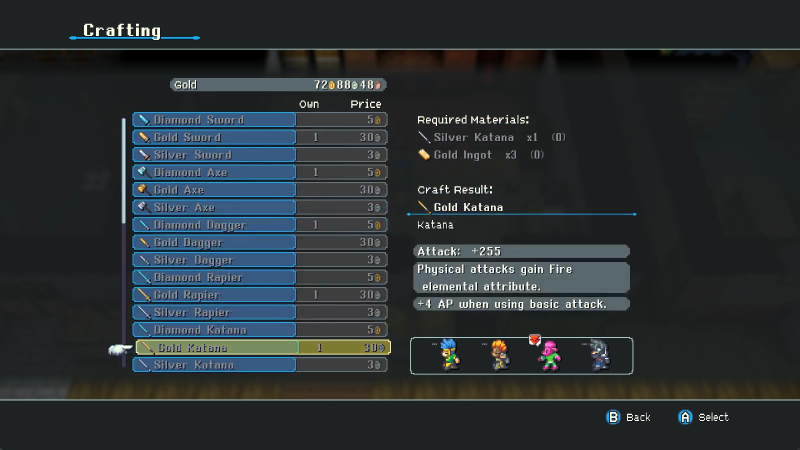
Explore Capital Sequoia.Find all the penguins.Find all the Craftwork gear.Upgrade all the Craftwork gear to Silver gear.- Upgrade all the Silver gear to Gold gear.
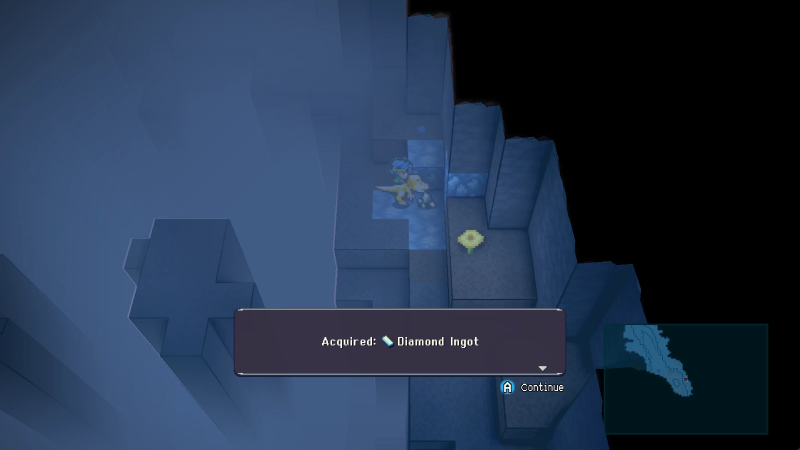
- Upgrade all the Gold gear to Diamond gear.
- Upgrade all the Silver gear to Gold gear.
Obtain the Gaea Stone.Clear the hedge maze of Improper Imps.Find a way past the hedge maze.Either defeat or circumvent Orchard and Little H.- Explore Castle Sequoia.
Explore the Castle Ramparts.Find the Ramparts Key.Defeat Murasaki.- Defeat Masashi.
Defeat the Ramparts Demon.Find the Orange Crystal.Find the Beastmaster class.
Enter the Luxury shop.Find sixteen crystals to expand the Luxury shop stock.
Get past the guard on the west gate.- Defeat all the training dummies.
Find three Digested Heads for Sam the Sadist.Prove our skill to the Master Warrior.Prove our skill to the Master Monk.Prove our skill to the Master Rogue.Prove our skill to the Master Wizard.Prove our skill to the Master Cleric.Prove our skill to the Master Warlock.Find the Chartreuse Crystal.Find the Beatsmith class.Prove our skill to the Master Beatsmith.Explore Jojo Sewers.Explore the Boomer Society.Trade a Crag Demon Horn to Marlin.Explore Capital Jail.Defeat Warden.Find the Crimson Crystal.Find the Reaper class.
Explore the Rolling Quintar Fields.Meet the Quintar Enthusiast.Show the Quintar Enthusiast a Fiendish Quintar Eye.Show the Quintar Enthusiast a Brutish Quintar Eye.Show the Quintar Enthusiast a Fancy Quintar Eye.Show the Quintar Enthusiast a Trusty or Woke Quintar Eye.- Defeat the Quintar Enthusiast.
Obtain a Quintar Pass.Obtain the Quintar Flute.
Explore Quintar Nest.Find the Olive Crystal.Find the Hunter class.
Explore Quintar Sanctum.Find the Violet Red Crystal.Find the Chemist class.Defeat the Fancy Quintar.
Explore Cobblestone Crag.Defeat the Crag Demon.
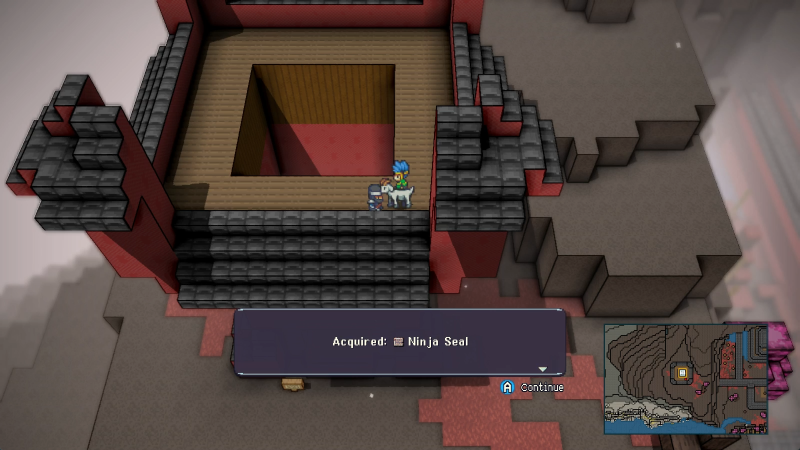
Explore Okimoto N.S.Defeat Kuromanto.Find the Shadow Crystal.Find the Ninja class.
Explore Shoudu Province.Obtain the Mars Stone.Explore the Undercity.Defeat the Shadow Master.Defeat the Blade Master.Defeat the Duel Master.Find the Silver Crystal.Find the Assassin class.
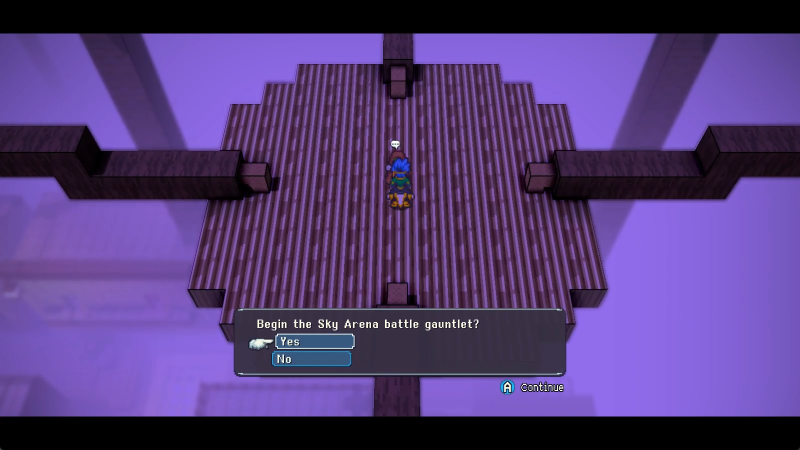
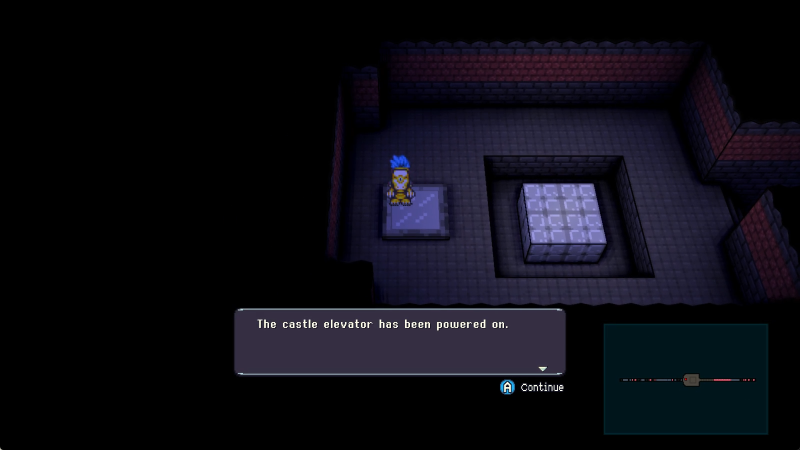
Repair the elevator.- Win the Sky Arena.
Find the Sienna Crystal.Find the Samurai class.
Prove our skill to the Master Samurai.- Prove our skill to the Master Assassin.
Explore Ganymede Shrine.Obtain the Ganymede Stone.
- Explore Flyer's Crag.
- Explore the Quintar Reserve.
Explore the Quintar Mausoleum.Learn how to speak Quintar.
Explore Dione Shrine.Obtain the Dione Stone.- Breed a Golden Quintar.
Explore Flyer's Lookout.
Explore Eastern Chasm.Defeat Undergrowth.
Explore Greenshire Reprise.- Explore Tall, Tall Heights.
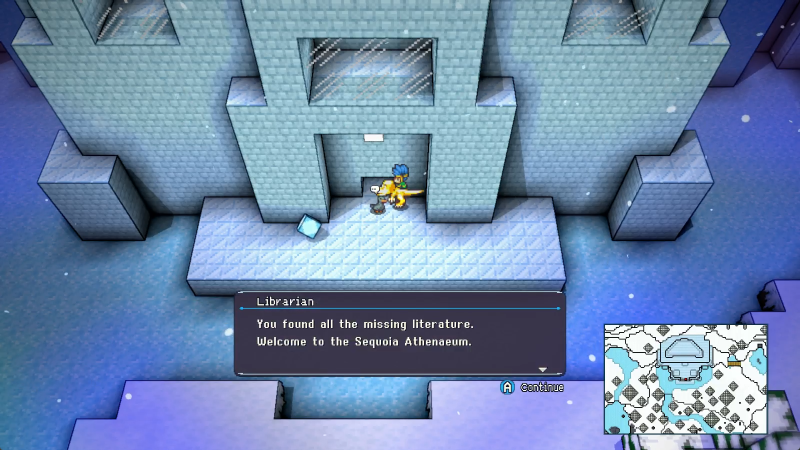
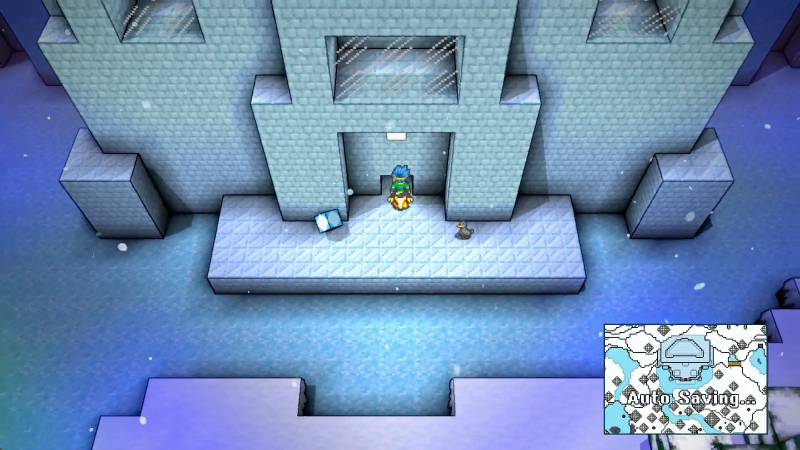
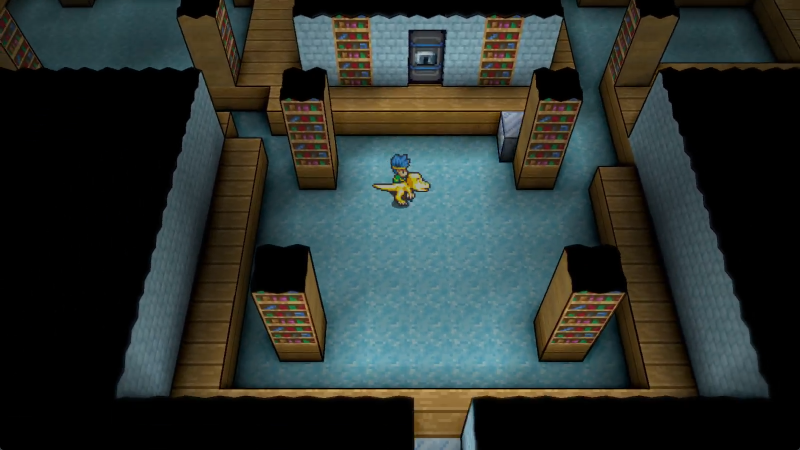
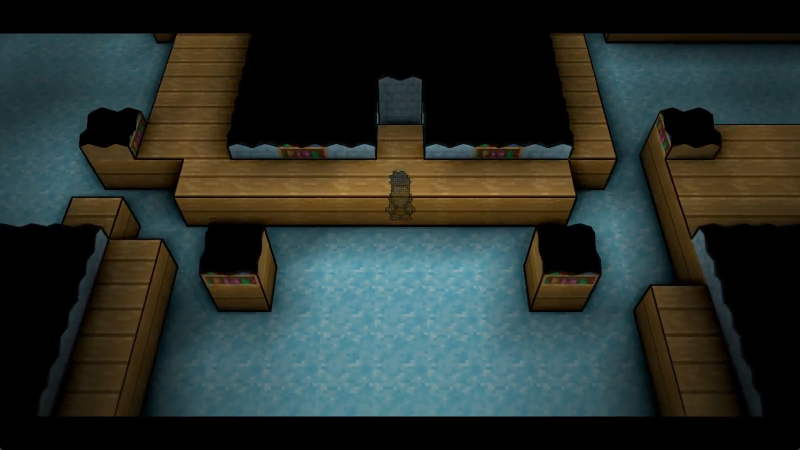
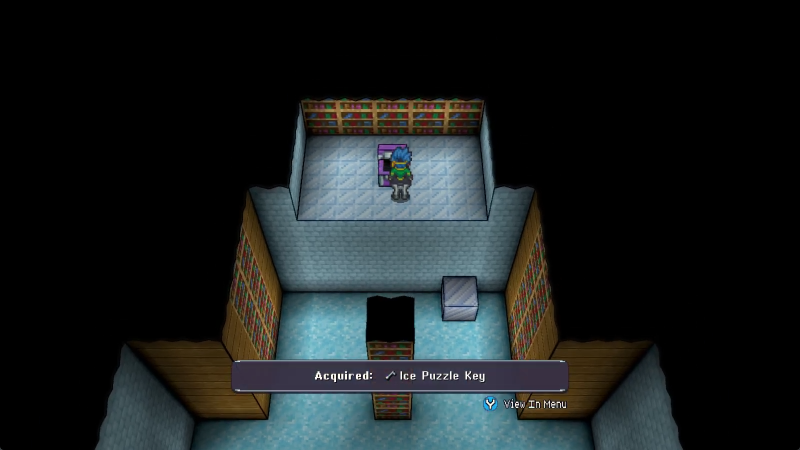
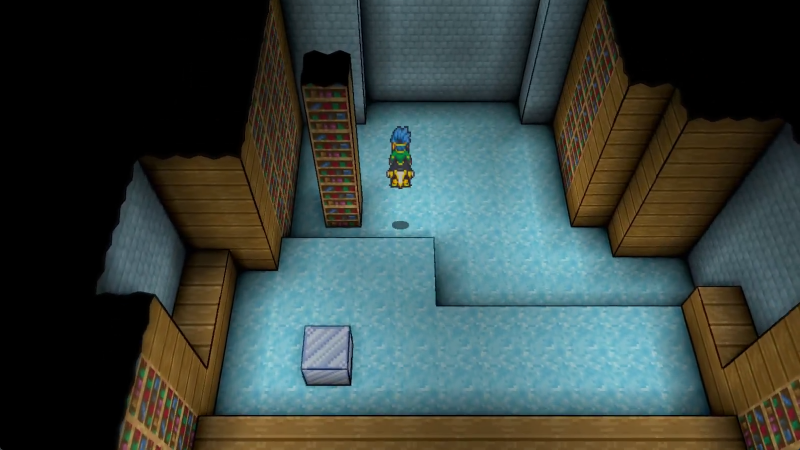
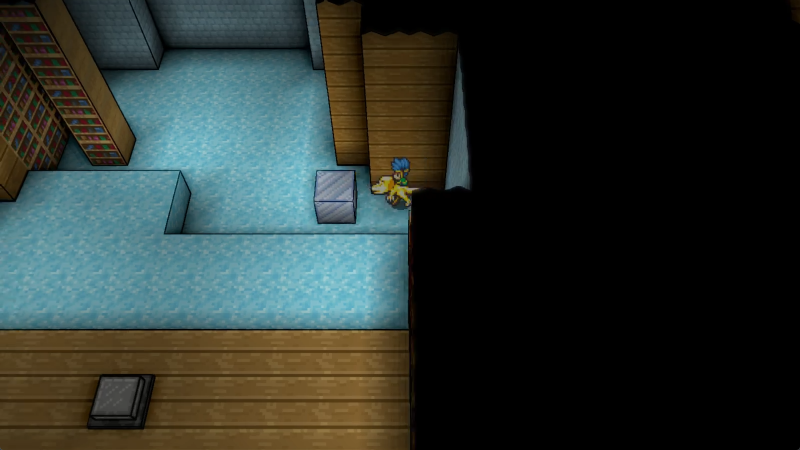
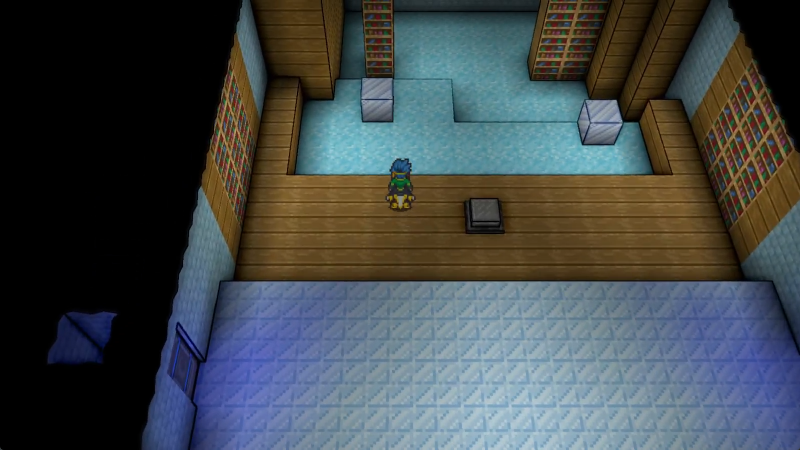
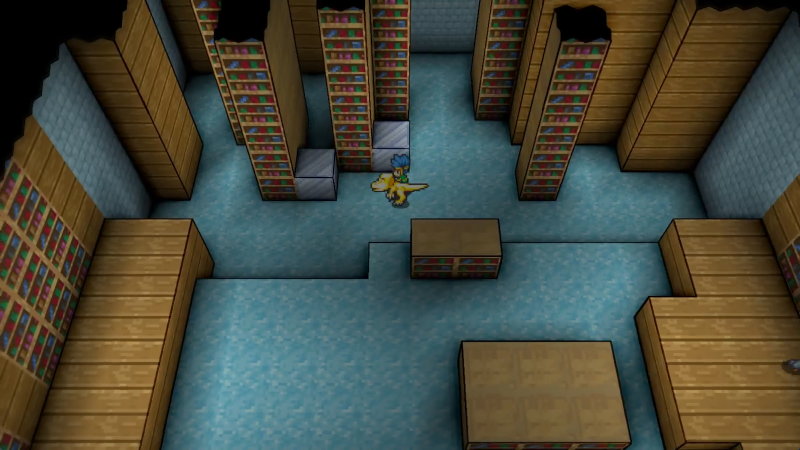
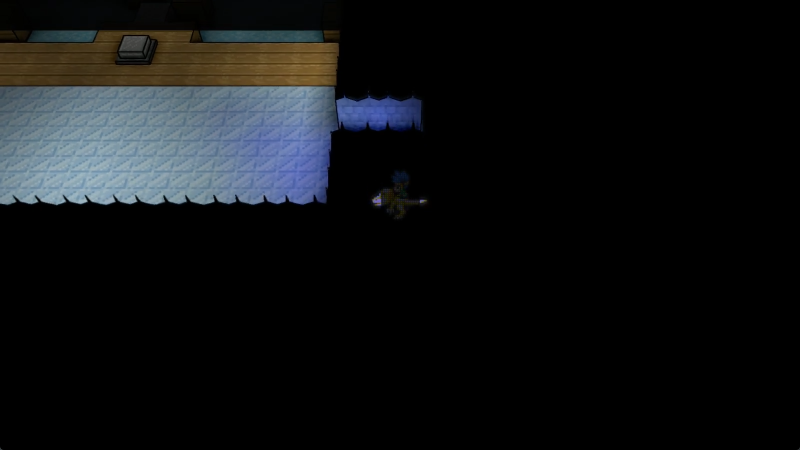
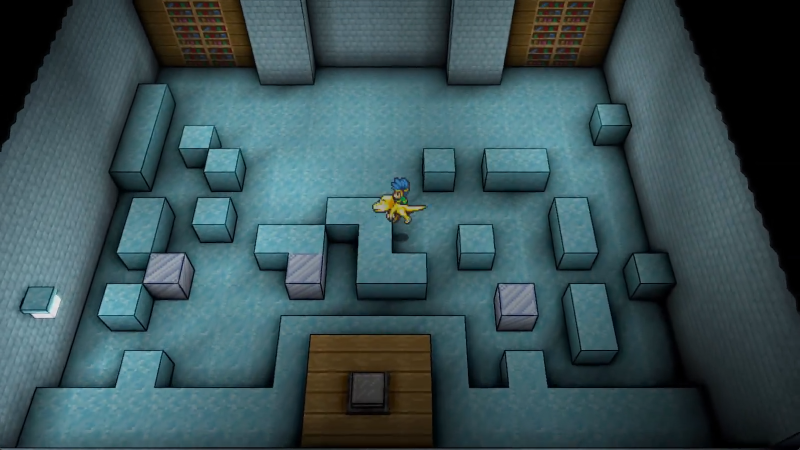
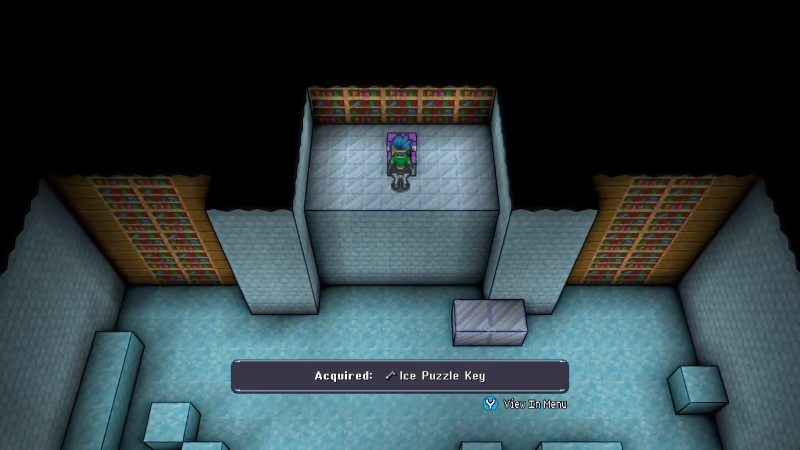
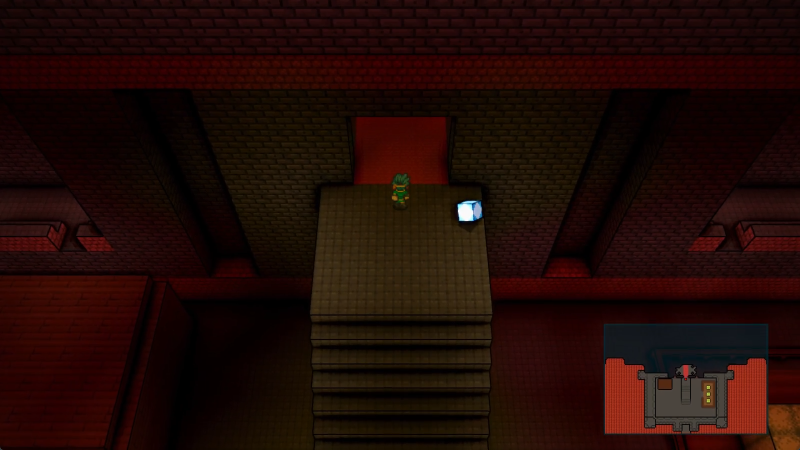
Get Hector an ice block.Obtain the Triton Stone.Prove our skill to the Master Chemist.- Return the library books to the Sequoia Athenaeum.
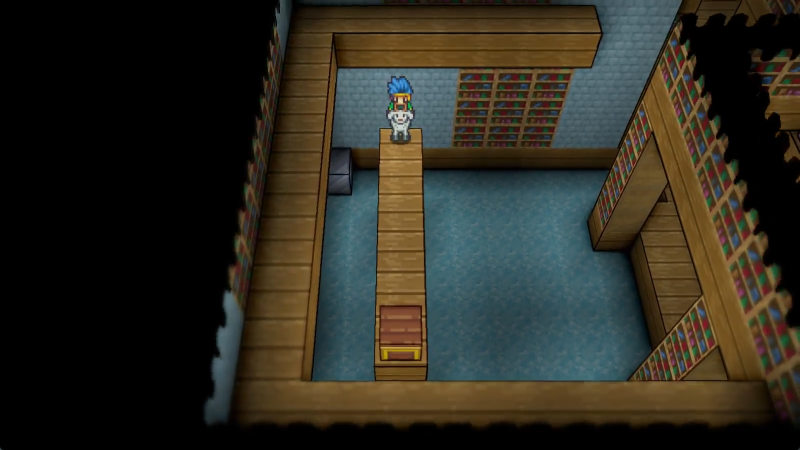
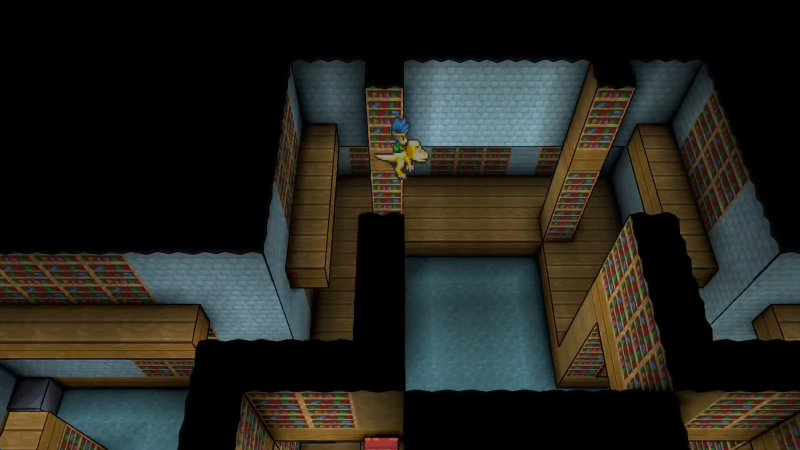
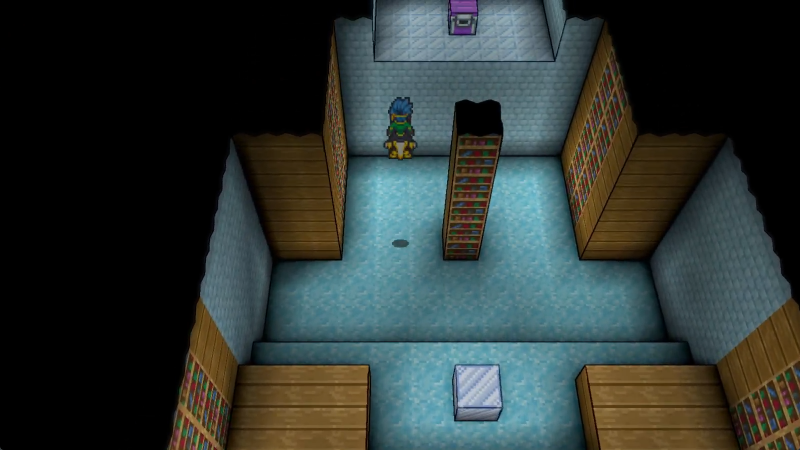
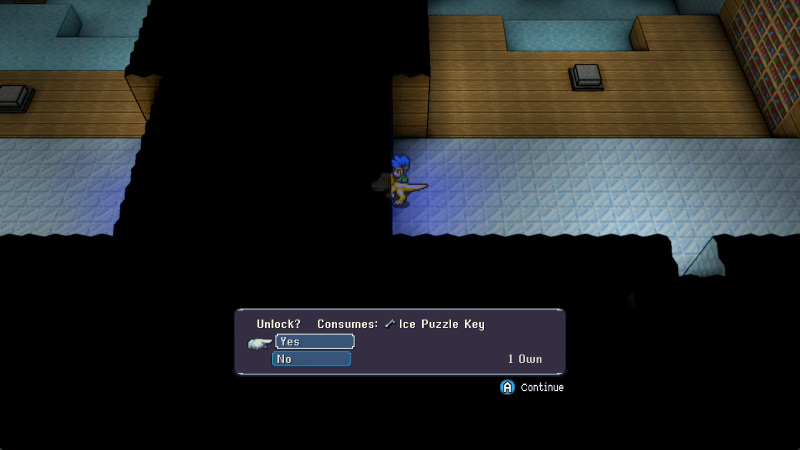
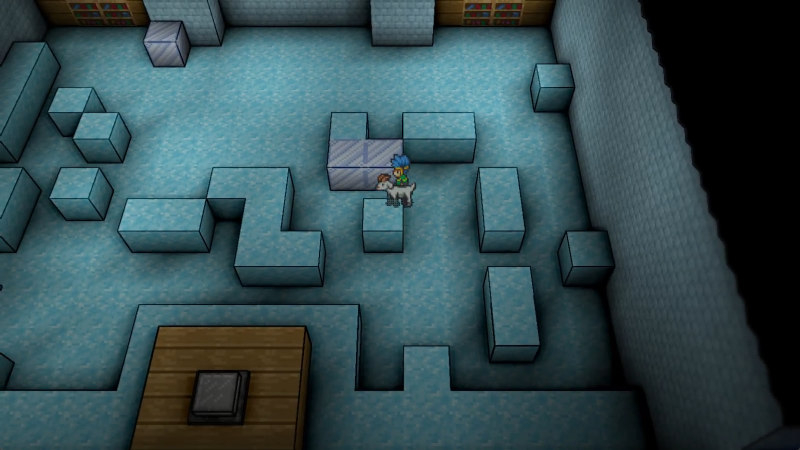
- Explore the Sequoia Athenaeum.
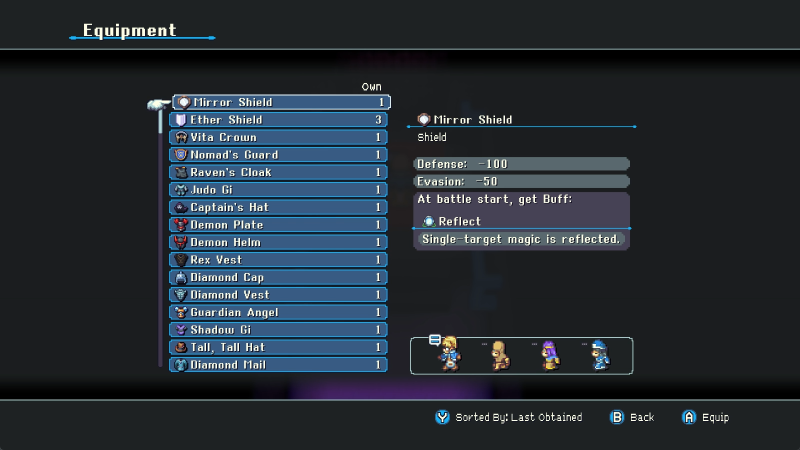
Explore the Northern Cave.Explore Slip Glide Ride.Defeat Red Guardian.Find the Almond Crystal.Find the Summoner class.Challenge the Deity of Fire.Challenge the Deity of Wind.Challenge the Deity of Earth.Challenge the Deity of Darkness.Challenge the Deity of Ice.Challenge the Deity of Thunder.- Challenge the Deity of Reflection.
Challenge the Deity of Life.Challenge the Deity of the Deep.
Defeat Hermetic.Explore Land's End.Defeat The Owlbear.Obtain the Callisto Stone.Obtain the Owl Drum.
Explore Salmon Pass.Explore Salmon River.Win the Salmon Sprint.Obtain the Salmon Cello.
- Explore River Cat's Ego.
Find the Goldenrod Crystal.Find the Nomad class.
Explore Salmon Bay.
Explore Mercury Shrine.Obtain the Mercury Stone.
Explore Poseidon Shrine.Obtain the Poseidon Stone.
- Explore the Overpass.
Find enough Overpass Scraps for a map.- Prove our skill to the Master Fencer.
Prove our skill to the Master Aegis.Prove our skill to the Master Hunter.Prove our skill to the Master Reaper.Prove our skill to the Master Nomad.Prove our skill to the Master Valkyrie.- Prove our skill to the Master Summoner.
Prove our skill to the Master Beastmaster.
- Explore the Underpass.
Find enough Underpass Scraps for a map.Explore Capital Pipeline.
Explore Poko Poko Desert.Find the three lookout towers.Find the terrible mom's son.Explore Ancient Reservoir.Find the Pale Rose Crystal.Find the Dervish class.Defeat Possessor.Obtain the Ibek Bell.
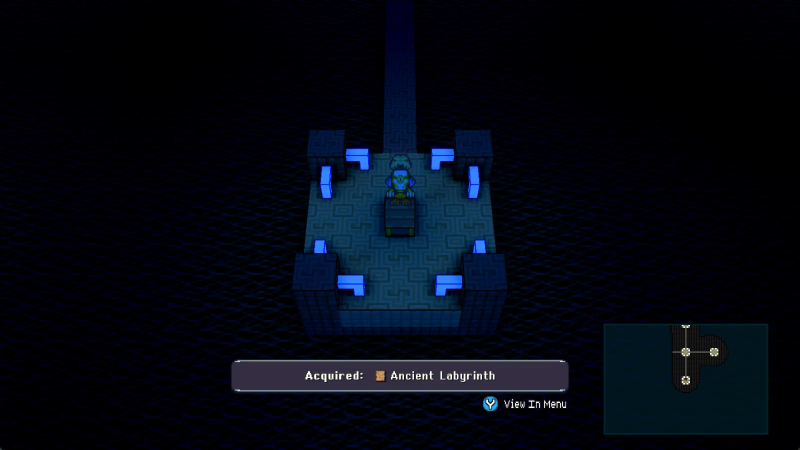
- Explore the Ancient Labyrinth.
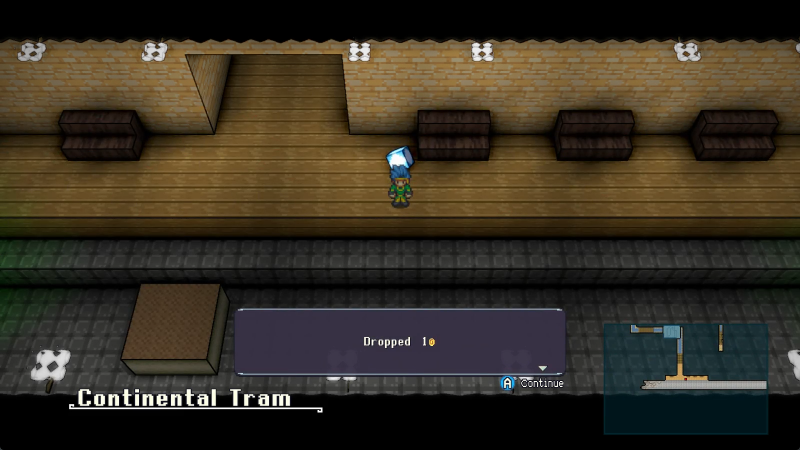
Explore Sara Sara Bazaar.Bring the food enthusiast some Shoudu Stew.Obtain a Ferry Pass.Find the Tram Key.- Explore the Continental Tram.
Explore Sara Sara Beach.Prove our skill to the Master Dervish.
Explore Beaurior Volcano.Explore Beaurior Rock.Defeat the Ancient Sword.Defeat Iguanadon and Iguanadin.
Find the Deep Sky Crystal.Find the Valkyrie class.
- Explore the Open Sea.
- Explore the Sequoia.
- Explore the Deep Sea.
Find enough Deep Sea Scraps for a map.- Find all the Undersea Crabs.
Obtain the Treasure Finder from the Quizards.Explore Neptune Shrine.Obtain the Neptune Stone.
- Explore the Depths.
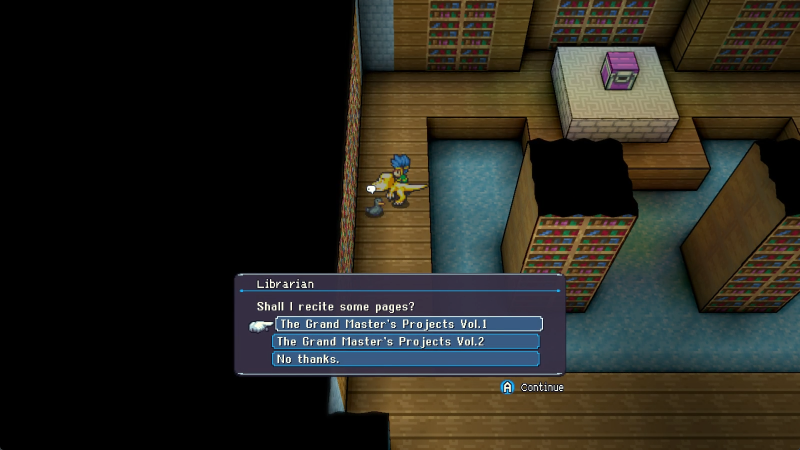
- Find the Cerulean Book.
Explore the Chalice of Tar.Find the Vermillion Book.Find the White Crystal.Find the Mimic class.
- Explore Jidamba Tangle.
Obtain the Europa Stone.- Prove our skill to the Master Weaver.
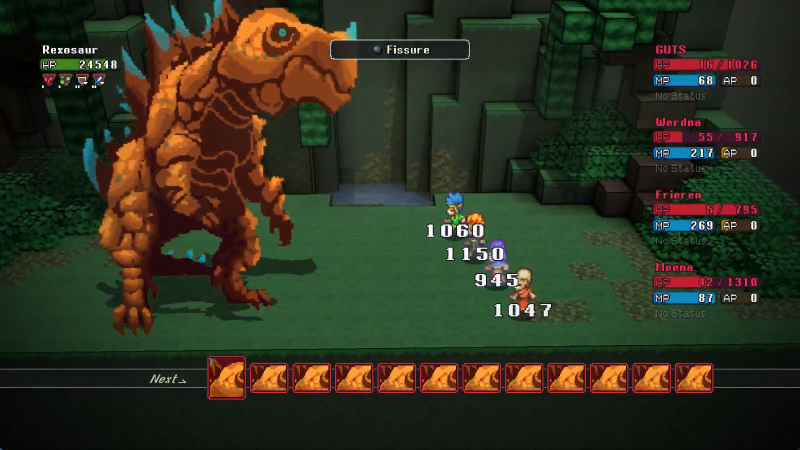
Find the Foliage Key.Find the Canopy Key.Find the Cave Key.- Defeat Rexosaur.
Explore Jidamba Eaclaneya.Find the Viridian Book.Find the Orchid Crystal.Find the Weaver class.Find the Salmon Violin.