
-
Welcome to Talking Time's third iteration! If you would like to register for an account, or have already registered but have not yet been confirmed, please read the following:
- The CAPTCHA key's answer is "Percy"
- Once you've completed the registration process please email us from the email you used for registration at percyreghelper@gmail.com and include the username you used for registration
Once you have completed these steps, Moderation Staff will be able to get your account approved.
Let's play RHEM.
Back to Let's Play
< 1 2 3 4 5 6 7 >
< 1 2 3 4 5 6 7 >
|
#1
 12-28-2008, 04:06 PM
|
|||
|
|||
|
Quote:
 RHEM is a point-and-click adventure game that came out in 2004. It was made entirely by one man, Knut Müller, who quite possibly has the most cartoonishly oversized evil-genius brain in Germany. RHEM is the kind of game you could never get from a big company, or even a small team of developers. The unity and intricity of RHEM is the stuff that can only come from a solitary mind. Much in the same way someone could look over Jonathan Blow's shoulder and tell him the pretentious backstory adds nothing to his game, so too would a meddling voice look over Müller's and tell him the puzzles are too hard, the pathways are too knotted, the clues too obscure. For better or worse, both games are the product of a single man's vision. Playing these games, you can really tell that all of their brilliance and foibles originated in a single head. The RHEM website, and by extension Müller's homepage, is here. So what is RHEM? I hate calling RHEM a Myst clone. It is, and it isn't. Like Myst, you wander around and discover clues and solve puzzles. Like Myst, you have no inventory; everything is solved through interaction with the environment. Like Myst you are alone and abandoned in an alien place. But Myst is the Mario Bros. to RHEM's Super Mario World. RHEM doesn't really do anything new beyond the ideas chiseled in stone by Myst, but it does everything on such a grander scale. It takes the basic game paradigm and kicks it up tenfold. In Myst you solve a puzzle to get a page, then bring the page back. In RHEM you explore the world to find the pieces of a puzzle, then identify what the puzzle is, then solve it, to get the piece to another puzzle, which you must then find the remainder of, and then solve that puzzle, in order to open up a part of the world beyond which lays another layer of puzzles. You'll see what I mean as we go forward. Okay, so how we doin' this? I could just go through the game, screenshot all the clues, screenshot all the puzzles, write captions along the lines of "this clue goes with this puzzle, here's how I solved it, here's the solution". But then the LP probably wouldn't be any different from the walkthroughs you can already find out there, and the internet already has enough of those. So what I'm going to do is present you guys with as much information about RHEM as I possibly can and let you work it out. Each update will explore an area of the maze, show you the signs and machines I come across, and (hopefully) let you put it together. I'll end each update with a list of UNRESOLVED ISSUES to point you in the right direction. You guys will have to discuss the information and what clues you've seen in order to deduce which of those issues can be addressed. You'll have to take notes and work equations. You might have to double-back through the thread to look at old clues which either weren't relevant before, or have become relevant again now that new information has come to light. That means you have to actually work! That's right, this is a Let Us Play in the truest sense of the word. Just like it wouldn't be any fun for me to cut/paste a walkthrough into my LP, it wouldn't be any fun for you to run to a walkthrough and then blurt out the solution here in the thread. I don't think anyone here will actually act in bad faith, though. Hopefully you guys will actually have fun examining the clues and working out the puzzles. If not I'm afraid this LP is going to die a slow and torturous death. 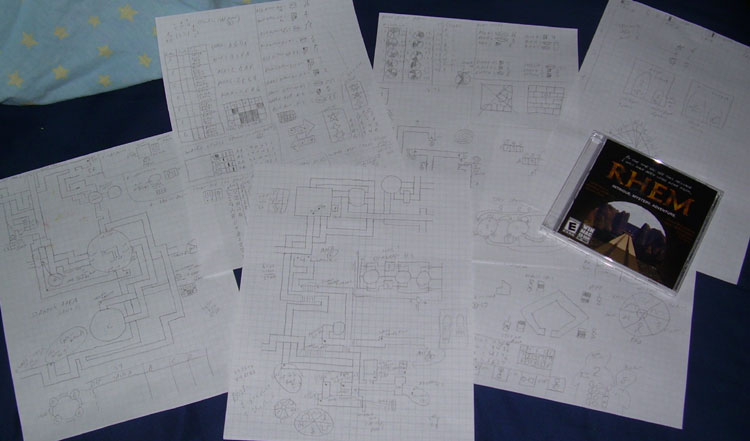 Pictured: half of my actual game notes from 2004. But come on, I solved this game by myself in the span of about a week, and I'm just barely smart enough to get my shoes tied. If a troglodyte like Brickroad can do it on his own, surely the collective intelligence of Let's Play Already! is up to the task. I'll help by answering questions, providing links backwards in the thread for specific information you might need, Or going to a place in the game world you want to take a more careful look at. Just let me know what you need, and I am ever your faithful guide. Okay guys I've wall-o-texted you enough. (Seriously, there's like five times more text in this post than there is in the entire game.) Let's do this. Let's play RHEM. Last edited by Brickroad; 01-07-2013 at 02:01 AM. |

|
#2
12-28-2008, 04:07 PM
|
|||
|
|||
 Okay okay, just a little more wall-o-texting. I'd like to talk just a bit about spatial puzzles, because RHEM is full of them. First off, here's a lovely map which originated here. This map was the only spoiler I allowed myself when I first solved the game. By the time I downloaded it I had already mapped about 90% of the game by hand, but the maps were spread across multiple sheets of graph paper and were pretty squashed down in places. Having a full map to reference doesn't even spoil much of the game, aside from showing you some new avenues of exploration when you realize this room is behind that wall, or whatever. It's impossible to get a sense of your position in the maze without actually clicking through it, and there's no way in hell I'm going to screenshot every single spot from every single angle. I'm going to try and solve this little problem by ignoring it. You'll get a tour of the maze and I'll present you with the puzzles and clues, and that should be enough. If you really feel like knowing the exact pinpoint location of something will be the breakthrough you need, let me know and I'll point it out on the map. Okay no for reals let's play RHEM. Last edited by Brickroad; 01-07-2013 at 02:02 AM. |
|
#3
12-28-2008, 04:08 PM
|
|||
|
|||
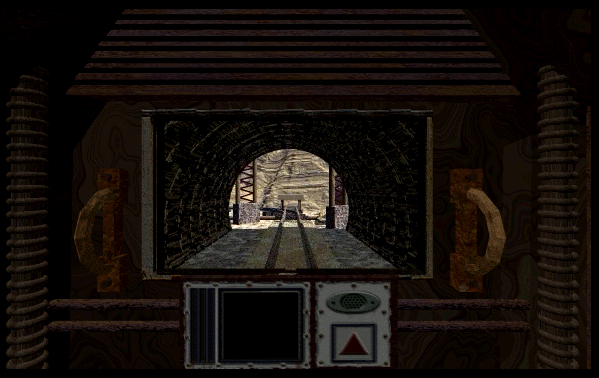 The game opens on a moving railcar that slowly meanders along its track. 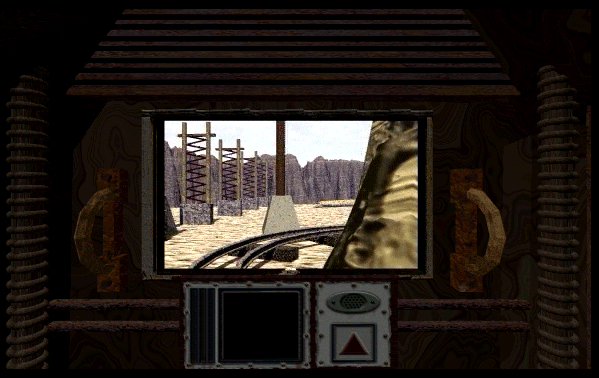 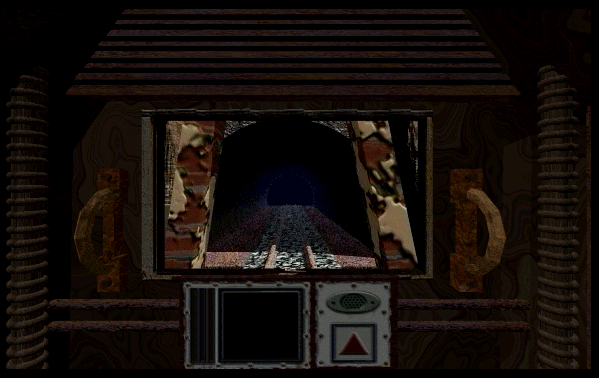 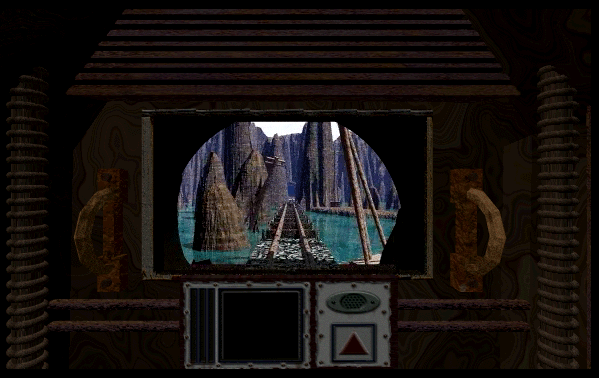 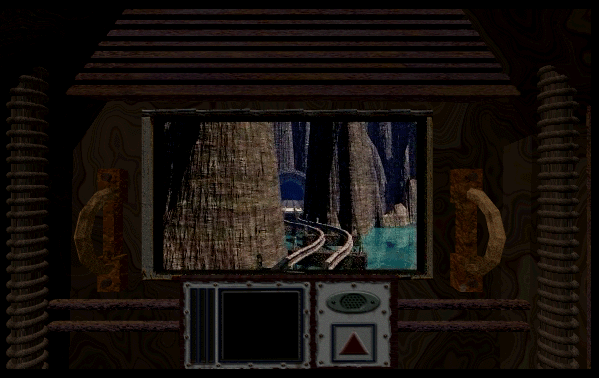 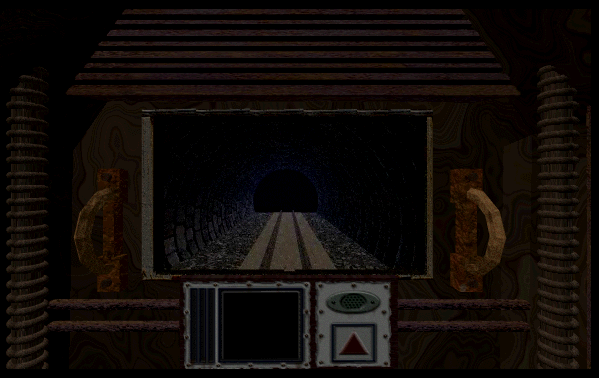 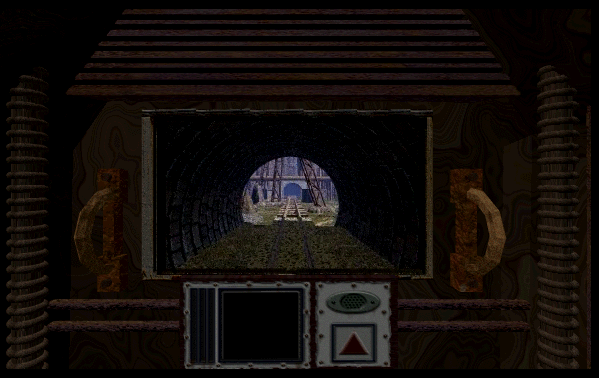 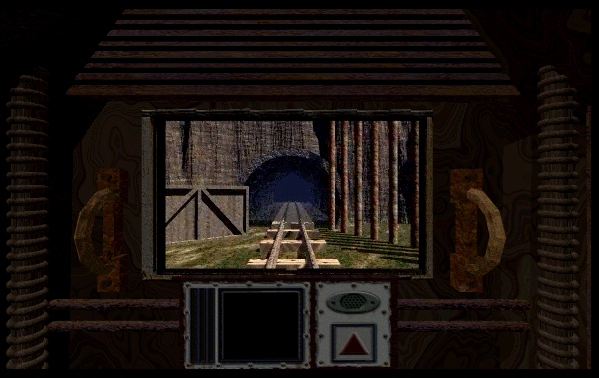 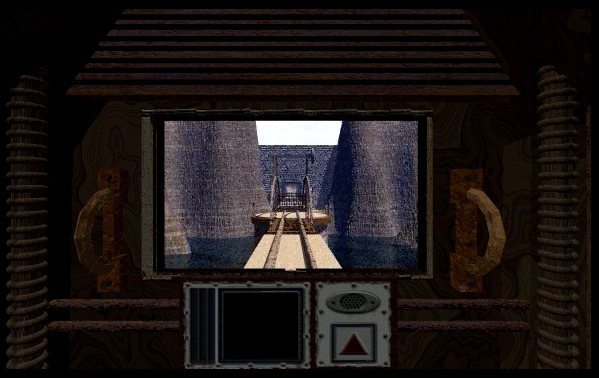 Looks like the end of the line. 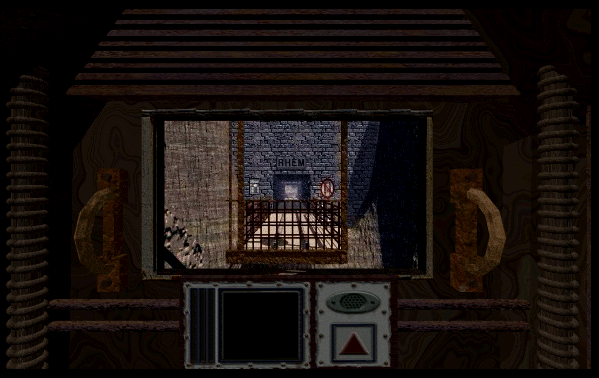 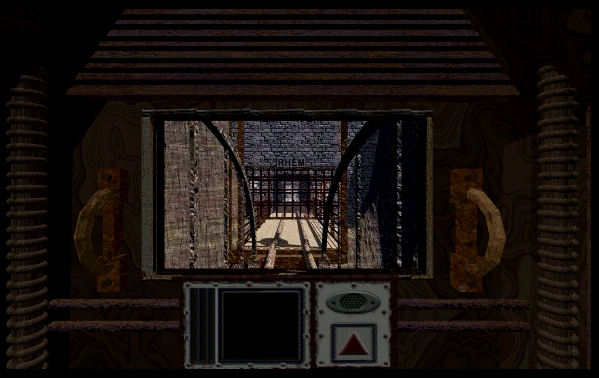 Or not! The bridge we just crossed swings into place ahead of us, and the gate opens up, allowing us to continue on through. 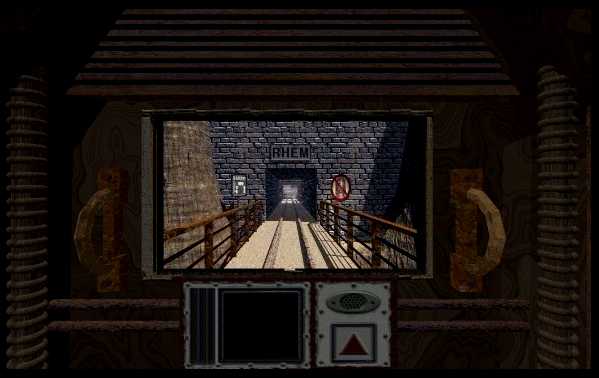 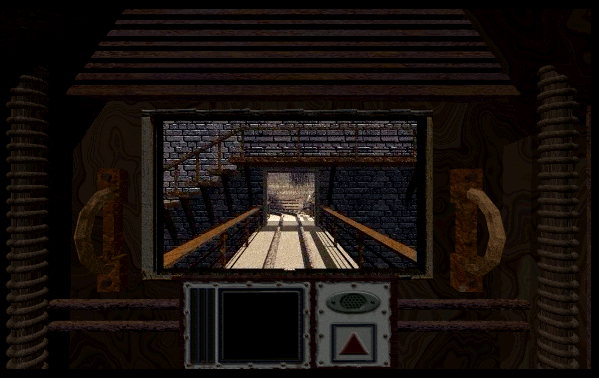 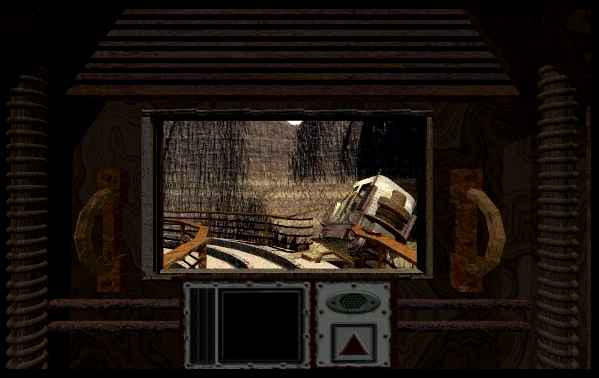 A crashed railcar. Looks like the last guy to come this way had an accident. Wonder if he's still around here somewhere.  The railcar stops and the door opens. Welcome to RHEM. Last edited by Brickroad; 01-07-2013 at 02:03 AM. |
|
#4
12-28-2008, 04:11 PM
|
|||
|
|||
 There's a button on the console at the front of the railcar. Pushing it causes the railcar to lurch forward momentarily, then rock back into place. If the railcar were facing the other direction this might just be our ticket out of RHEM. If you're referencing the map, we came in on the track leading in from the east and curved around to the small circular room labeled Arrival Point. 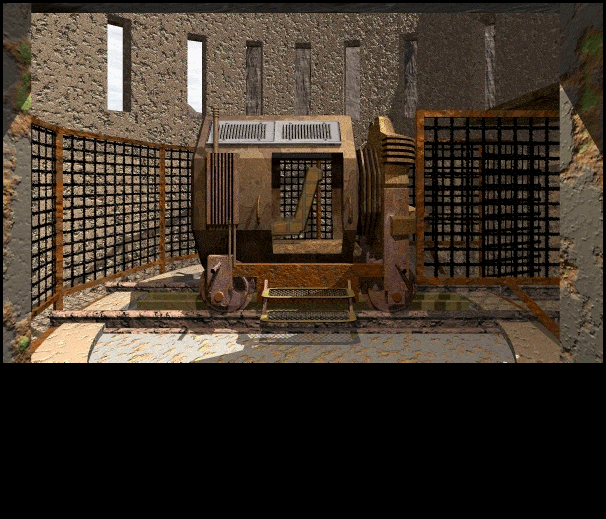 Stepping out of the railcar and turning around gives us a good look at it. Also note the track is embedded in some kind of circular plate. It looks like our goal is to find a way to spin the plate 180�, then hop back in the railcar and push the "forward" button. 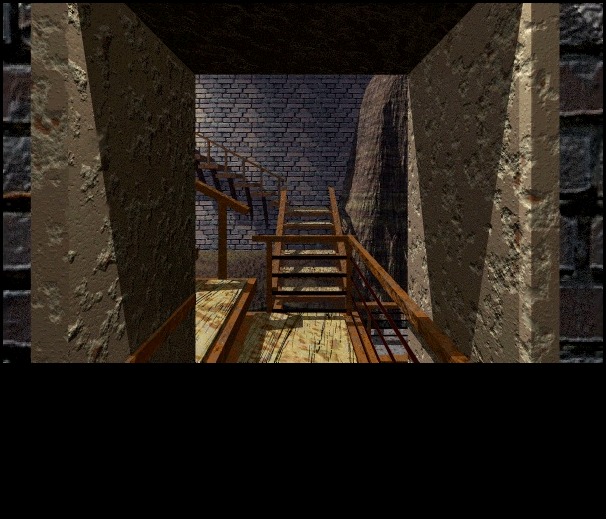 The path out of the Arrival Point is pretty straightforward. It goes through this doorway then turns left and heads up some stairs. Opposite us we can see another stairway, but it's not connected to the path we're on. 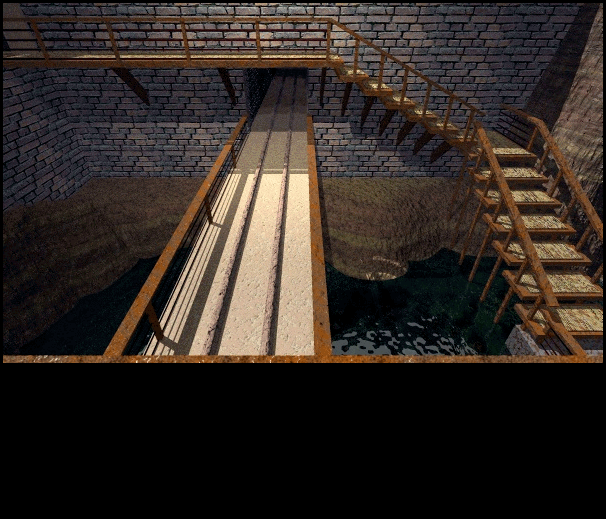 Climbing the stairs puts us on a catwalk above the rail. 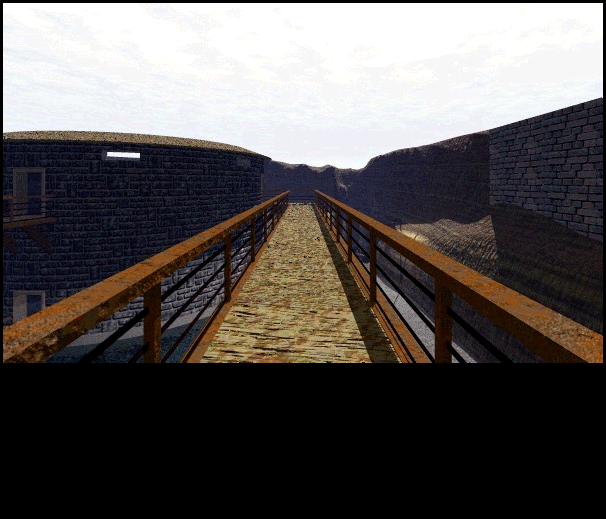 Continuing forward on our catwalk, we approach the large Round Building from the east. As you'll soon see, this building is going to be the center of our world for a while, at least until we're out of the first area of RHEM. 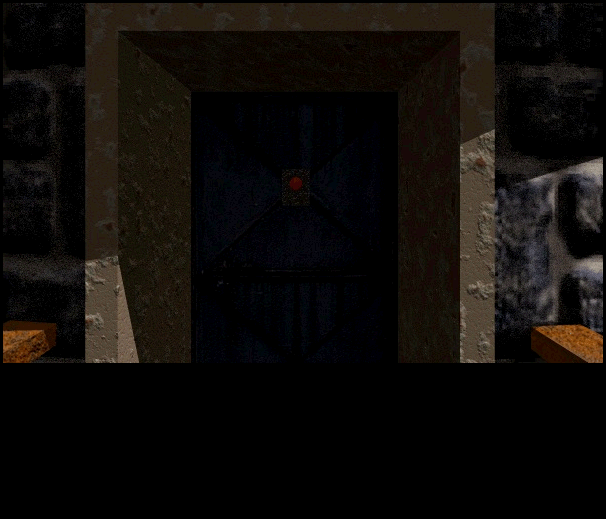 A door with a big red button on it. You know what that means! 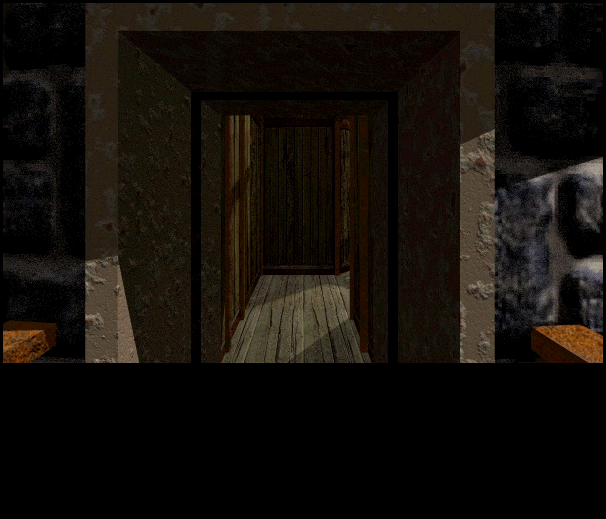 The door opens up to reveal not a large round building, but a narrow wooden hallway. 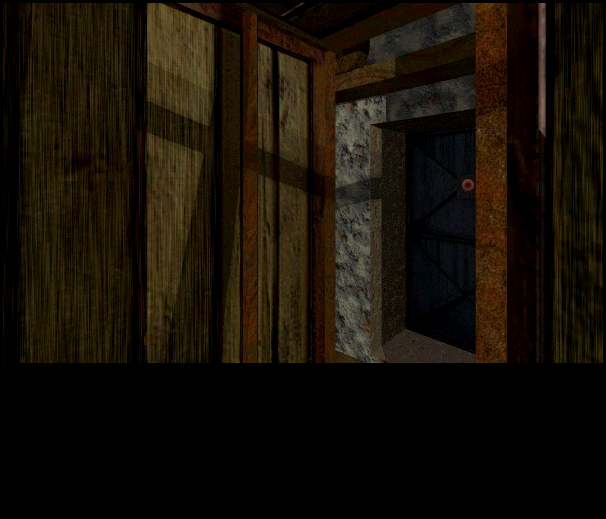 The hallway only goes one direction, but curves around to the right to another door. This one looks to head out to the north. There must be more to this building than meats the eye. 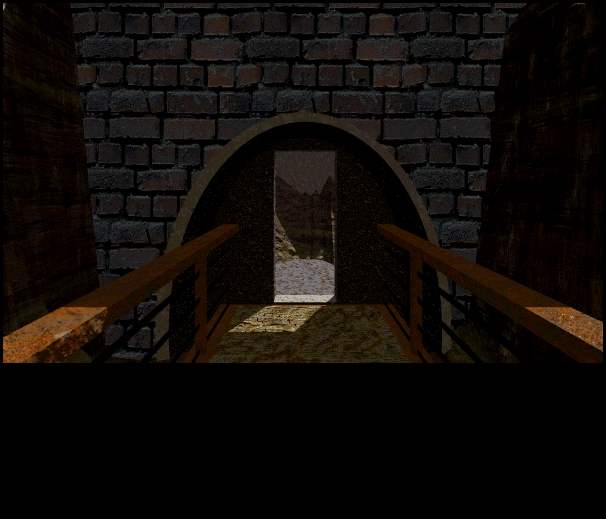 Exiting the Round Building from the north, we head across a short catwalk and through a doorway. 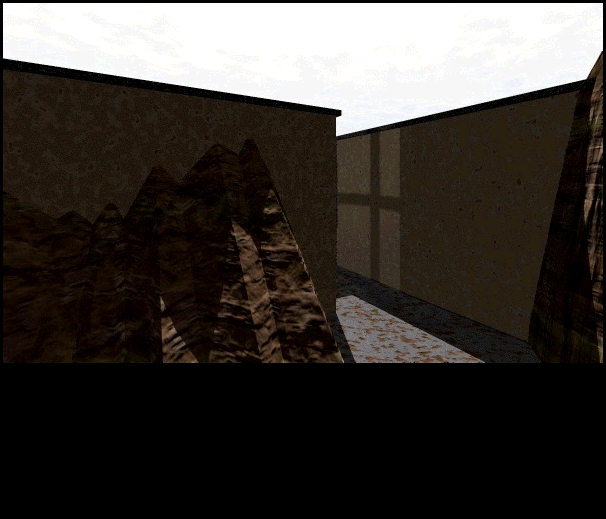 This leads into a small room with no roof. (Yes, that white expanse is the sky, not fancy halogen lighting. RHEM's graphics are functional, but not phenomenal.) The room is divided in half by a wall, so we have to zigzag around it. 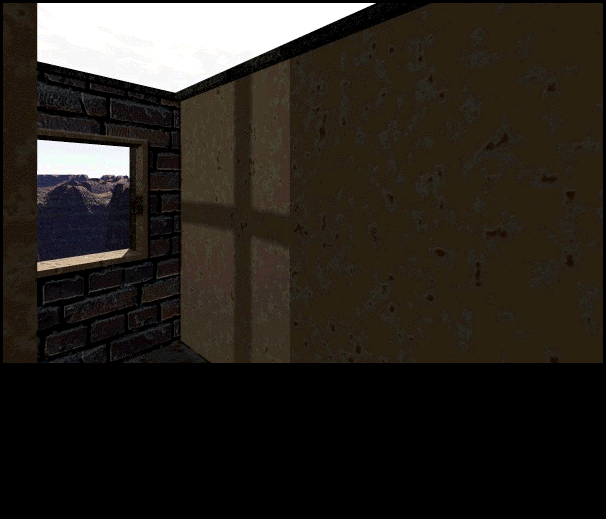 There's a window in the northern wall of the small room. Cool! I dig windows! 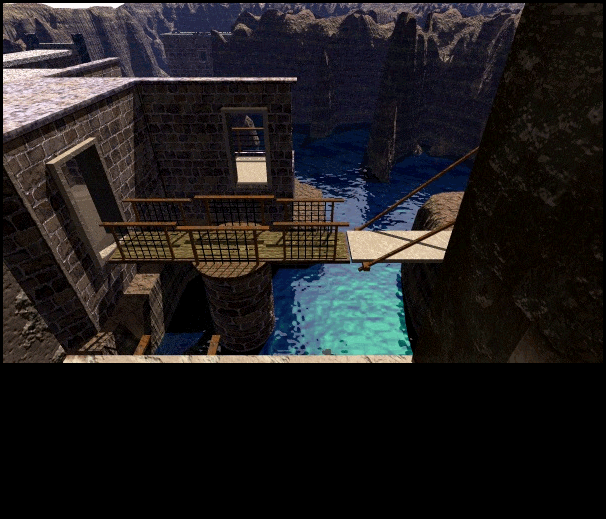 Looking down from the window we see what looks to be a bridge suspended on a brick column below us. The bridge leades east/west, and there's an empty doorway to the north. Very curious indeed. 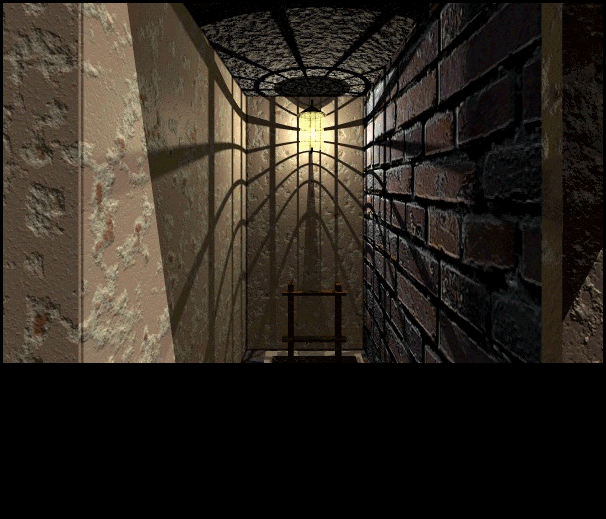 Facing west while at the window, we discover a ladder leading down. 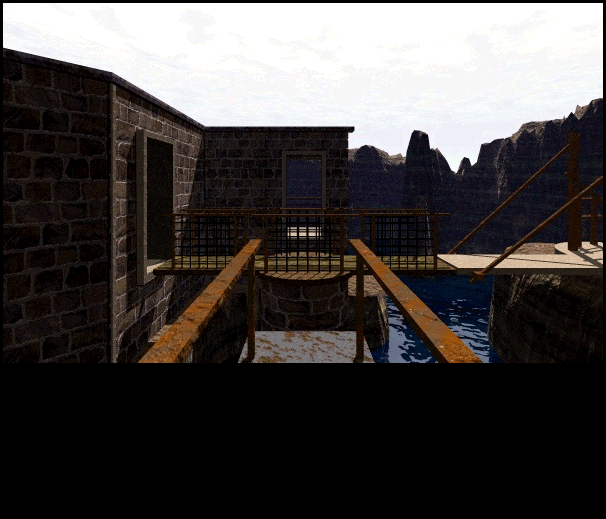 Sure enough, taking the ladder down brings us to a doorway on the first floor of the small room.Facing north we can see the bridge close-up. Looks like it can be rotated to face east/west or north/south, but not both at once. As we go forward we'll see a lot of these types of situations, where opening one path closes another. Sometimes this bridge will need to face one direction, sometimes the other, and obviously it can't be controlled from this side anyway. This means either we'll have to find a route that brings us through the east or west doors, or find the controls to swing it around. 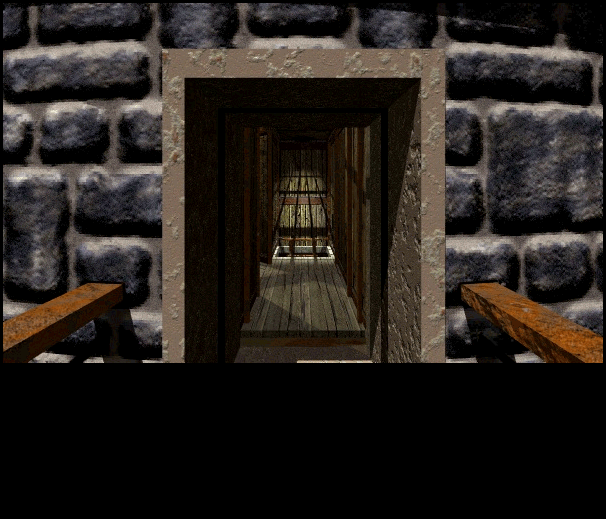 The rotating bridge is a dead end. Back through the small room and into the Round Building we go. Opening the north door and entering, we spy another ladder which we passed by the first time. RHEM loves doing this too: hiding routes just outside of your peripheral vision. You don't really see this ladder as you walk through the wooden hallway from the other direction, so unless you specifically turn in place to look for it you will miss it. Of course if this happens you hit the dead end and are forced to turn back, whereupon you see it immediately. This one's a freebie, though; the rest of the game you really have to be on your toes and examine everything from every angle you can think of. Last edited by Brickroad; 01-07-2013 at 02:05 AM. |
|
#5
12-28-2008, 04:15 PM
|
|||
|
|||
 Down the ladder and into the bowels of the Round Building. We can get a good look at everything from here. 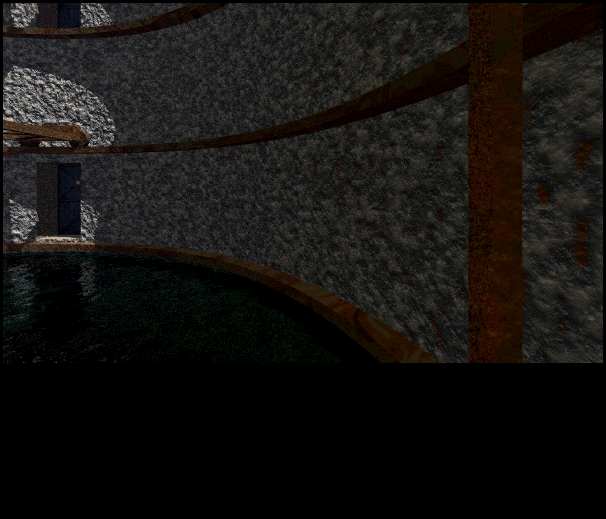 Facing east... 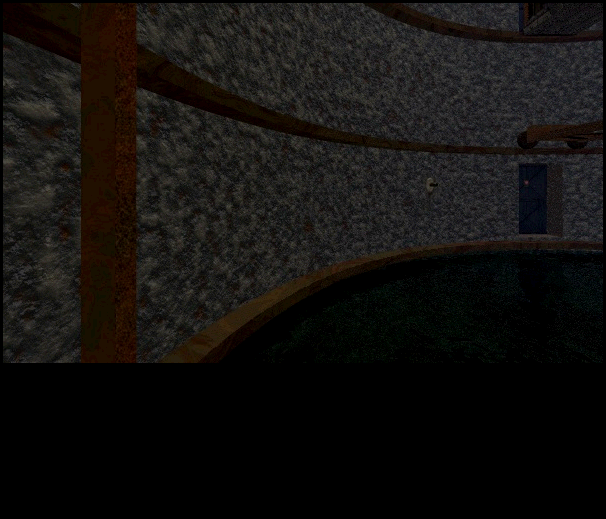 ...and then facing west gives us a better sense of how this building works. There are doors on either side of us here on the bottom level that don't have pathways connected to them. This is a good indicator that there's probably a way to move the pathway we're standing on. Note also there is what looks like a spyglass partway up the western wall. If we could get a look through that we would be able to see more of the interior of the Round Building. 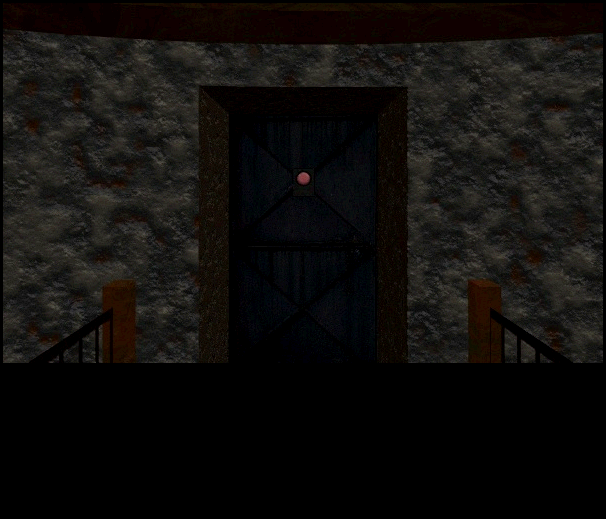 Facing north is another door, here on the bottom level. Big red button go! 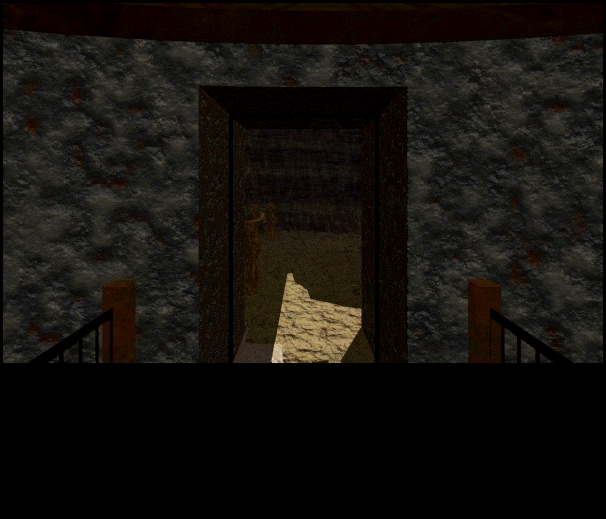 The door whooshes open and a rocky pathway extends before us. 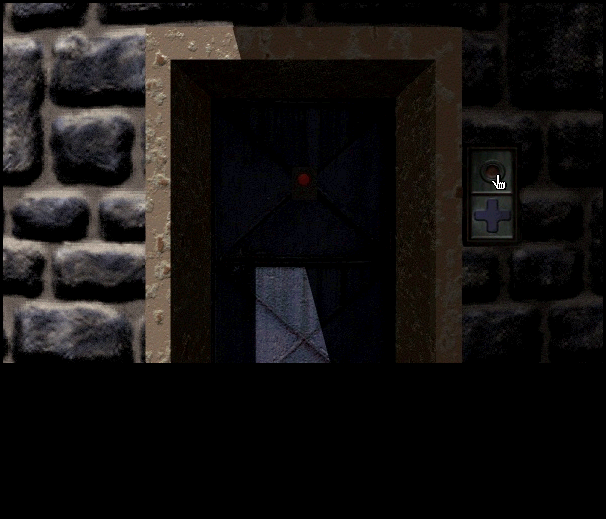 Turning to look at the closed door from the outside, we find a button labeled with a cross. Pressing the button doesn't do anything, though; it just makes a loud BZZT! sound. The BZZT! sound becomes your best friend and worst enemy in RHEM. It means one of three things: either the button doesn't have power running to it (and so won't function) or it is trying to move something in a physically impossible way (say, trying to lower an elevator when it's already on the lowest floor), or it's trying to move something into a state it's already in (say, trying to open a door that's already open). We like this sound because it offers very clear feedback: THIS DOESN'T WORK. It means we're missing something. But we hate it because it is the most prevalent obstacle in the game. Practically every button and device has at least one state that BZZT!s at you, and often the puzzle is trying to get the BZZT! to go away. So whatever this cross-labeled button is going to do, it's not going to do it right now. We can make some educated guesses though. We know the walkway inside the Round Building will move in some way, and just outside the door of said building would be a good place to put a control button. But yeah, like I said, right now it's BZZRT!ing at me so there's not much that can be done with it at the moment. 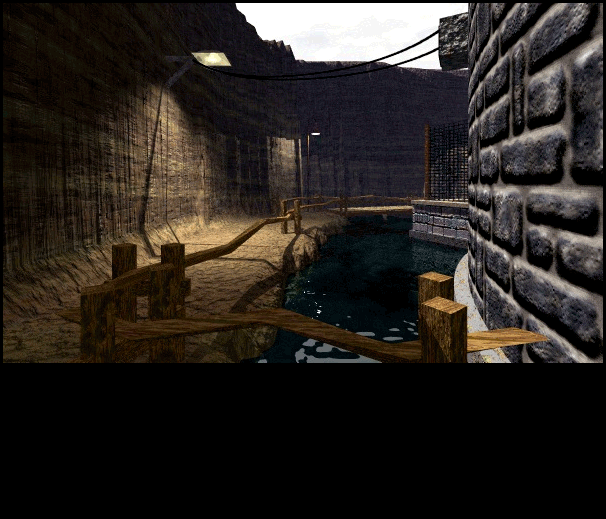 Facing south from outside the door, we see our path curves around the outside of a small lake. The entirety of the Round Building is suspended above the water. What's that weird fenced-in thing over there? Let's get a closer look. 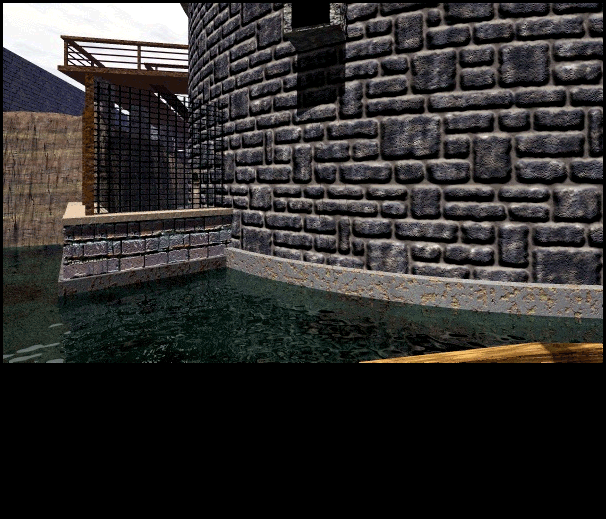 Kind of hard to see anything through the fence, except that the lower western door of the Round Building leads out to it. 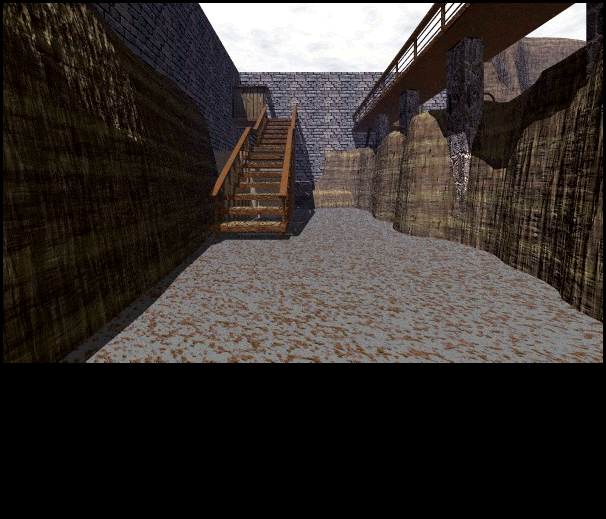 The path we're on curves around to the south and enters this rocky area. The catwalk above us is the one we crossed earlier, which connects the Arrival Point to the Round Building. The stairs are the obvious way forward, of course, but not the only way. 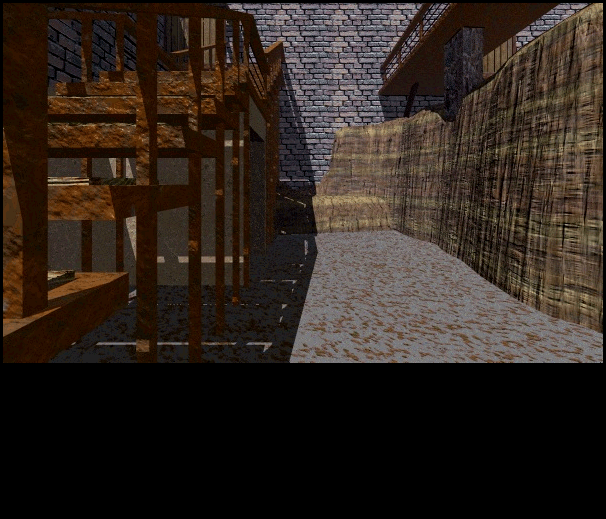 Stepping past the stairs we see a doorway tucked up underneath them! The door is very difficult to see unless you stand on the catwalk above which you can't access easily from here, and which you might not even recognize as the same catwalk when you found it. I actually missed this doorway for a long, long time when I played the game a few years ago and discovered it eventually through sheer stubborn determination. Finding this door which had been staring me in the face the entire game was when I decided my maps weren't up to snuff and caused me to go download a complete one, which of course just showed me that my maps were pretty much fine and I just hadn't been exploring thoroughly enough. "Hey Brick! Stop talking about the damn door and walk through it!" Okay. 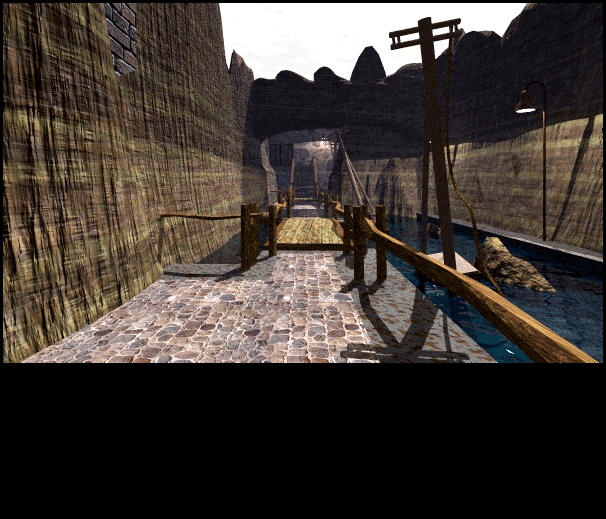 The doorway leads east onto a pathway which abruptly turns north along the water here. It crosses a bridge end ends in a stairway leading up. 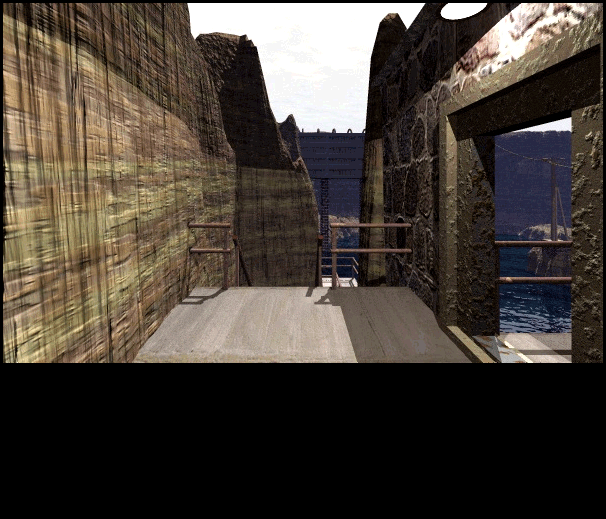 The stairs don't lead into a building, but rather to this small landing which either heads down again (to the north) or through a doorway (to the east). 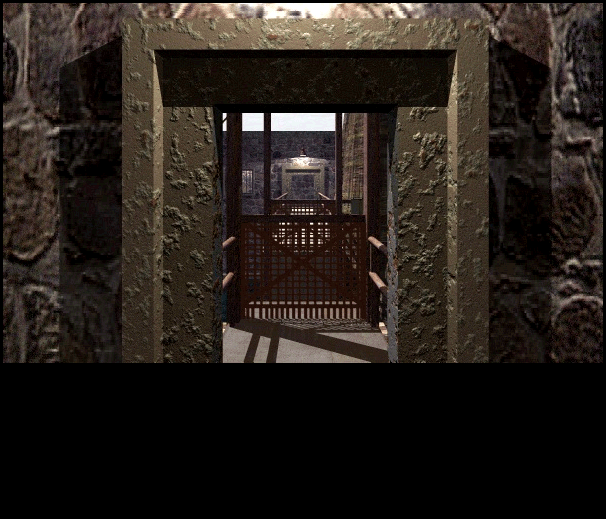 Looking through the door, we see our path is blocked yet again by a metal grate. 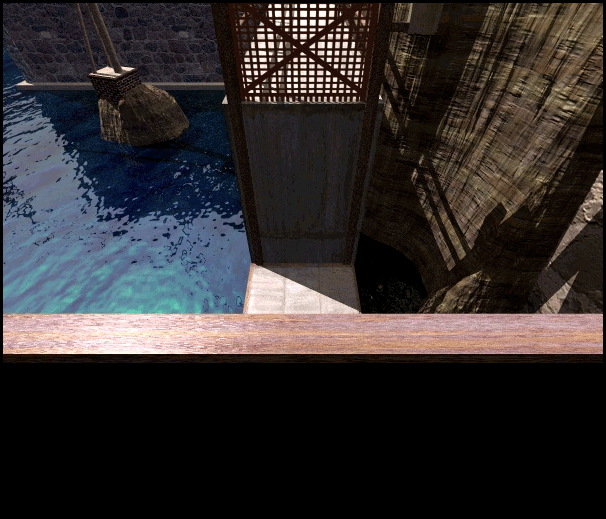 Peering over the metal grate we can see a platform far below us. If we could raise it up, and then find some way to lower the grate, we could walk across. 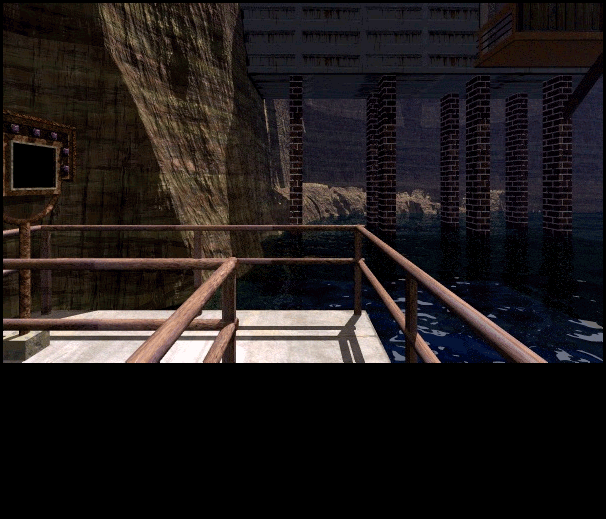 Taking a step back to the landing and then heading down the stairs to the north reveals a winding walkway. At the end of the walkway is a strange machine. To our north, and high above us, we can see a building suspended on brick columns with what looks like a wooden balcony attached to it. If we were to stand on that balcony and look south we'd have a perfect view of the lowered platform we just saw upstairs. Last edited by Brickroad; 01-07-2013 at 02:07 AM. |
|
#6
12-28-2008, 04:17 PM
|
|||
|
|||
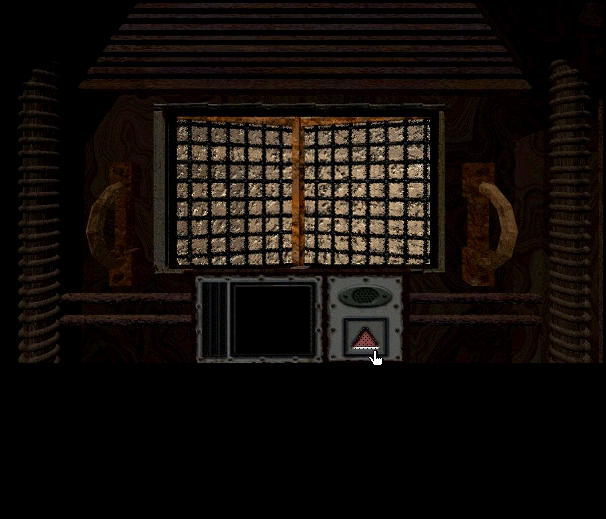
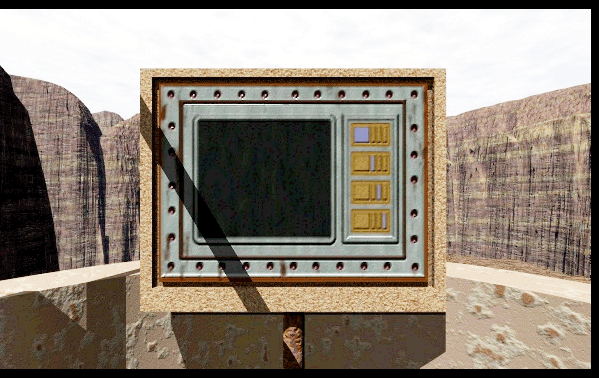
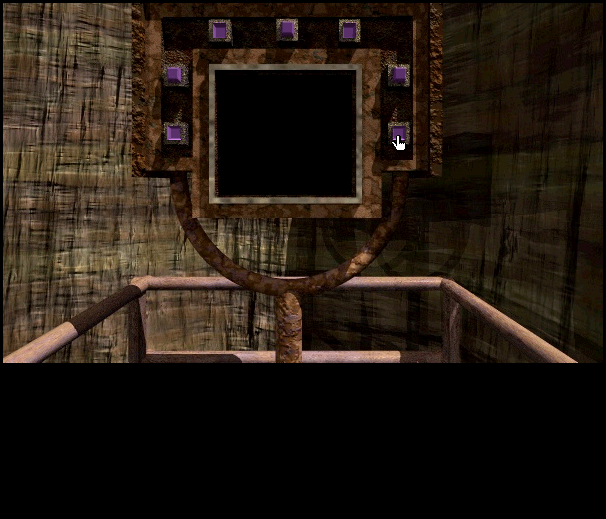 The machine has seven buttons and a viewscreen, but doesn't do much of anything. Fiddling with the buttons doesn't yeild much in the way of feedback. After pushing four buttons the machine waits a moment, then pops them back out. What this tells me is, whatever button combination is necessary to activate this machine, it's going to be four items long. The way the buttons can't be pushed twice in a row tells me that whatever the sequence is, it will involve four unique buttons; you can't press the same button twice in a row. Not much else I can do with this machine until I know how to use it, so this is another dead end. 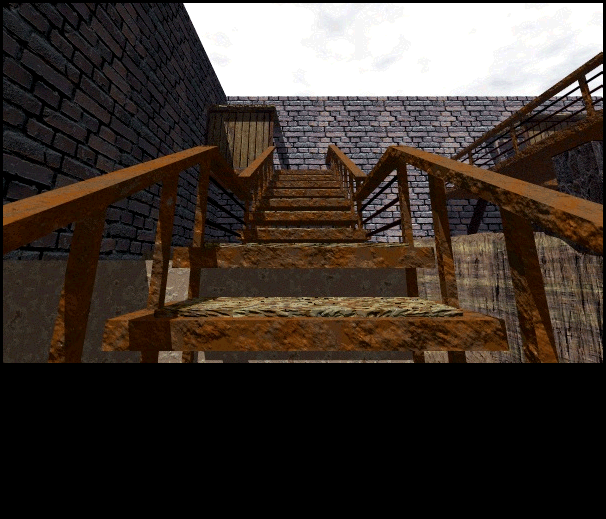 We head back through the hidden doorway to the rocky area with the stairs, and climb them. 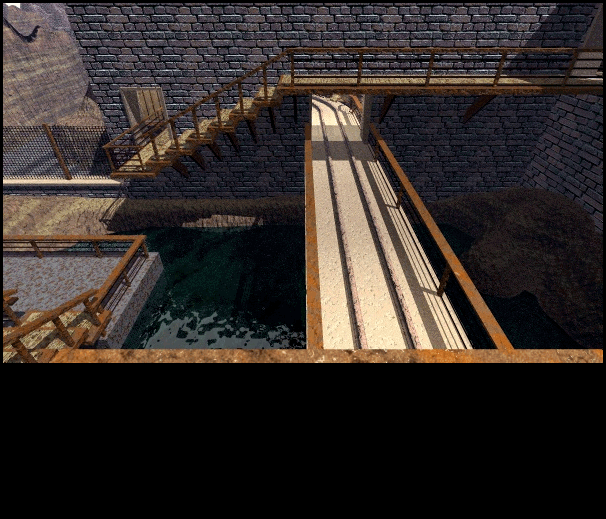 This takes us south across a catwalk that overlooks the rail. The stairs across from us are the ones just outside the Arrival Point which lead us over to the Round Building. 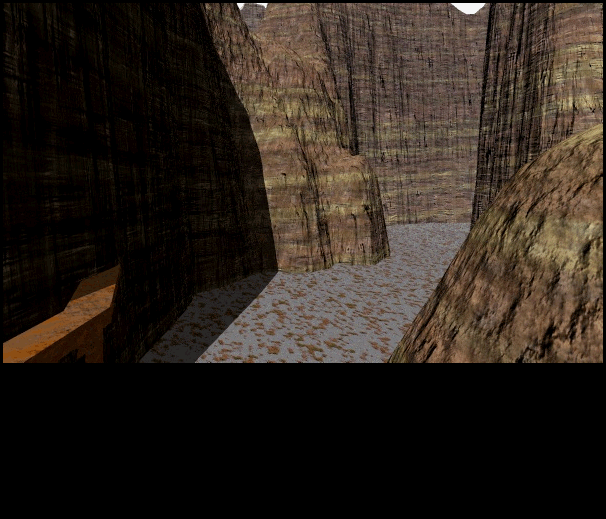 Continuing south brings us to a canyon area. 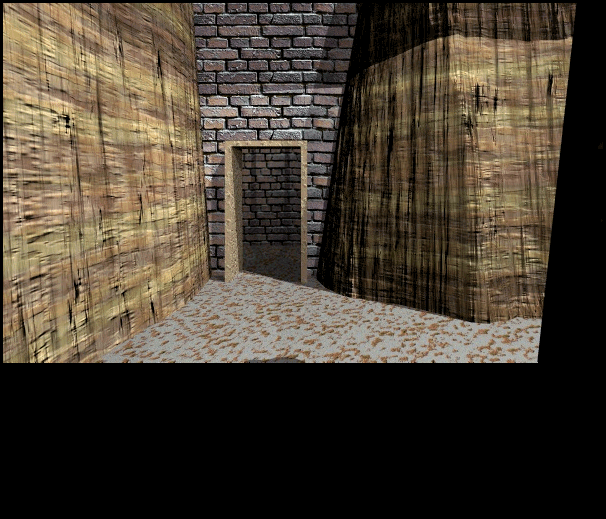 The canyon curves off to the west, and leads on for some time before coming to this fork. One path turns off to the north into another section of the canyon, and the other goes through the stone doorway. 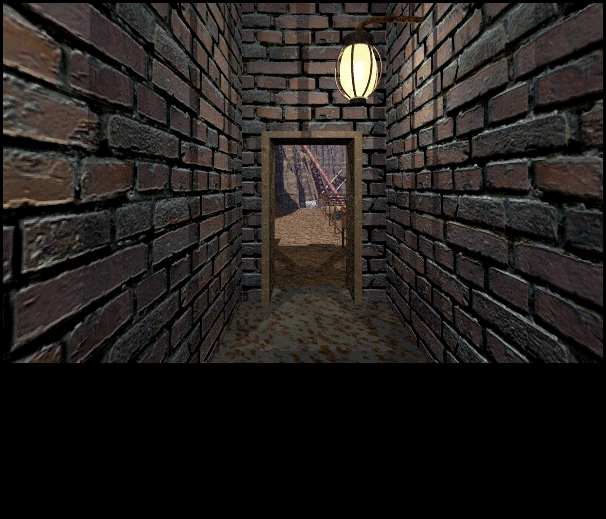 The doorway leads to a very small stone room which has only one exit on its south wall. 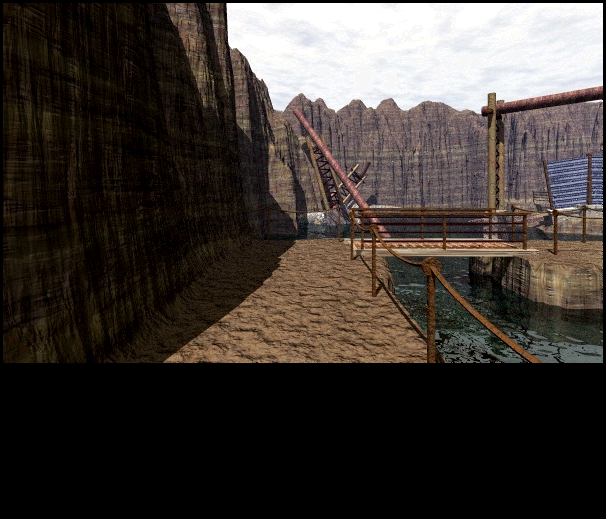 South through the door brings us to another lake. The path turns west over a small wooden bridge. 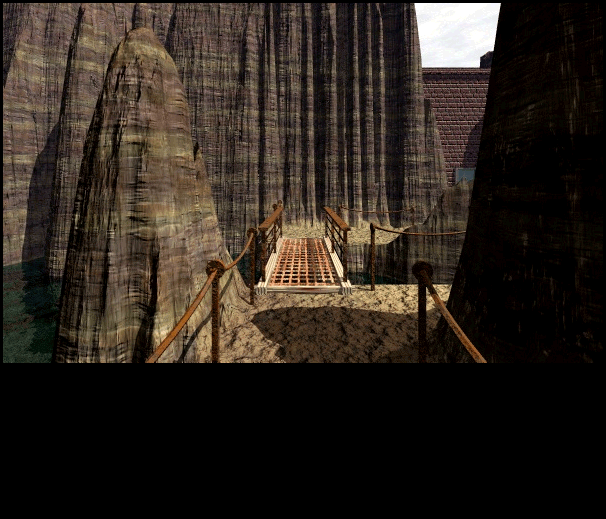 A few steps beyond the bridge yields another fork. We can continue west over a second bridge, or take the path north. 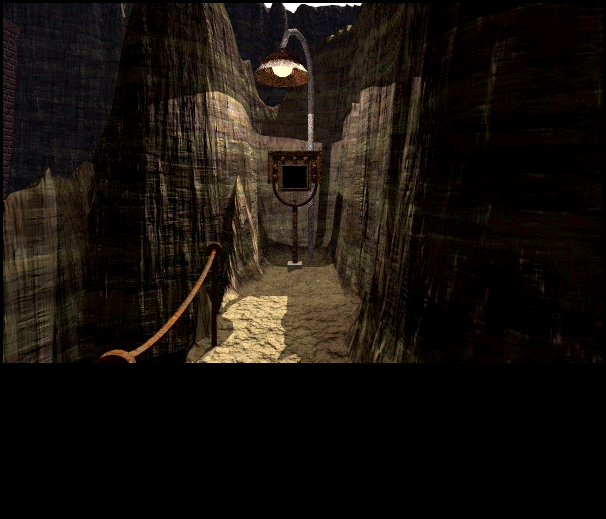 It's actually not much of a path, more like a small alcove. Looks like another button box. 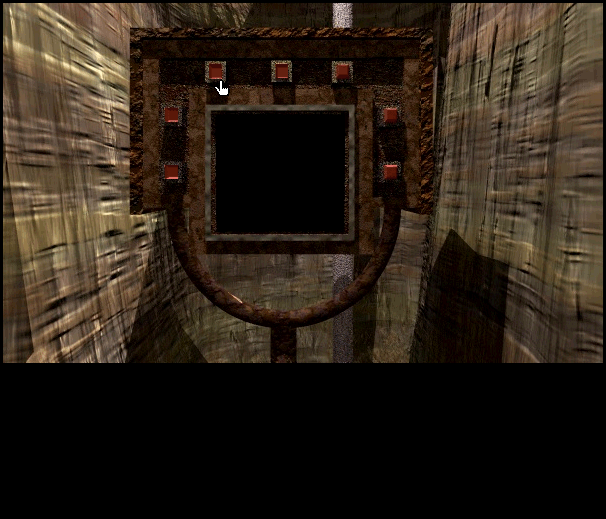 This one behaves exactly like the one beyond the hidden door, except this one has red buttons instead of purple. This tells me the button box wasn't a standalone puzzle, but something on a much grander scale. They're kind of important, especially early on the game, so I'll capitalize them and use them as landmarks. So remember: the Red Button Box is south through the canyon and across a bridge, the Purple Button Box is through a hidden door under som stairs near the Arrival Point. 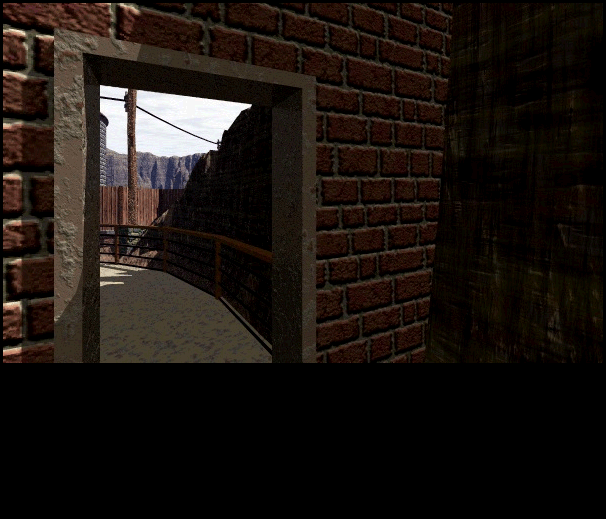 Crossing that second bridge leads us to a new area of RHEM, separated off from the area we just left with a brick wall. 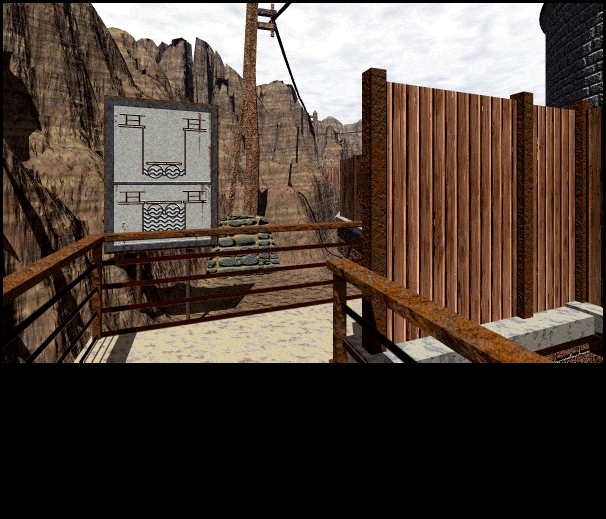 The path winds around to a wooden wall and a curious sign. 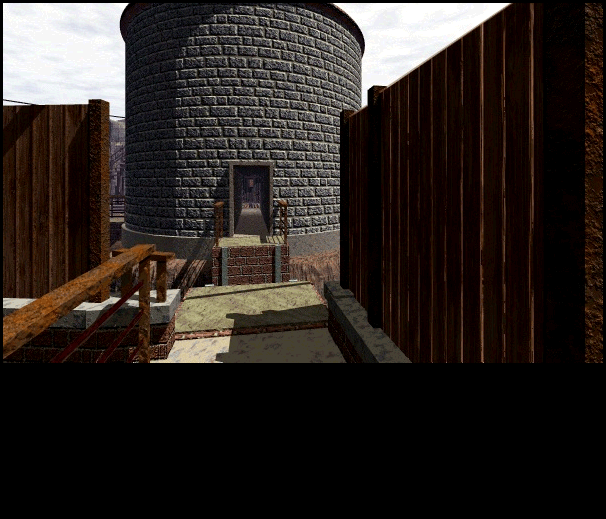 Another dead end. Let's take a look-see. 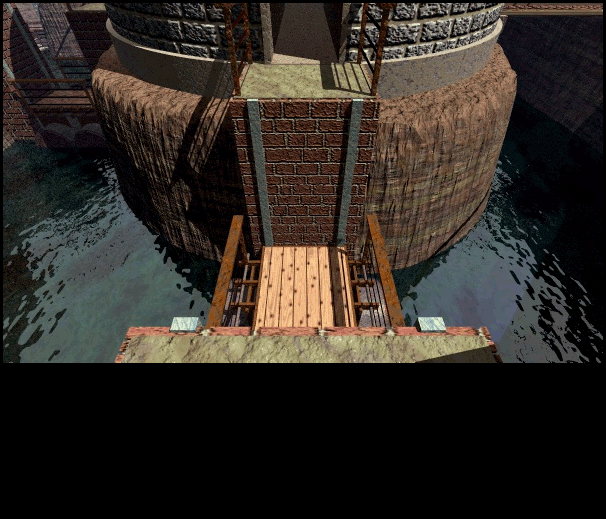 There's our wooden walkway, far below us. Right now we're facing west just outside the Four Way Tower. If we could get that walkway up to our level we could explore the tower and anything beyond it. 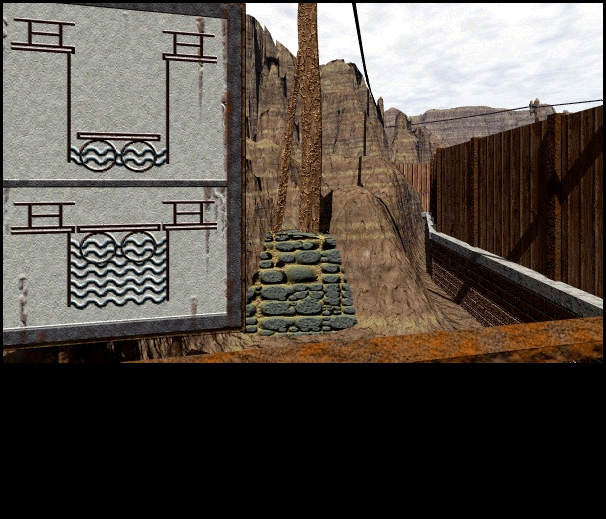 This sign is our only clue, but it seems pretty straight forward: raise the water level of the lake and the walkway will float up and become crossable. Last edited by Brickroad; 01-07-2013 at 02:10 AM. |
|
#7
12-28-2008, 04:23 PM
|
|||
|
|||
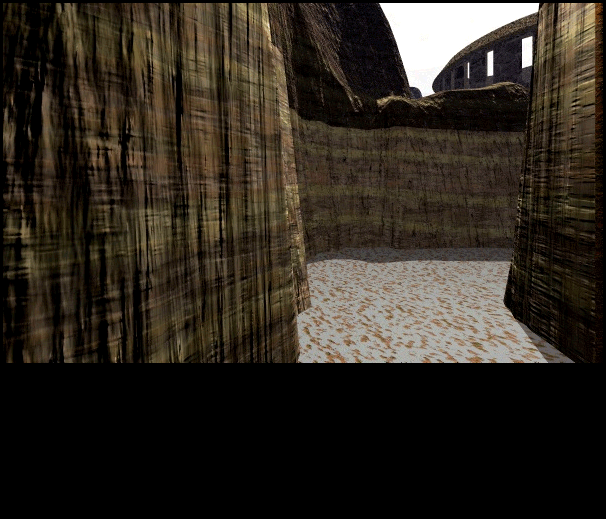 Having hit another dead end, we double back to the canyon and take that northern path. It actually doens't continue north, but rather heads off to the east, meaning the canyon area consists of two parallel east/west paths that connect at this point. 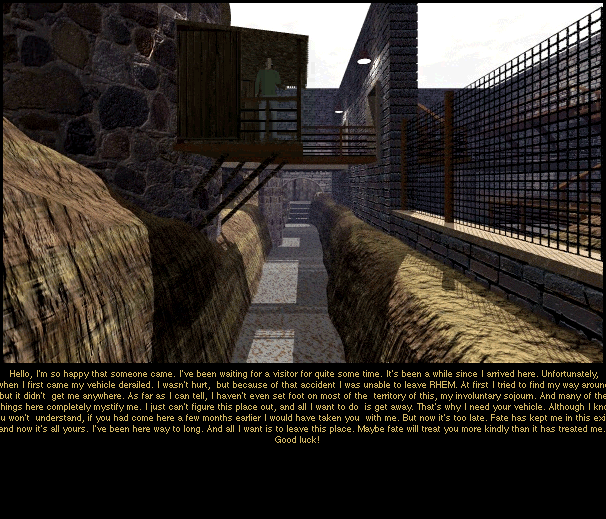 The northern canyon path leads underneath the doorway to the Arrival Point, where someone confronts us. The gist of it is: he's the guy who crashed the railcar we saw coming in, and now that we're here he's going to abscond with our vehicle. Looks like while we were off exploring catwalks and playing with button boxes, he activated the control to spin the railcar around. This guy is also the biggest prick-ass in the universe, because he's not even going to wait for us to run back up there real quick. Apparently RHEM is such a completely unbearable place that the though of another ten minutes for the sake of his fellow prisoner isn't even worth considering. He is nice enough to wish us luck, though! "Hey Brick, good job cropping off the edges of that guy's dialogue!" 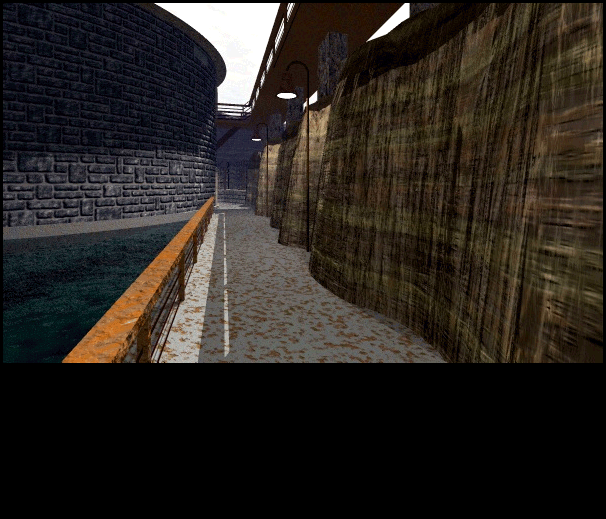 Okay, I can't even believe that jerk would haul ass out of here on my railcar like that, I mean that's just ice cold shit right there. Nothing for it, though, except to continue northward on this path. Looks like we're approaching the Round Building again, this time on the bottom level. 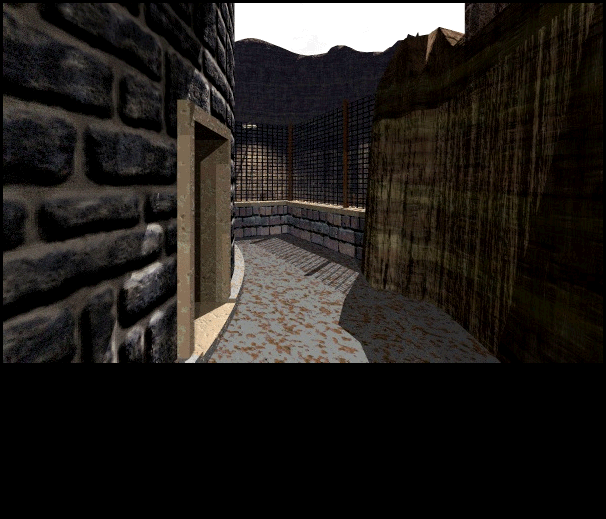 Here's the lower west Round Building door, which means it's just below the door we used to enter it the very first time. It also means we're close to the opposite side of the fenced-in area we saw earlier. 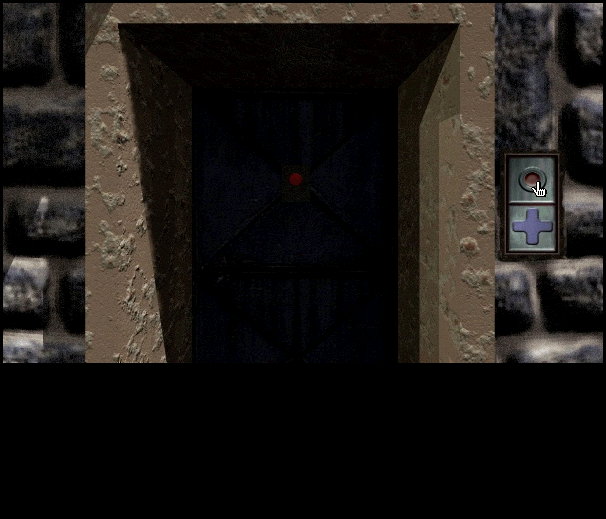 First thing's first: another cross-labeled button. This one BZZRT!s at me too, though. 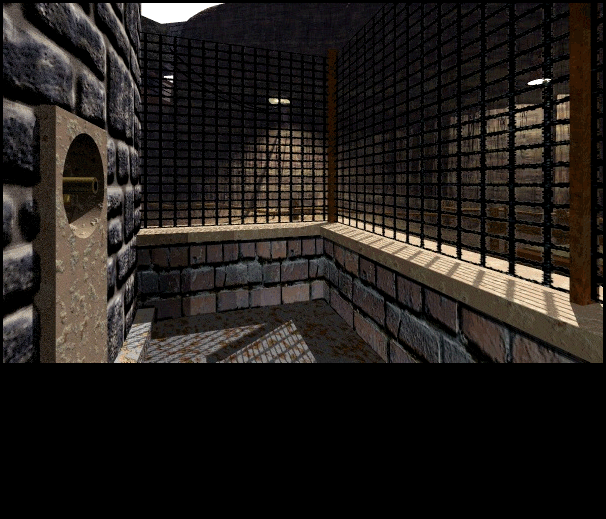 One step beyond the door and, sure enough, there's the spyglass. Let's take a peek. 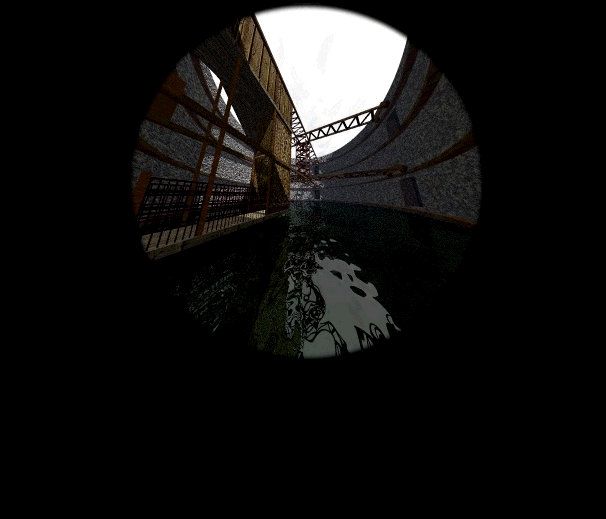 Here's our look inside the Round Building. It looks like if you were to enter the building on the top level you could either walk forward and take the ladder down (ending up at the door below the one you entered through) or veer off and exit the upper-level door to your left. Also note that the wooden walkway is in a different position from where we left it. We originally entered in the upper-west and left through the lower-north. That means the top-only position was facing west, whereas now the top-only position is facing south. Someone must have turned the walkway while we were out and about, then left through the upper-west door and walked to the Arrival Point and then drove off in our railcar god damn it. 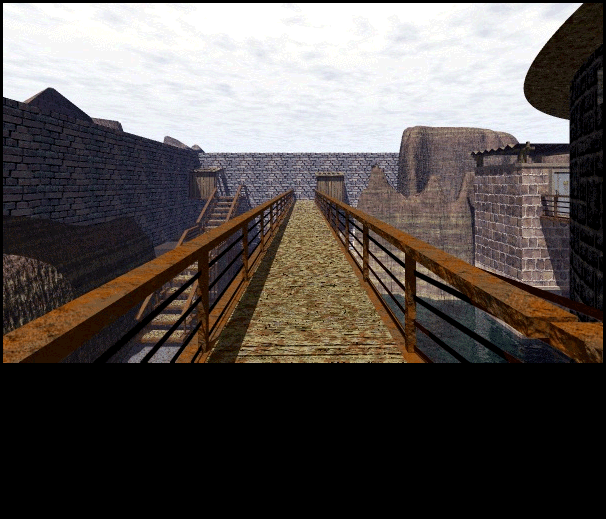 Into the Round Building, up the ladder, then out the western door. If I'm quick maybe I can catch that guy before he gets too far! This is the very first catwalk we walked across. If you look VERY closely forward and off to the left you can see the square hiden door underneath the stairs below me, which lead out to the Purple Button Box. We can also see a building off to our right which we carelessly walked passed earlier. 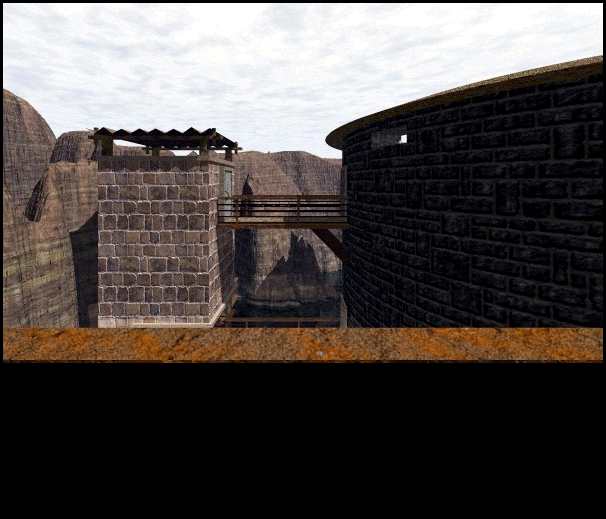 It's a sqare brick building which is very clearly connected to both southern entrances of the Round Building. Since the walkway inside has been turned 90� clockwise, we could get into the upper level of that building right now if we wanted. But then we'd miss our ride for sure! Let's hurry. 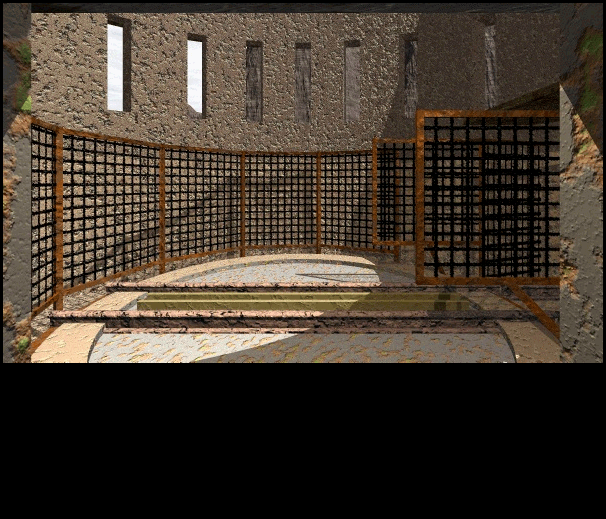 Our railcar is gone. The son of a bitch really did it! Now that the railcar isn't in our way anymore, we can walk a ways down the track, though. 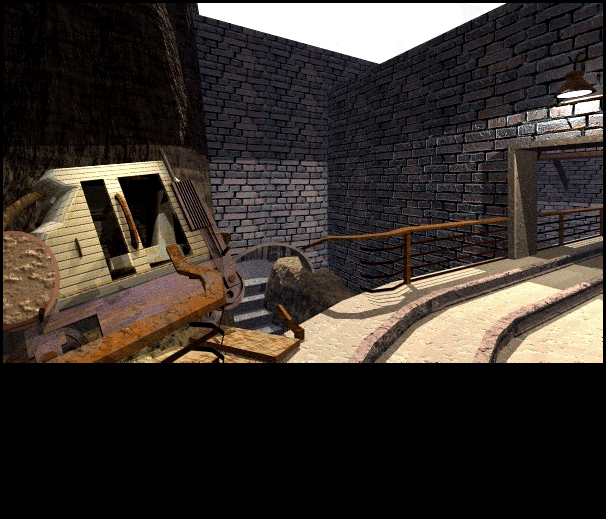 There's the smashed railcar that guy was talking about. Looks like he did a real number on it. 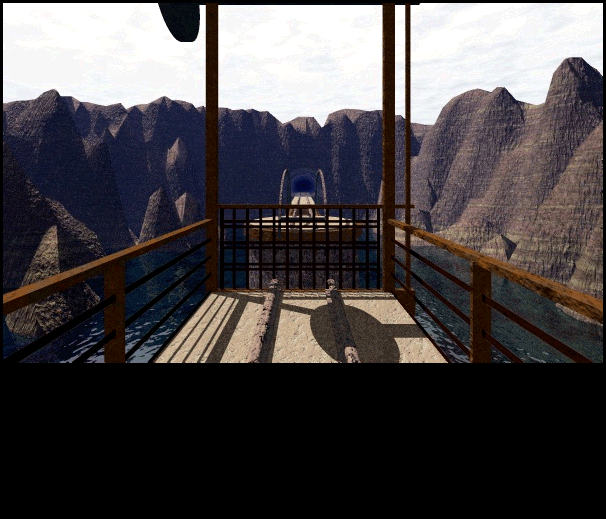 Sure enough, by the time we arrive back at the rotating railway bridge it's been rotated away from us, blocking our egress forever. We're trapped.  RHEM awaits us. UNRESOLVED ISSUES
Last edited by Brickroad; 01-07-2013 at 02:12 AM. |
|
#8
12-28-2008, 05:15 PM
|
|||
|
|||
|
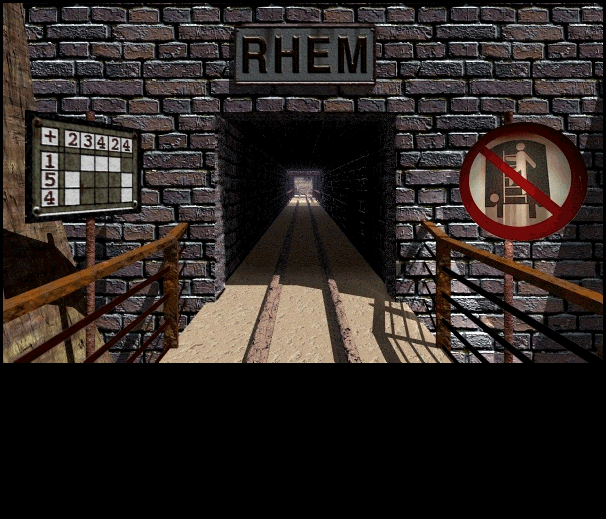
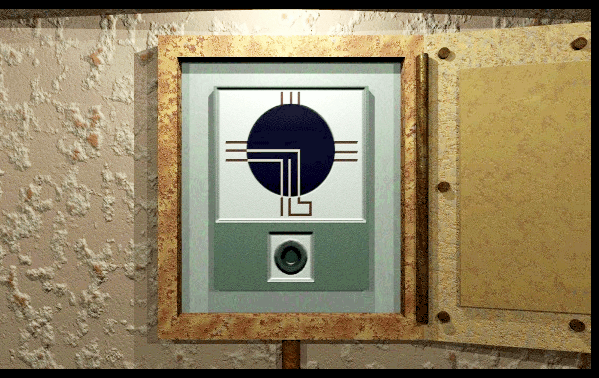
Okay, first issue is the sign on the left there, which is very clearly portraying seven squares similar to the button boxes. We have an X row, a Y column, and a plus sign.
X+Y= _453_ 7___9 6___8 So, now there's an order to those buttons (3 through 9), at least. |
|
#9
12-28-2008, 11:05 PM
|
|||
|
|||
|
You are an insane genius, Brickroad. I've been wanting to tackle Rhem for ages - I can't just download the game like a civilised person, I have to either order a disk from a German website or pirate it from a torrent, and you know how many people are going to be seeding a game for people who found Myst pedestrian? Not many.
Edit: Although I loved how realMyst/Myst 5 actually let you wander freely. I think it'd be a big help for games like Rhem, where they try to be sneaky and hide things out of view. That's not sneaky. That's cheating. Last edited by Merus; 12-28-2008 at 11:21 PM. |
|
#10
12-29-2008, 08:48 AM
|
|||
|
|||
|
I am super excited about this Let's Play.
Quote:
Also, I vote we check out that little small brick building south of the round building as we now have access to it and we don't want to close it off involentarly with our experimentations. Also: Some of your screenshots are way dark. I couldn't even see the first cross button. Go forth, young lad, and adjust your contrast! Last edited by Loki; 12-29-2008 at 09:19 AM. |

|
#13
12-29-2008, 09:29 AM
|
|||
|
|||
|
Tsk, Parish is silly.
I don't think the number guide we have there is enough on its own - we've got two panels with that layout, and they can't both have the same combination. I'd expect that somewhere we find a red and purple series of numbers. I agree with Loki that we need to explore the square brick building first before we do anything. |
|
#14
12-29-2008, 09:39 AM
|
|||
|
|||
|
Quote:
|
|
#15
12-29-2008, 10:07 AM
|
|||
|
|||
|
Quote:
I still don't see the connection between the numbers. Subtracting and multiplying doesn't give us any better results than adding did. I don't think arithmetic is the answer. |
|
#16
12-29-2008, 10:35 AM
|
|||
|
|||
|
Loki, we still have the problem that we have to get two different sequences out of that somehow. I don't think it can be done in any logical fashion from just that sign. Let's see what the small room has to offer, and go from there.
|
|
#17
12-29-2008, 10:52 AM
|
|||
|
|||
|
The colour of this sign seems to correspond to the second button box - the first was purple, the second was red. I'm still trying to figure out what do do with the numbers, though.
The '4's in the grid highlight four white boxes - could those be the ones you have to press? I doubt that that's the answer, but it's something I would try if I were playing. Otherwise, I'm going to echo Merus RE: more exploration. |
|
#19
12-29-2008, 09:15 PM
|
|||
|
|||
|
Okay, I'll fess up. I didn't actually leave you guys with enough information to actually solve anything yet. It's not exactly a dick move on my part though; I haven't been hiding or holding anything back, it's just the game hasn't given us enough clues yet. This is another way RHEM is really different from Myst. In Myst you have five (or six, in the case of RealMyst) quarantined worlds with puzzles and clues which are all self-contained. If you don't understand something in a Myst age, you have a relatively small area to scour. RHEM is a huge, sprawling mass by comparison. Clues and puzzles are everywhere, and a puzzle's clues aren't necessarily anywhere near the actual puzzle. What's worse, it's very possible for two spots in RHEM to be geographically close, but not actually easy accessible from one another. It's a long walk from the place I was standing when the railcar thief came out to greet me up to where he was.
That's just how RHEM goes. Don't think that because I showed you a puzzle (like the floating bridge by the Red Button Box) you'll be solving it anytime soon. And don't think that just because you've seen a clue (like the sign by the entrance) you'll be using that knowledge in the next puzzle you find. Anyway, Loki had it in his head to check out the crashed railcar. Okay, I can dig on that. (And hopefully the images are easier to see.) 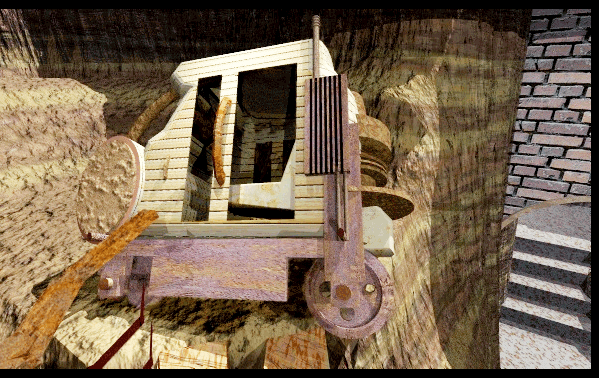 There ya go. That's it. Nothing to interact with here, it's just scenery. This is actually probably the only piece of fluff in the entirety of RHEM, by which I mean it's the only decorative object that doesn't help solve any puzzles, nor does it contain any puzzles within it. All you can do with the crashed railcar is look at it, and this is as close as you can get. I'm about to launch into another tirade about adventure game design, so if that's not your bag just page down to the next picture. The wreckage of Thiefmeister's railcar illustrate two things I think RHEM gets really, really right that a lot of adventure games get really, really wrong. First, it's not here a red herring. Because it doesn't do anything, it won't send you down on a false trail searching for clues that don't exist. Remember the neat little magic toys in the brothers' bedrooms in Myst? I probably spent an hour playing with that block-and-ball thing, watching the animation over and over, completely convinced it was relevant to the age's puzzle. There was the huge bookshelf full of tomes that offered interesting backstory, but not a lot of information on how to solve the game. The railcar, by comparison, is just there. The guy told us he crashed it, there it is, end of story. Every single thing in RHEM that you can touch, interact with or make move is puzzle-related in some way. The other thing is a bit more subtle, but I really appreciated it. I've mentioned RHEM doesn't have an inventory. Part of what that means is that it doesn't have any arbitrary puzzles. Let's add a simple crashed-railcar-related puzzle, just for the sake of argument. Say you had to reach in and salvage a gear from the railcar, which you used somewhere else in the game to make a machine work. Pretty simple puzzle, sure; find a gear early in the game, later find a device with a missing gear, Peg A into Slot B. But now envision someone in my exact position in RHEM, but where no railcar had crashed. That person's game would be unsolvable. The missing gear puzzle only works if some event completely unrelated to RHEM occured at some point in the past. That means that RHEM is, on its whole, like a great big toy. It has no missing parts and you can't break it. Every single solution is logical and absolutely everything is fair, and it's pretty much impossible to randomly tumble into a puzzle's solution. Every ounce of progress you make is the product of keen observation, elbow grease, or both. I'm sure I'll lapse into a few more of these adventure game lectures before it's over with, so I apologize in advance. No I don't. 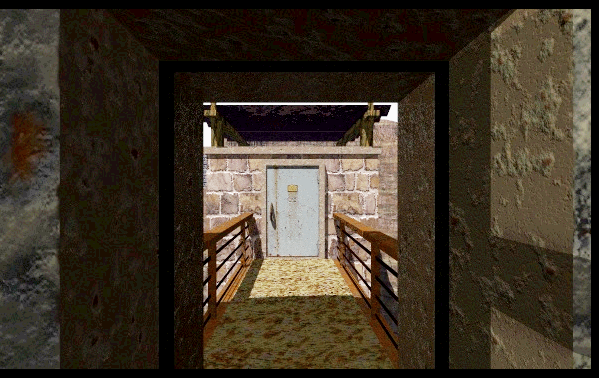 Let's explore the square building, shall we? Back into the Round Building then out the south exit we go. 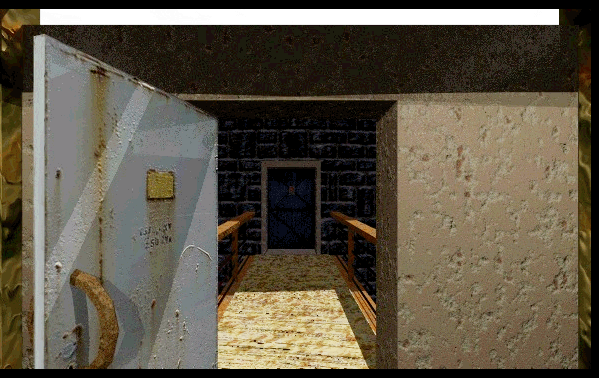 You're about to learn an important RHEM lesson. Here I am standing in the small building facing north, looking at the Round Building through the open door. The lesson is this: 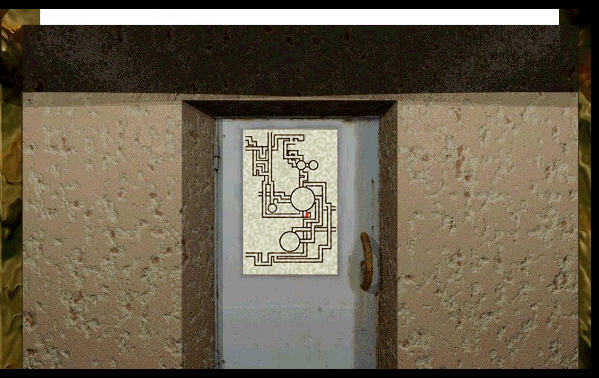 ...look at every door from both sides. If you can open and close a door from both sides, that means there's a reason for it to be closed from both sides. And if you can't close a door from both sides, but you can get into the room from another direction, that means you need to close it and navigate your way into the room some other way to take a peek. 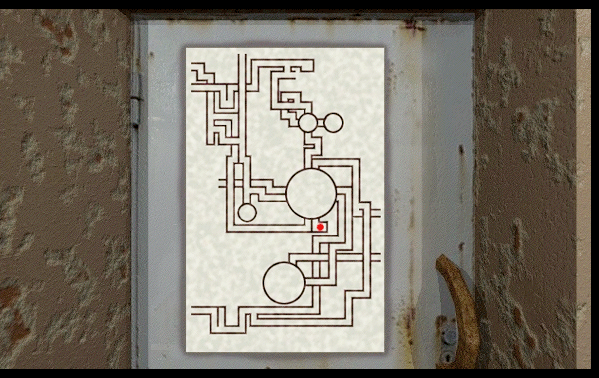 This map shows most of where we've been so far. The red dot is our current position, in what I'll call the Control Room. We can see the Round Building, the rotating bridge in the circle just north of it, the Arrival Point in the circle to the south, the Canyon south of that, and lots of twisty passages to the west and north we haven't visited yet. As expected, there are definitely two paths leading out of each cardinal direction from the Round Building: one on the top level and one on the bottom. We've been through both doors in the north and east, just the upper door to the south, and haven't been through either door to the west.  This viewscreen is mounted on the east wall. Let's take a look. 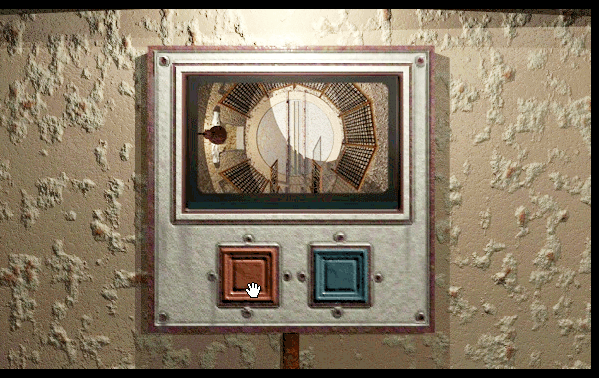 The red button activates and deactivates a camera overlooking the Arrival Point. No doubt The Great Train Bandit was in here watching us as we arrived and then staggered out into the world. Dastardly! 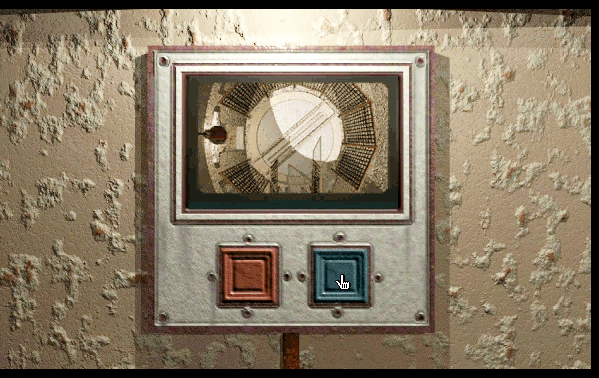 The blue button rotates the circular plate in the Arrival Point 180�. This doesn't do us any good now, obviously, since there's no train sitting on the tracks! 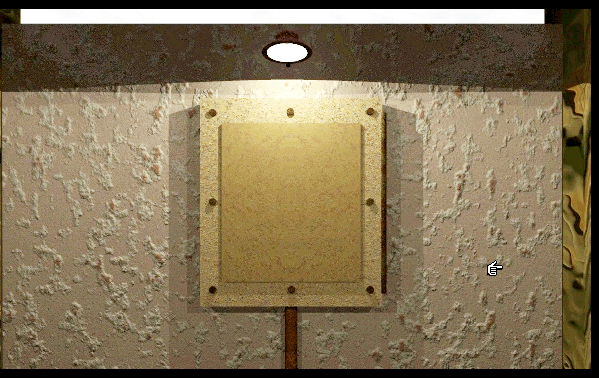 On the north wall is a box of some kind. Many of RHEM's puzzle controls are located in boxes like this, probably so the designer didn't have to render the puzzle in each individul state from more than one position. 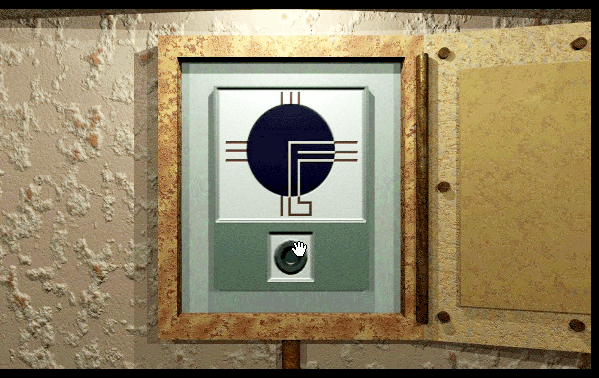 Here's what the box looks like opened up. It's just a diagram and a single button. 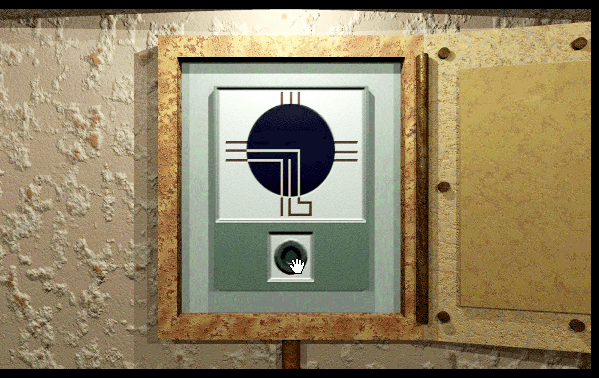 Pressing the button rotates the center of the diagram 90� clockwise. 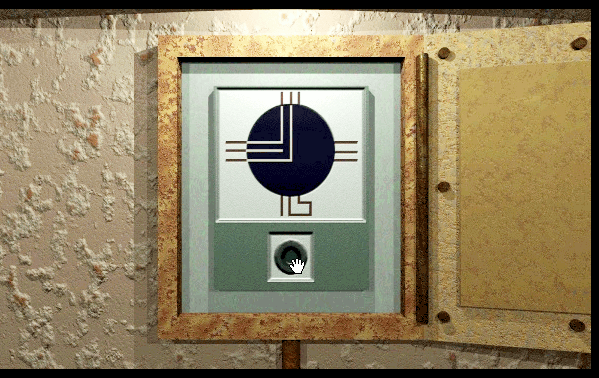 After the second press... 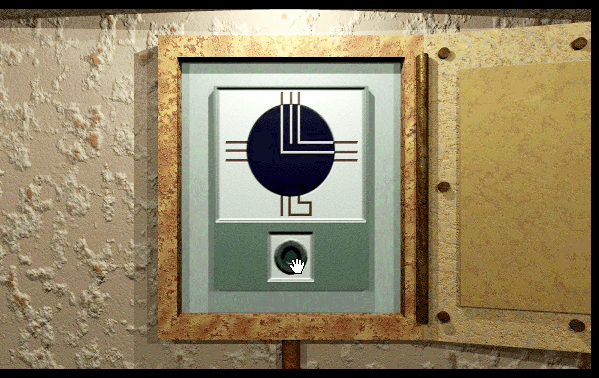 ...and the third. There's something on the last wall to check out, so I'll leave it in this position for now. 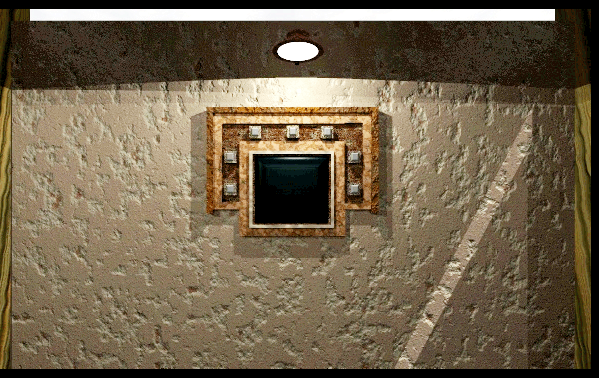 Hey now, this guy done looks familiar! Last edited by Brickroad; 01-07-2013 at 02:15 AM. |
|
#20
12-29-2008, 09:17 PM
|
|||
|
|||
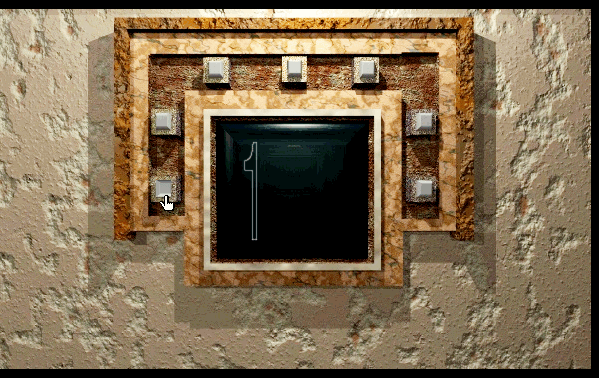 It's a Button Box, except the buttons are white instead of purple or red. And instead of doing nothing, each button makes a number appear onscreen. The numbers always appear in the same order, no matter which buttons get pressed. Let's just hit four random ones. One... 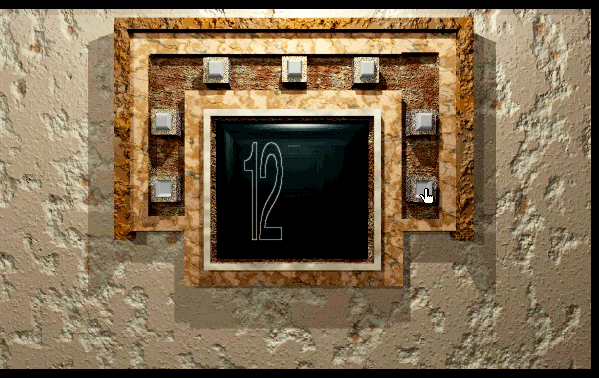 ...two... 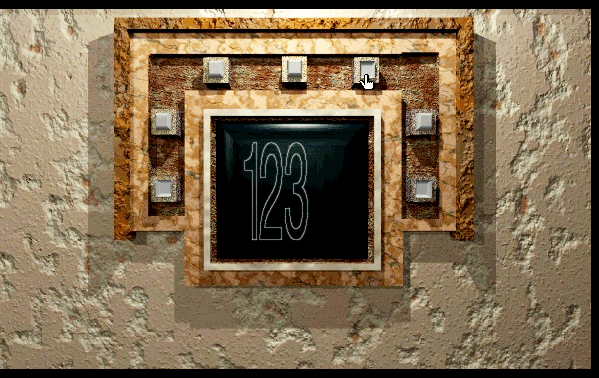 ...three... 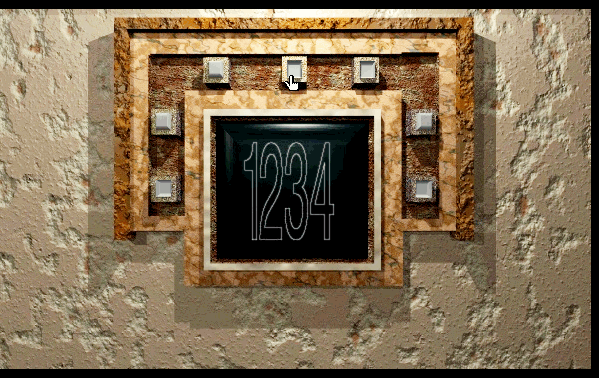 ...four. 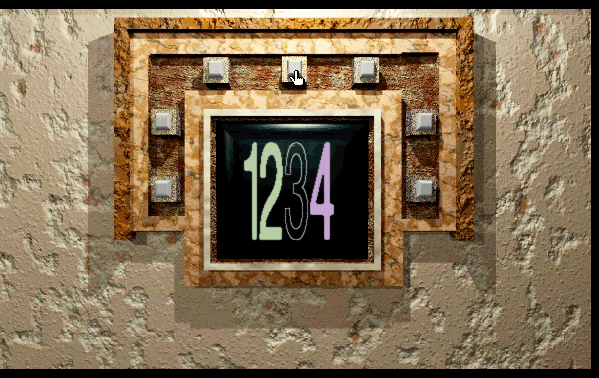 The buttons then pop out and the numbers change color. That sequence of buttons gave me a green 1, a green 2, a black 3 and a purple 4. Pressing a different sequence of buttons gives me the same numbers but different colors. Let's label the buttons A..G, starting with the lower left one and going clockwise. The sequence we just tried was AGED. Just to be sure, I tried AGED a second time and got the same colors. Here are a few more sequences:  ABCD 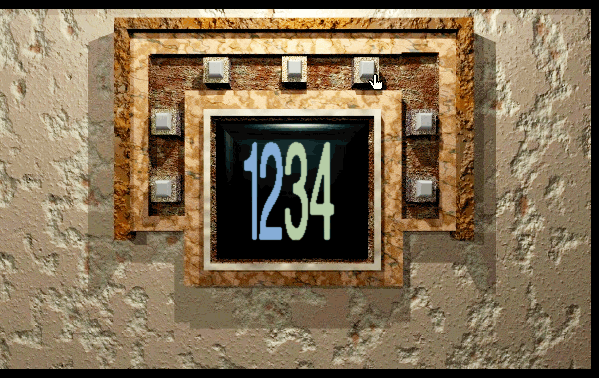 BCDE 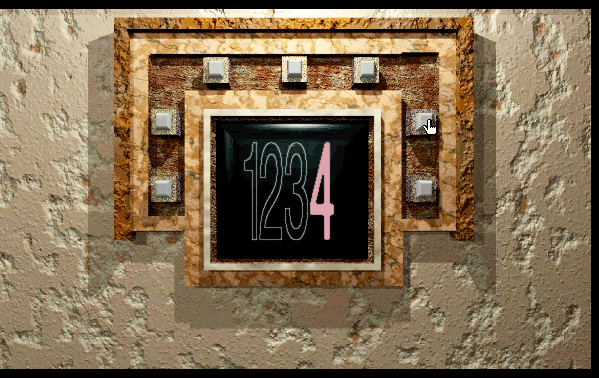 CDEF 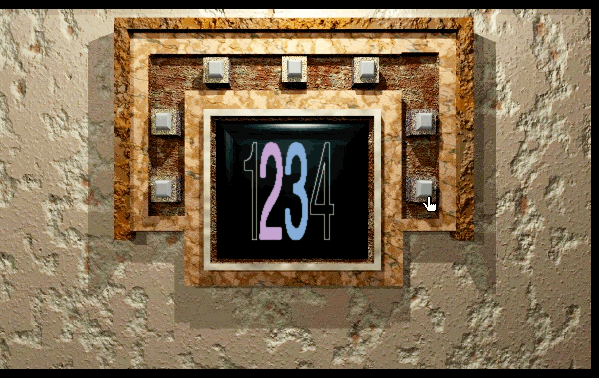 DEFG 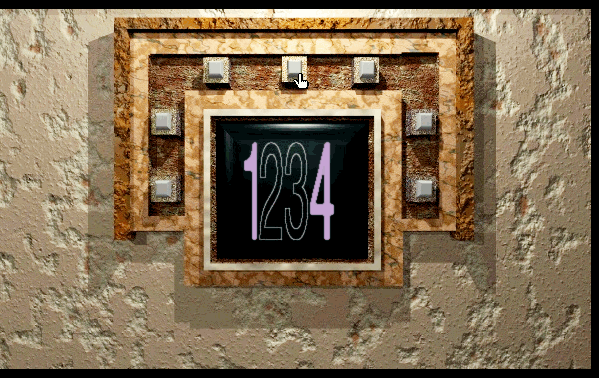 GFED 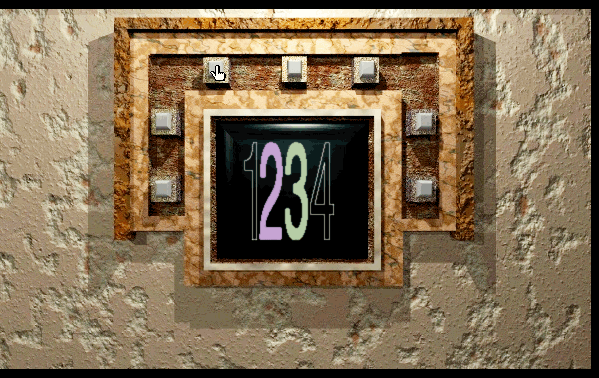 FEDC  EDCB 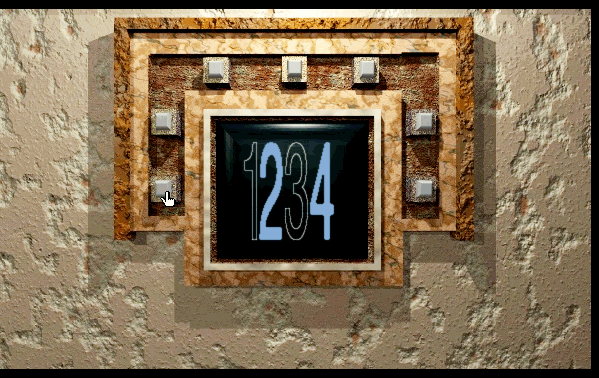 DCBA I think I've pretty much played with everything in the Control Room now. Time to head out. 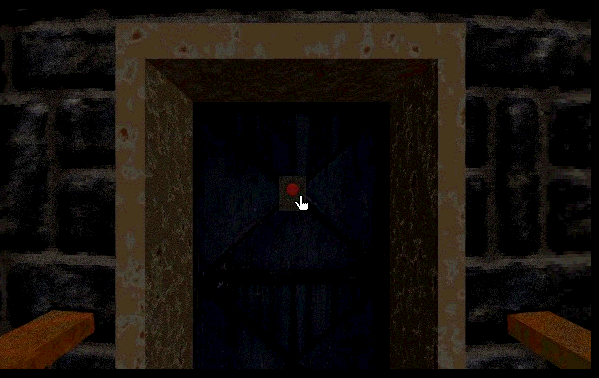 Consarn it all to tarnation! The door to the Round Building won't open! Something I did in the Control Room must have locked it! 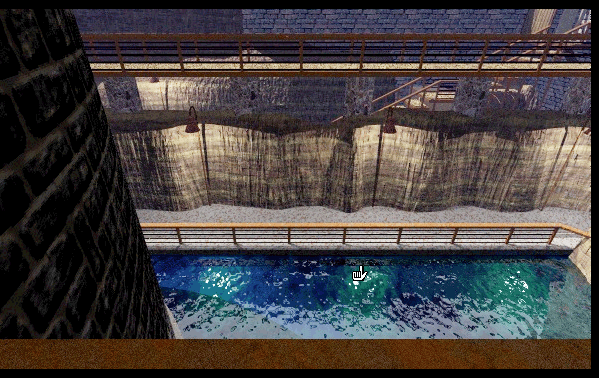 I don't think we can jump off from here either, it's a long way down. Looks like we're stuck here until we figure out what we did, gang. Any ideas? UNRESOLVED ISSUES:
Last edited by Brickroad; 01-07-2013 at 02:20 AM. |
|
#21
12-29-2008, 11:01 PM
|
|||
|
|||
|
Just want to say that while I simply don't have the spare time/brainpower to participate actively in this LP, I look forward to catching up with it when time allows. It looks awesome and I like the idea, so good luck.
|
|
#22
12-29-2008, 11:39 PM
|
|||
|
|||
|
I'm really starting to like this idea. All right, I'll let someone else worry about rotating puzzles, because I see colours and numbers over here...
Assuming that black isn't a colour here (since that's the colour of half-entered codes), the numbers can turn purple, red, green, and blue. We've already seen the purple and red button boxes, so it's safe to assume that there are blue and green ones around here somewhere. Now, in all cases where D was pressed fourth, it was purple. Same goes for when C is pressed third. Also, nothing else turned the 3 or 4 purple, so I think that there should be a unique sequence that will result in a purple 1234, which would be very tempting to use on the purple box. And there is! Purple: GECD Red: EB?F Green: A?DE Blue: B(C/D)FA Ah, and there's my problem -- two different buttons turn the 2 blue. Still, we haven't seen the blue box yet. Maybe there'll be something different about it. For the time being, I'd like to find out what gives a red 3, and hold on to those codes for the next time we see those boxes. Of course, first we have to get out of here. |
|
#24
12-29-2008, 11:52 PM
|
|||
|
|||
|
Number colors pretty obviously correspond to the order buttons should be pushed on the boxes of that color. There must be some yellow (green?) set of buttons that we haven't found yet.
I'd be willing to bet rotating that diagram has something to do with the door not wanting to open anymore! This game seems pretty neat. |
|
#25
12-30-2008, 01:54 AM
|
|||
|
|||
|
Quote:
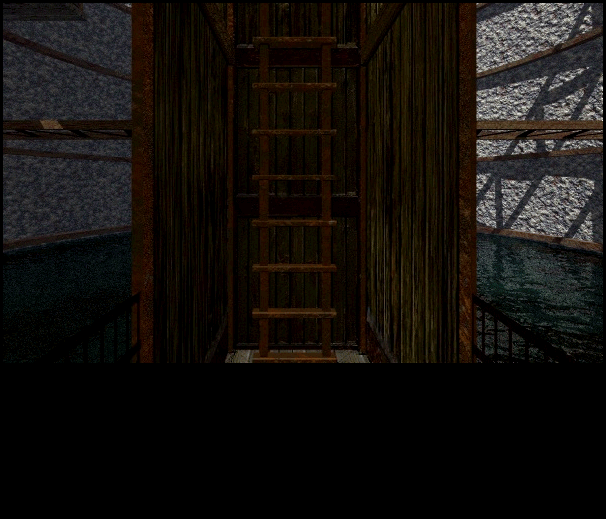
 Lucas has a solid idea. 6 and 9 o'clock you say? Like this? 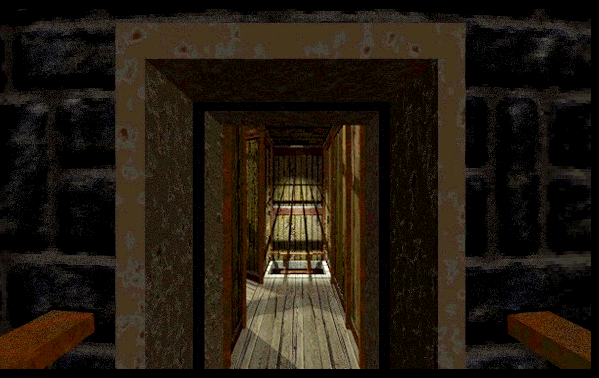 Success! The door opens. Clearly that diagram controls the position of the wooden hallway inside the Round Building. This must be how Trainstealer McThieferton managed to alter its direction while we were out and about. The hallway is positioned in a new direction this time: off to the west. Let's head that way. 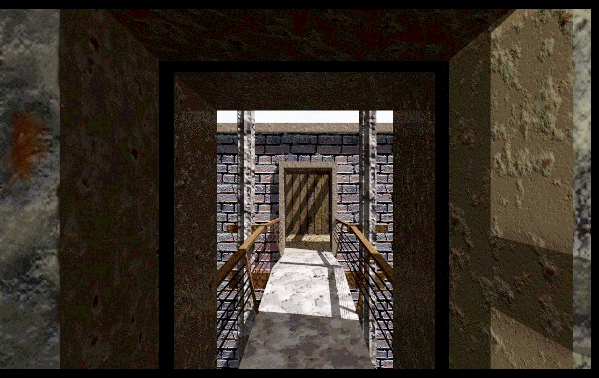 The upper-west door opens into a new area of RHEM. 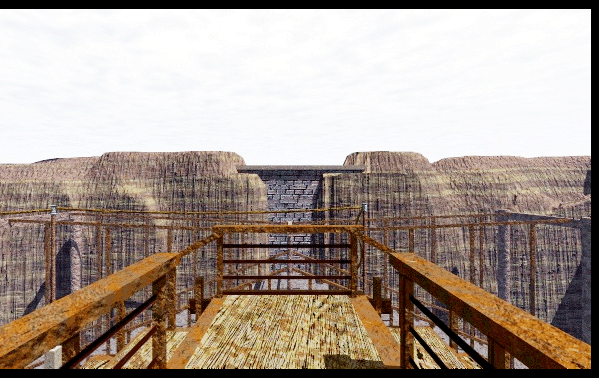 We proceed forward through the small door way and end up at this forked catwalk. We have paths leading off to the north and to the south. There's a path below us that's heading off to the west, too, but we can't get there from here. 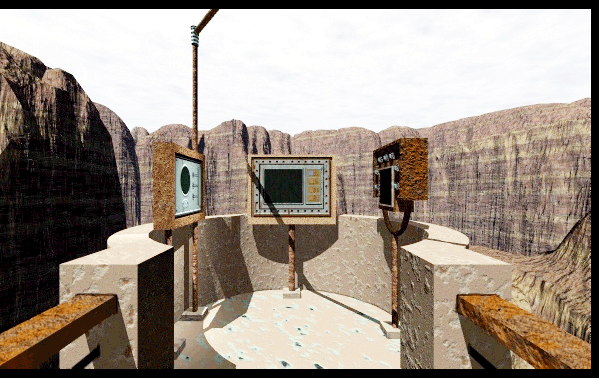 Heading north brings us to a ring of machines to play with. Have you noticed by now that RHEM has absolutely no shortage of machines to play with?  The one on the right is the Blue Button Box. It reacts just like the others we've seen so far. Looks like you guys might be making headway on the combination for these bad boys; I'll make a note to head back up to the Control Room and fiddle with the White Button Box some more next update. 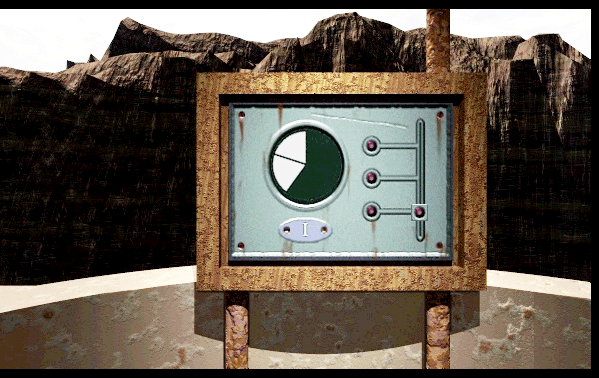 The machine on the left is very curious. The slider defaults to the top, and I can slide it to the bottom. It then clicks back up to the top, stopping at each of the three notches. When it stops it shows me a new design. Here's the bottom one... 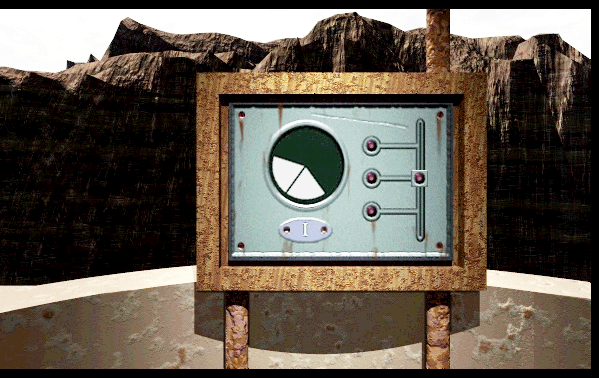 ...the middle...  ...and the top. But wait a minute.  When I do it again... 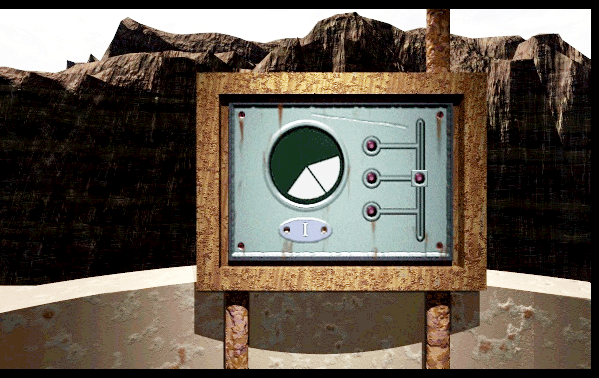 ...it looks as though...  ...I get a completely different set of designs. There's another clue here, however: the pipe sticking out of the top of the machine. Surely it's connected to something. 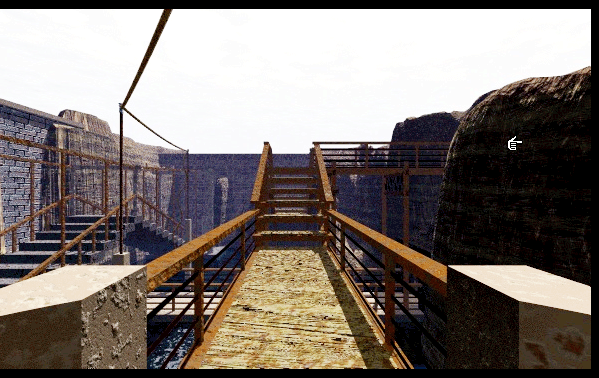 Turning around and facing north we can see a wire extending from the pipe on the machine off to our left, near the fork in the catwalk. 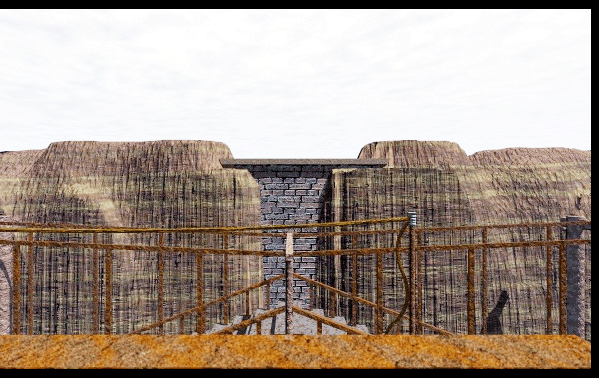 Taking a few steps back to the catwalk, yep, there's a yellow wire that runs over here and then coils downward. 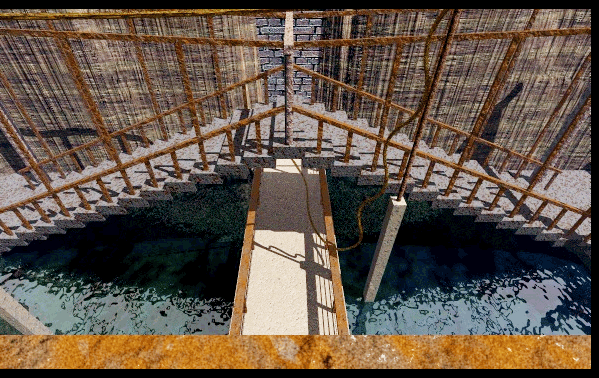 Looking down, our yellow wire runs down onto a lower-level pathway and underneath an arch stairway, then disappears off to the west. Last edited by Brickroad; 01-07-2013 at 02:22 AM. |
|
#26
12-30-2008, 01:57 AM
|
|||
|
|||
 The middle of the three machines has four buttons and a viewport. It accepts two inputs, and then gives one of three different types of feedback.   This is what the viewport shows if I press the top button then the second, or the top and the third. It doesn't matter what order I press the two buttons in. It displays the first picture for a moment, then the second, and then goes dark again. Trying to push the top and bottom buttons together gives me a BZZRT!. 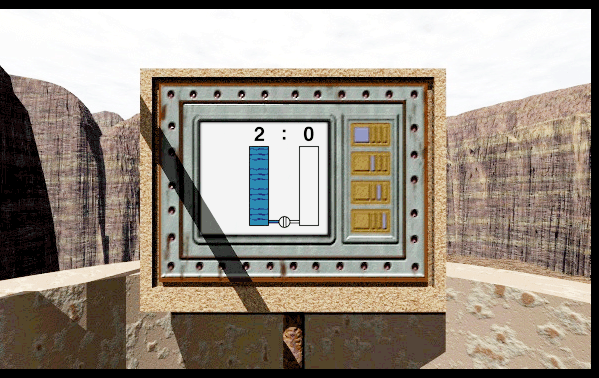 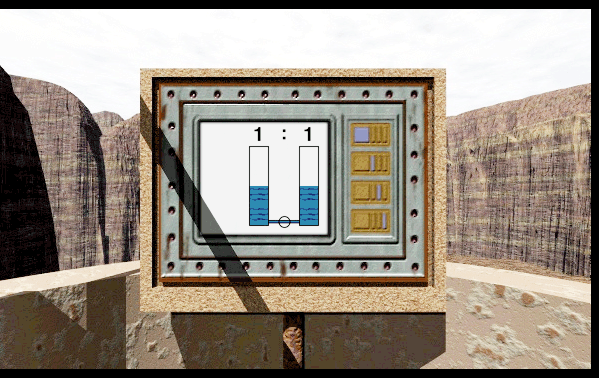 I get this if I press the second and buttom button, or the third and bottom. Pressing the second and third buttons gives me a BZZRT!, too. It's pretty clear this machine is showing me something to do with water tanks, although it doesn't seem to be hooked up to anything.  Leaving the three machines behind and heading north along the catwalk we approach another stone doorway.  This one exits out onto a bridge which looks to continue north, but also connects to the top of a building to our left. Say, that looks like a Button Box! 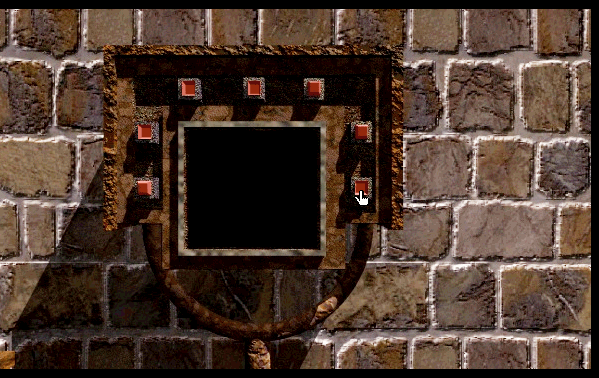 That it is. It reacts just like the others, but... didn't we come across a Red Button Box already? It was down south, past the Canyon, near that floating bridge we need to eventually raise. 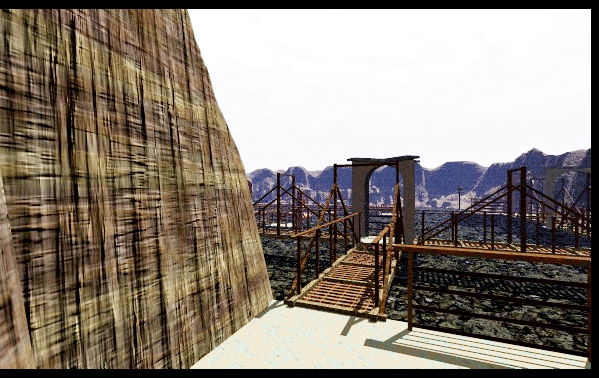 We leave our Red Button Box behind and continue on our road to the north, eventually coming out on a lake. This is the area labeled Reservoir on the map. Right now I'm standing at the entrance looking northwest over the first bridge. 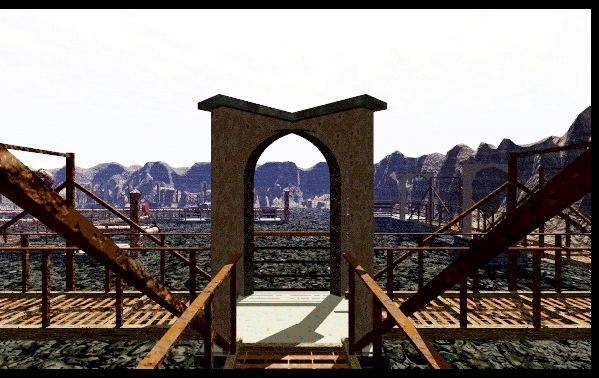 One step onto the first bridge and we're greeted with a fork. We're going to take the path to the east first.  A few steps east the path turns north, then a few steps further it turns west again. So we're standing at the eastern edge of the Reservoir, facing west... where we find this viewing device. 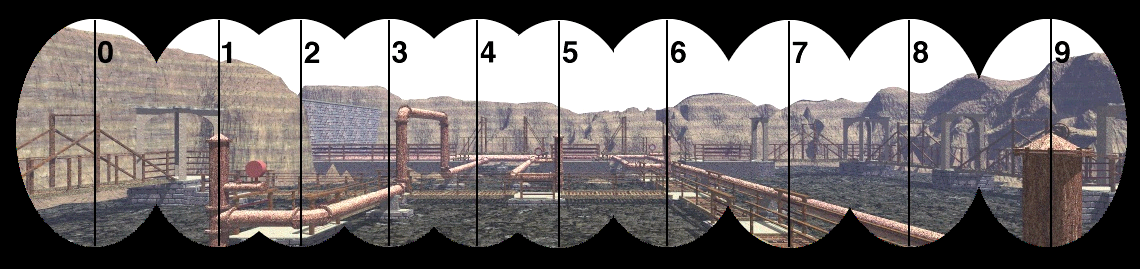 The viewing device displays an oval-shaped view of the Reservoir which can be panned to the left and right. I took the liberty of just stitching the whole thing together for easy reference. It's a great view of the entire place, criss-crossed with pipes and bridges and other odd devices. 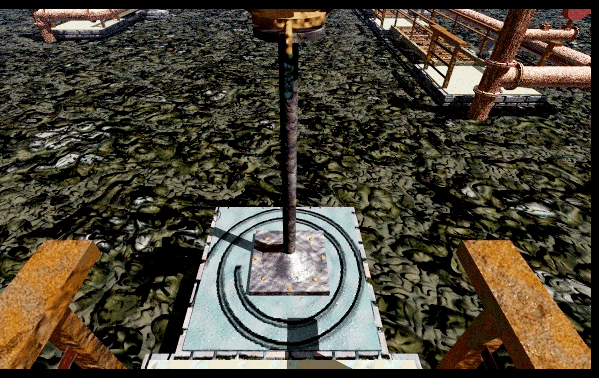 The base of the viewing device has a strange spiral pattern around it. 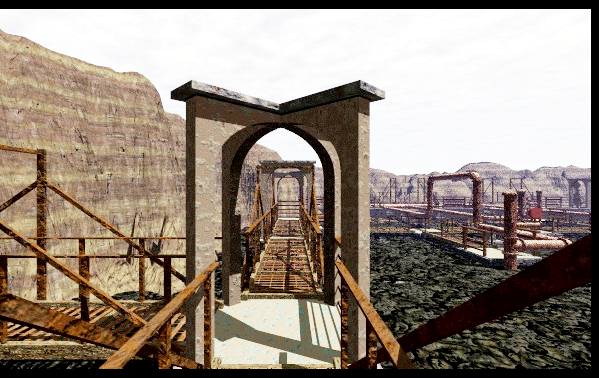 We've done all we can do with that viewer. Here we are back at the entrance fork, this time facing west. 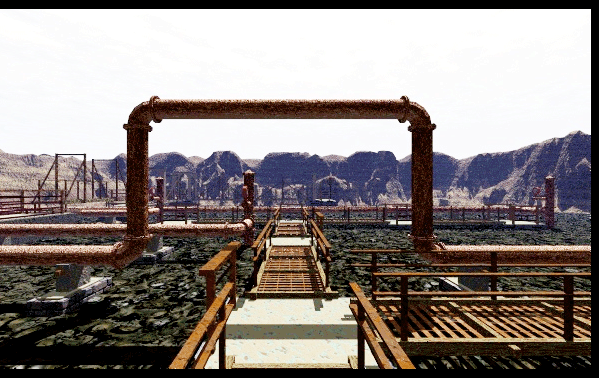 A couple steps west and the path turns right. Now we're facing north, about to cross underneath the large pipe we saw in the viewer. There's a short bridge extending to our right (east) from here, so let's check it out. Last edited by Brickroad; 01-07-2013 at 02:24 AM. |
|
#27
12-30-2008, 01:59 AM
|
|||
|
|||
 It's a pressure valve of some kind. We can also see the viewer off to our left. 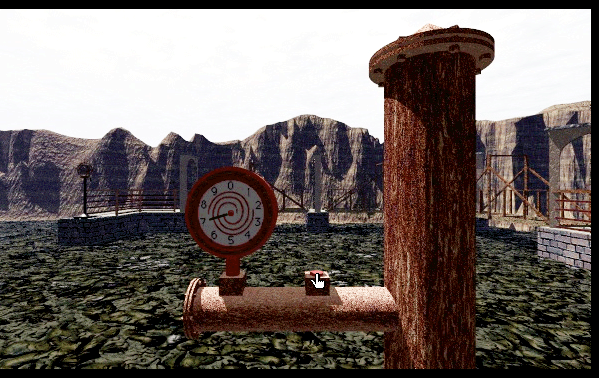 When I hold the button down the gauge ticks clockwise until it lets out a DING! on the 7. It stops there, and when I let go of the button it resets. No matter how many times I do this, I always get a reading of seven. 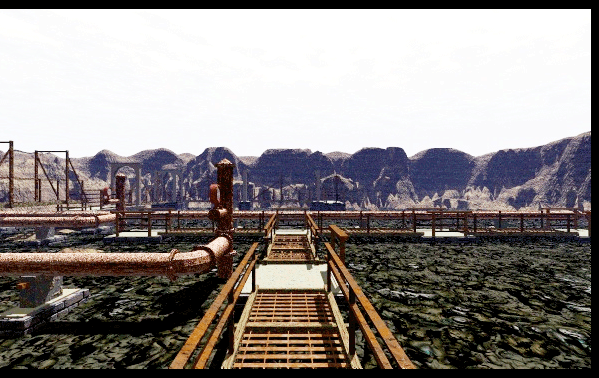 Back to the main path and heading north, it looks like another gauge is ahead on our left.  This one only reads 2. 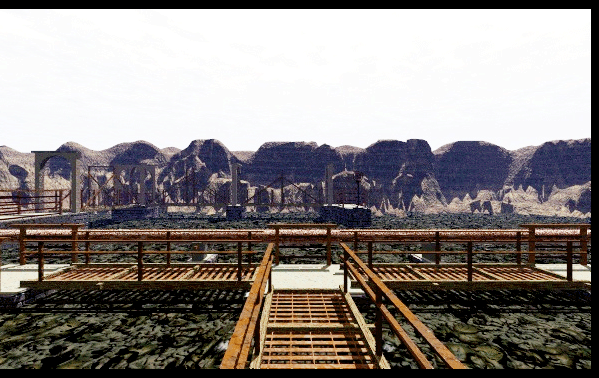 A couple steps north is the last fork. If you look very carefully you can see a path that curves around off in the distance, dead-ending with another viewer device, this one facing south. 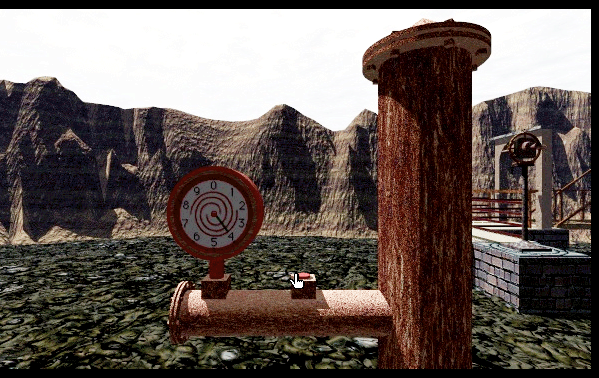 Taking the last fork to the east brings us to this valve, which reads 4. Nearby (to our right) we can see the viewer we've already visited. 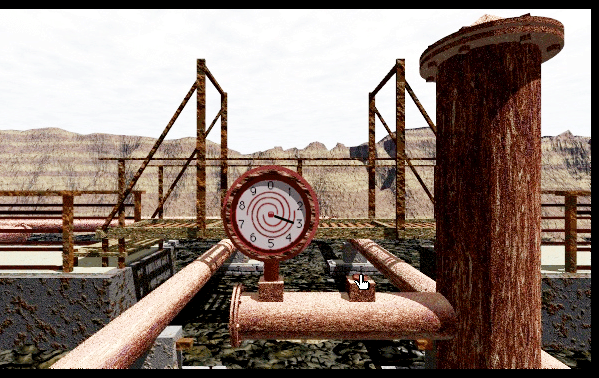 Finally we turn around and take the bridge all the way to the west and find the last valve, which reads 3. We also get a great view of the north/south path that leads around to that second viewer, but the bridges we're on now do not connect to it. Our tour of the Reservoir is over, so let's head back south to the Red Button Box we found and check out the building it's sitting on. 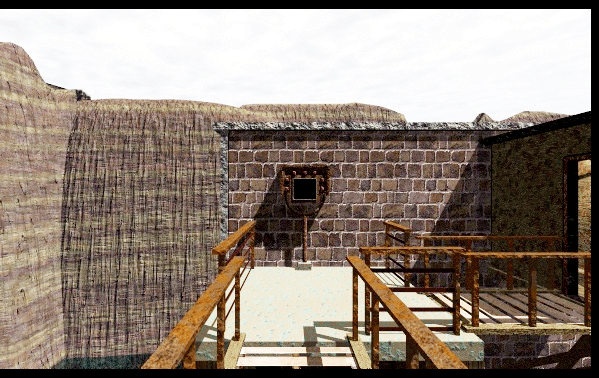 Yeah, that's the one. This is the small retangular building labeled Manhole on the map. 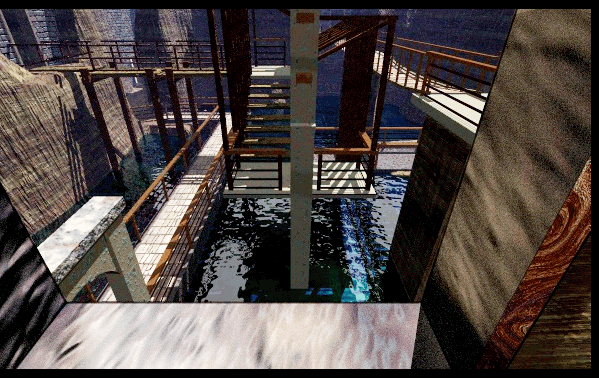 Stepping north through the doorway we're greeted with this window. We can peer out over a dizzying knot of catwalks and stairs. 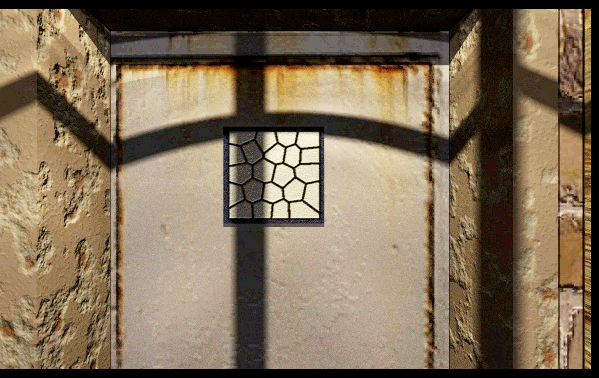 Turning west we're greeted with a door which has a funny pattern on it. I don't suppose it's just there for decoration, but oddly it doesn't seem to actually convey any useful information. 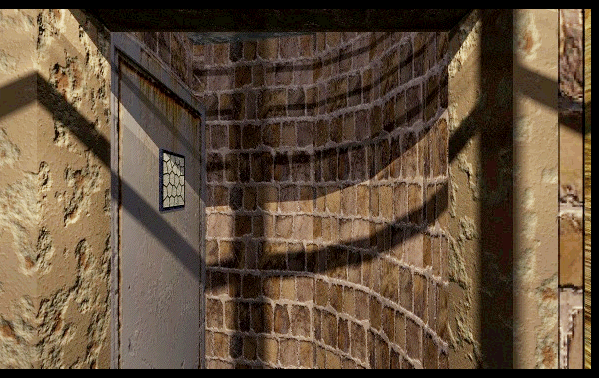 In any case the door isn't locked.  The door opens into a tiny cubby with a manhole in the floor. (I guess that's what makes this the Manhole Building.) The manhole looks like it's barred shut from this side. How fortunate! Last edited by Brickroad; 01-07-2013 at 02:25 AM. |
|
#28
12-30-2008, 02:01 AM
|
|||
|
|||
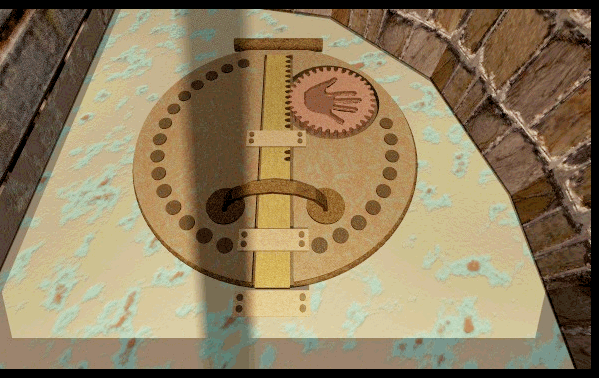 Turning the hand-shaped plate allows us to slide the bar away. 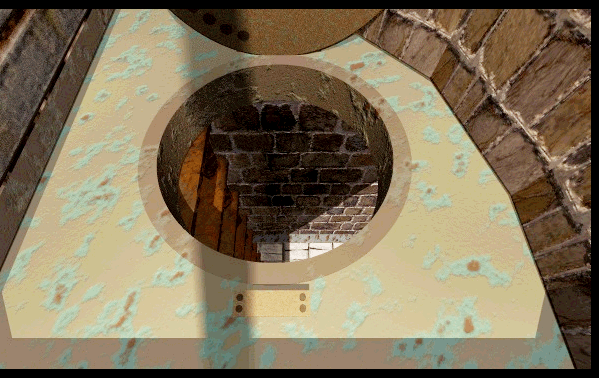 And now the manhole is open, and we can get down to the lower level! 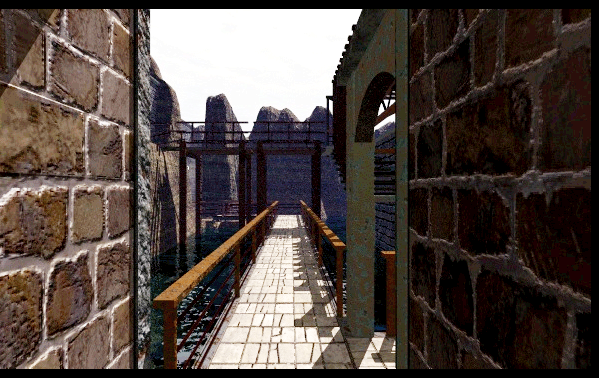 Here we are at the bottom of the ladder, facing north. Our path continues on in that direction, but also turns east through an archway. We'll head that way first.  The path quickly turns right and heads south along this lower-level catwalk. 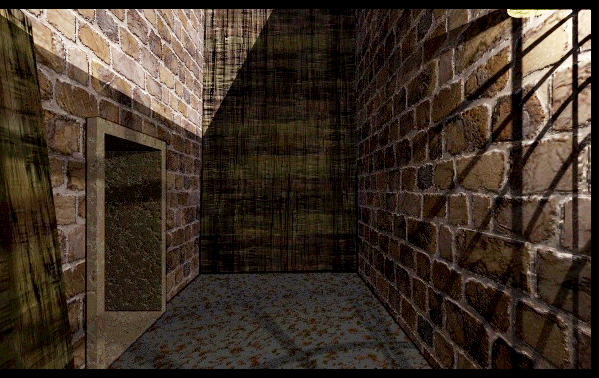 The path is pretty straightforward, although it does zigzag through this small building. 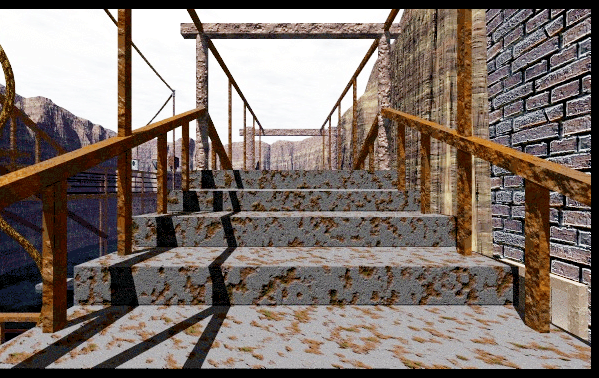 Continuing south we arrive at a staircase. Hey, wait a minute... 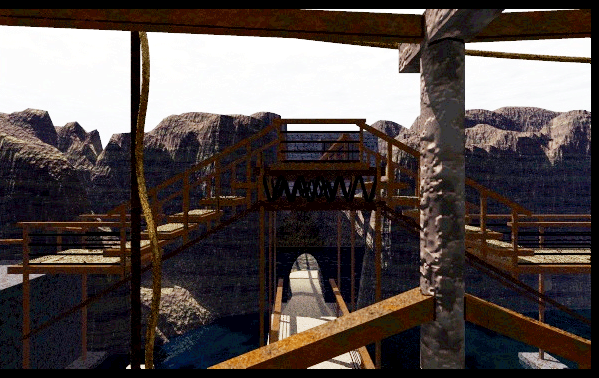 There's our yellow wire from before! It runs downward and then off under our feet, to the west. 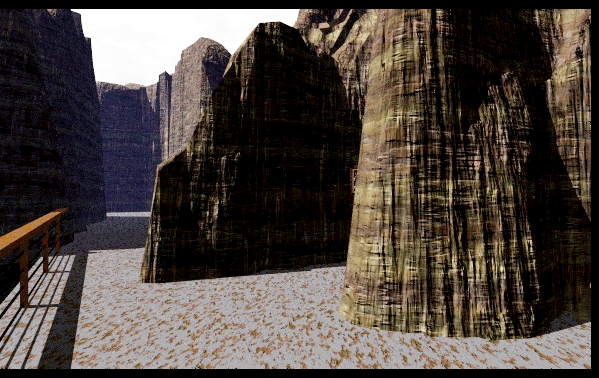 The stairs give way to an area of natural rock not unlike the Canyon from earlier. There seems to be a small niche in the wall off to our right. 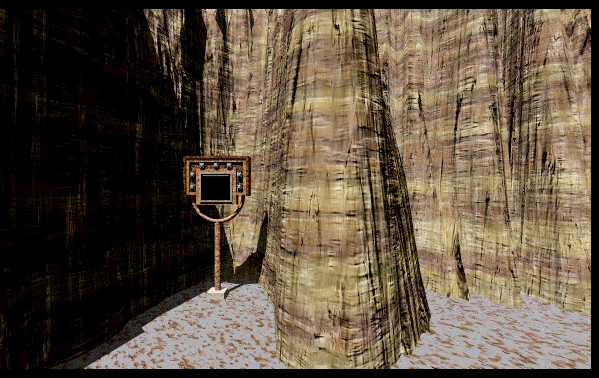 So there is! It's another Blue Button Box. 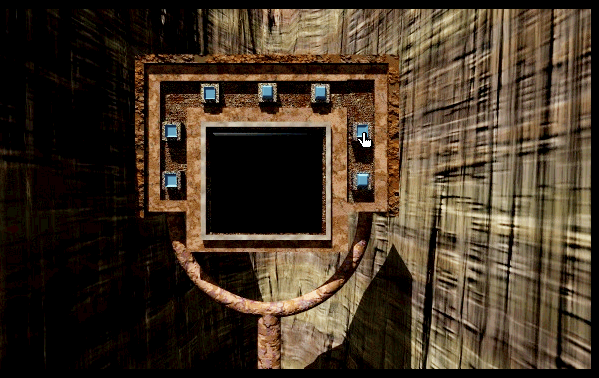 Still no reaction just by pressing random buttons. 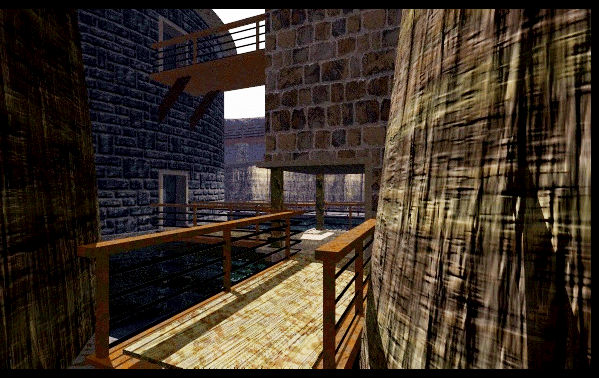 The stone path turns east, eventually meeting up with the southern side of the Round Building. 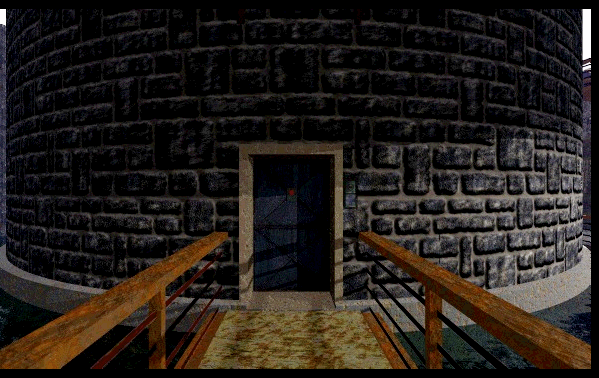 We're home! 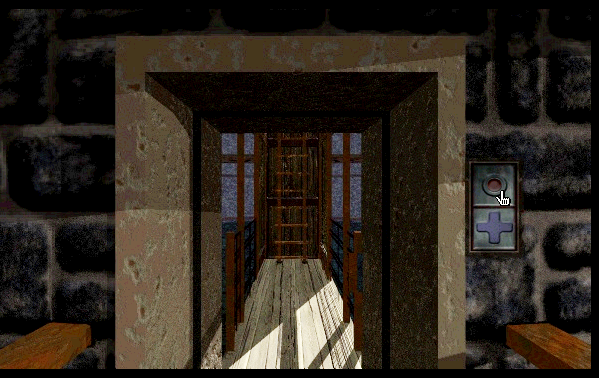 Fortunately we left the bottom path in place at this door, which zips open. Gee whiz, it woulda sucked to come all this way then have to turn around and go back, wouldn't it? The cross button still doesn't do anything though. 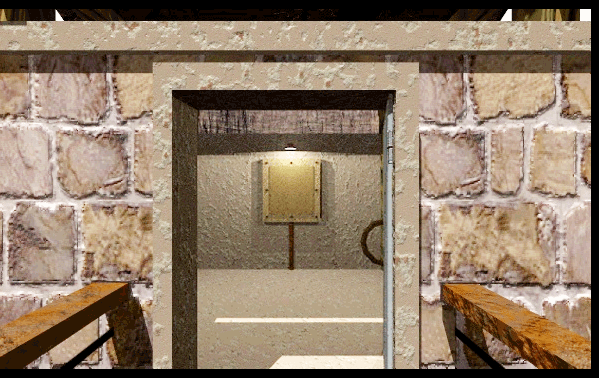 Up the ladder and out the upper-south door, we arrive back at the Control Room. Sure, we basically just walked in a huge convoluted circle, but hey, walking in huge convoluted circles is what RHEM is all about. And besides, I promised I'd come back and fiddle with the White Button Box some more now that you guys think you've got it figured out. I'll handle that next update. UNRESOLVED ISSUES:
Last edited by Brickroad; 01-07-2013 at 02:26 AM. |
|
#30
12-30-2008, 09:51 AM
|
|||
|
|||
|
Whoa...
I really, really like this LP, but I think it is really getting overwhelming fast, what with all these screenshots. Perhaps we should think about a way to easily link to all the necessary parts. One, if it wouldn't be too much work for you, Brick, you could incorporate links to the appropriate screenshots in the UNRESOLVED ISSUES section, so that someone willing to participate could easily overlook the matter at hand. Of course you wouldn't include undetected hints in this section. Probably a link to the map at the end of each entry would help, too. The best, of course, would be that the map in itself would contain links to screenshots of each area, but that would be very much, indeed too much work, I think. As for the puzzles, I don't have my head wrapped around them at the moment, the only one clear to me was the colored code boxes, but that issue seems to have been resolved for now. |