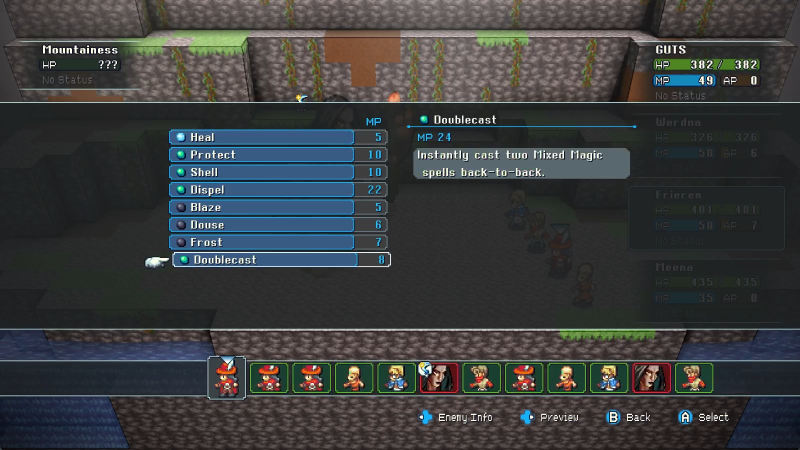
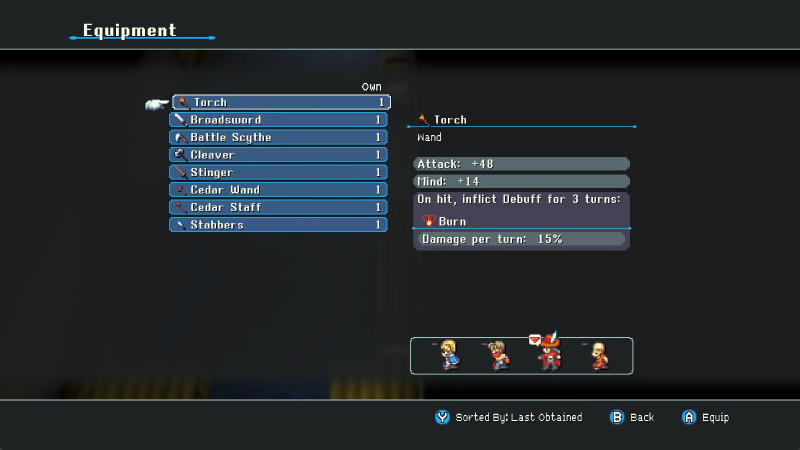
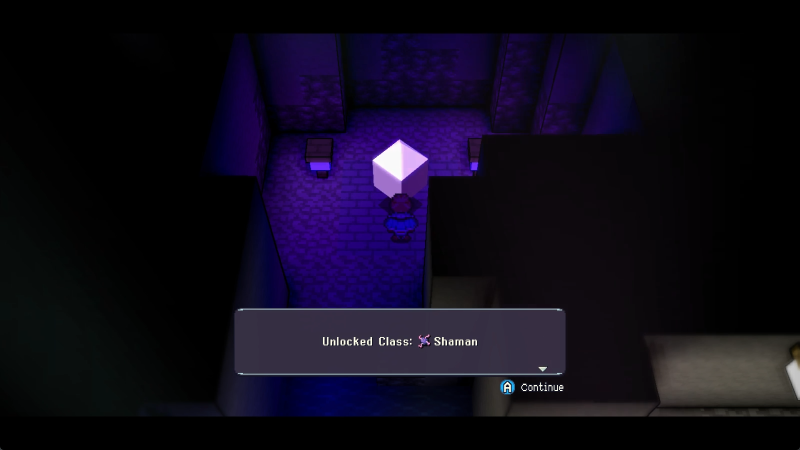
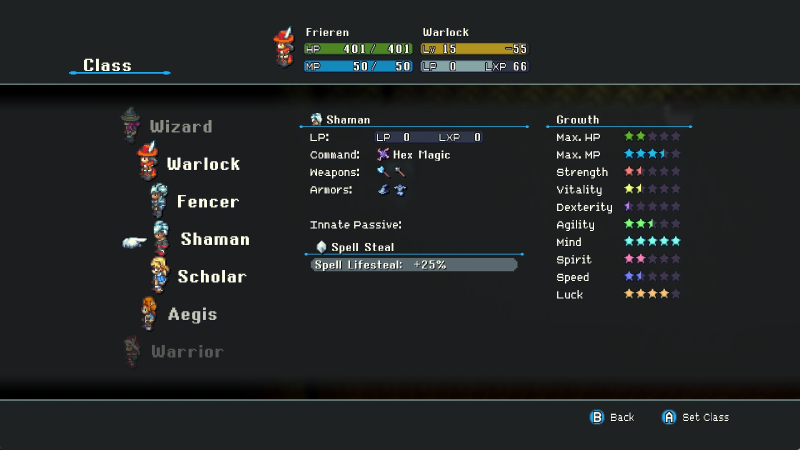
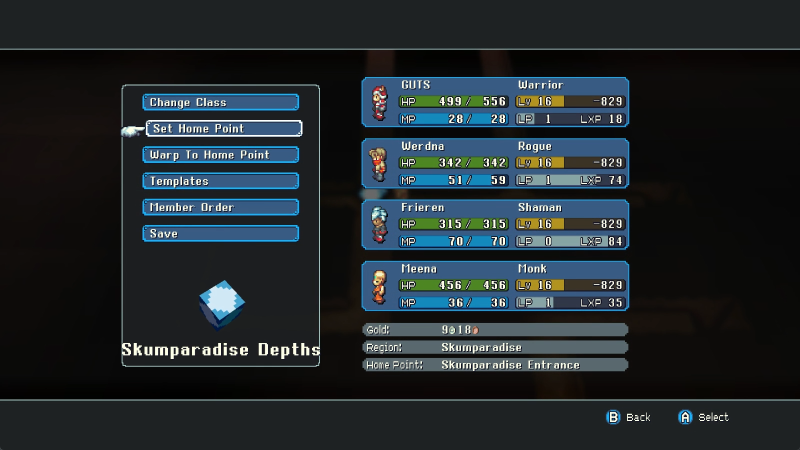
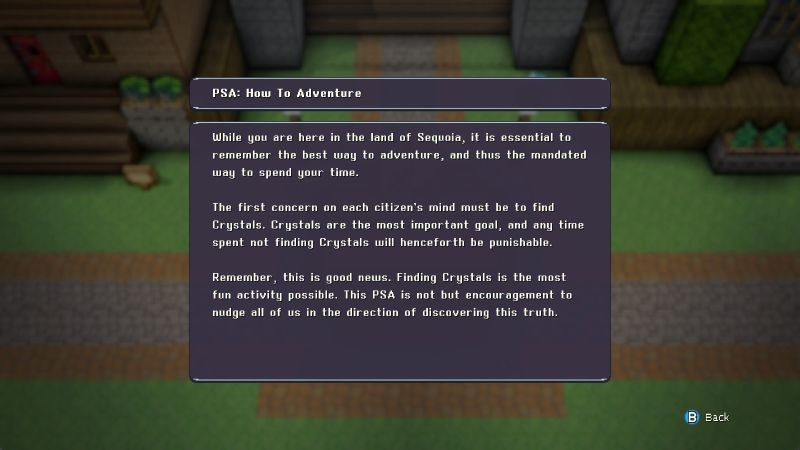
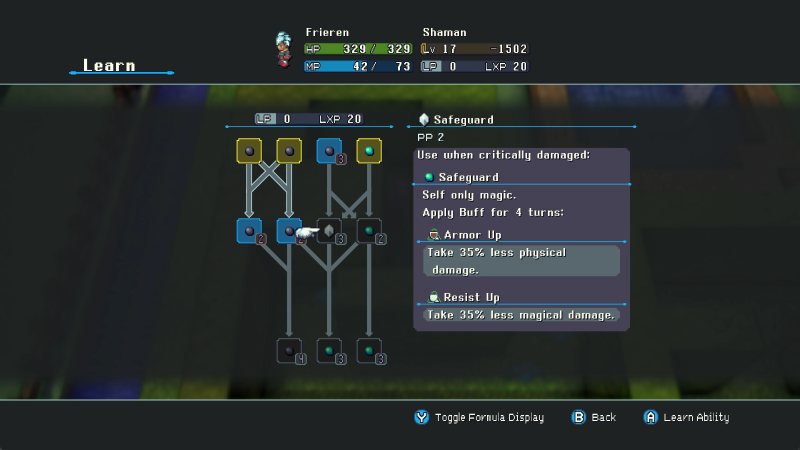
One change-up to the roster to start: it's time for Frieren to get her first class change, this one to Shaman.
Here's her new equipment set. The Torch is an especially nice pick because it means she doesn't have to use Blaze to stick Burn on the enemy, but other than that this is extremely business as usual.
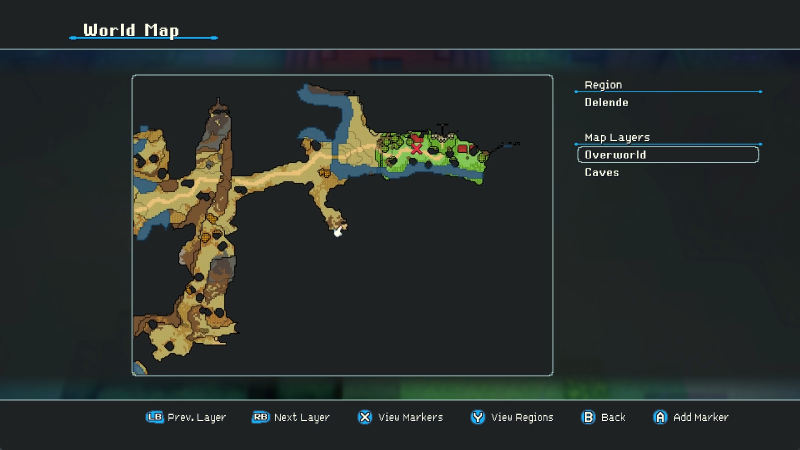
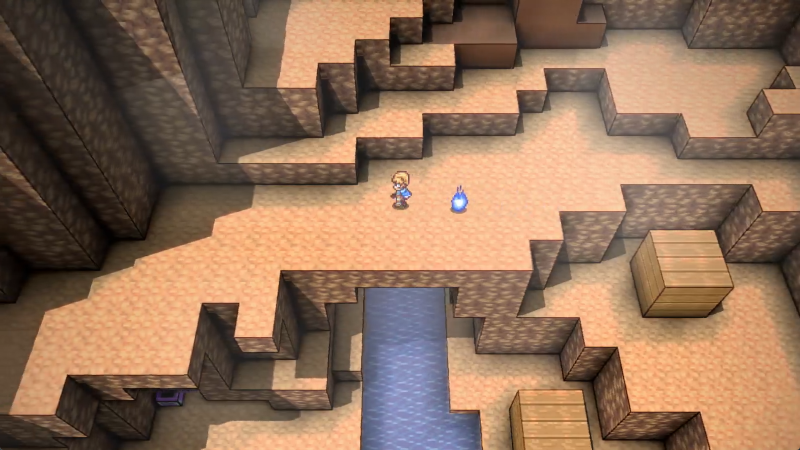
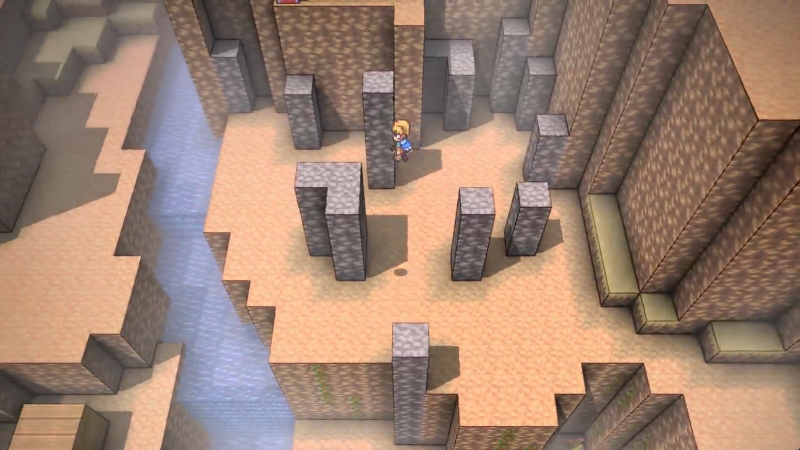
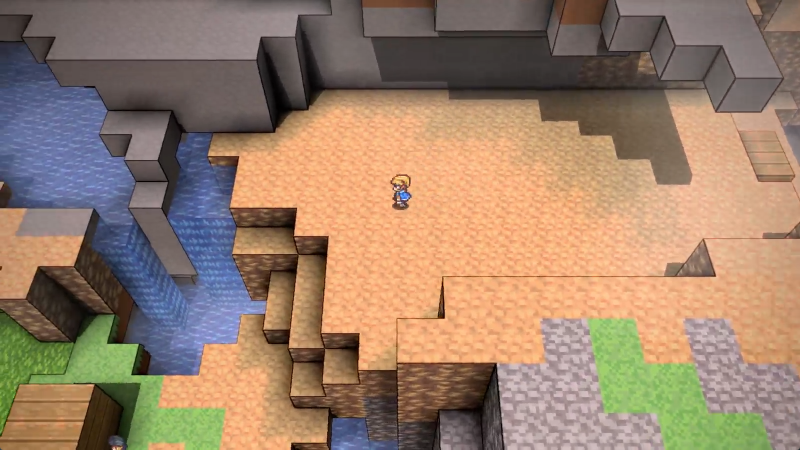
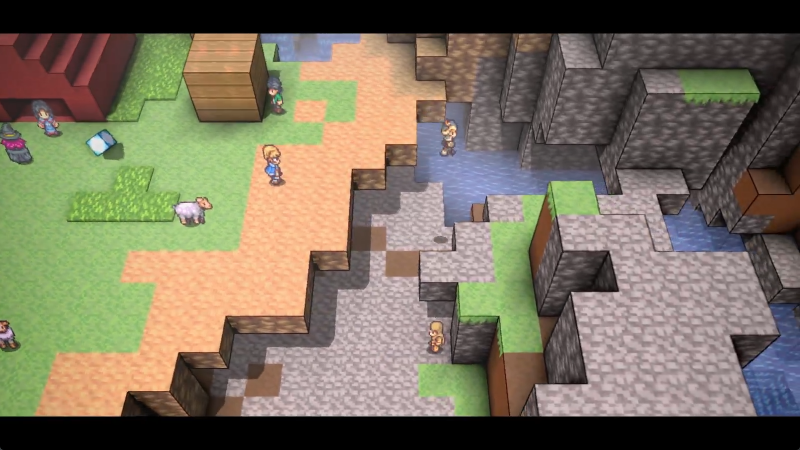
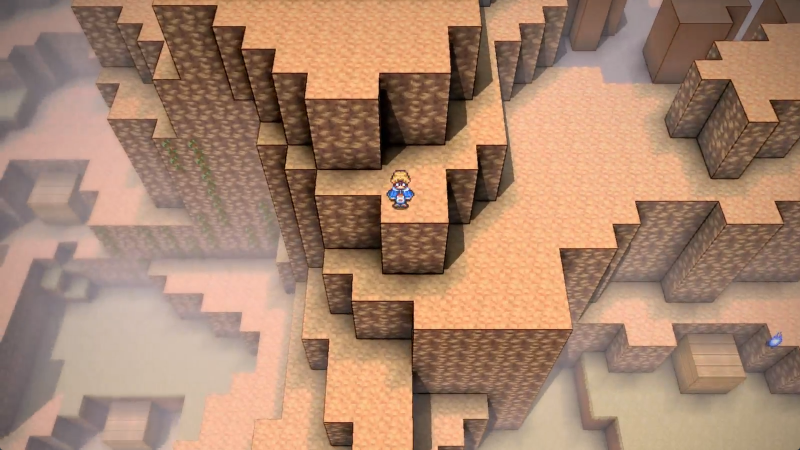
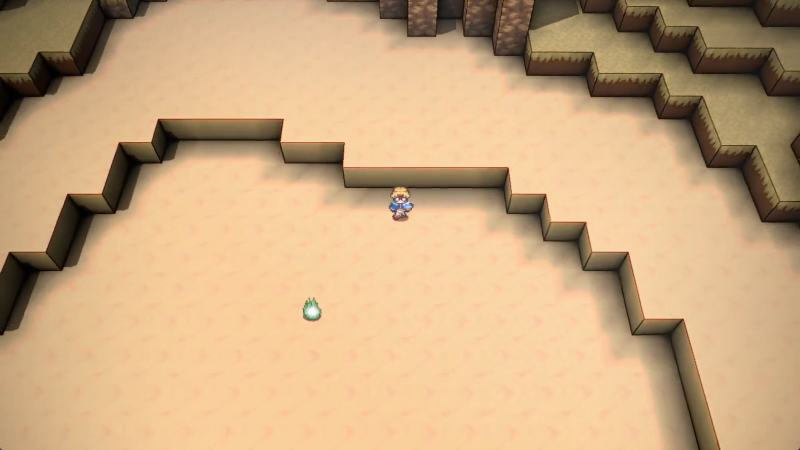
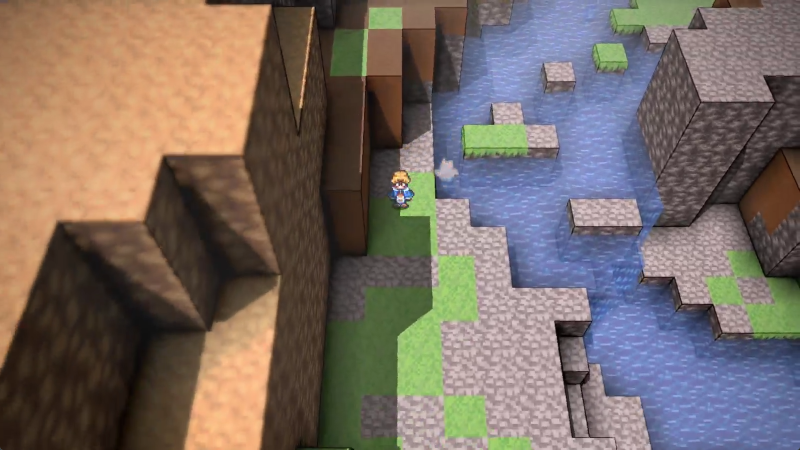
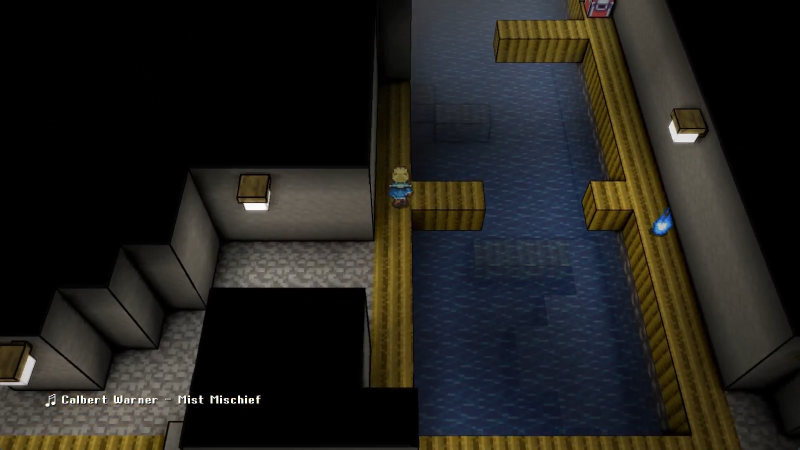
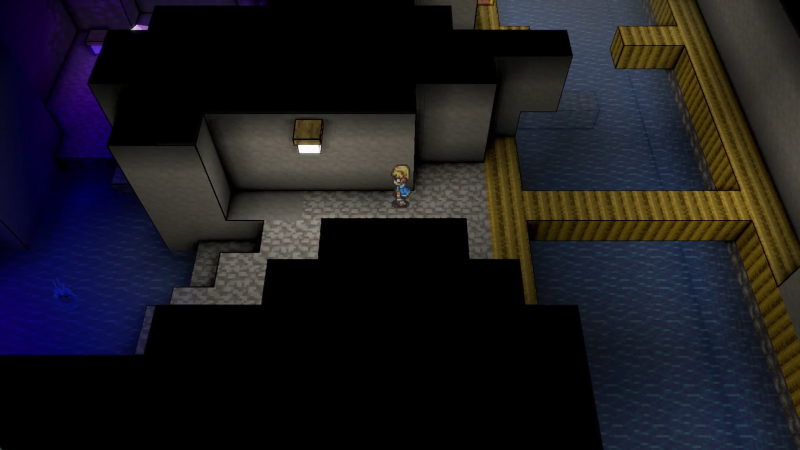
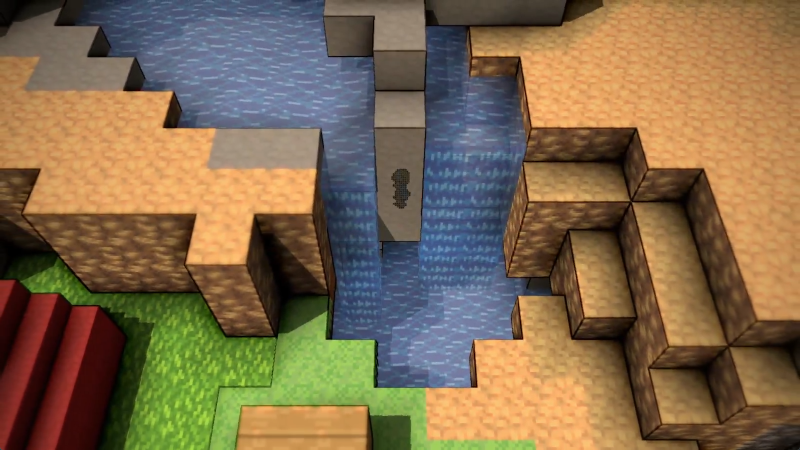
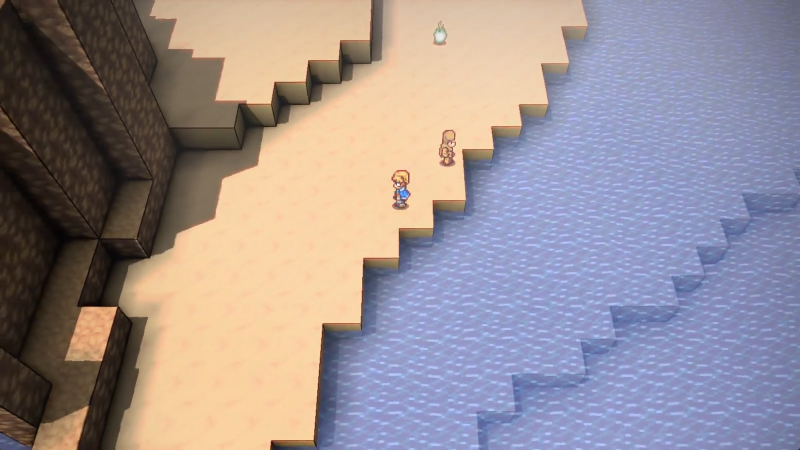
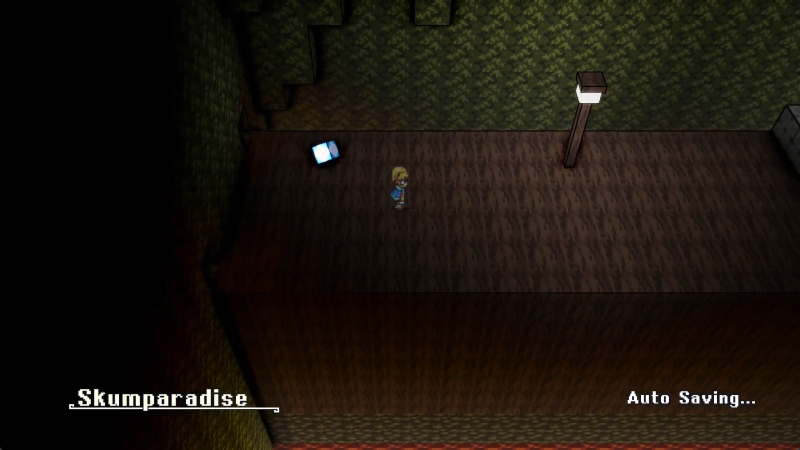
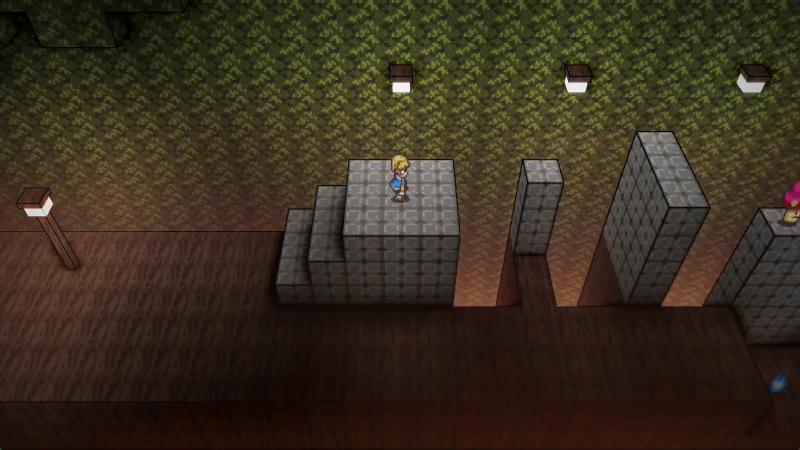
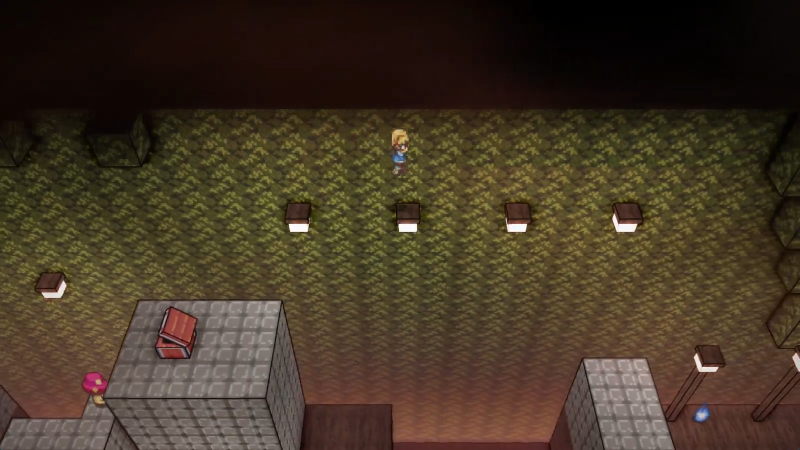
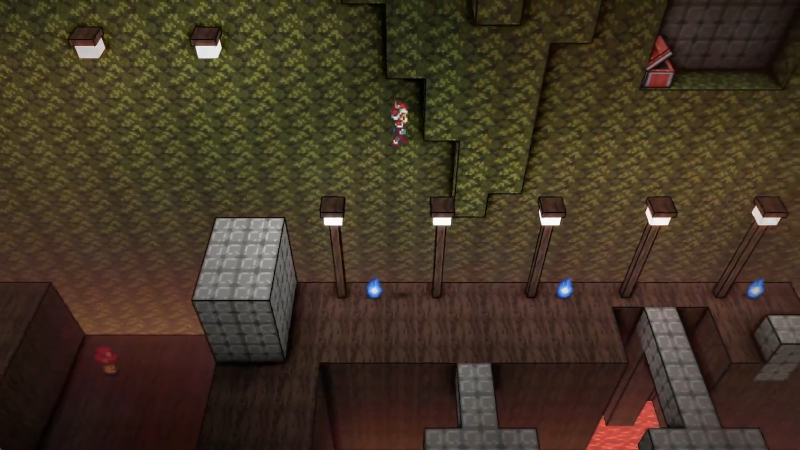
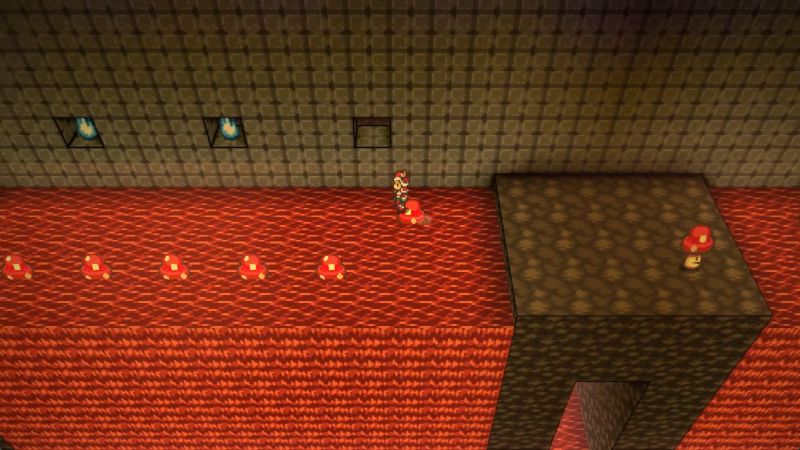
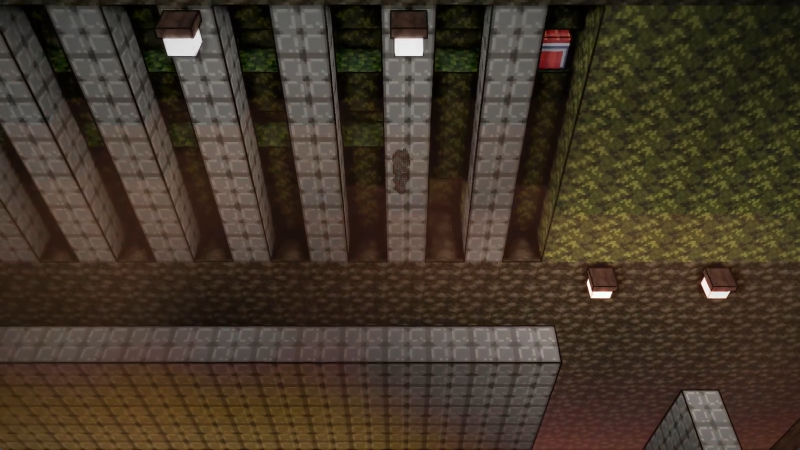
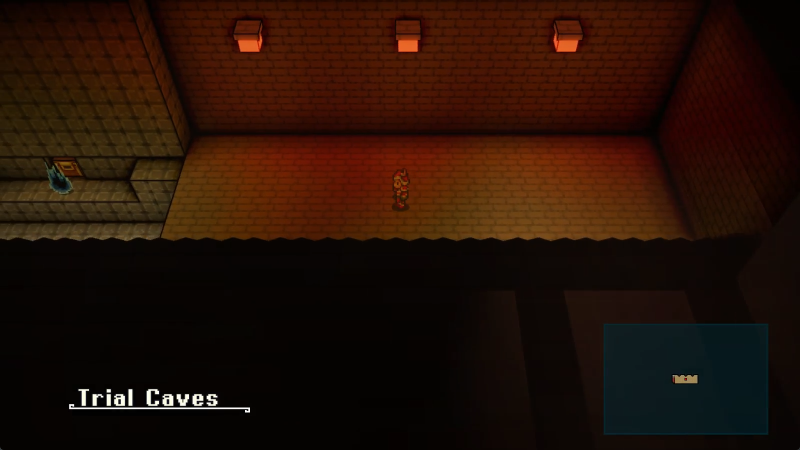
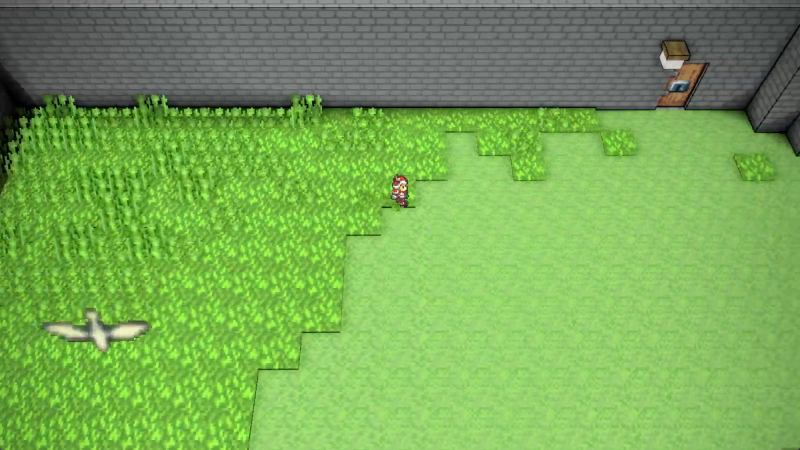
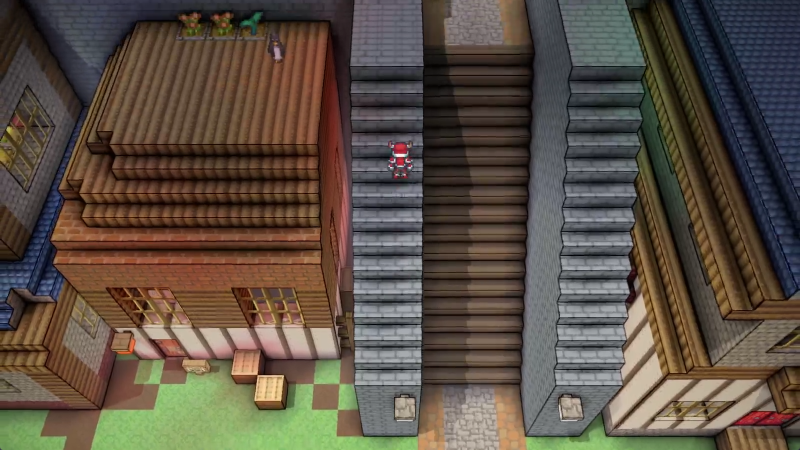
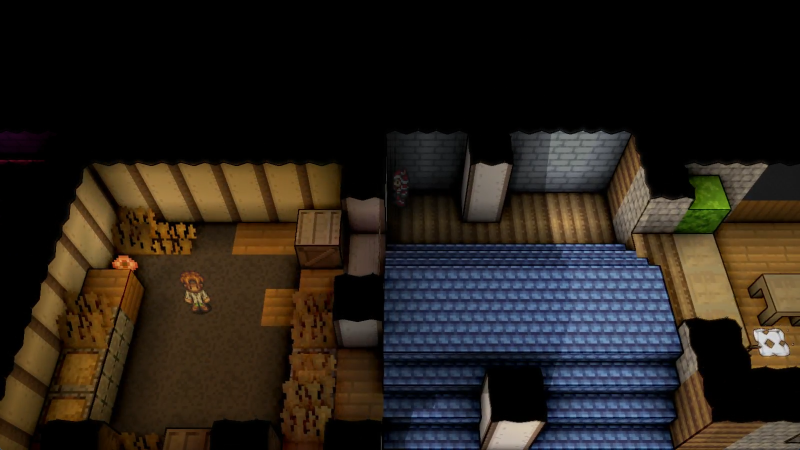
Anyway, on to Skumparadise as a region. If you're curious, falling off the sides to learn what the glowing stuff down there is will tell you that it's magma. Magma works exactly like water does, but without allowing for the single block depth.
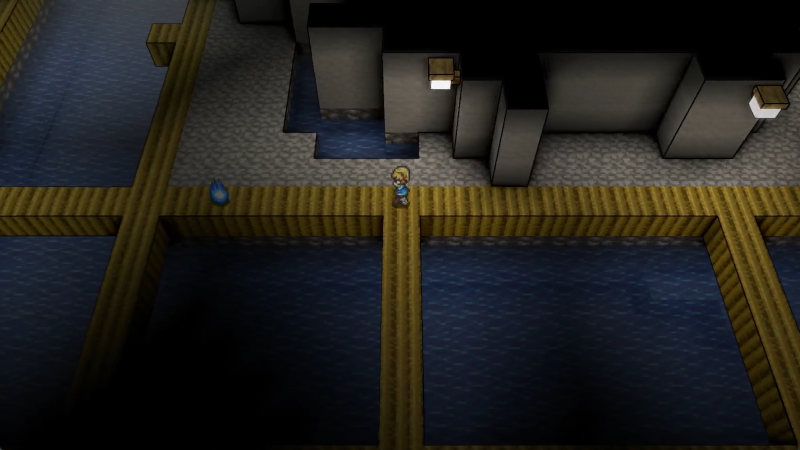
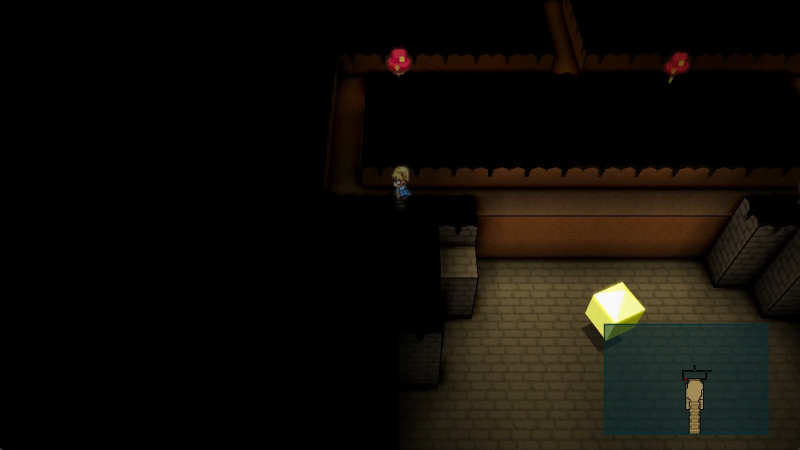
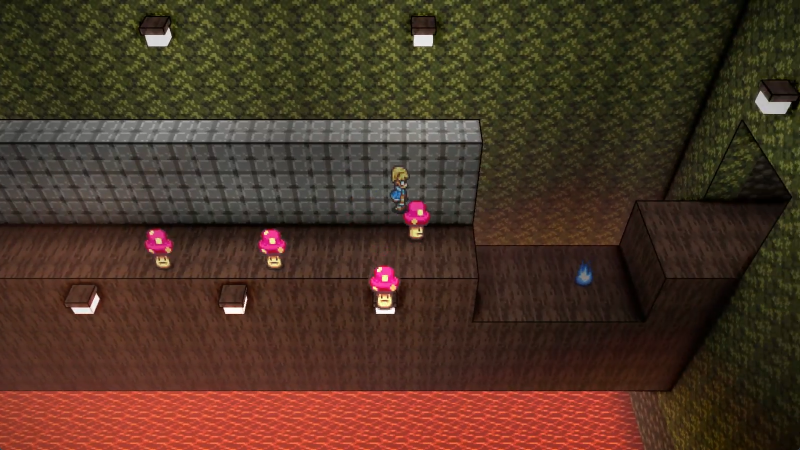
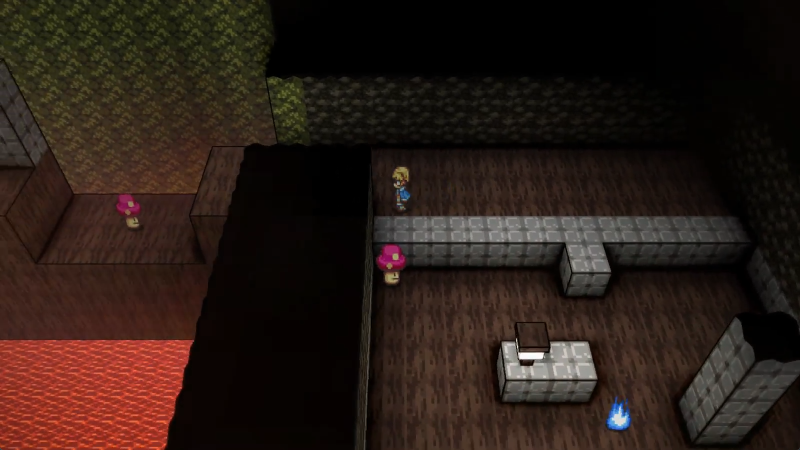
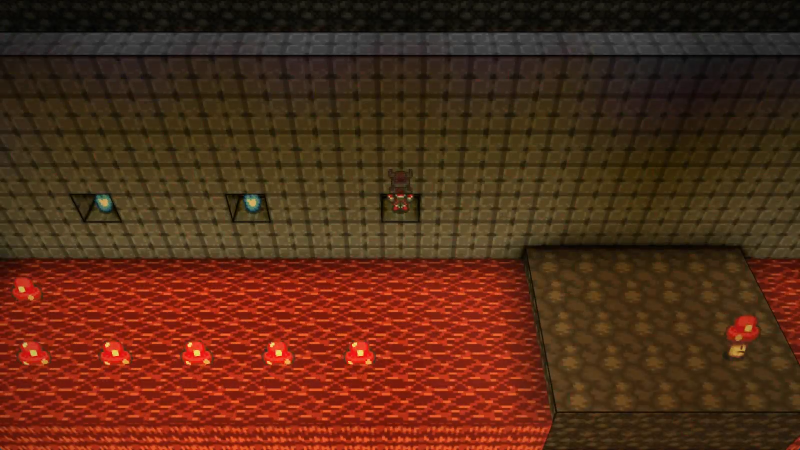
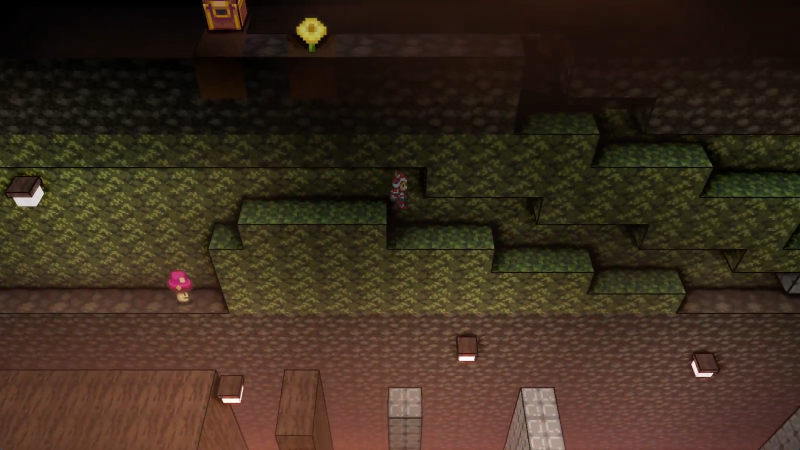
The gimmick for this area is that you can use the mushrooms here as NPC platforms to get to specific areas, and are encouraged to do so to avoid the fights here. The flames here have no jump height, so just standing on a mushroom will keep you safe.
Needless to say, the mushrooms also move around, so they can frequently ferry you past danger if used well.
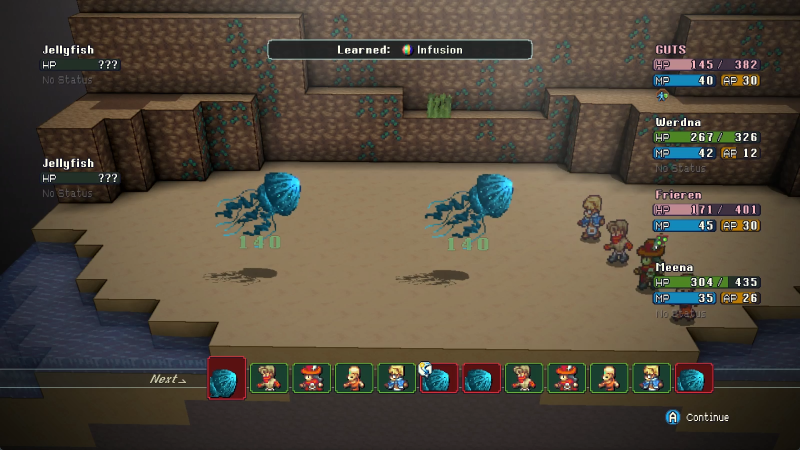
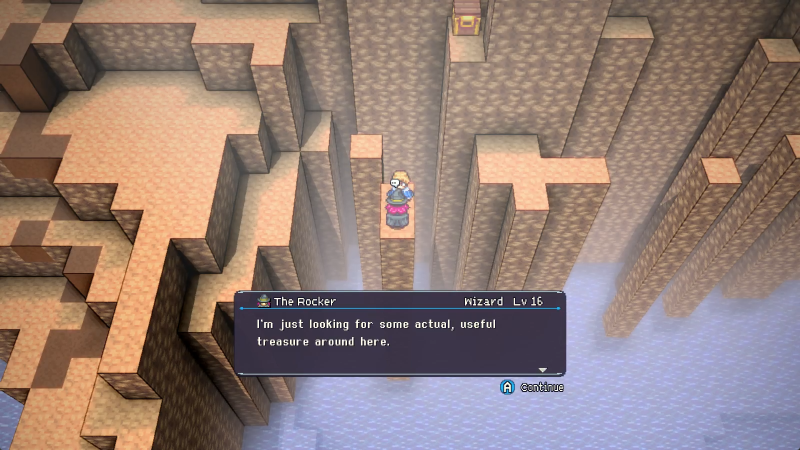
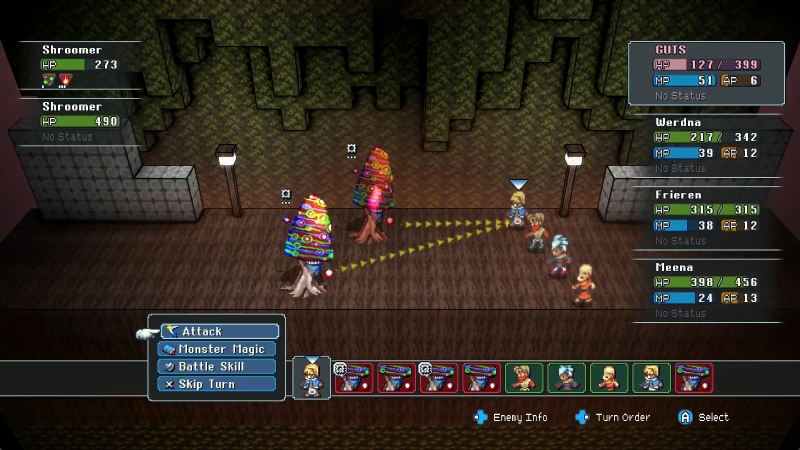
Do you believe in telegraphs?
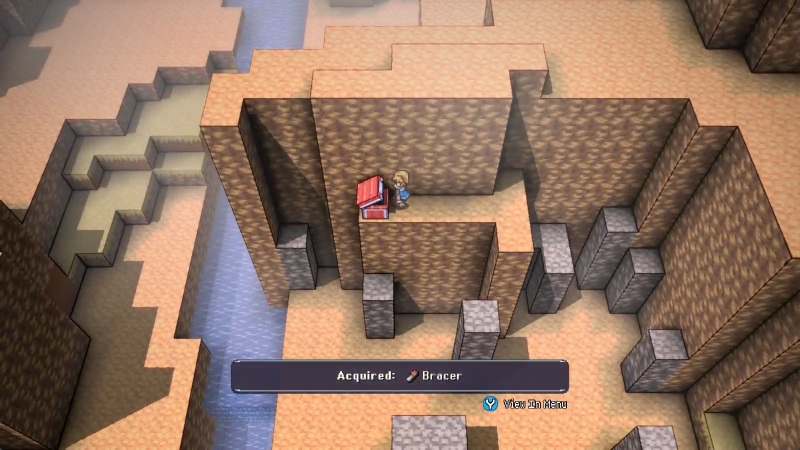
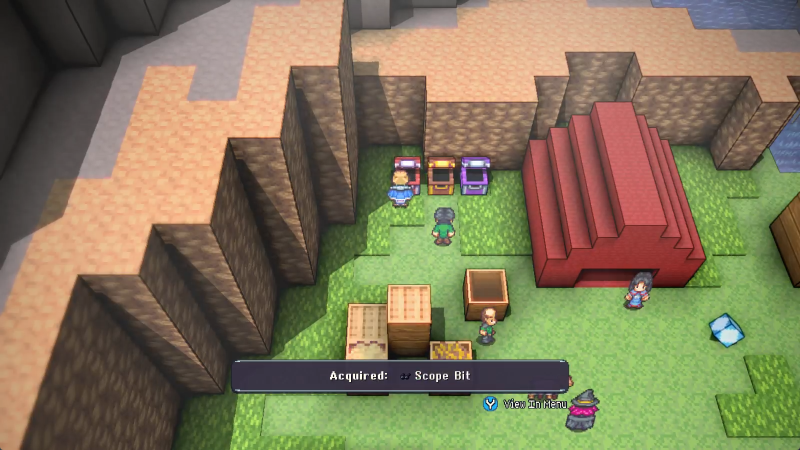
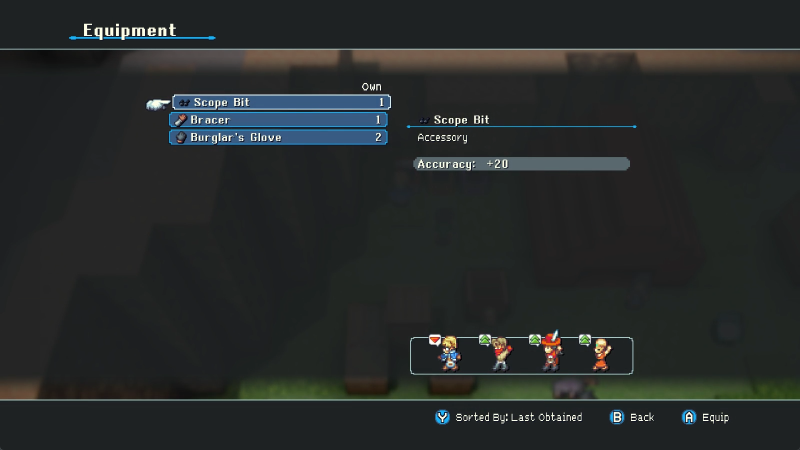
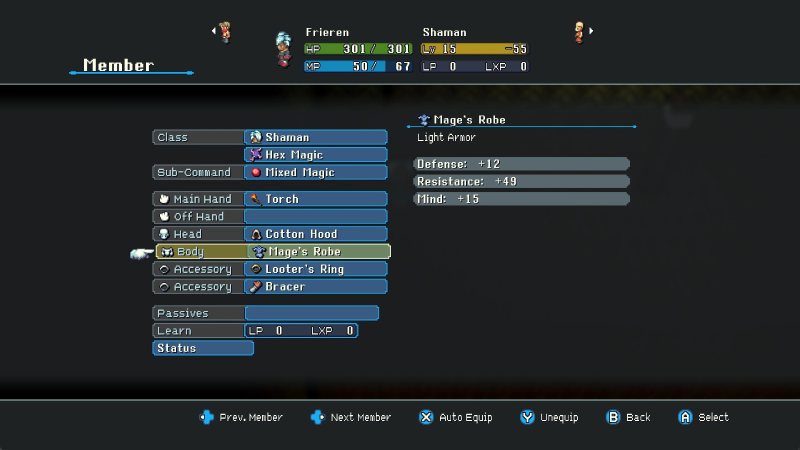
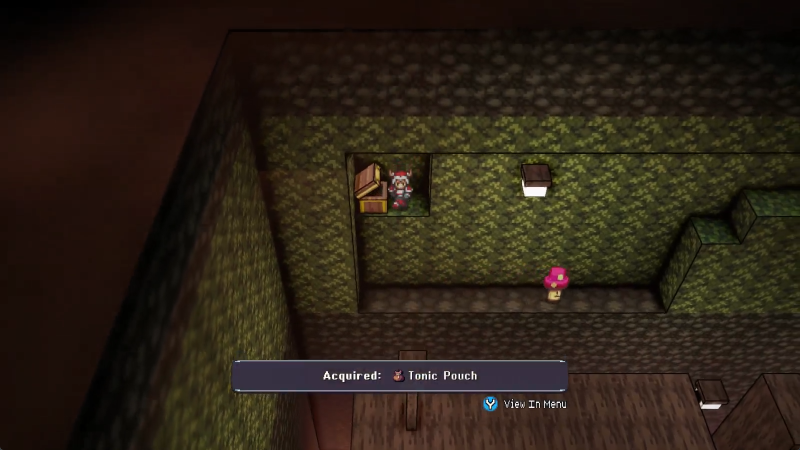
This goes to Frieren, replacing the Bracer that is no longer of any real use to her build at the moment.
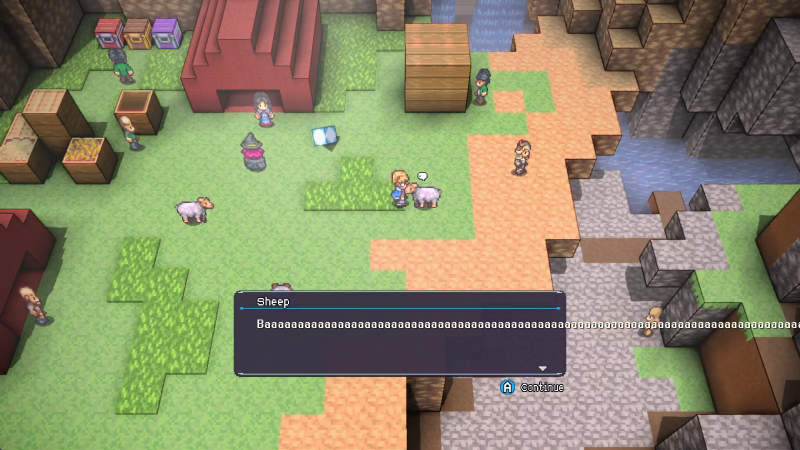
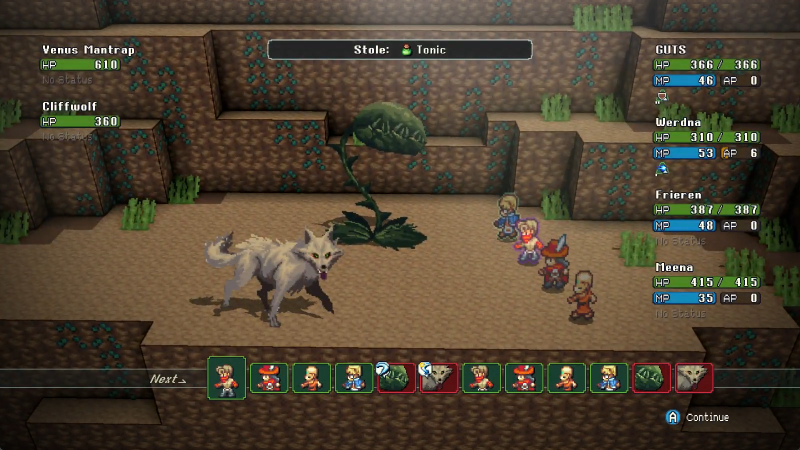
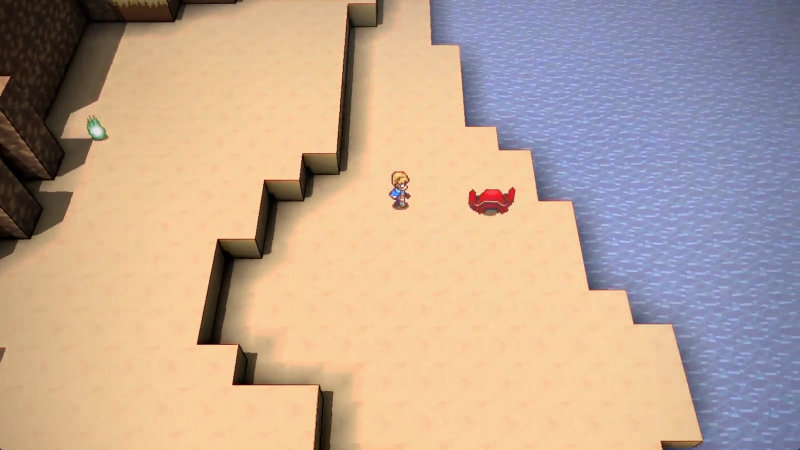
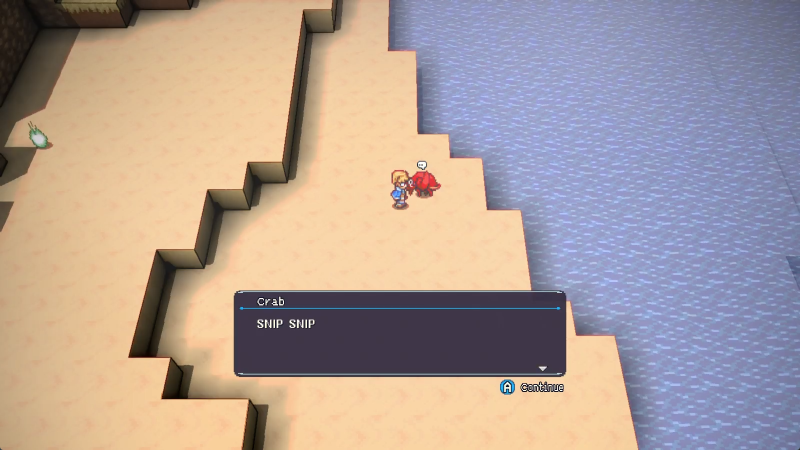
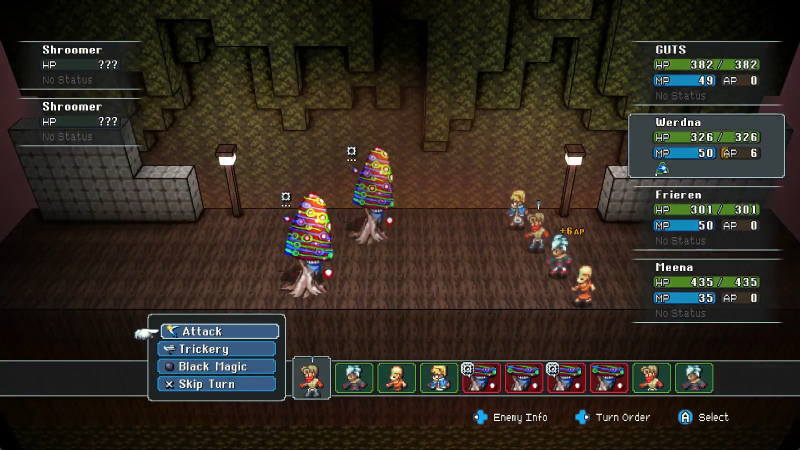
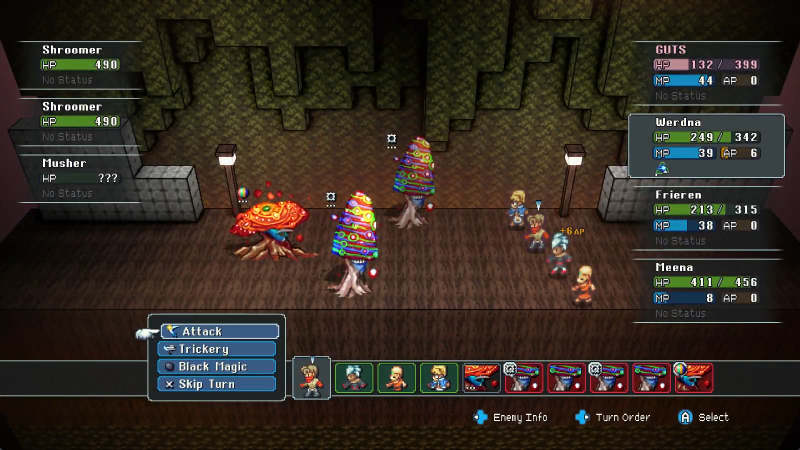
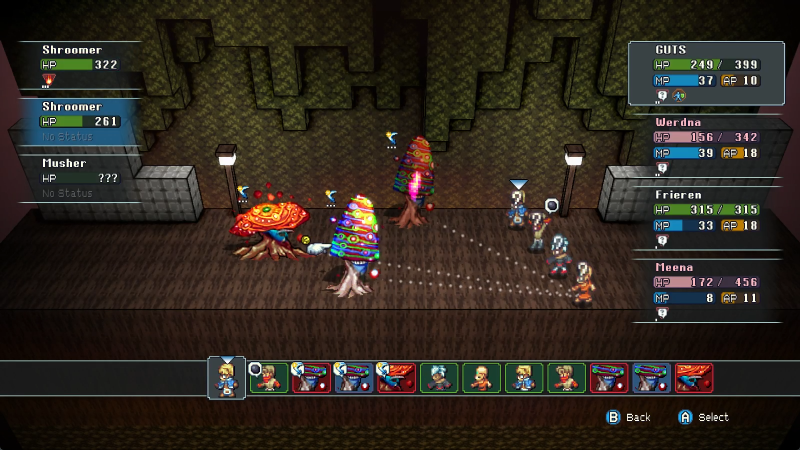
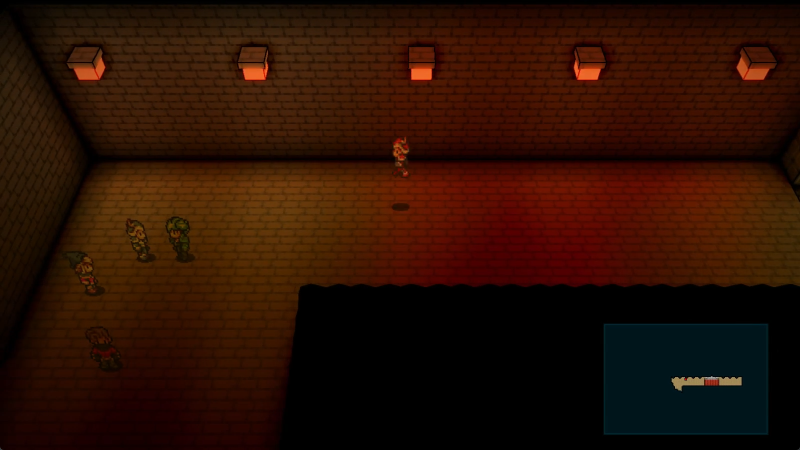
For the sake of being thorough, I drop down to fight some of the equally-fungal enemies here.
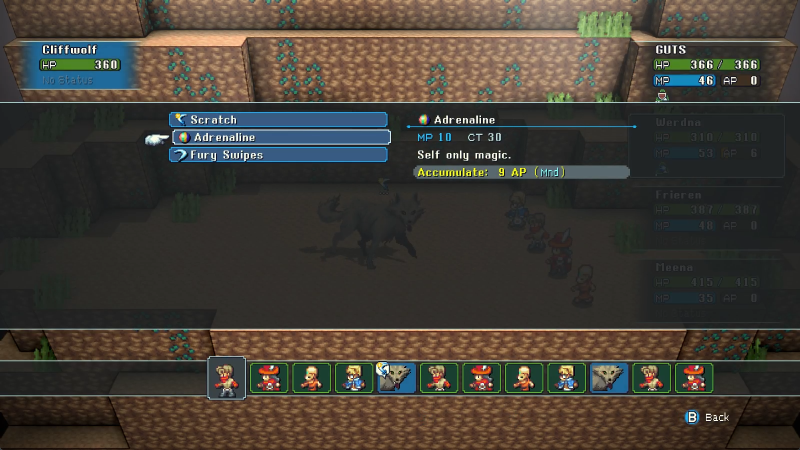
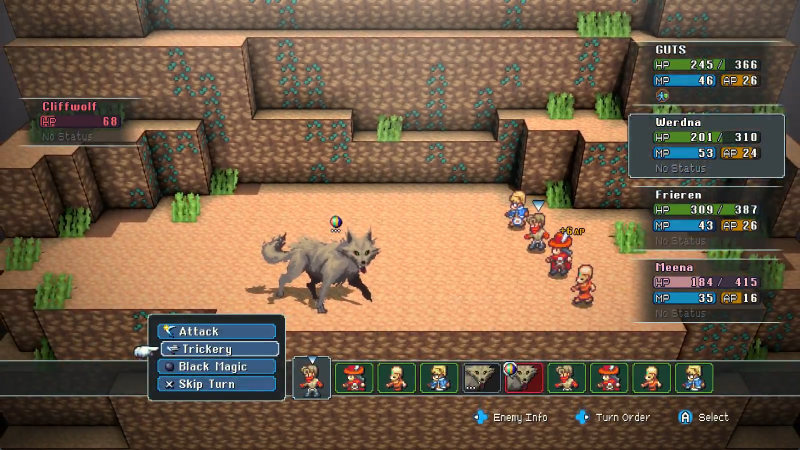
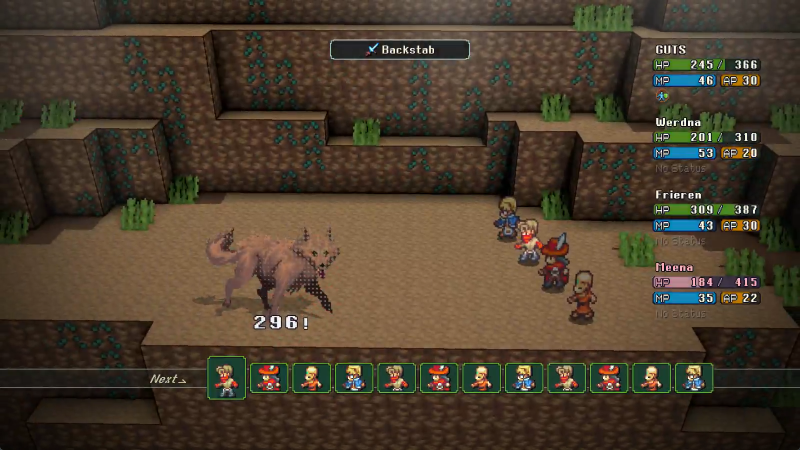
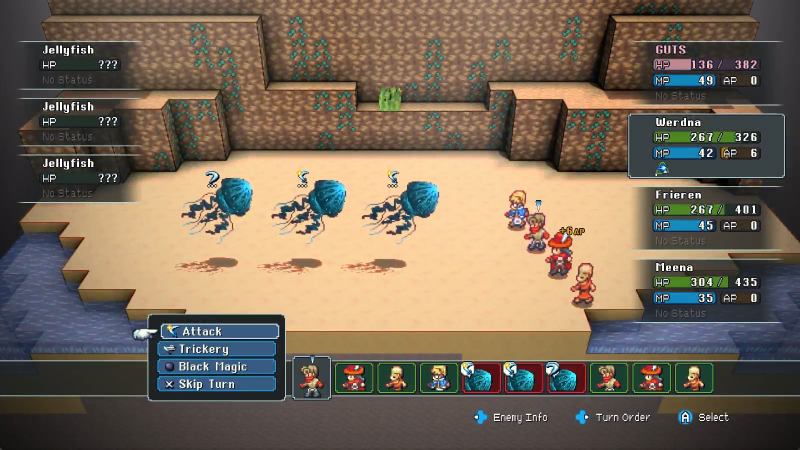
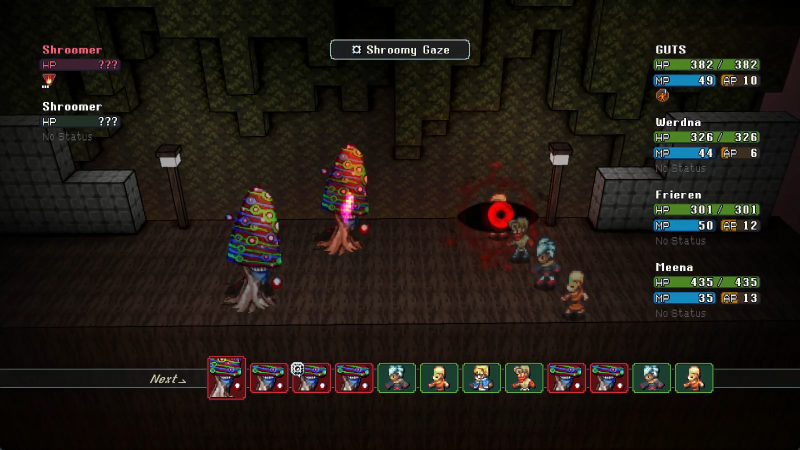
The trick to the enemies here is that they all have the ability Shroomy Gaze. With the defiant glare of that which cannot be killed in a way that matters, Shroomy Gaze deals a fixed 150 damage and is a free action, so these guys can then chain it into another attack. It's a far more effective statcheck than the Knight at the entrance, but remember, Skumparadise is designed such that you can try to avoid the encounters as a whole rather than fighting them.
The combo of Shroomy Gaze with a regular attack can easily deal around 250 damage to an unprepared character, so exercise caution.
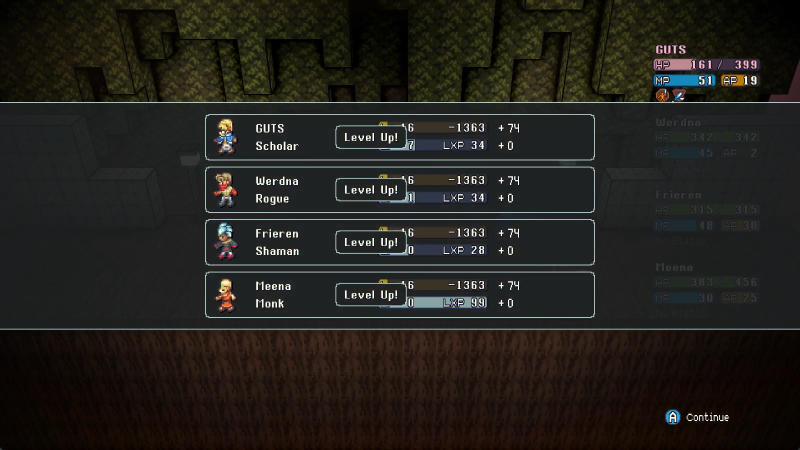
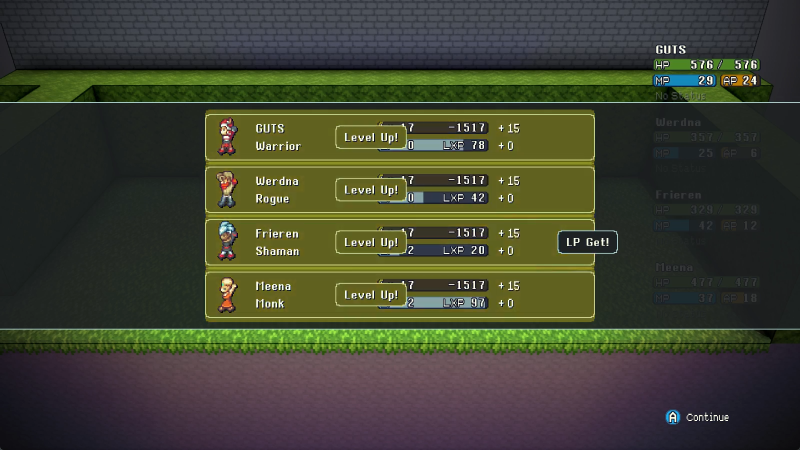
I'd call that level well-earned.
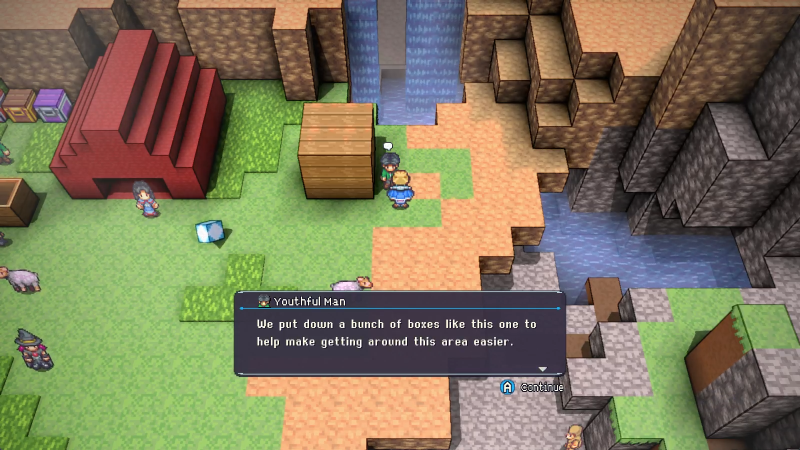
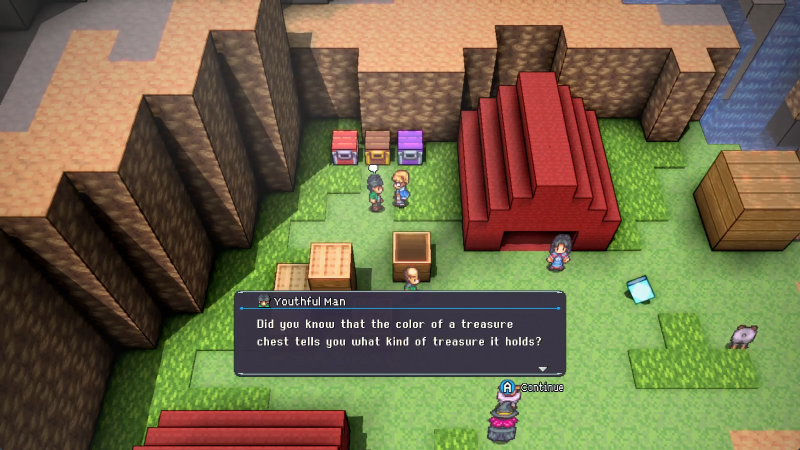
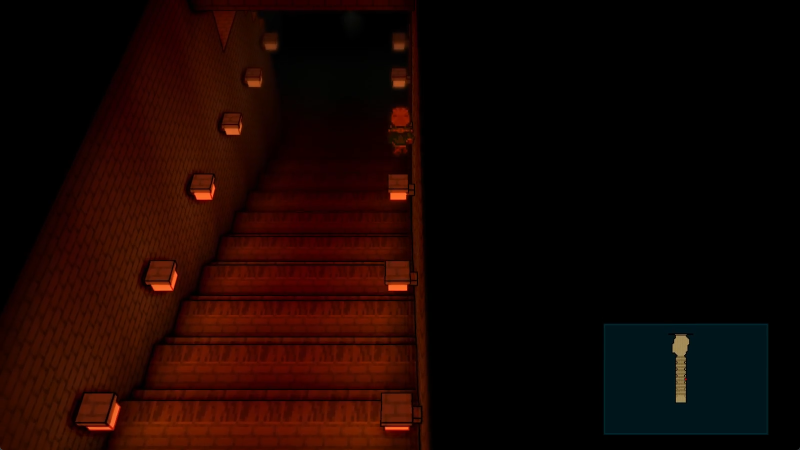
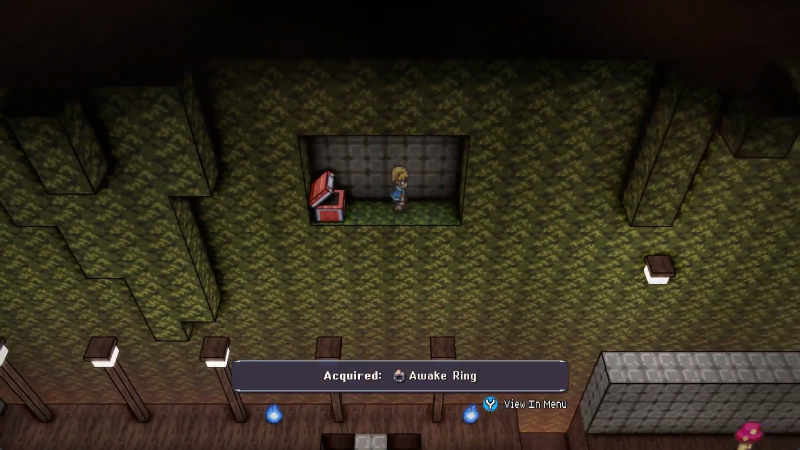
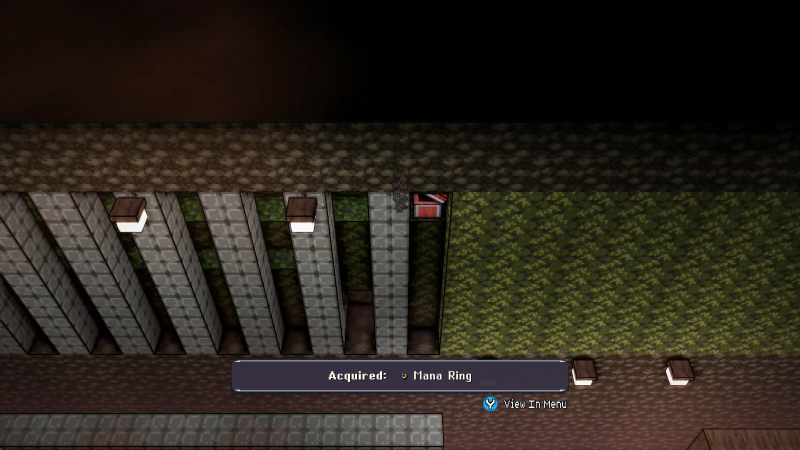
You can and should use the lampposts both on the course and on the wall to find cheeky ways to progress. Frequently, they'll lead to treasure!
Yeah no this is a warning, and a dire one at that. This goes to Meena, since she and Frieren are the ones who could clear the status effect on the other two.
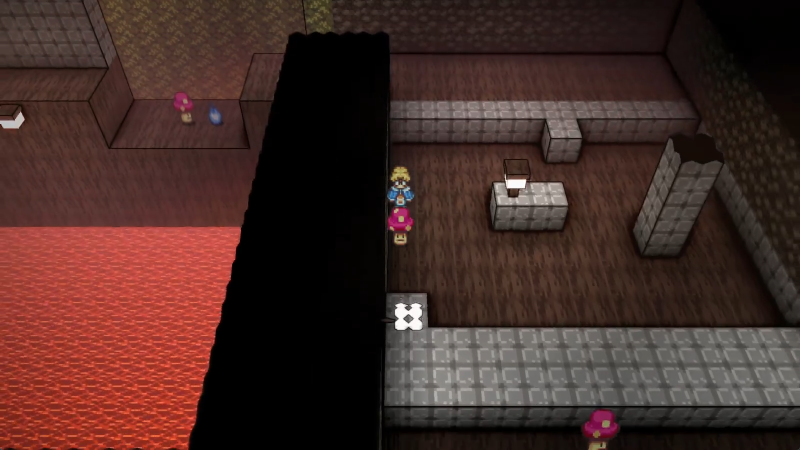
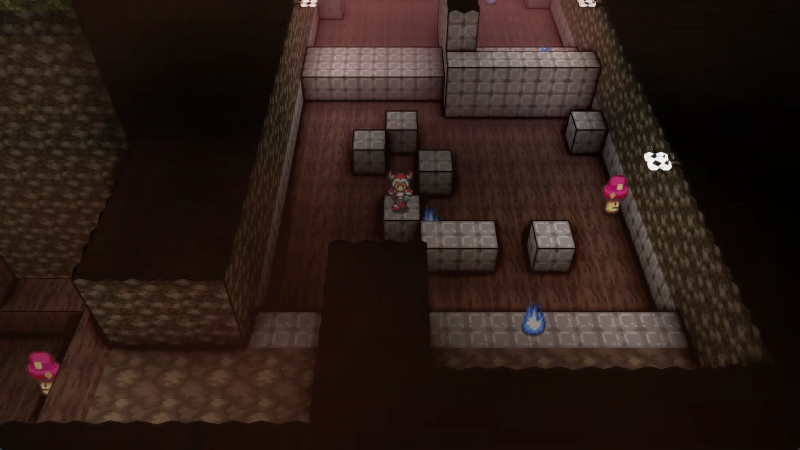
This particular segment is a minipuzzle where you have to get the leftmost mushroom to progress all the way. Mushrooms don't move unless stepped on, so you have to basically tap each one to get out of the way as you do.
Careful with the last one, it's very unrestrained.
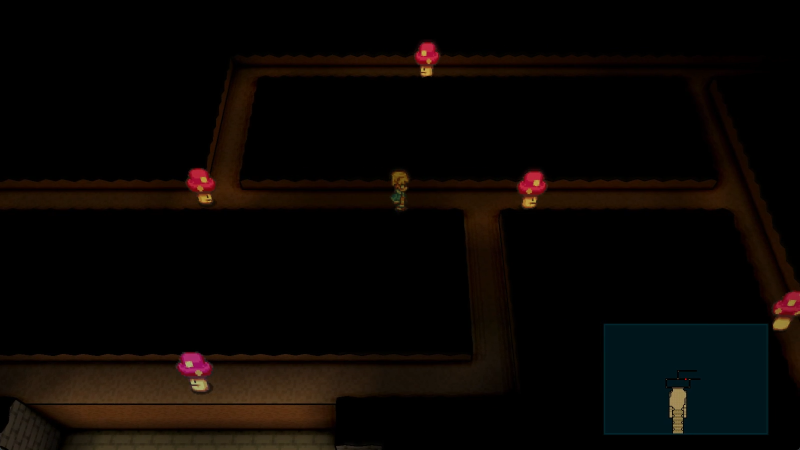
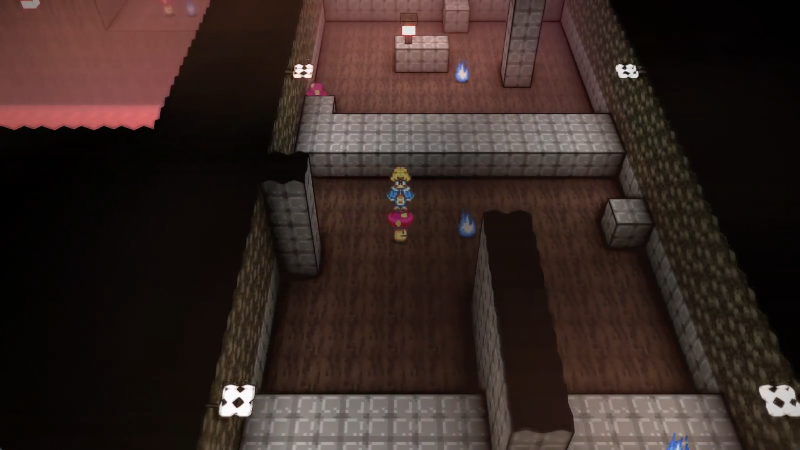
Next up is this area, where the mushrooms will basically try to navigate a groundbound maze. If you don't mind fighting, you can completely ignore them.
They follow a simple movement pattern each time you step on them: one of east or west, then south, then whichever of east or west they didn't go previously, then south again, rinse and repeat.
The second one has a slight issue that makes following it by just hopping on it to reset movement each time tricky. I'm sure you can see what it is, right?
Perhaps, if you time your jump right, you can avoid it. I did not.
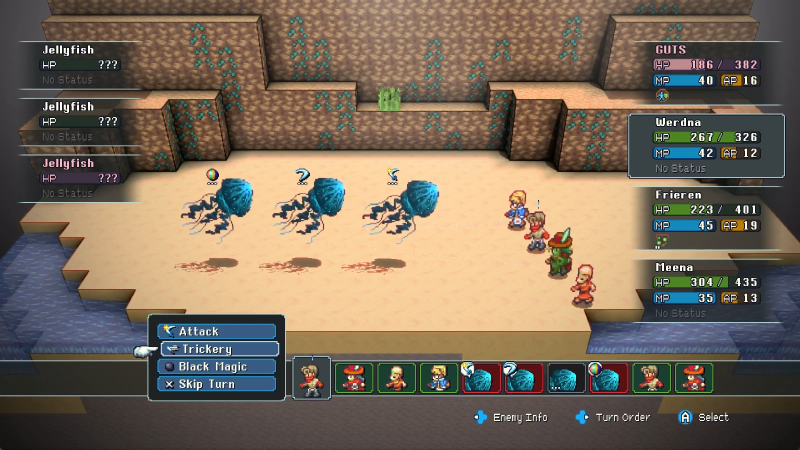
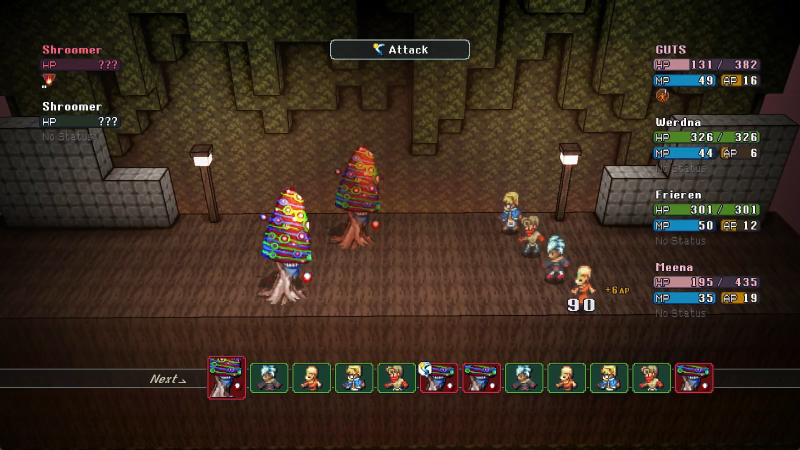
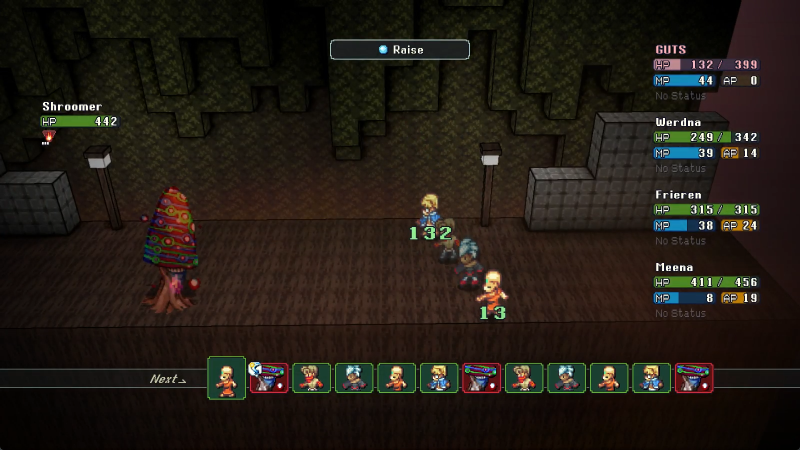
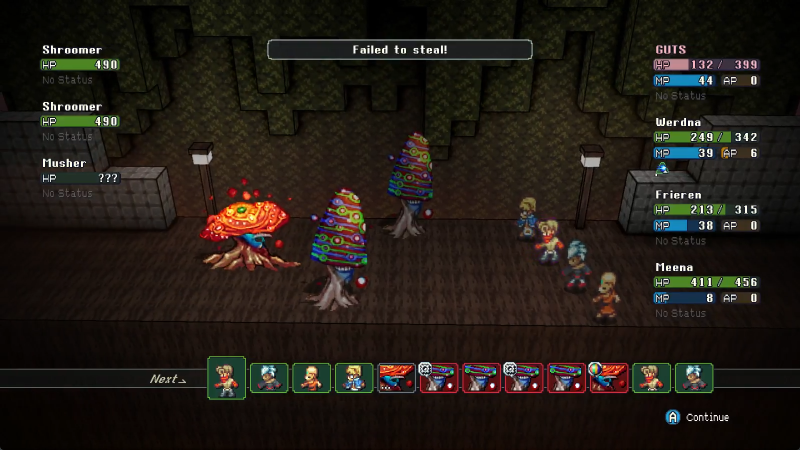
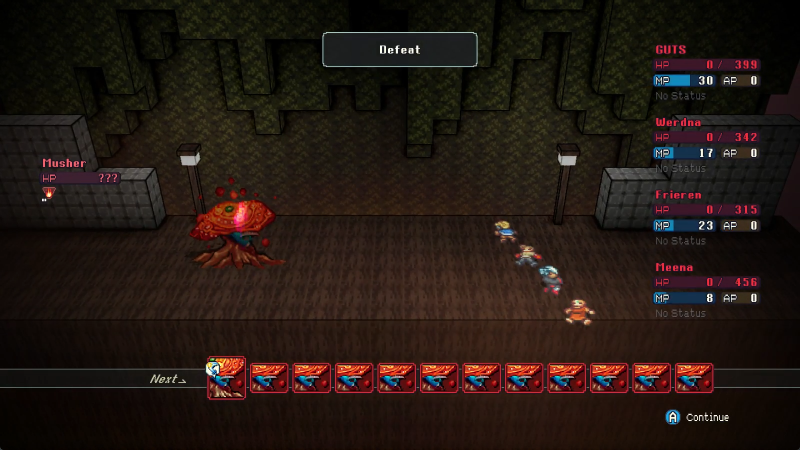
I also didn't heal up between fights. Ha ha!!! Darn.
Oh that's very expensive for Monk Meena. This is the price I pay for my sloppiness!
Oh, and check out that Meena got a bit of healing, too! Inner Warmth is great.
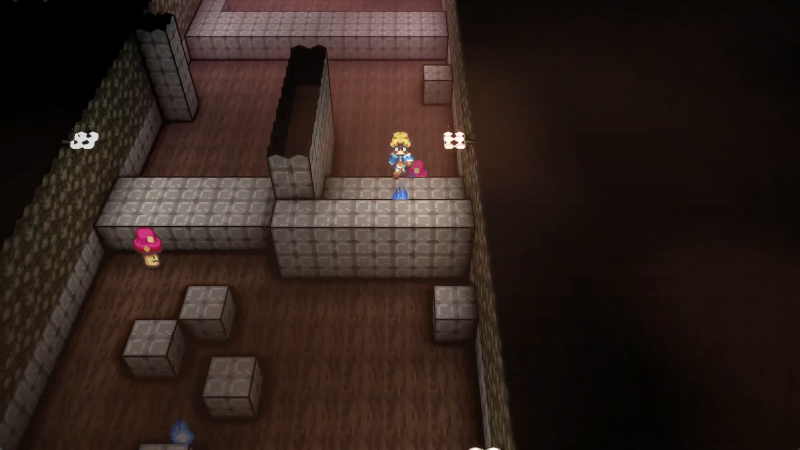
Anyway, same deal here. If you follow the mushroom to the end of its route, you'll get trapped in a fight. You have to find a way to navigate to the left exit safely.
What you're supposed to do is use the blocks on the ground to fence off the flame there and completely ignore the mushroom, since it won't be smart enough to path around them. I did not do this. I am doomed.
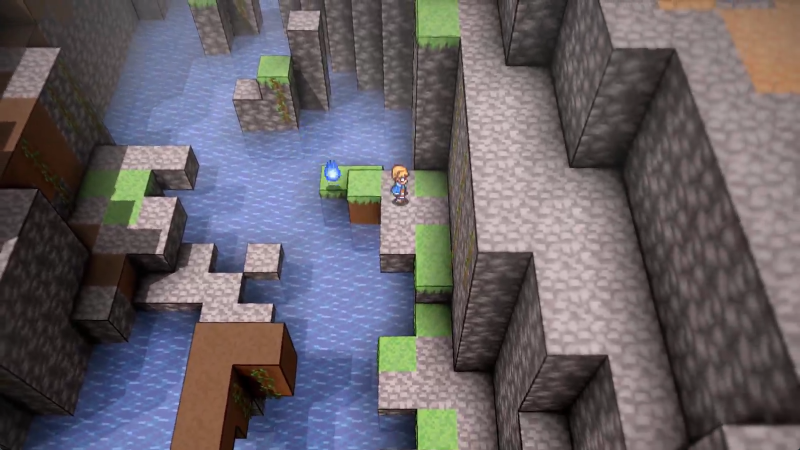
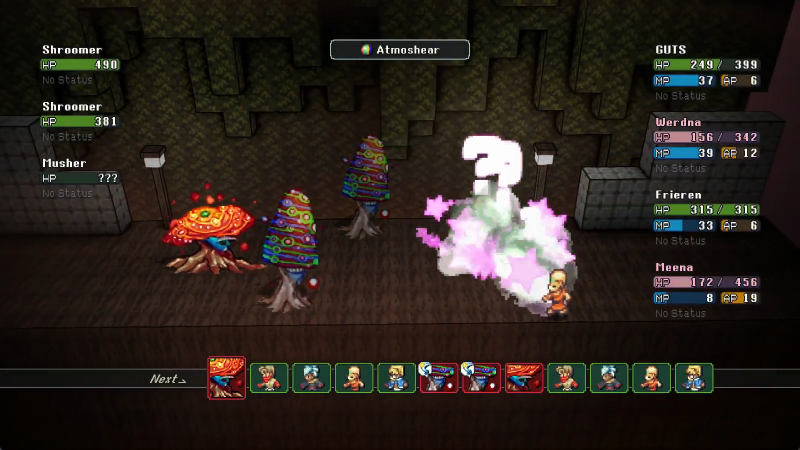
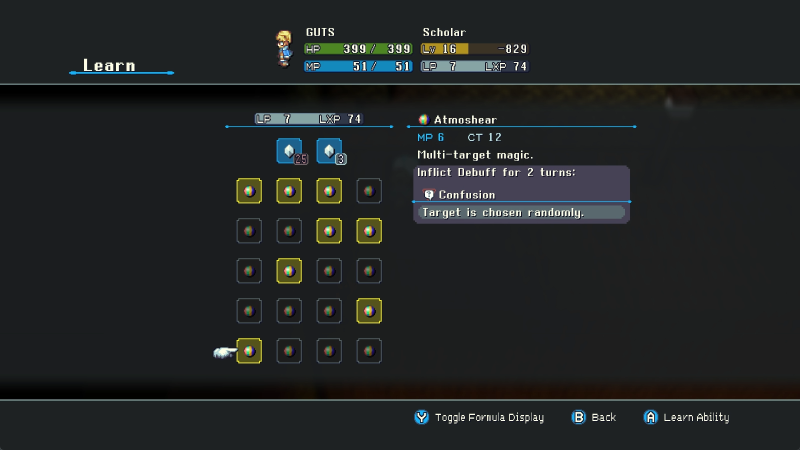
Didn't heal up again, but I DID get an encounter with a new source of Monster Magic! C'mere, you!
Aw.
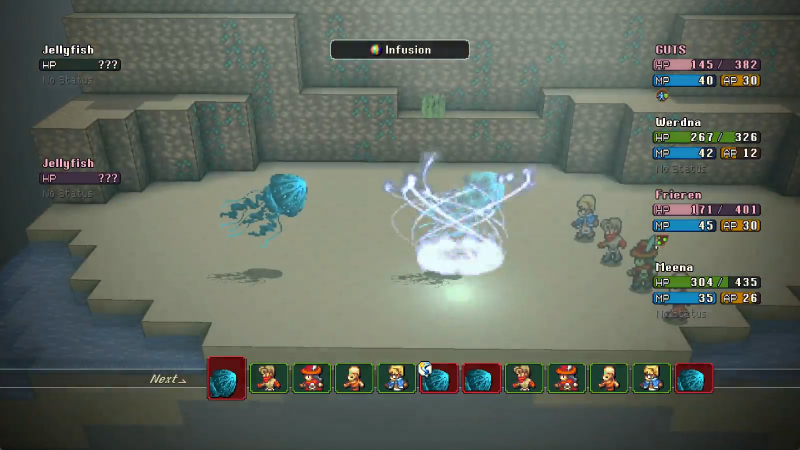
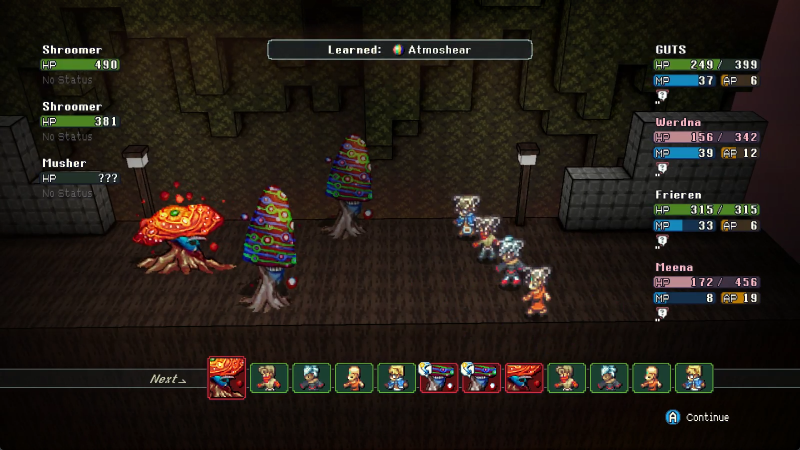
And there's our new spell!
Atmoshear applies Confusion to everyone on the enemy team, and as usual, you can check the blurb on Scholar on the first page for the deets. We're... probably not gonna use it, but it's also the only Monster Magic to be found in Skumparadise.
Anyway, if you're using area moves, Confusion doesn't actually impede you in the slightest.
Single target moves, like, say, the bulk of your healing or tanking measures this early in the game, are considerably more likely to fail with Confusion up.
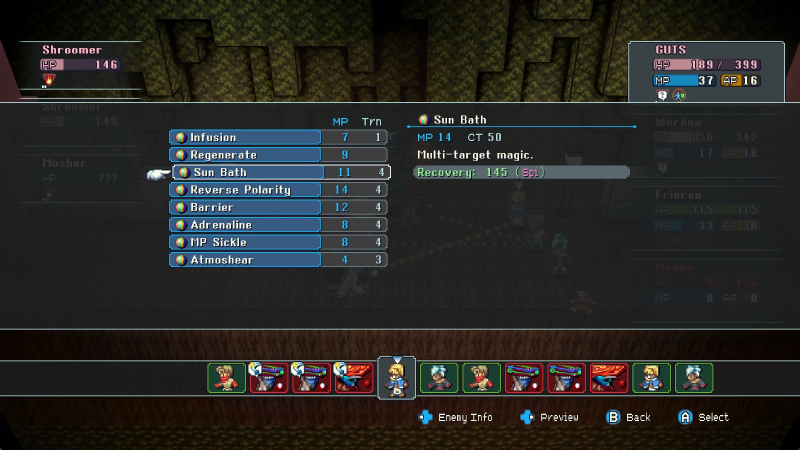
Sun Bath is so slow! Aaaaagh!
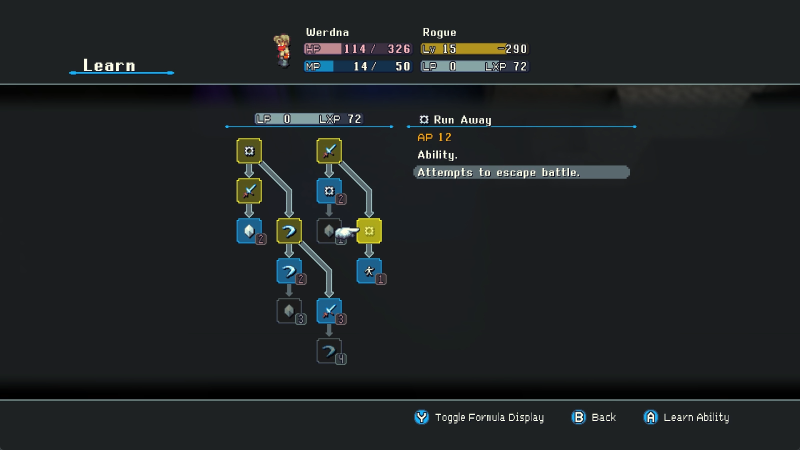
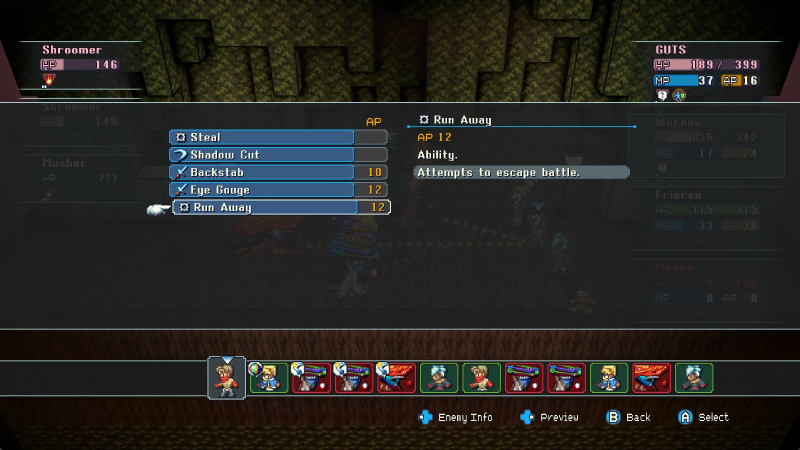
I could Run Away here, and it wouldn't be a terrible idea. Just hop back to the Home Point we planted at the entrance to Skumparadise, run outside to the tent, and come back later. But I want to test something.
Got close though!
Meh. I'll live.
More importantly, we kept Atmoshear and there's no other Monster Magic to find in Skumparadise!
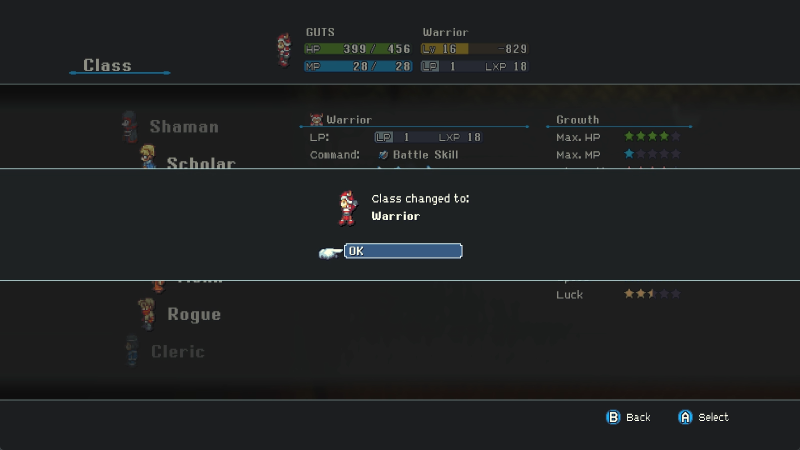
Which means back to the REAL class for GUTS. I briefly considered going Aegis or Fencer, but honestly... nah. Warrior is where it's at. Not that Aegis or Fencer would be bad ideas, but they'd commit in directions I don't exactly want to build GUTS for right now.
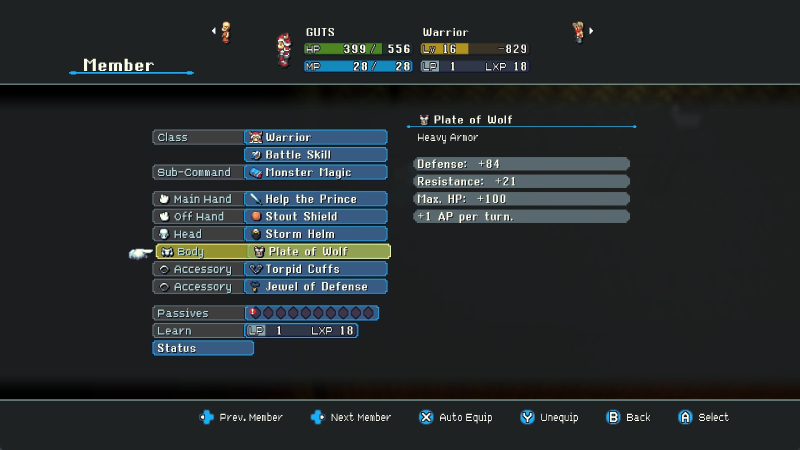
That's the stuff. Monster Magic isn't a terrible kit option for Warrior early on, especially since moves like Barrier and Regenerate are pretty stat-independent, and Infusion in particular is excellent for a tank. The Plate of Wolf will come in very handy down here with all the fixed damage, thanks to its heavy max HP bonus.
The monsters did respawn, but again, Skumparadise is about avoiding encounters, so that's hardly an issue.
But yeah. Do this for this particular area, and you won't get into any trouble.
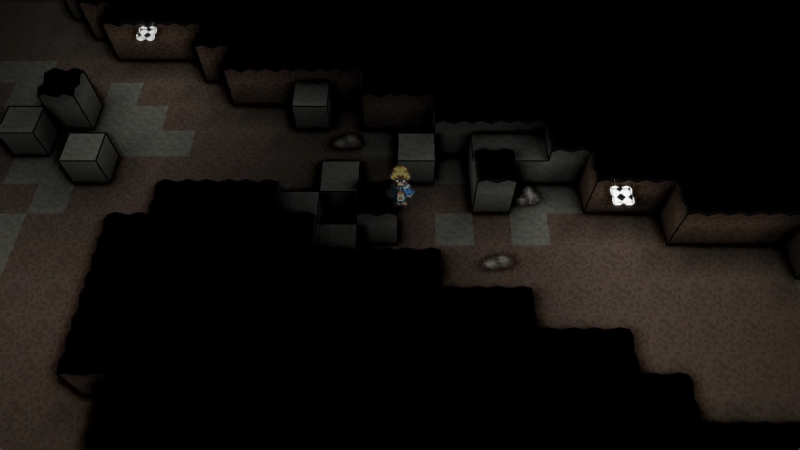
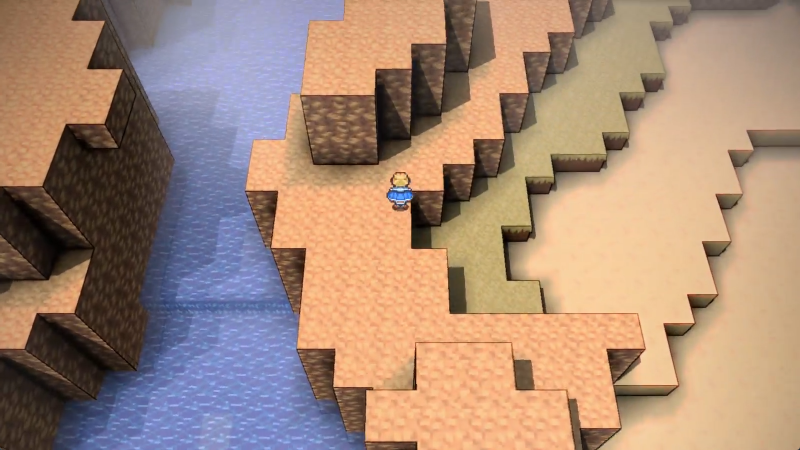
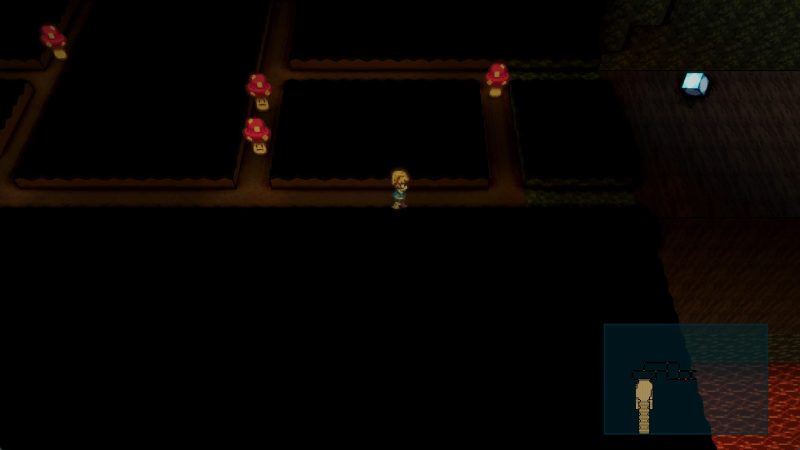
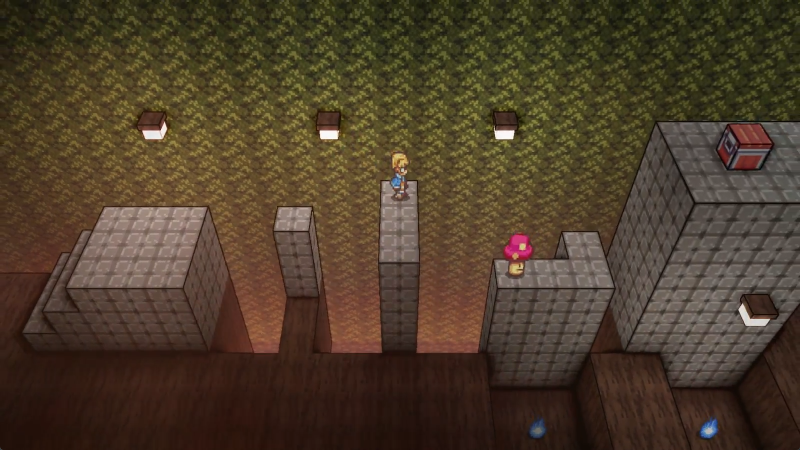
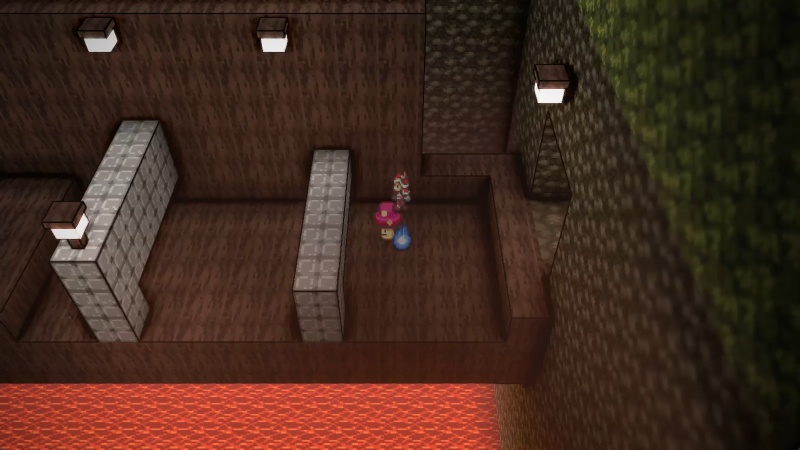
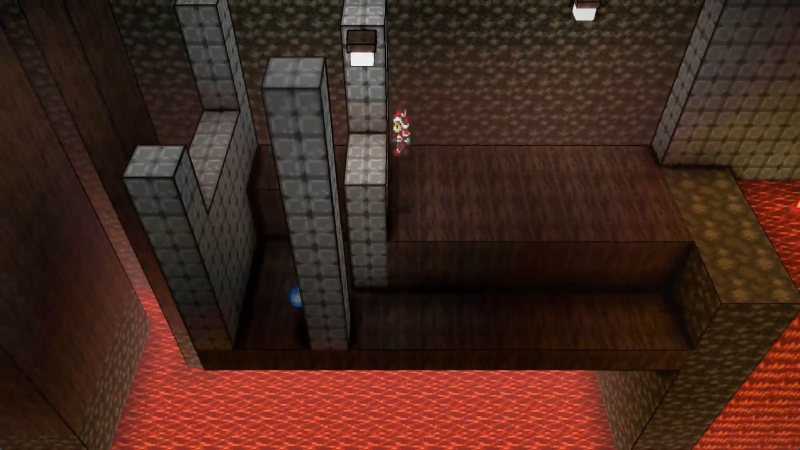
The platforming starts getting a little trickier from here on out, but nothing a seasoned adventurer like myself can't handle (and nothing you can't disregard if you'd prefer to just dunk on some Shroomers).
Start the mushroom off near the ledge here, then run over to meet it.
Your time window is very generous.
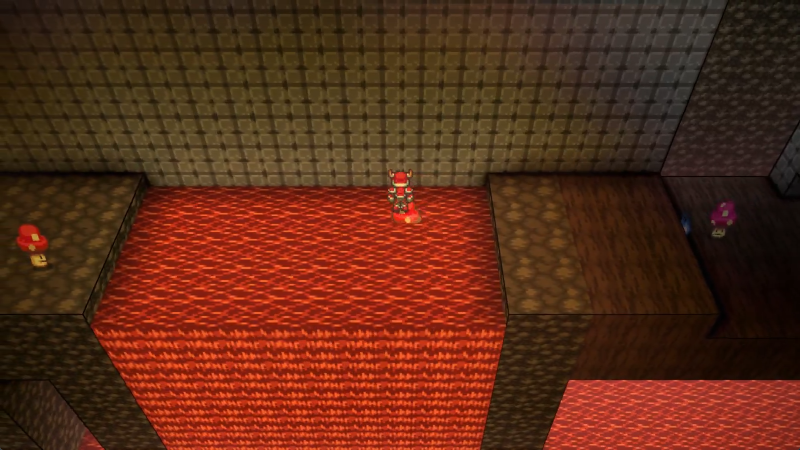
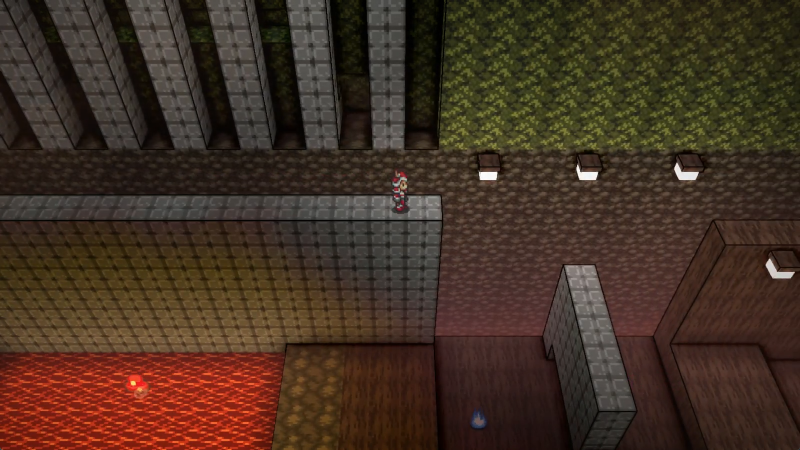
This baby can handle temperatures of up to 9000 degrees!
Avoiding fights here is simple enough, just hop to the mushrooms along the south.
Oh, and since I know you were going to ask about it: there's nothing in this empty nook. Sorry.
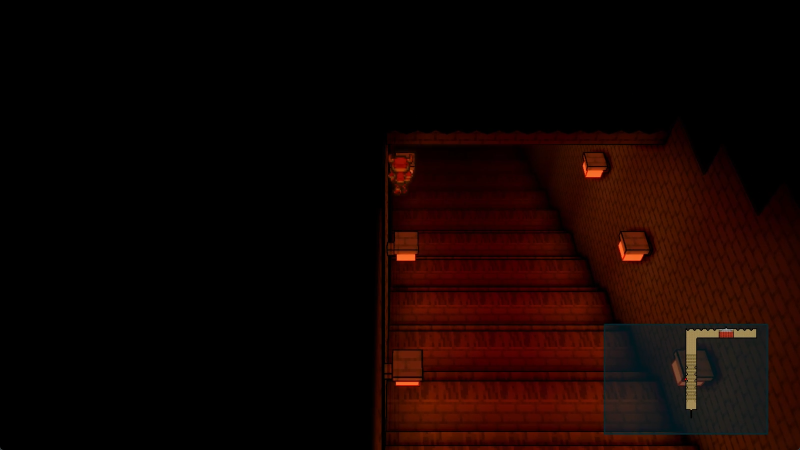
Climb time.
From here, the platforming shifts to the style we sampled on Yamagawa, almost entirely 2D.
Still gotta use mushrooms to get around, but only a little.
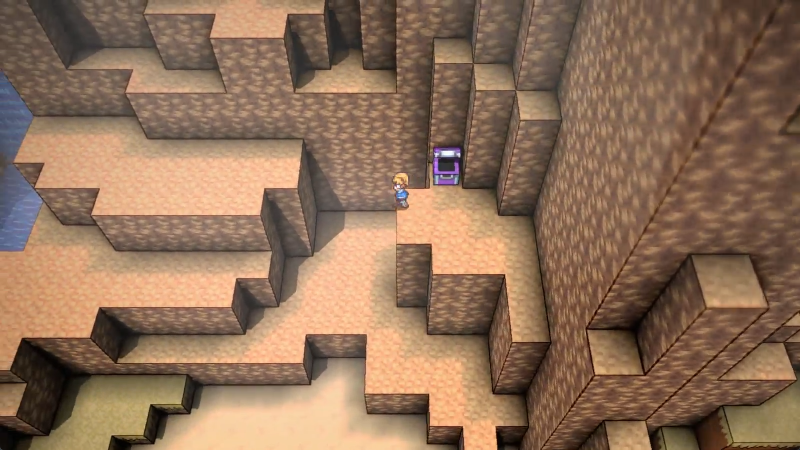
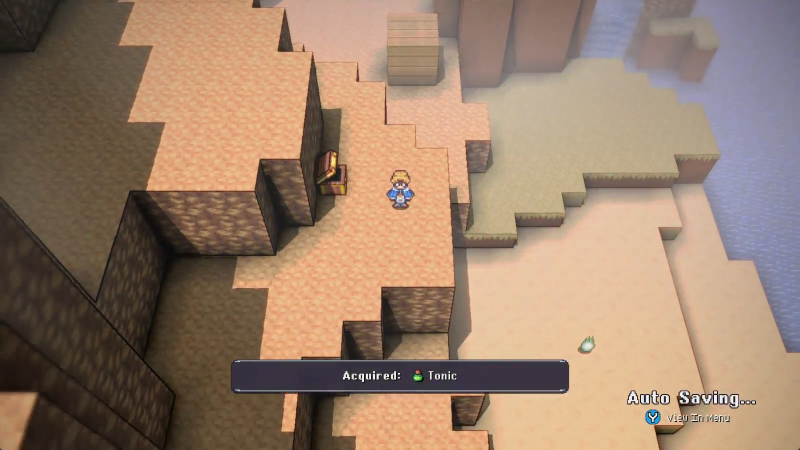
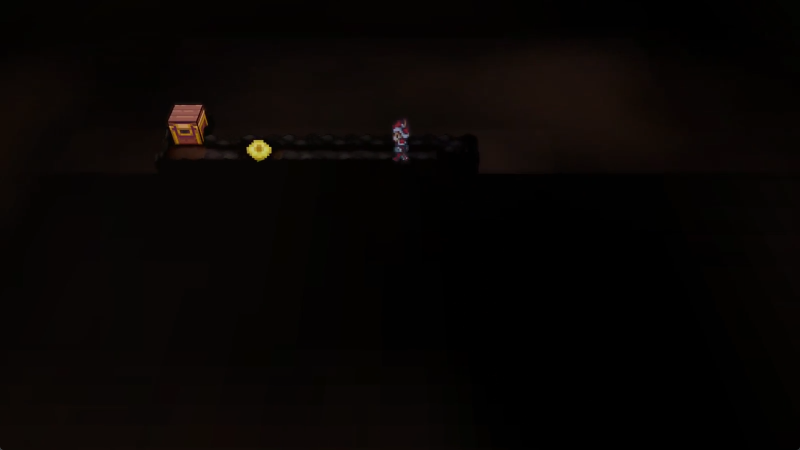
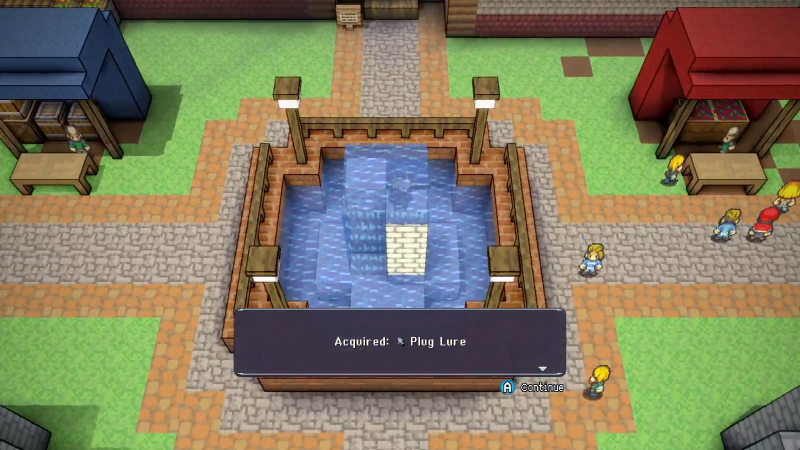
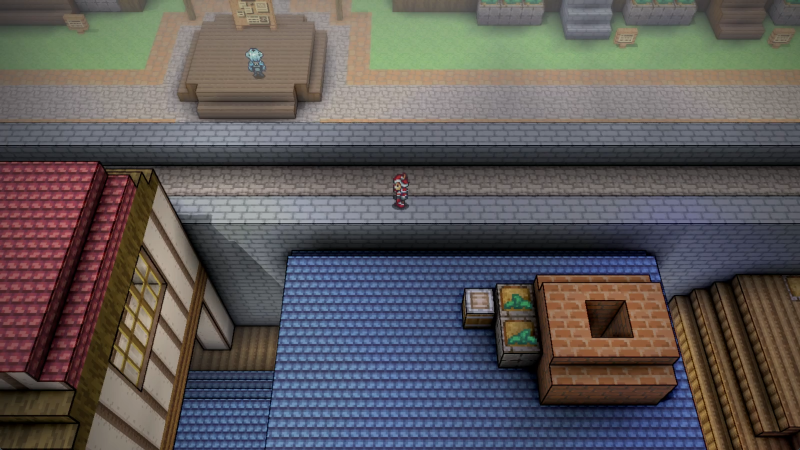
The exit to Skumparadise is by that chest.
Wait I know the trick here. Jump back out to the wall and they can't reach you.
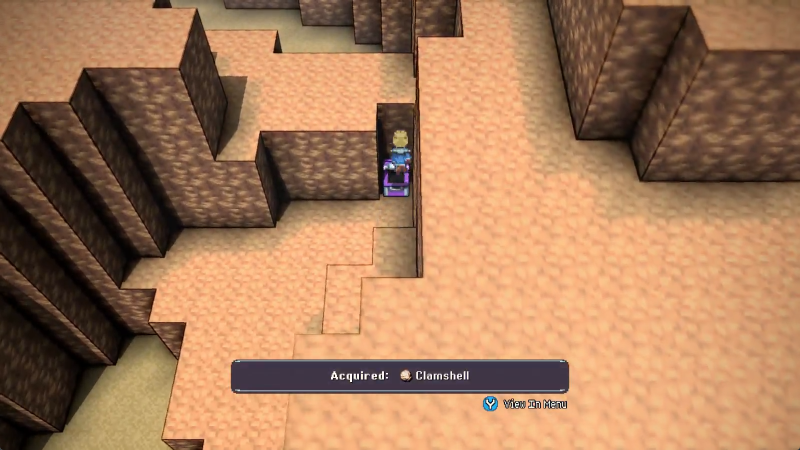
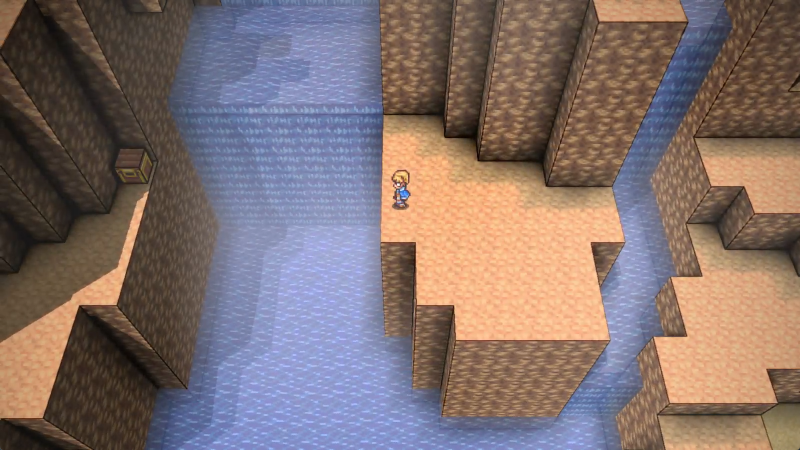
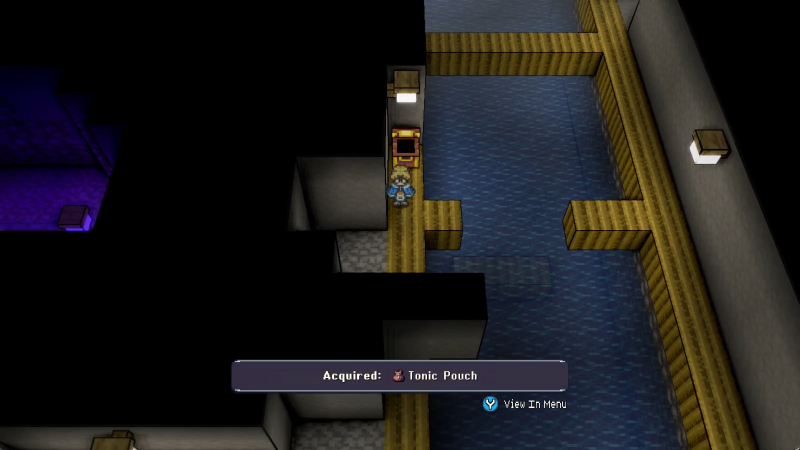
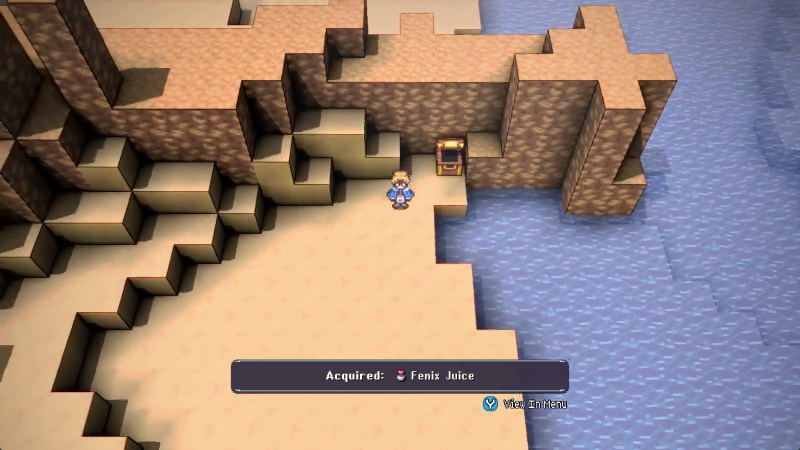
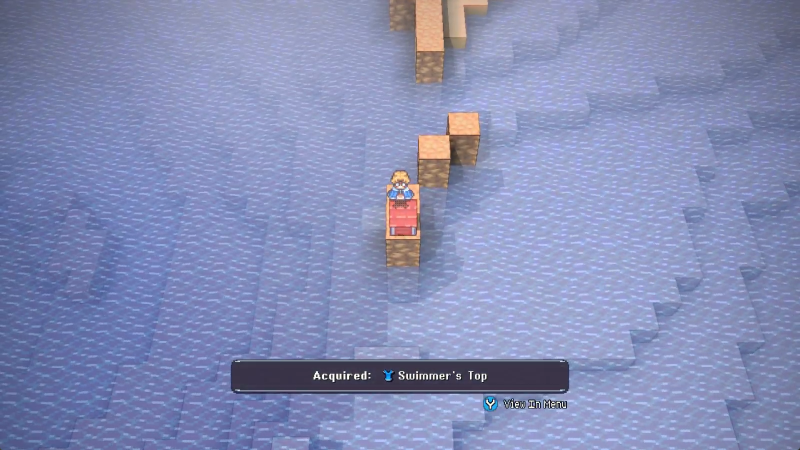
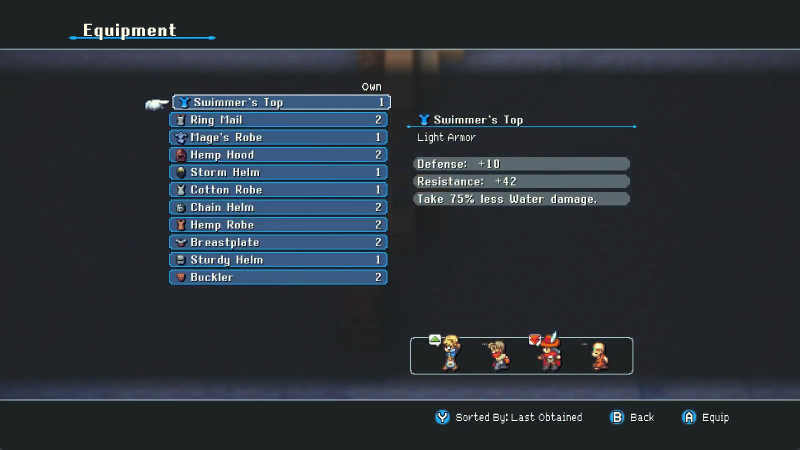
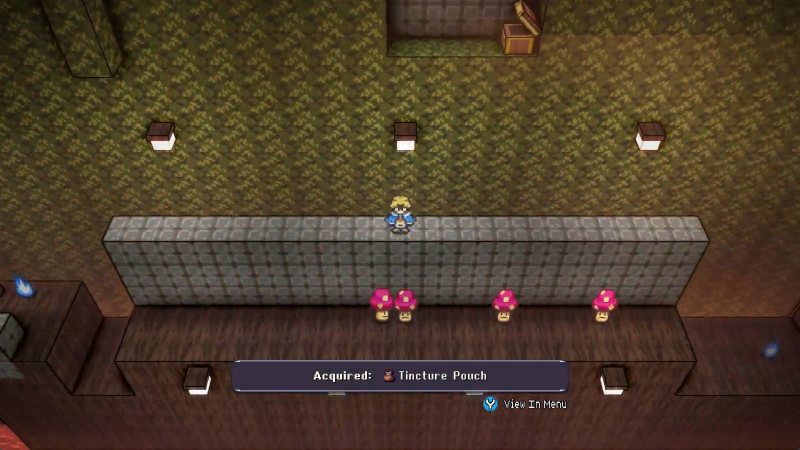
There's a few goodies we can access over yonder.
First, let's grab that chest we saw.
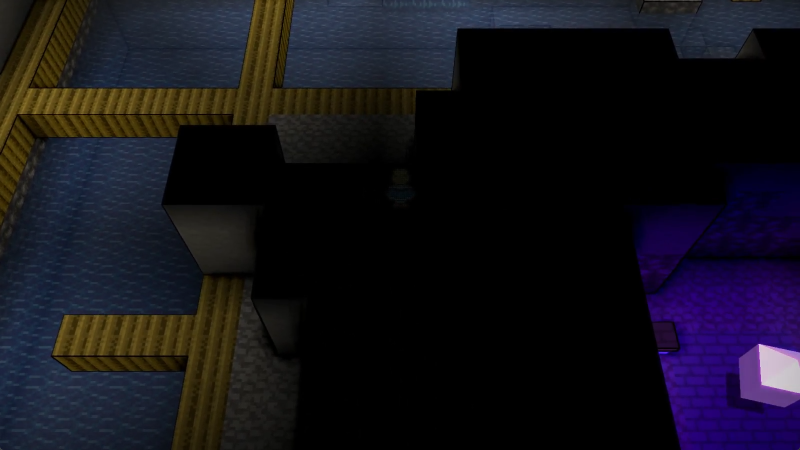
Hmmm, tight caverns just like at the start.
And as soon as we reach this we can see more paths.
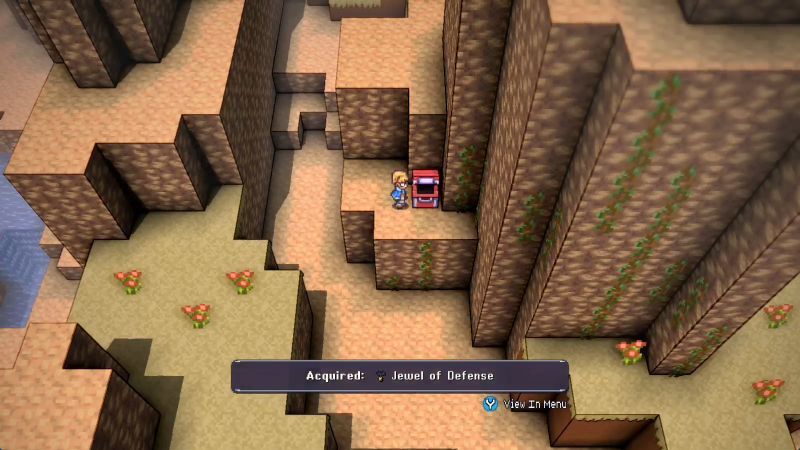
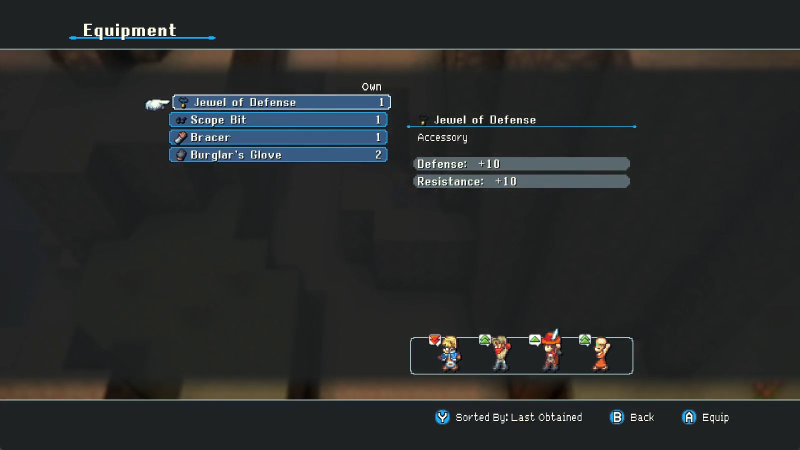
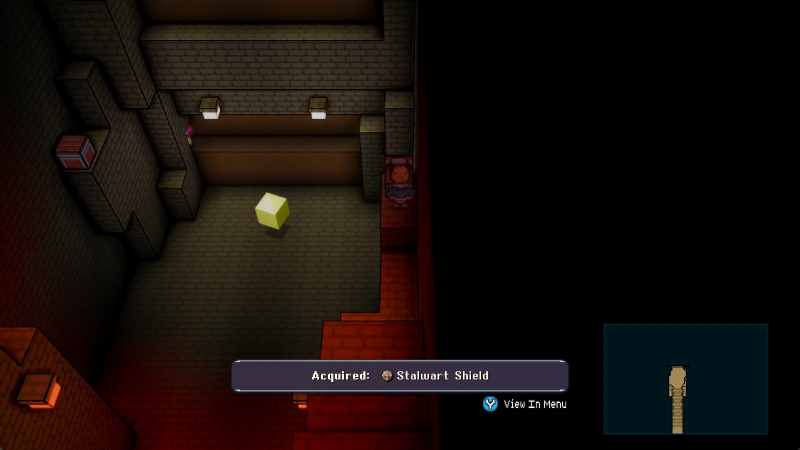
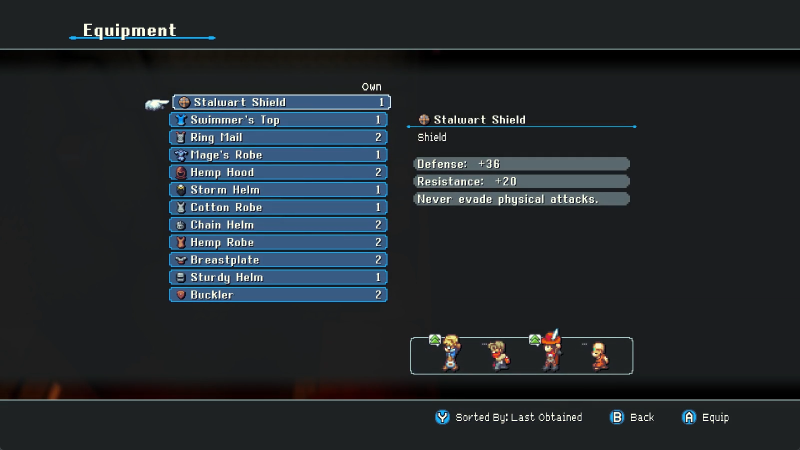
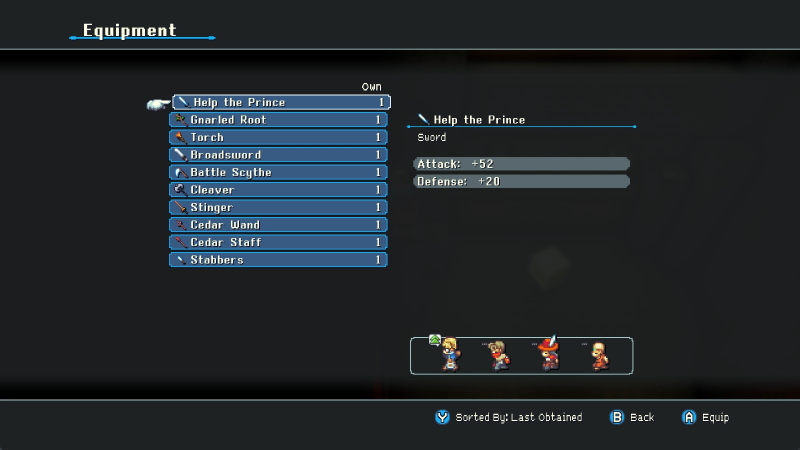
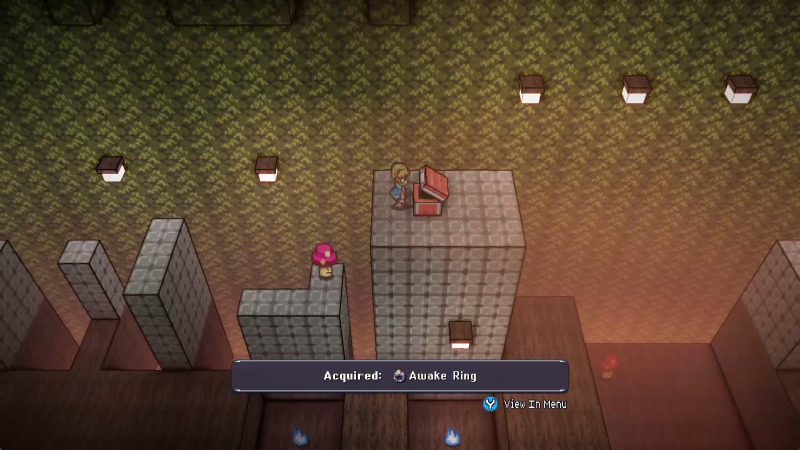
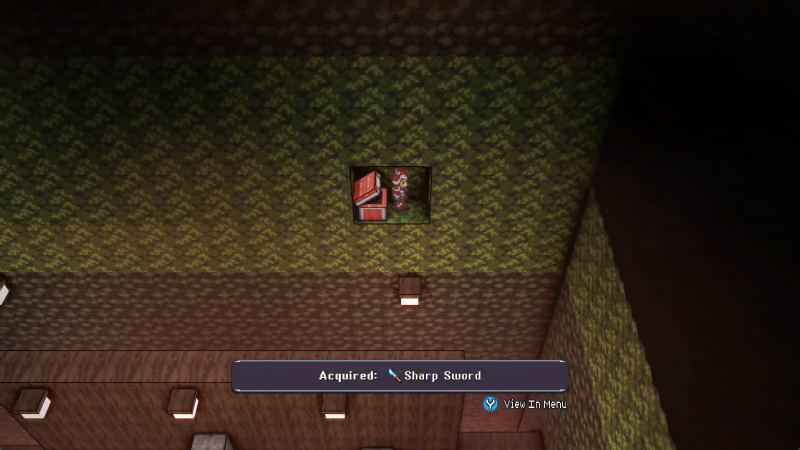
Coming to the start of the second tunnel rewards us with this nice piece of kit.
More offense-oriented than Help the Prince. We equip it to GUTS like good people.
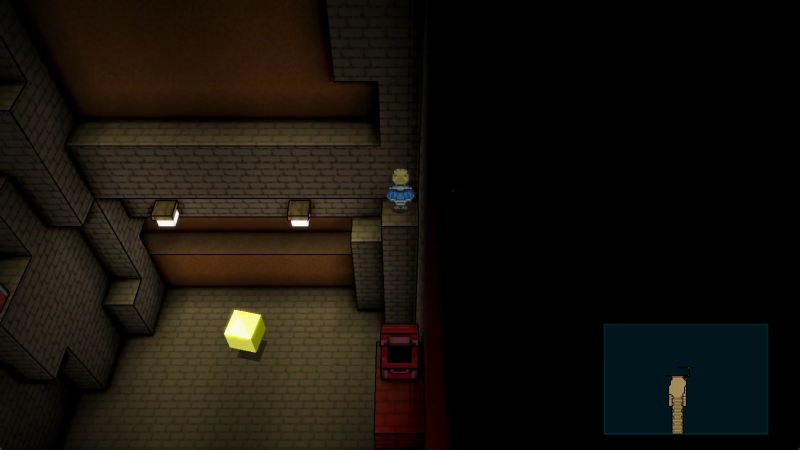
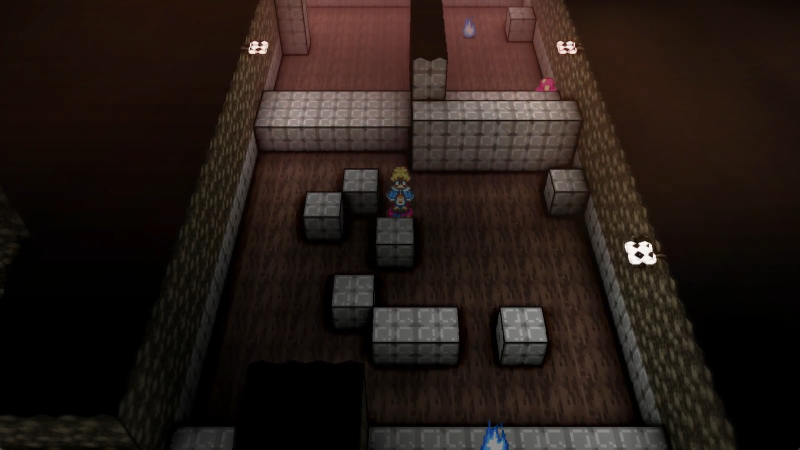
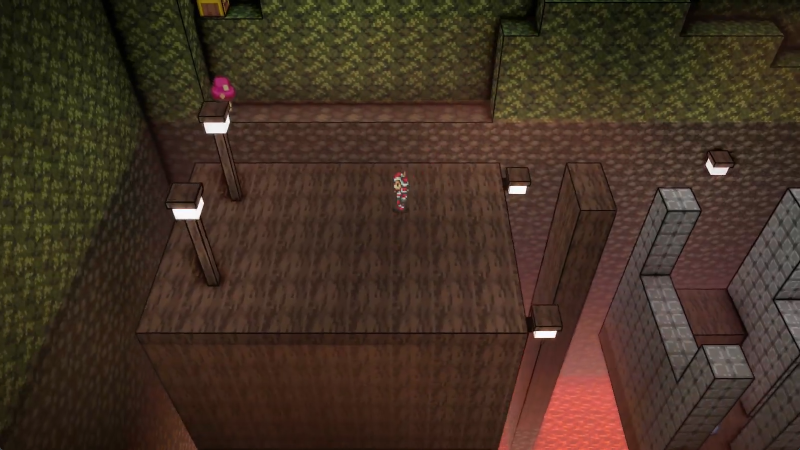
For this box, we gotta worm on up through here. There's hidden points behind the pillars where you can climb up.
You can either use the bumpers to rotate the camera angle to see, or just mash your head into every ceiling until you find one that isn't there, old school style.
It's the Gem Ring but better! Werdna takes it.
Back to the progress tunnels. You'll have a camera shift every time you reach a tunnel with an opening above you, so don't fret too much about where to jump.
That's our goal right up there. If we were to veer west, we could find a one-way shortcut that drops us at the start of the Trial Caves, which can be convenient if you set your Home Point here first and annoying as hell if you haven't.
We're done with Skumparadise in practice, though.
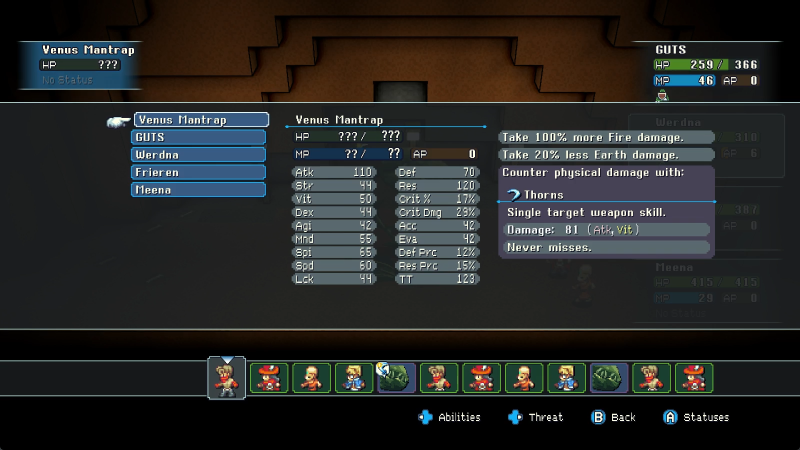
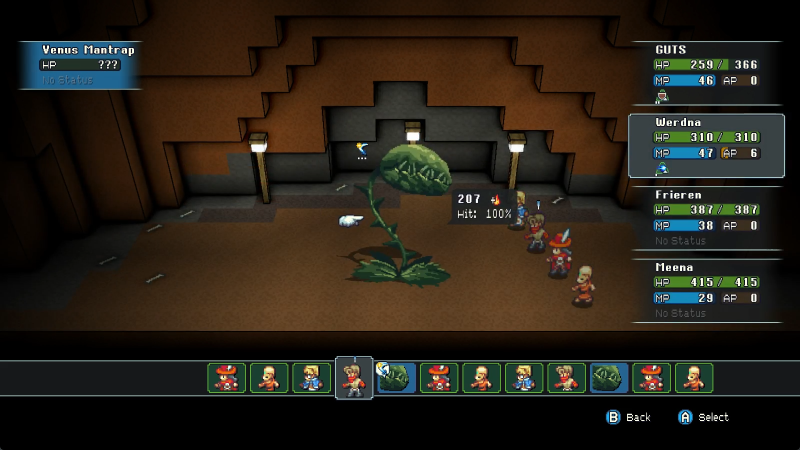
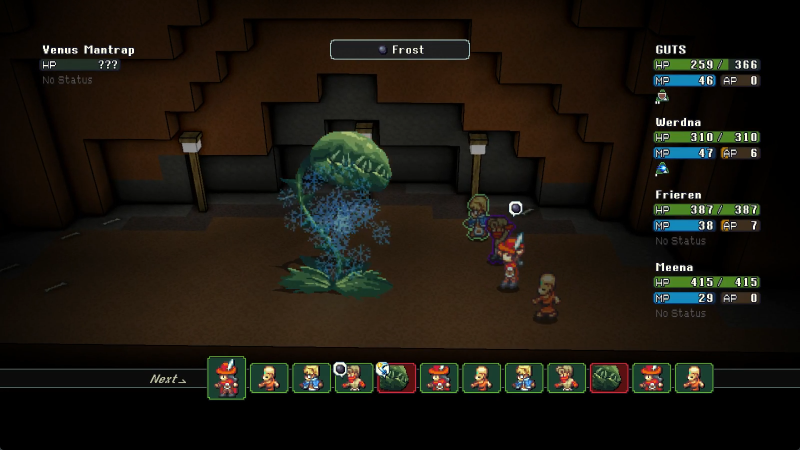
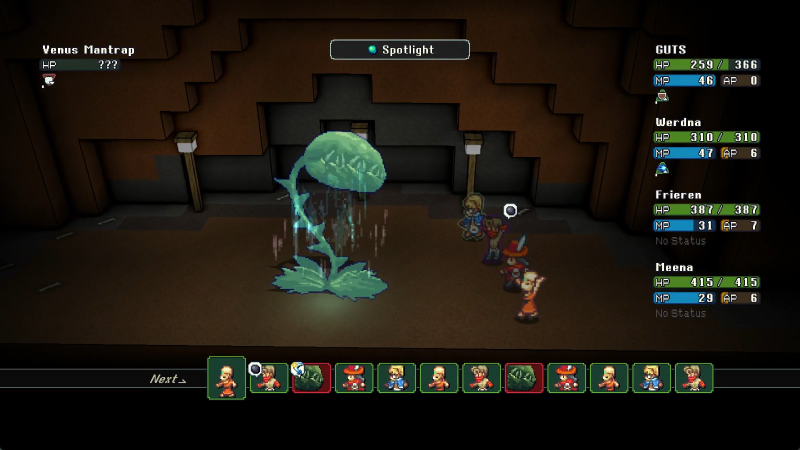
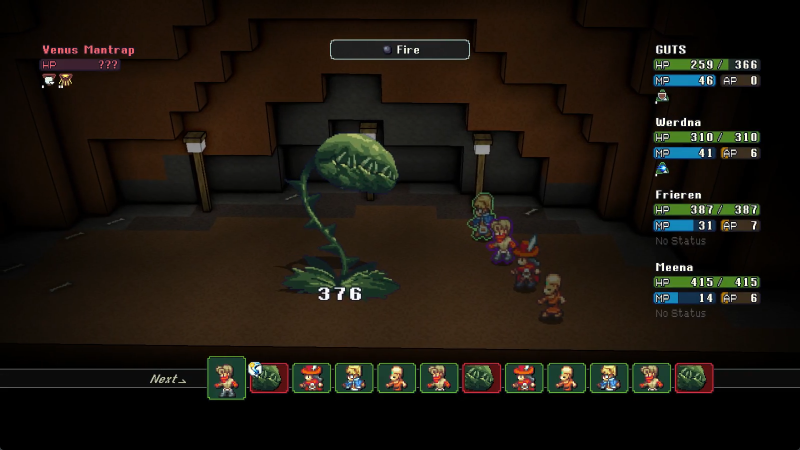
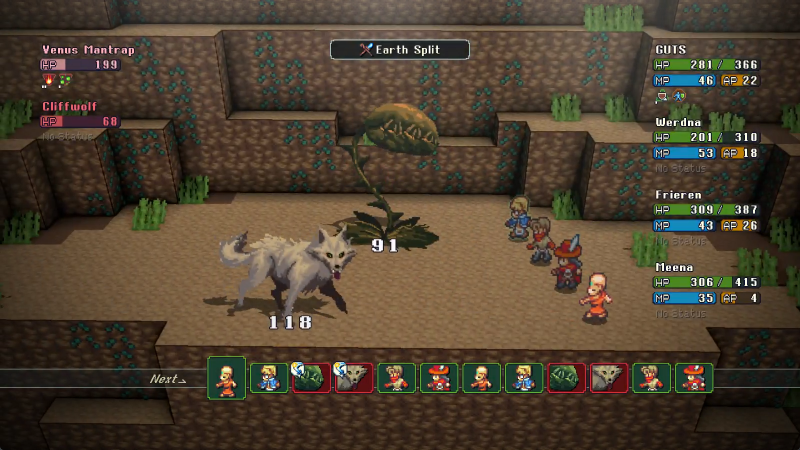
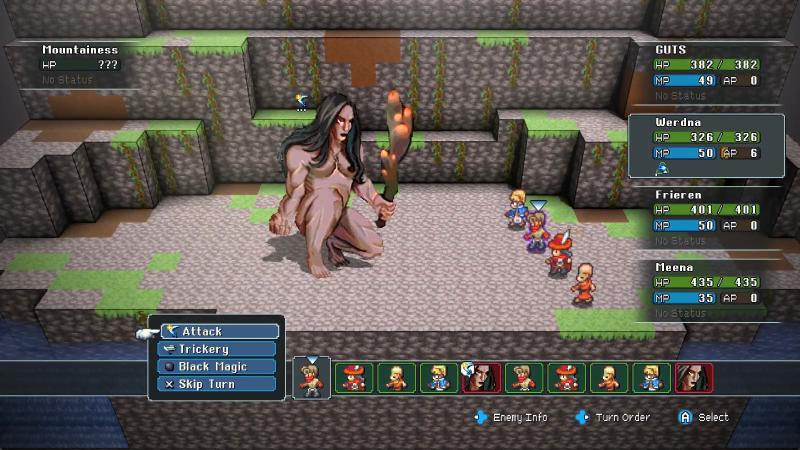
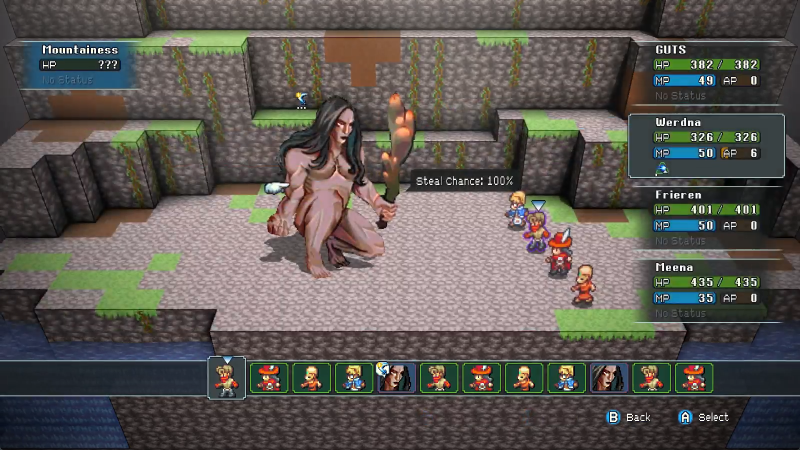
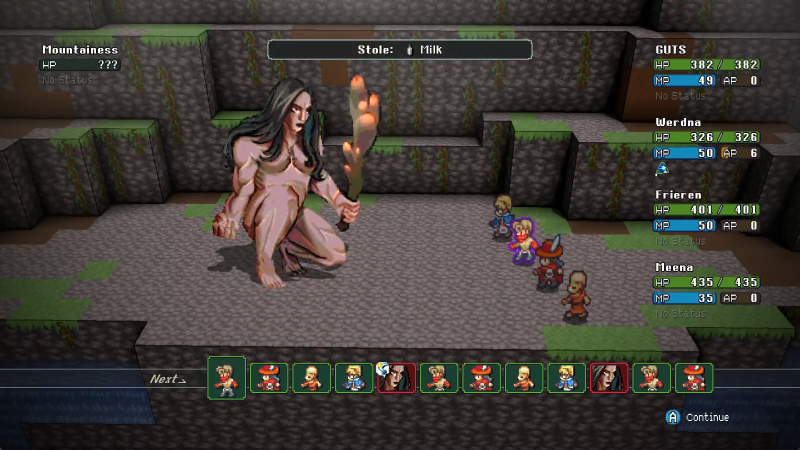
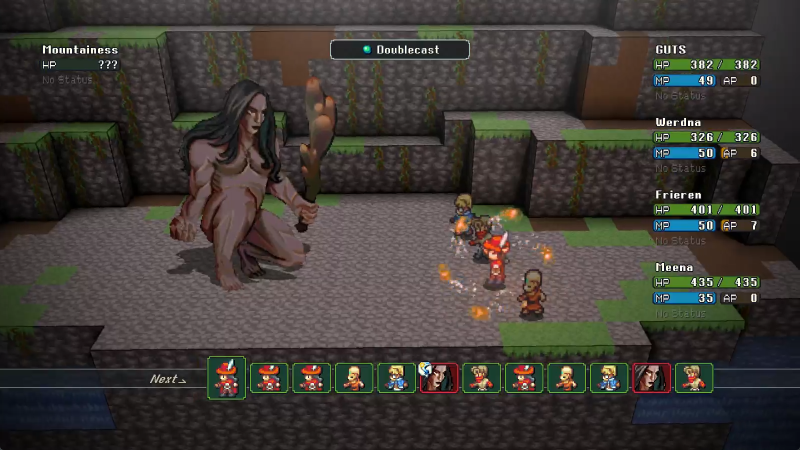
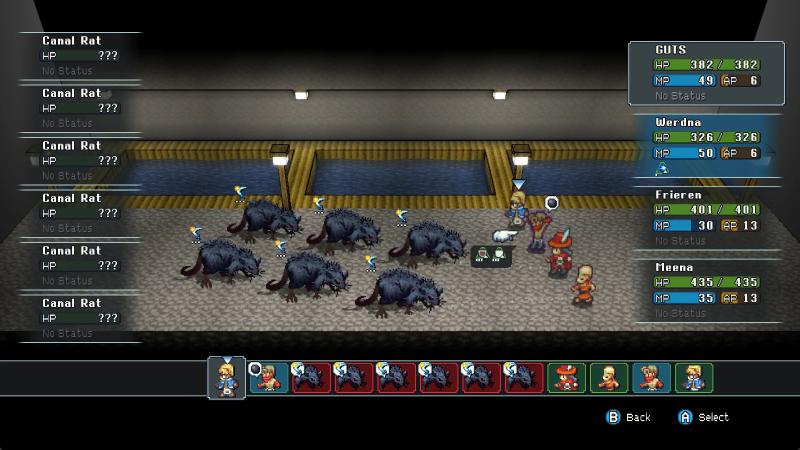
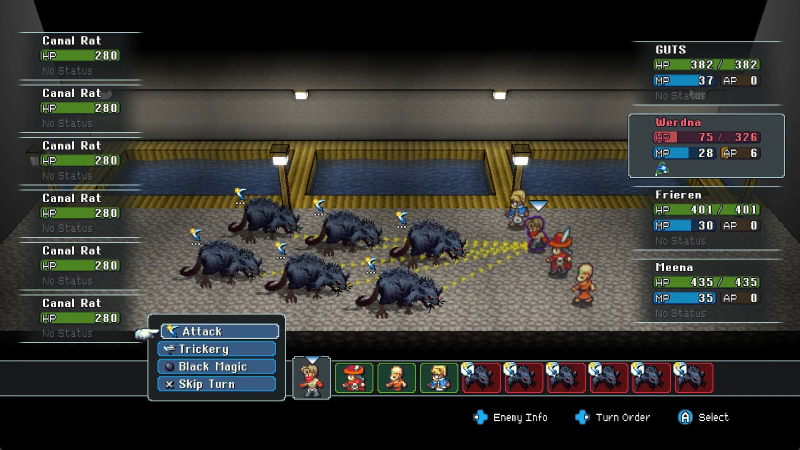
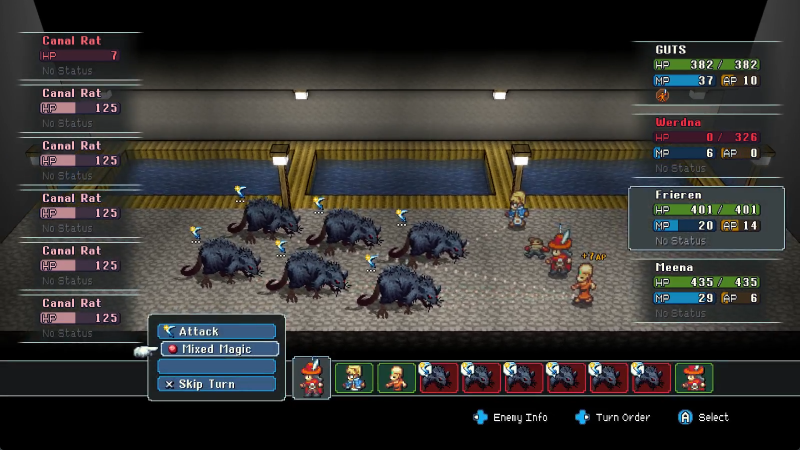
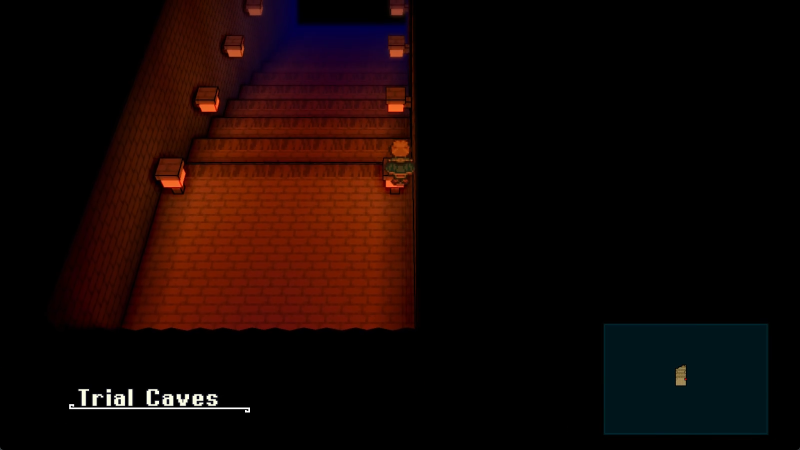
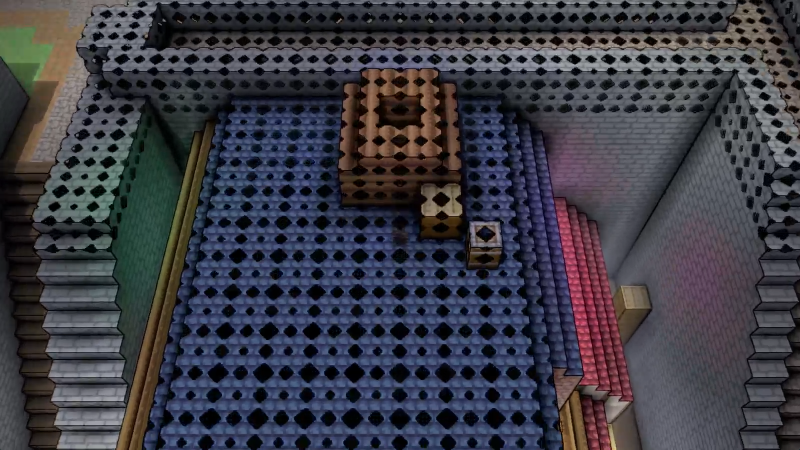
All that remains is the boss of the Trial Caves.
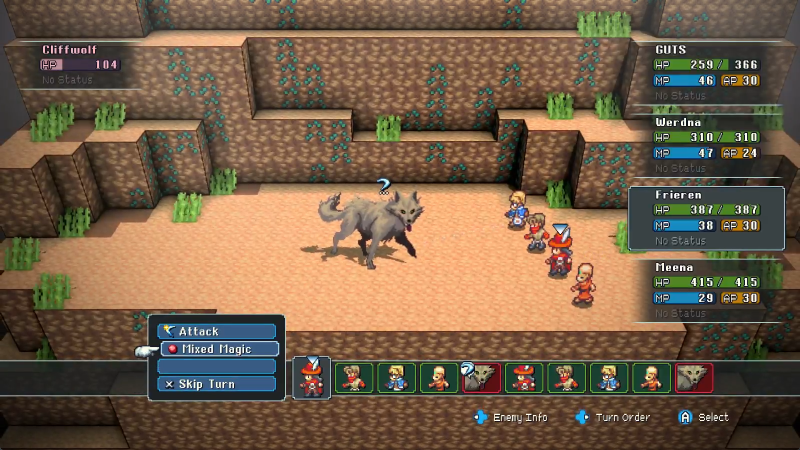
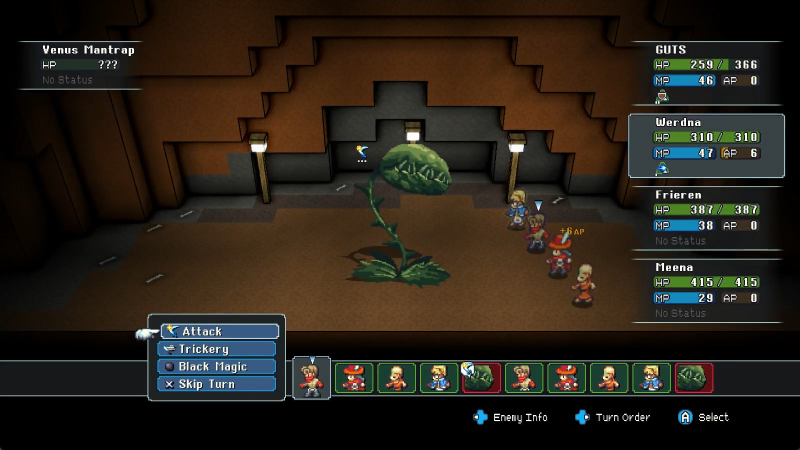
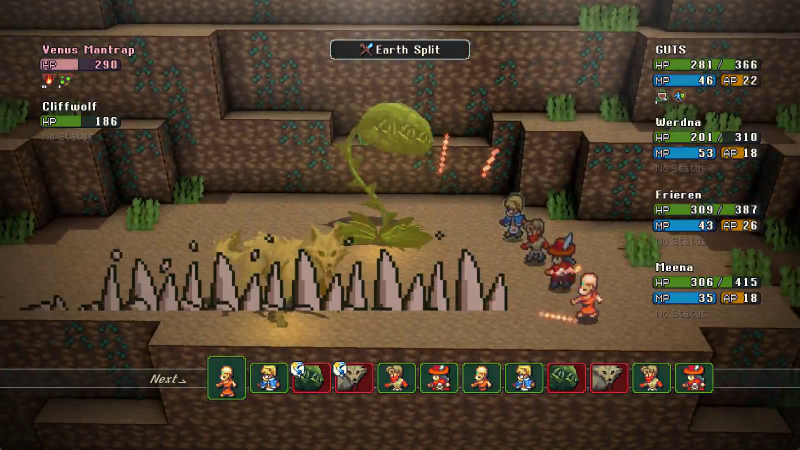
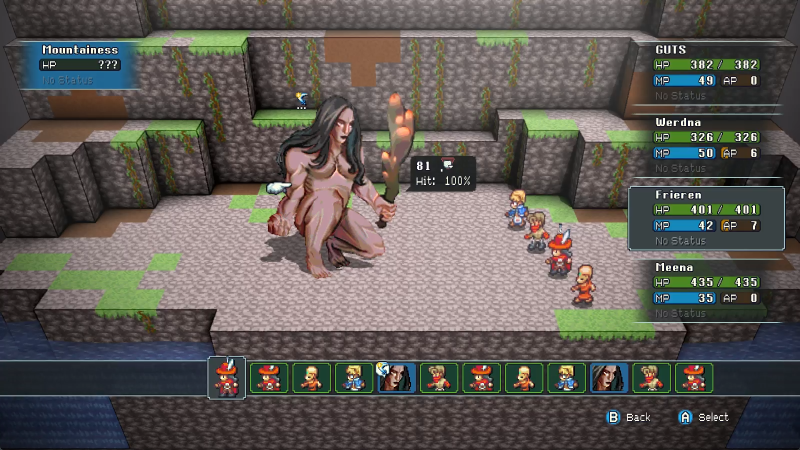
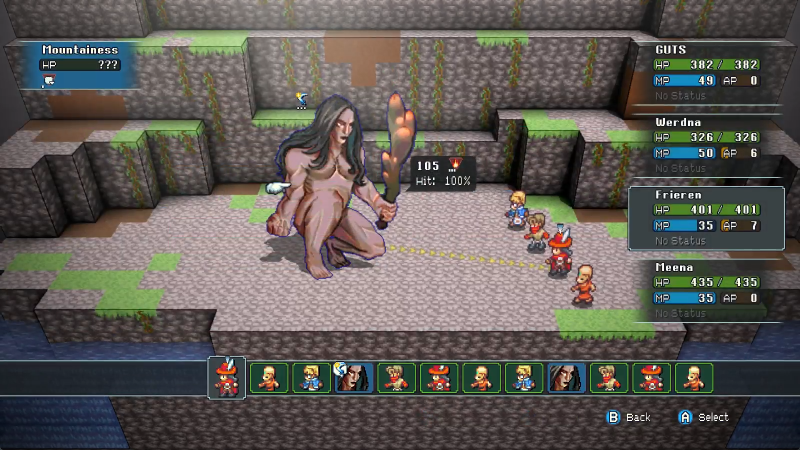
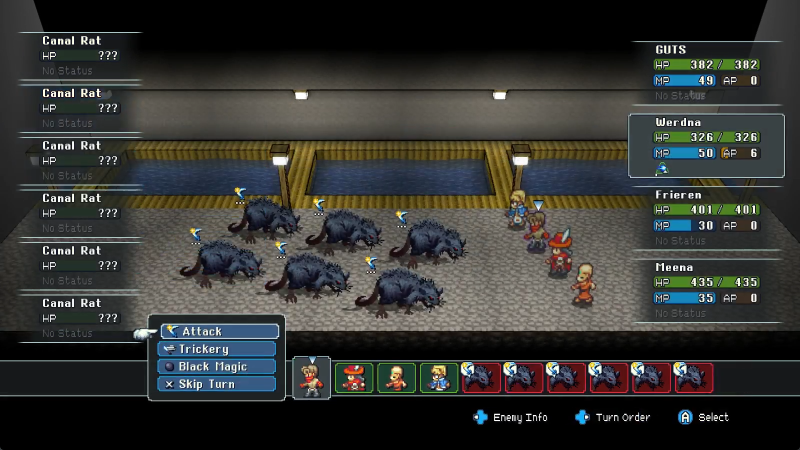
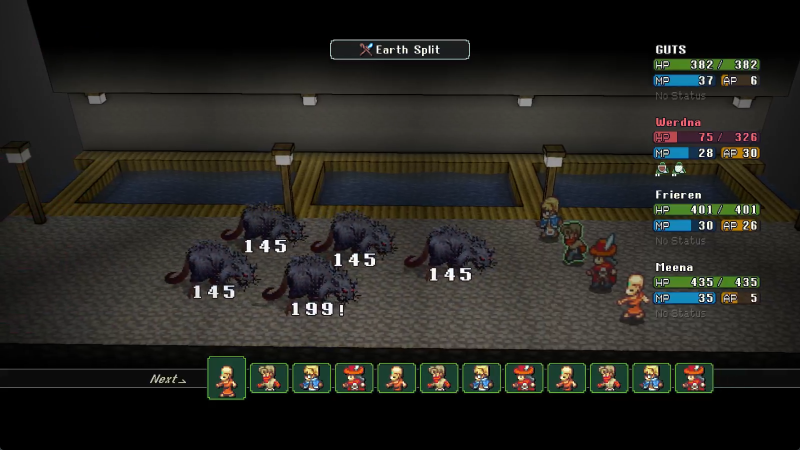
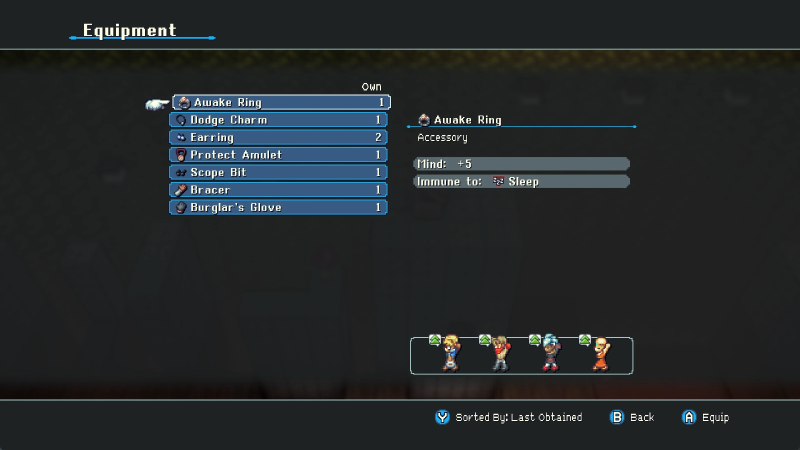
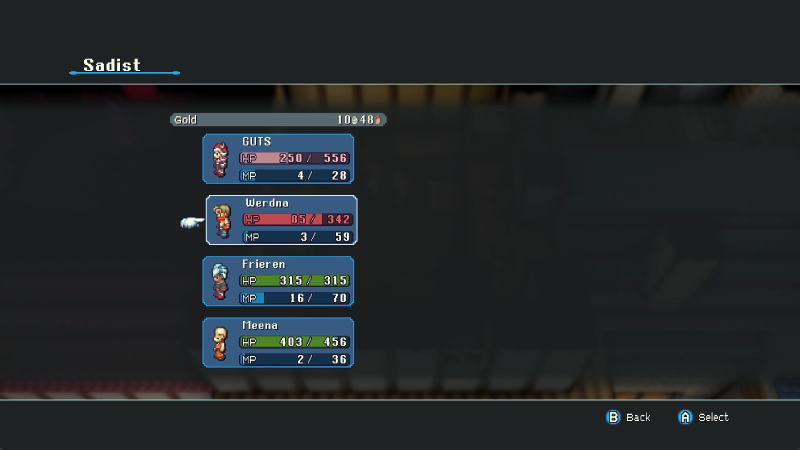
Parasite's got more than a few tricks above the previous bosses we've fought. It's capable of summoning Funks as backup, it has Atmoshear to screw with our support options, and it can even inflict Sleep, albeit not guaranteed, with Spore. This is the first, but not the only, boss fight where area attacks are especially valuable, and fortunately we have Werdna with Firen and Meena with Earth Split to handle that pretty efficiently. Area attacks are also a great way to get around the whole Confusion thing: don't need to worry about aiming at the wrong target if you hit all of 'em! Confusion becomes much harder to handle if you're dealing with it defensively though, since it makes your healing options much harder to land where they need to. Multitarget healing still works, but this current party (and most parties) only has Sun Bath for that which is strangled by the CT. The next best thing is Remedy, since that both heals and cures the status effect the target has, be it Sleep or Confusion. Speaking of Sleep, it's actually not a huge deal for this fight! It's only a 65% infliction chance, and you can enter the fight with as many as two Awake Rings. Since both Frieren and Meena can clear the status on anyone, they got them. Not an especially fancy fight on the whole, but it's where Crystal Project really starts showing its teeth with boss fights, and they're only gonna get spicier from here.
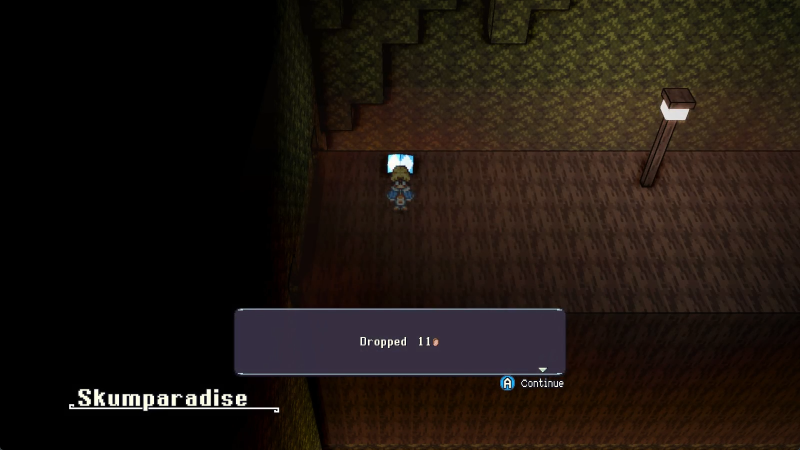
No Crystals this time, we got that at the start of the Trial Caves. But hey, free cash.
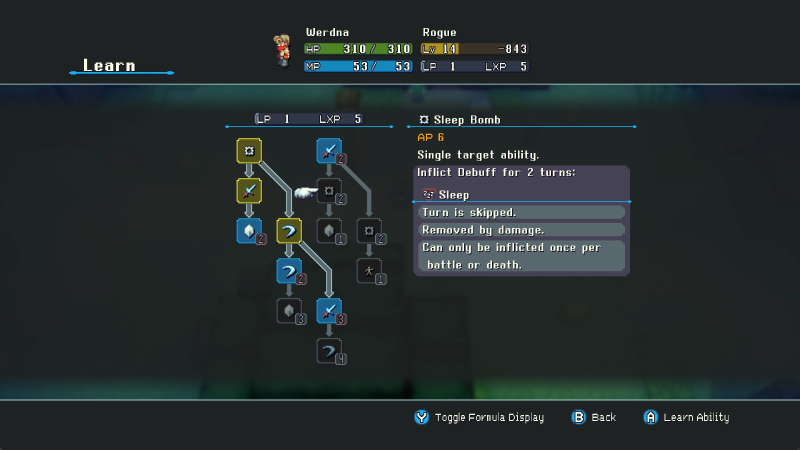
GUTS gets Armor Break, Werdna gets Sleep Bomb, Frieren gets Acid, and APPARENTLY I completely forgot this whole time that I had Focus Energy on Meena? Why would I do that to myself?
Dang, they beat us to it. Oh well, not like it's an actual race, I did my time in Crosscode, thanks.
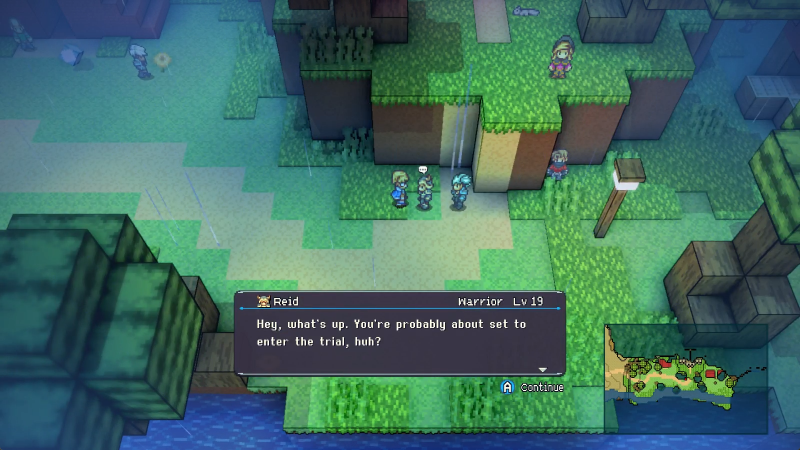
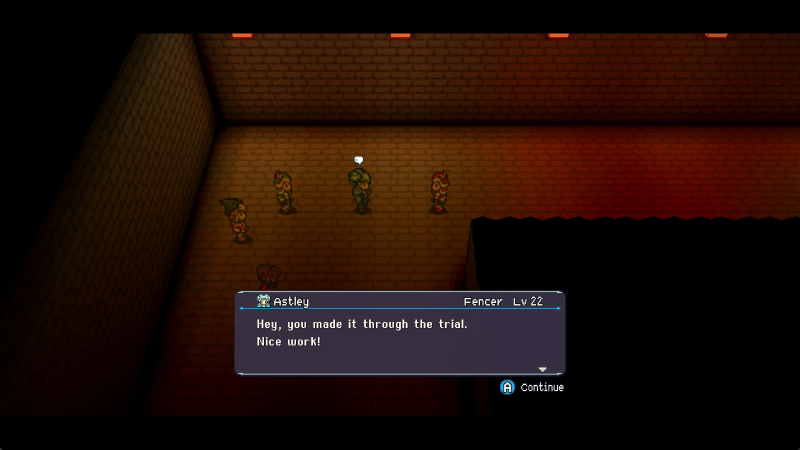
<Astley> Maybe you'll be able to find what you're looking for in the Land of Sequoia after all!
<Reid> Yeah, not bad. Keep it up.
<Chloe> Good work, friend. Let's catch birds together, soon.
<Reid> I'd say it's about time you really start thinking hard about what that thing is. That thing you're here to find. The start of a new beginning? The making of new friends? ...The passage of time?
<Astley> Pfft, that stoic talk doesn't suit you. Besides, can't you see they're here for the same thing we are? Adventure!
<Reid> Hey! You told me you were here because you wanted to make a real difference!
<Astley> Haha whatever, same thing. Well, we're past the trial and into the real world now so I guess it's time to get serious. Do you know where you'll go from here?
Dogg I'll be real I played the demo and just thought this was fun and now here I am LPing it after at least three playthroughs.
Anyway, the other party heads off, but Talon lags behind a bit.
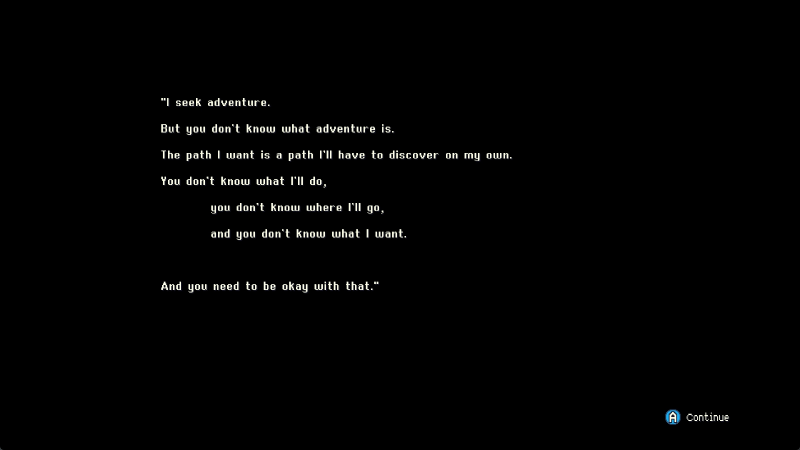
What, clearing the Trial Caves? Of course not. No, if I wanted to let things go to my head, I would've sequence broken out of the Spawning Meadows and scrapped my way to a far off town.
Okay later.
Yeah, just to really drive it home, everything we've done so far? Consisting of like... at least five updates? This is the very start of the game. We are still setting out proper. The demo isn't even over yet if you're playing that.
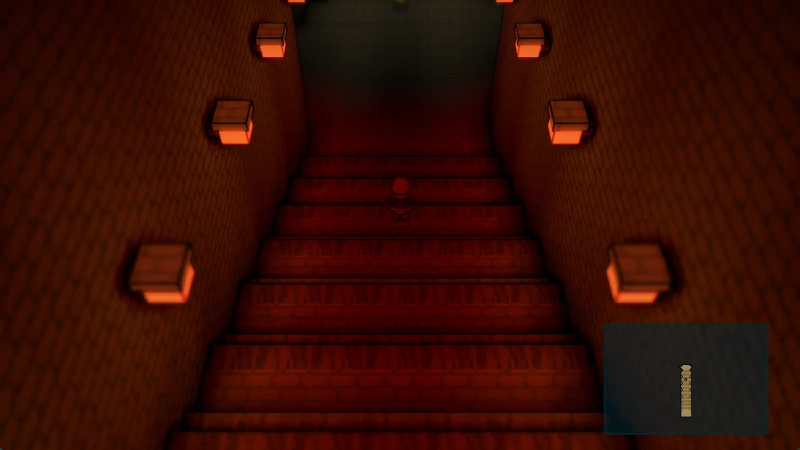
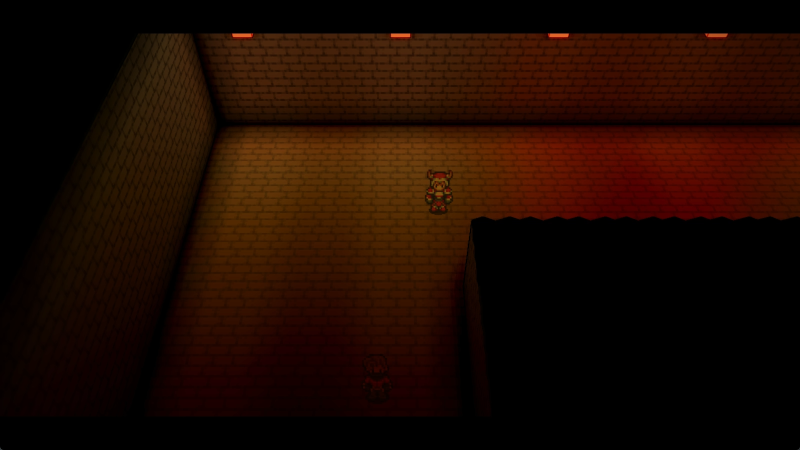
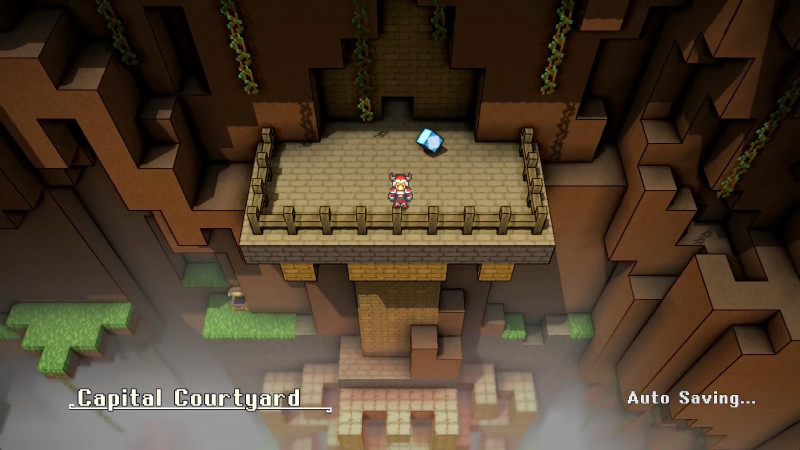
Up the stairs out we go. The lamps don't lead to secret treasures this time.
I even checked, all I got was a low ceiling to the face.
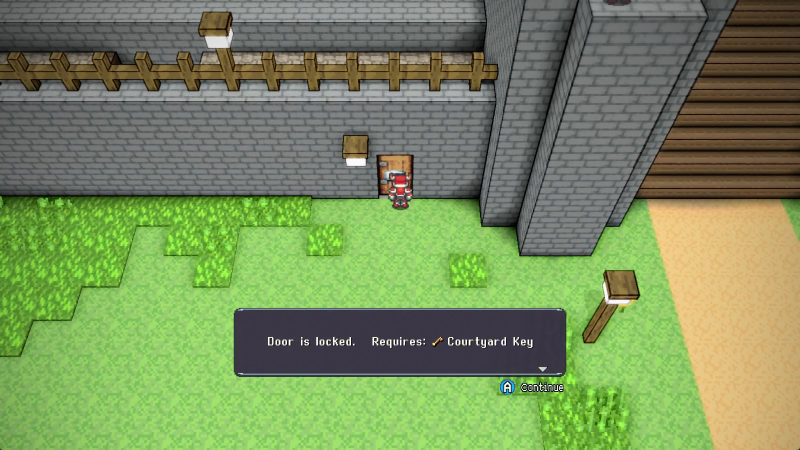
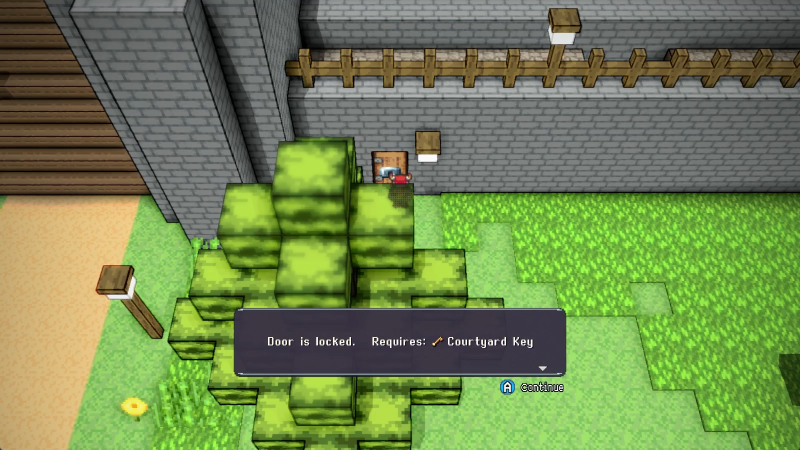
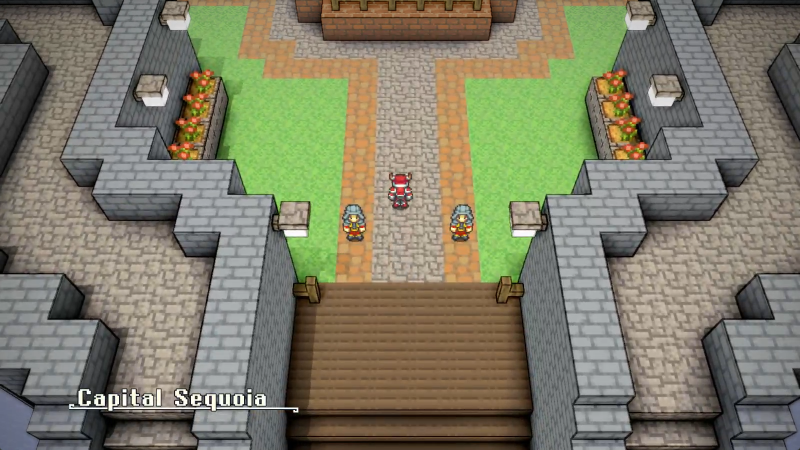
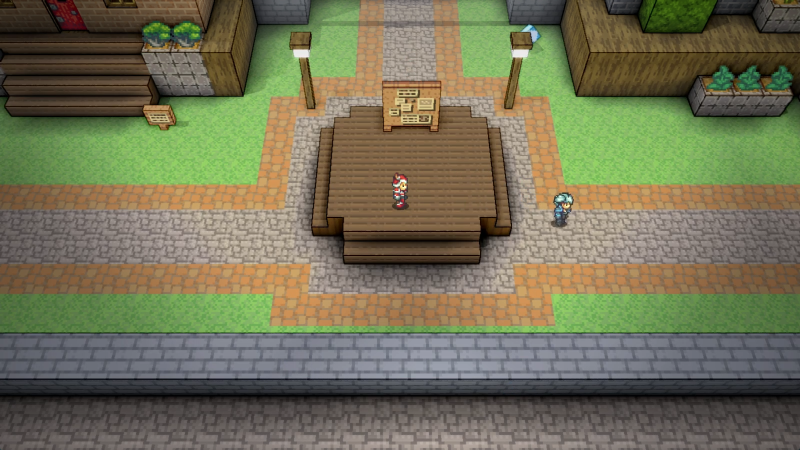
The Capital Courtyard, huh? Well, I can see a clear route for climbing to the left, so let's do that.
I can hear birdsong.
That explains it.
Not a lot in the Capital Courtyard.
And these doors are locked. So that's something we need to look for at some point.
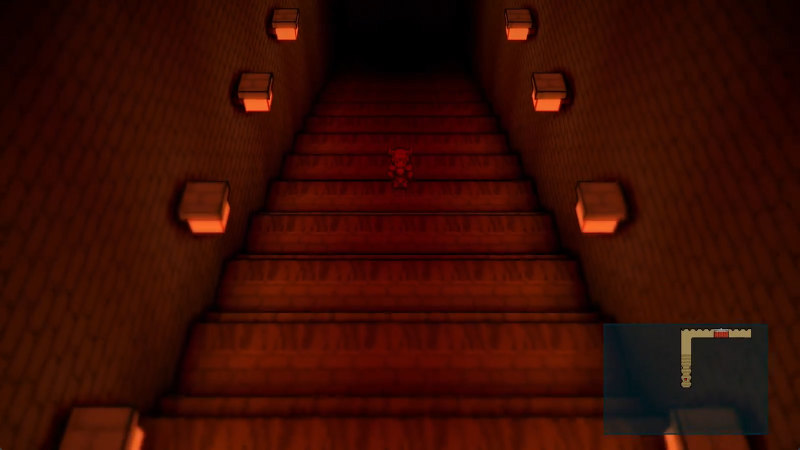
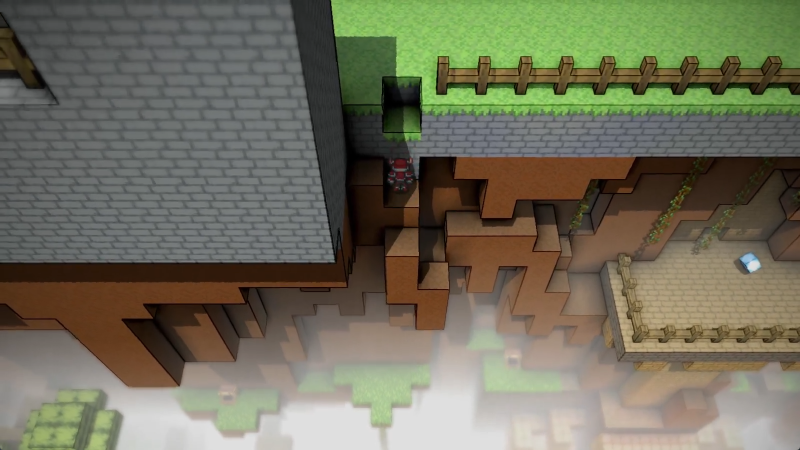
Oh well. Clearly we need to go up the stairs to the real area.
Chloe is already enjoying her new fishing spot.
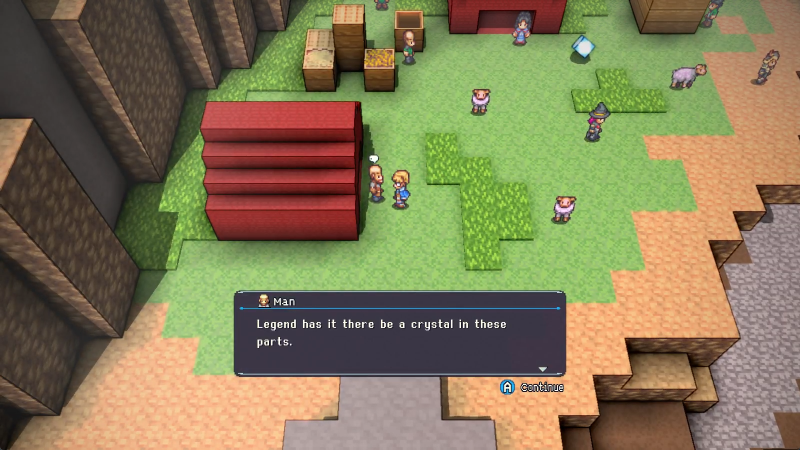
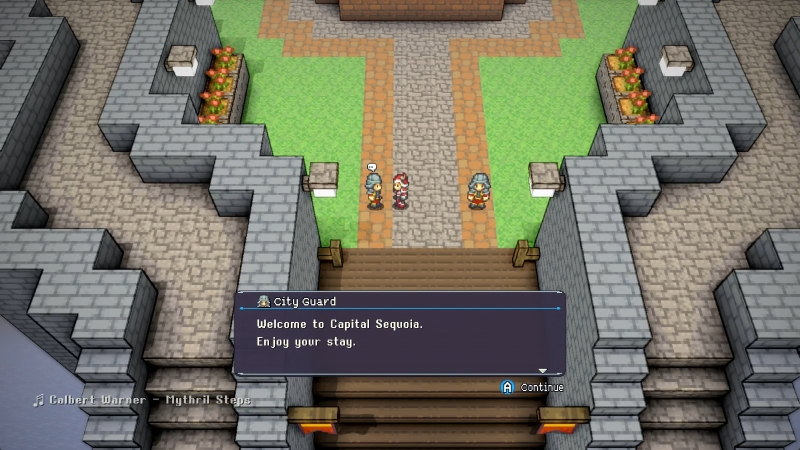
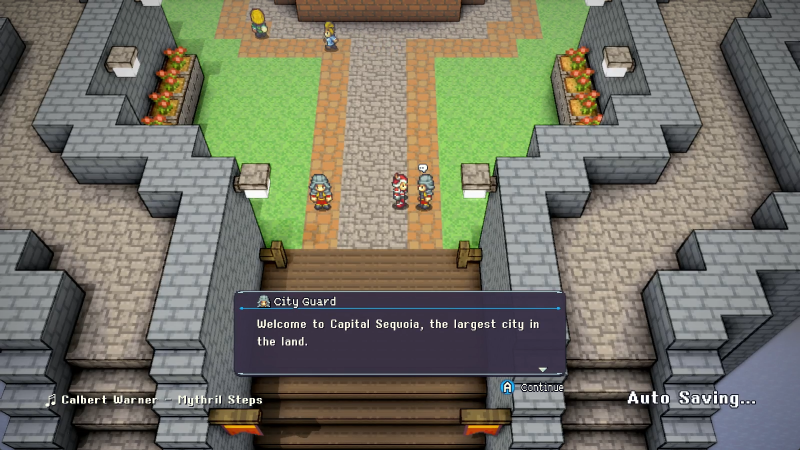
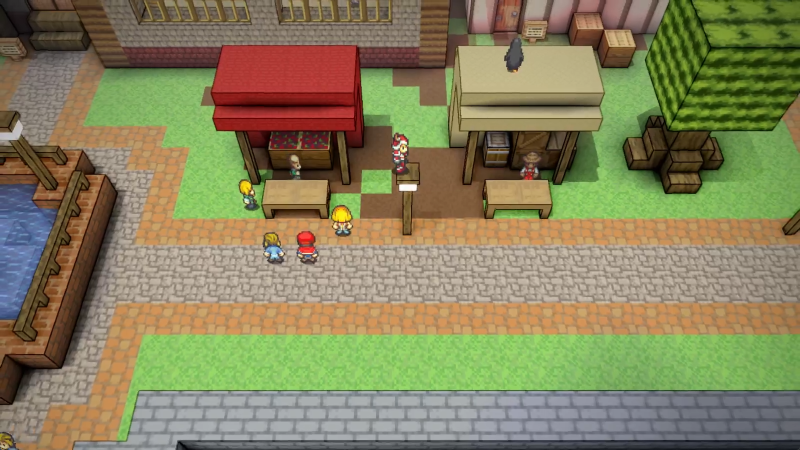
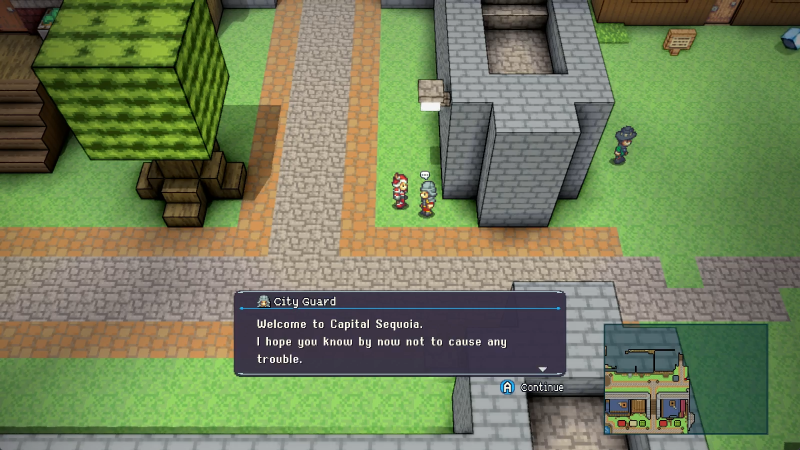
And here we are, the hub of civilization at the heart of Sequoia! There's a lot to do here, so let's take it a bit at a time.
City Guard said:
Oh, and don't cause any trouble!
The small camps and Nan's lodge we've seen prior to this point are all baby stuff compared to this metropolis. Loads of vendors, some unique services, and more than a couple friendly faces to chat with all reside here.
City Guard said:
Don't cause any double trouble.
And a fair few dumb jokes, of course.
If you got your shots you shouldn't have any trouble. Now outta my way, shorty!
Cool, we can go fishing now! That'd require backtracking to the Fish Hatchery though, and that's so far away...
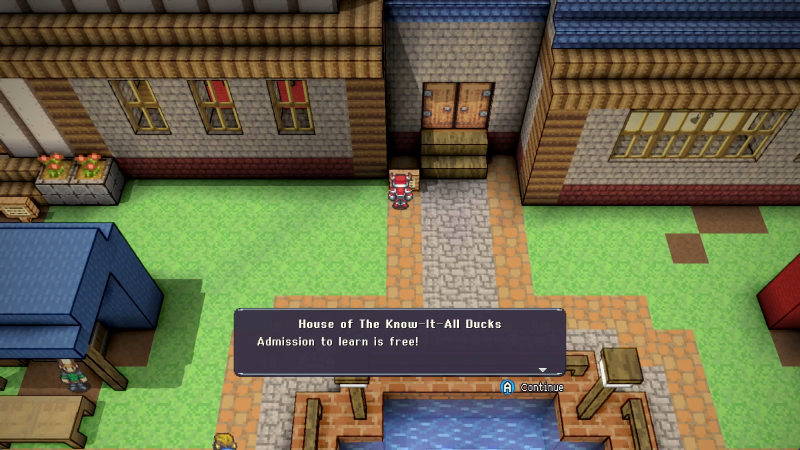
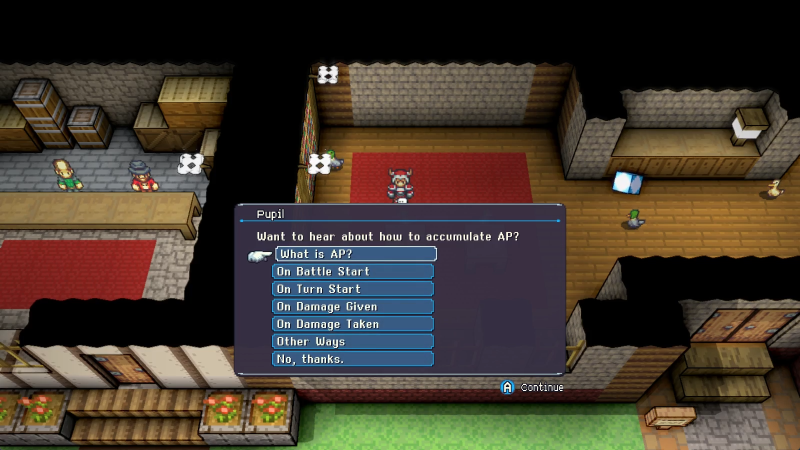
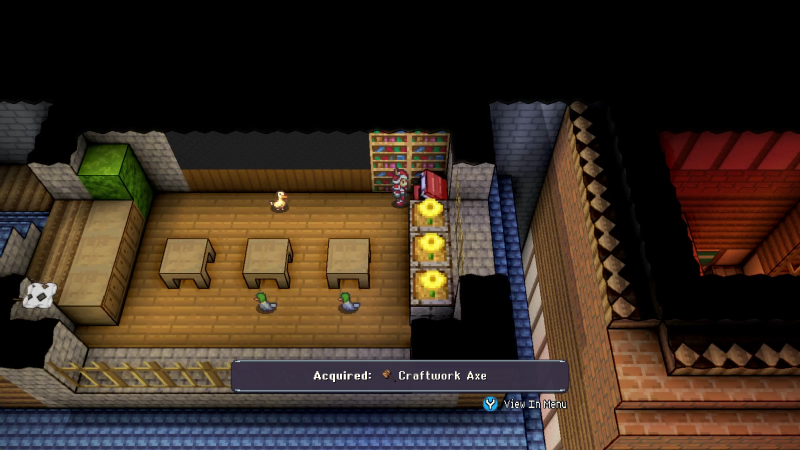
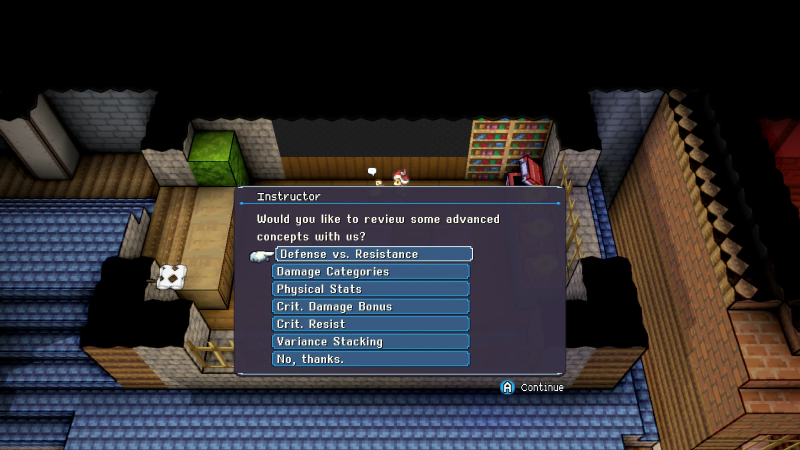
This establishment right here is where the mechanics of the game will be explained in pretty thorough depth. Outside of staring directly at the code, every question you'd have about what this or that bonus does is answered in here.
Most of this is stuff I've already covered in length, but I'll still use this post for some grouping up of mechanical details.
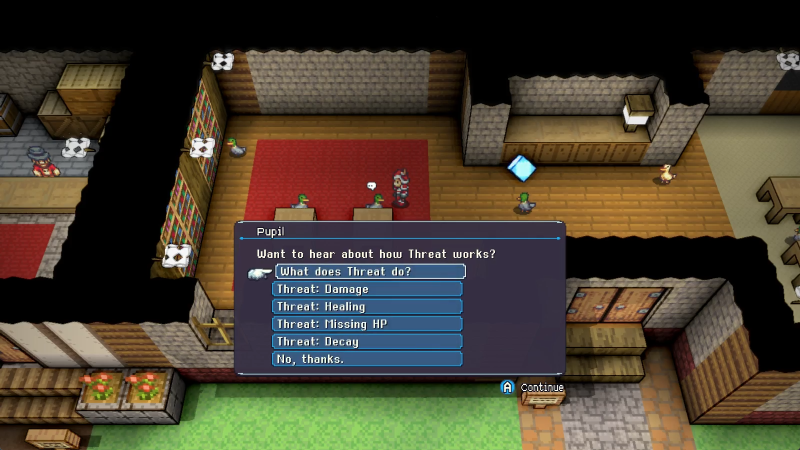
Threat is already pretty well-established by now: it's aggro. When you damage an enemy, you gain Threat for that enemy equal to damage dealt. Healing earns Threat if you heal the top Threat of an enemy, and being below half health builds some Threat roughly equivalent to missing HP. You also shed some of your Threat at the start of each turn, and since this decay is percentile, tanks have to work extra hard to maintain high Threat levels.
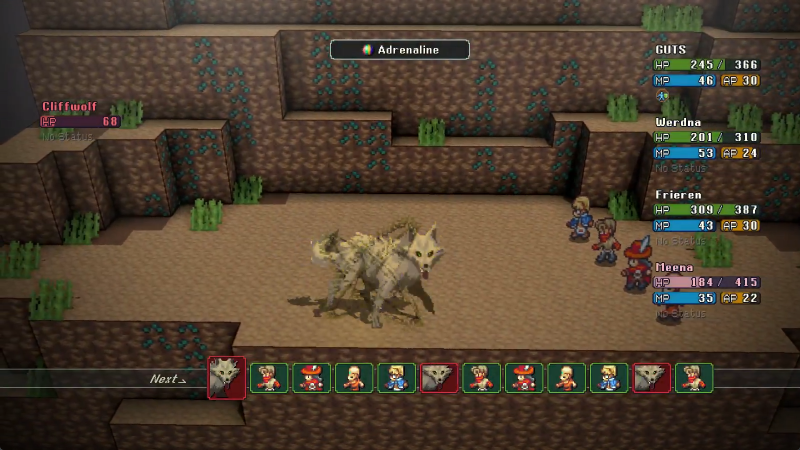
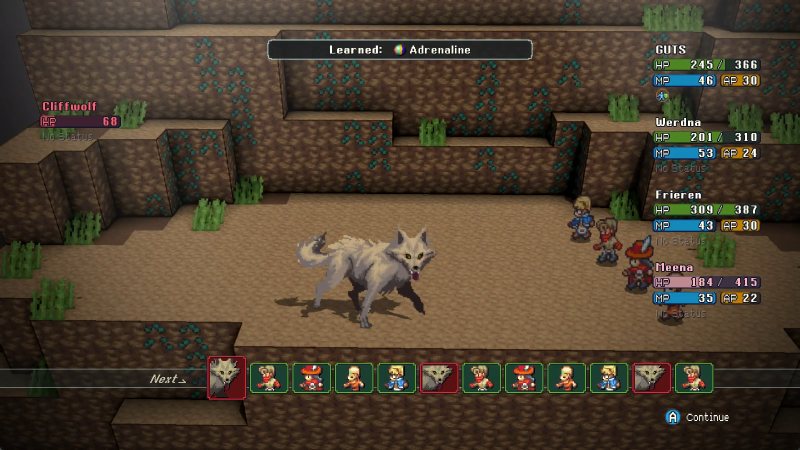
Everyone starts a fight at 0 AP (Adrenaline Points) and has a cap of 30, whether monster or player character. You get 6 AP at the start of your turn, when PHYSICALLY damaged, and when you make a basic attack. Some abilities, like Focus Energy and Adrenaline, can get AP as well.
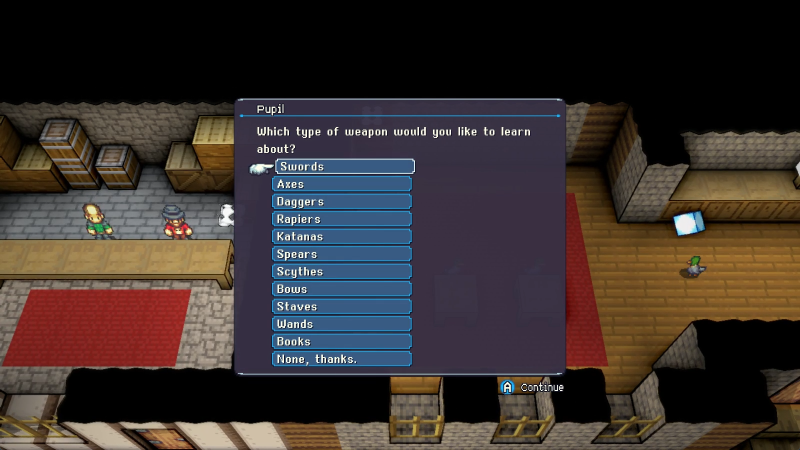
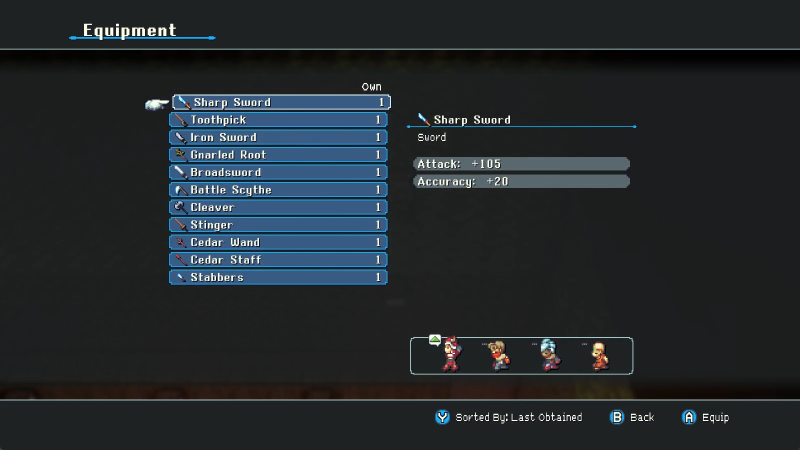
There are eleven types of weapons in the game, roughly grouped into three subsets. Swords, axes, daggers and rapiers are martial/common weapons. Katanas, spears, scythes and bows are "exotic" weapons that are rarer, more expensive, and less common to find compatibility for. Staffs, wands and books are caster-oriented weapons with generally lower Attack. Daggers, rapiers, katanas, and wands are always one-handed, spears, scythes, bows, staffs and books are always two-handed, and everything else can be either one or two-handed. Each one has their own little quirks, save for the gold standard of swords: axes have Variance, daggers have crit damage, rapiers have crit chance, katanas have AP gain/elemental typing/counter ignore, spears have Defense, scythes have Defense/Resist Piercing, bows have higher power but an Accuracy penalty, staffs have Spirit, wands have Mind, and books have Max MP. While individual weapons may have unique properties or even diverge from the expected statline of their family, every weapon type has a playstyle it supports.

Turn Time is what determines how fast characters act, and is reduced by the character's Speed stat. Every aut, TT for all participants ticks down by 1, and when it hits 0, that participant gets to act. Some status effects, like Slow or Haste, can modify how much TT any given turn gains. On the first turn of most fights, monsters have more TT and players have fewer, to prevent blindsides. CT, or Charge Time, adds the listed number to your TT between selecting a move and that move's activation.
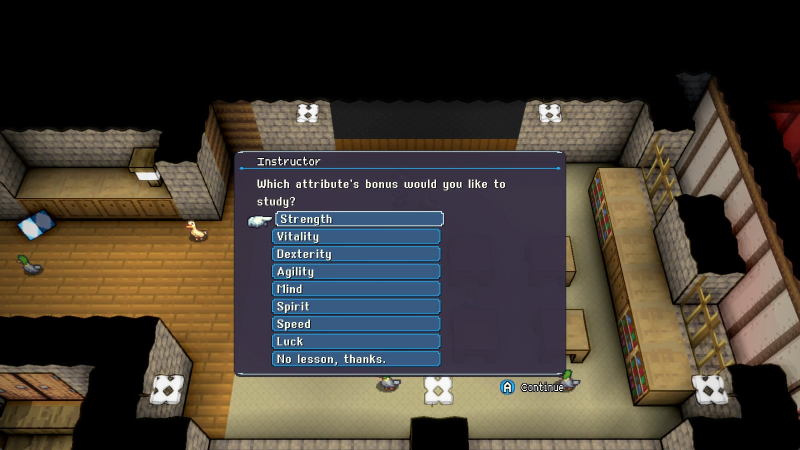
All eight of the non HP/MP stats give bonuses outside of influencing ability scalars. Strength and Mind increase Defense and Resist Pierce respectively. Vitality and Spirit increase Defense and Resistance respectively, with Vitality also reducing damage over time effects and Spirit improving regen effects. Dexterity improves crit chance and damage. Agility improves both Accuracy and Evasion. Speed is covered above. Luck is complex, but generally actualizes the Gambler's Fallacy in your favor, improving the odds of any random chance element (Variance, dodging, crits, status applications) with a greater effect if you've had bad rolls before.
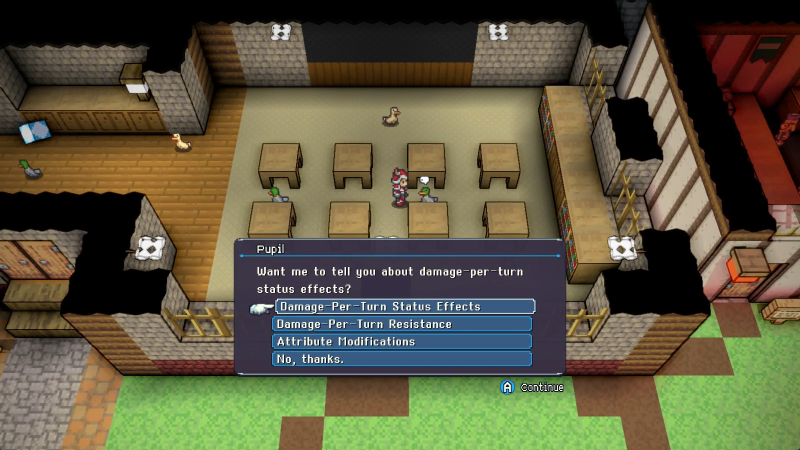
Poison, Burn, Bleed and all other forms of damage over time are percentile, but the higher an enemy's level, the more resistance they have to the effect. In short, expect the tick from damage over time to be roughly equivalent to a basic attack from a competent damage dealer. Vitality, as ever, plays a role in the damage taken, reducing it further.
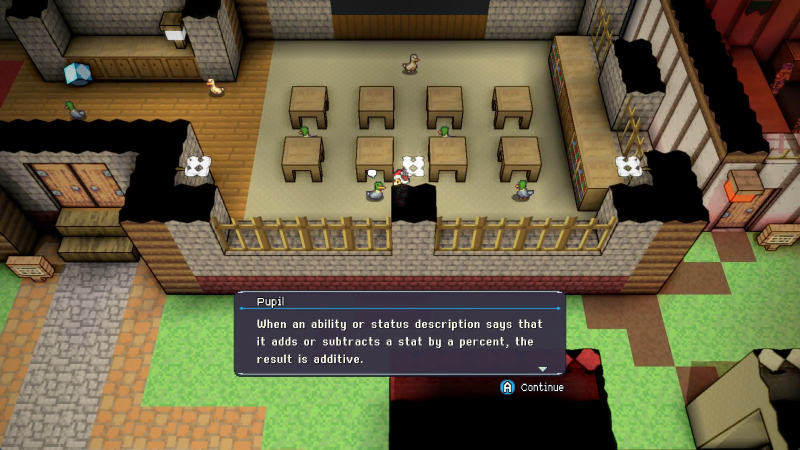
Percentage bonuses from gear/passives are additive, but any effect that says in text "more" or "less" is multiplicative. So, for example, something that said "Deal 20% more crit damage" would multiply your base crit damage, while a +50% crit damage bonus would just staple on to it, with the two stacking to make a +60% damage increase. Bonuses are applied in the order of flat bonuses first, then additive, then multiplicative.
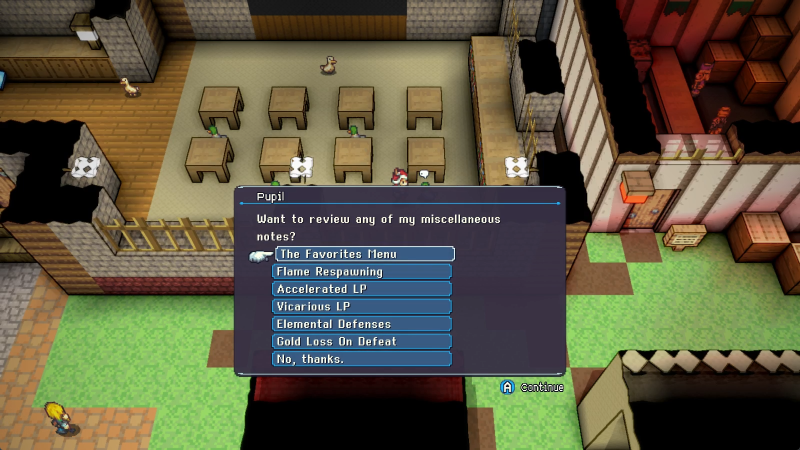
Most of this I've already covered and it's not worth repeating, but there are a few new bits here.
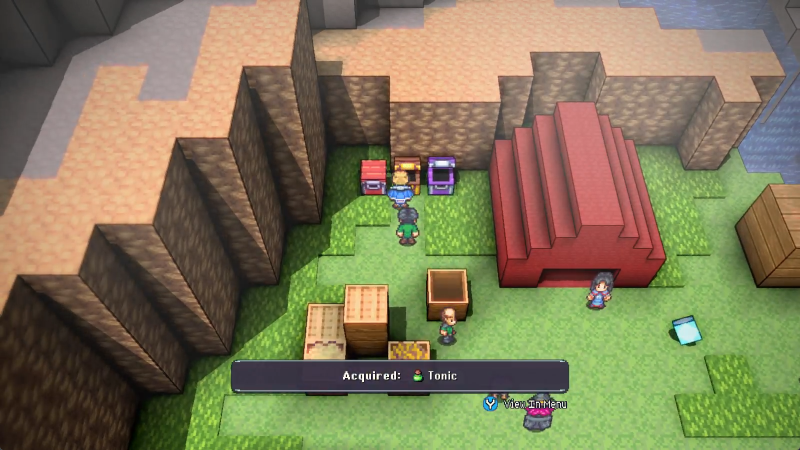
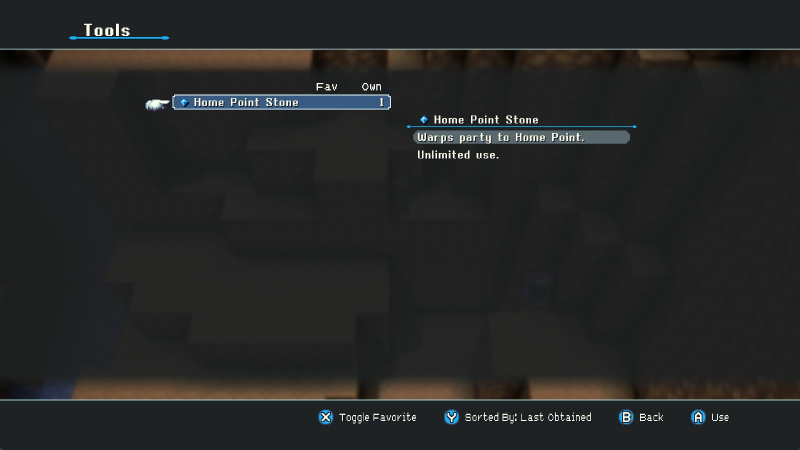
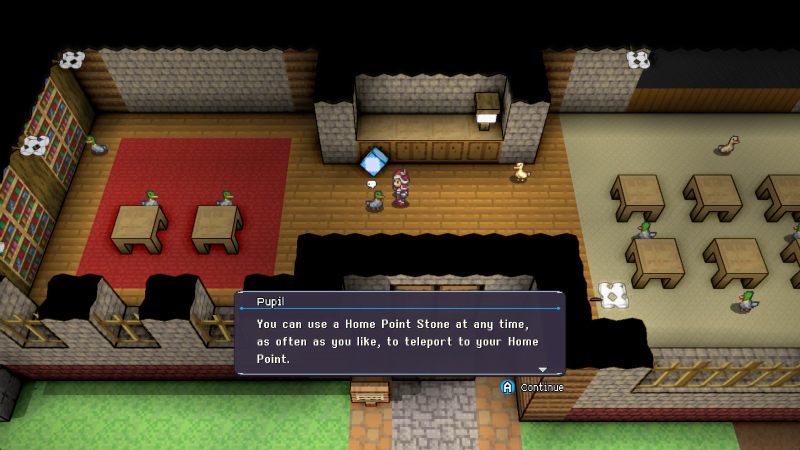
The Favorites menu is a shortcut to accessing certain consumables and/or tools without needing to futz with menus forever. You start out with Tonics as your only favorited item, and you can pull up the menu with Y on whatever controller I'm using. Having some items be a single button press away gets very convenient, with the Home Point Stone being a popular choice, but I have other plans for this.
Flames require you to not only leave the area (or die) to respawn, but also to get physically far away enough from their spawning range. The broad result here is that as long as you stick to one region, you shouldn't expect flames to come back. Boss flames never respawn.
The first few LP you get for each class comes significantly faster than others. This is "accelerated" LP. It's meant to get you a fundamental toolkit for the class without leaving you at reduced functionality for an extended period of time every time you get a new toy.
Fun fact: one of the mods for Crystal Project "modernizes" the vocab of the Capital Sequoia kids. I'm sure you can see why, and I should hope the mod is regularly updated.
Yeet is eternal though.
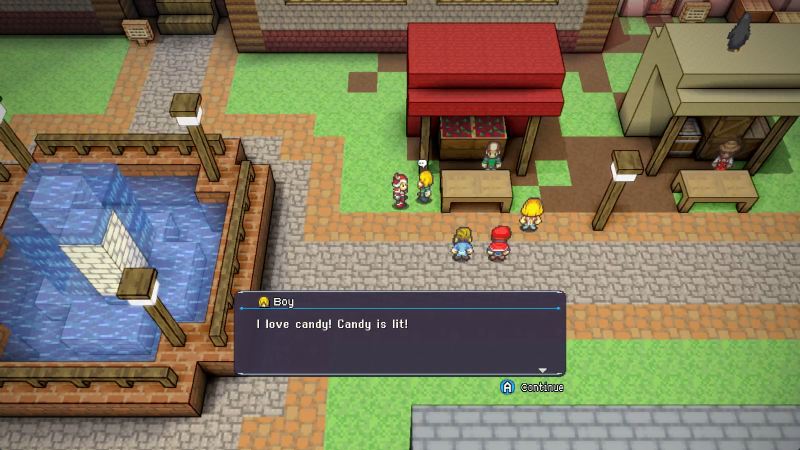
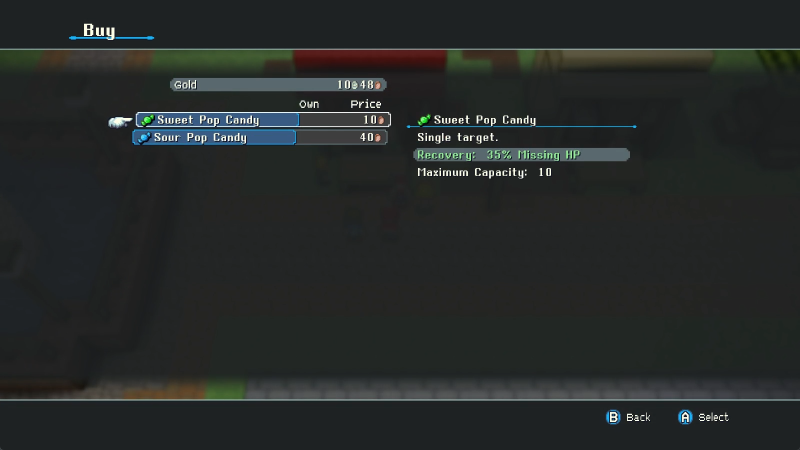
Candy's actually pretty excellent for a consumable since it's percentile, but that usefulness is held back by the low carry amount.
No.
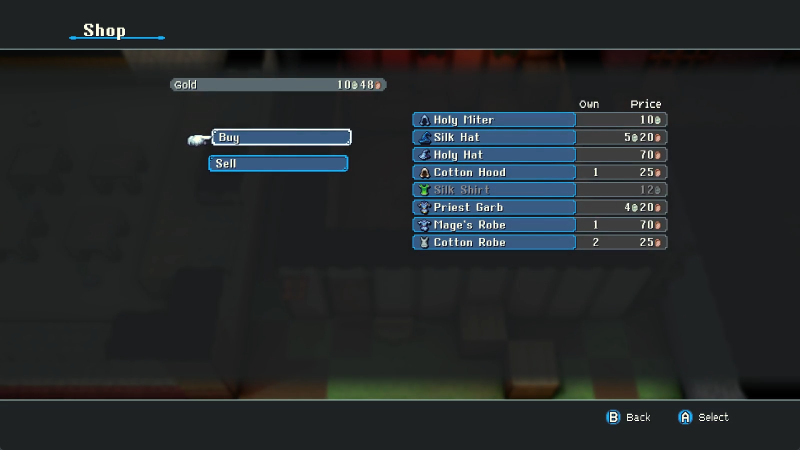
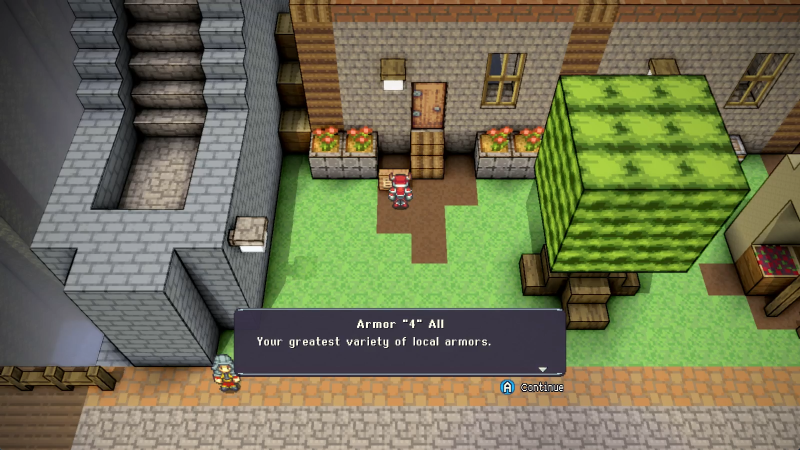
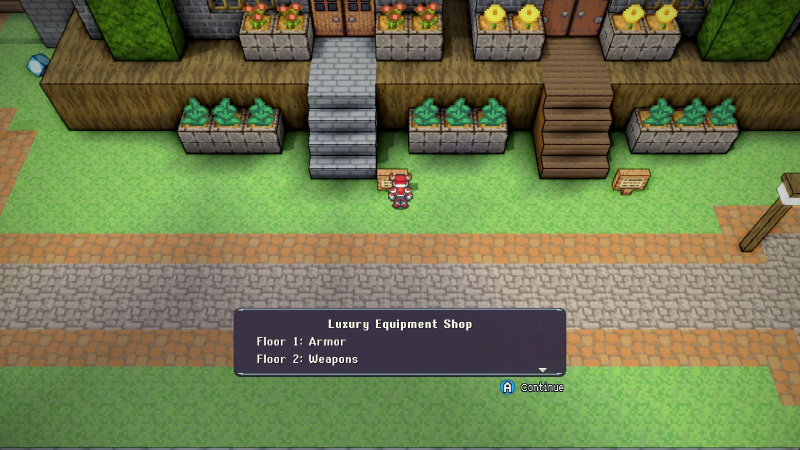
The different gear shops are divided by the groupings listed above. So in this store, we'd get...
Light armor of all flavors, plus staffs, wands, and books at the other vendor.
There's also some treasure in the back alleys, but I don't see a good route there yet. It's still very early in our exploration here, give it time.
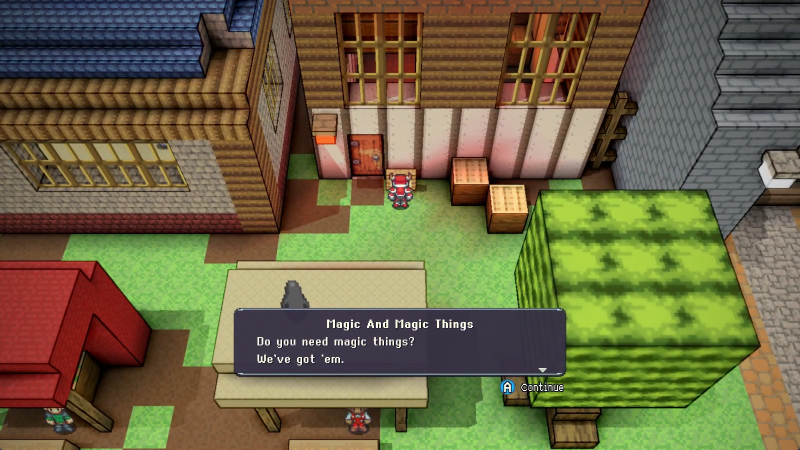
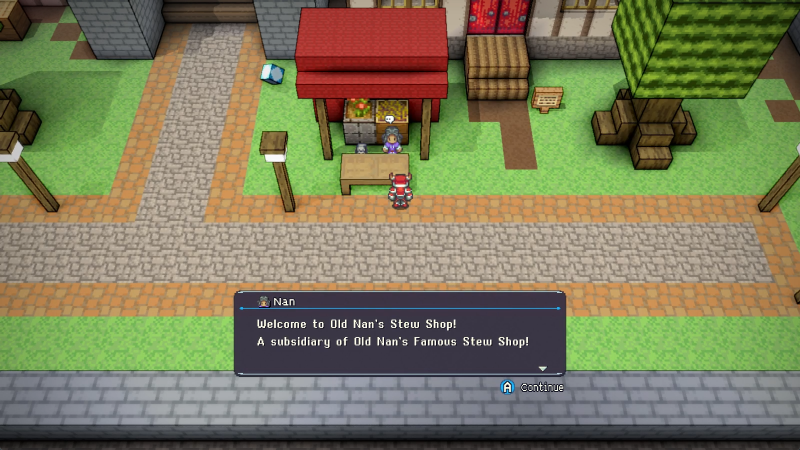
You don't say. She only sells stew, not the cocoa.
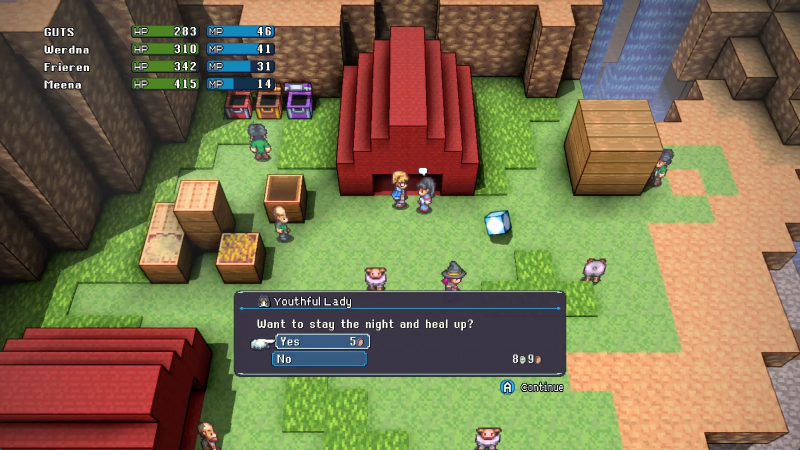
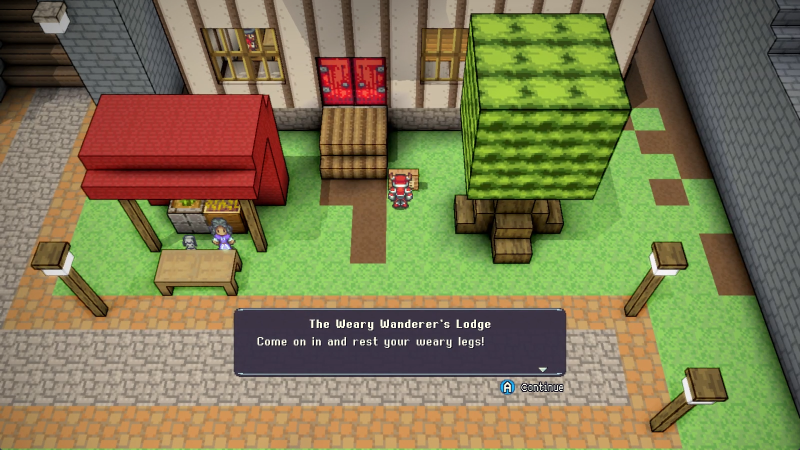
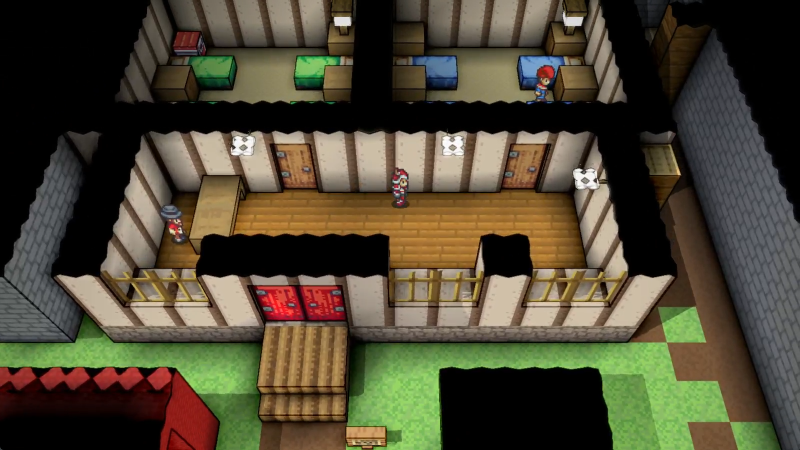
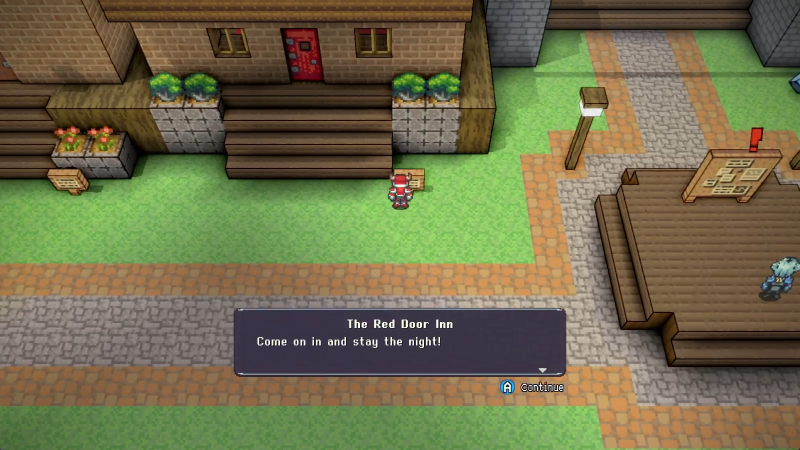
Capital Sequoia actually has two inns, relatively evenly spaced across the capital and both with a charming red door to indicate that it's an inn. That's nice!
But seriously, don't just assume this place is a shop hive. There is offroading and exploring to do even in the capital, and I'll make the most of it.
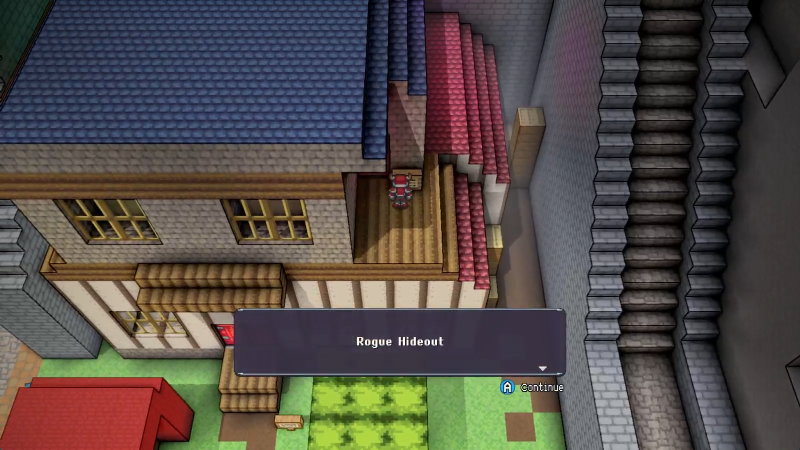
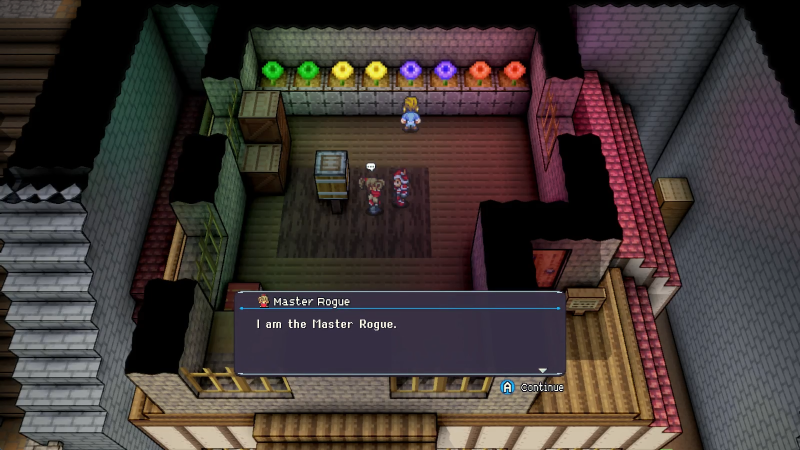
Rogue Hideout? I have a Rogue! Lemme in!
Hey, remember the Master Scholar back on Yamagawa? Capital Sequoia has masters for the six starting classes here, although all pretty out-of-the-way and requiring some clever platforming to reach. The Rogue Hideout is, ironically, one of the easier ones to find.
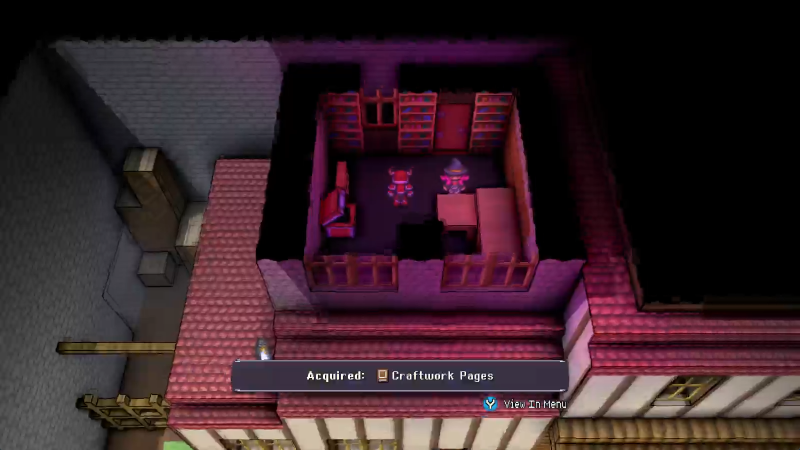
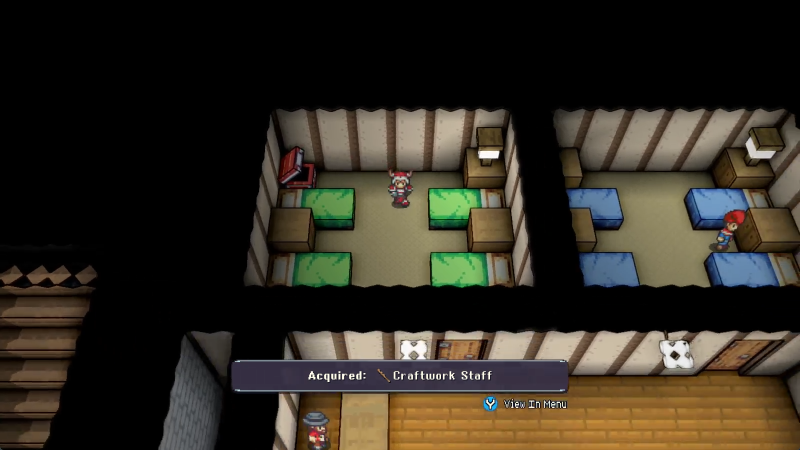
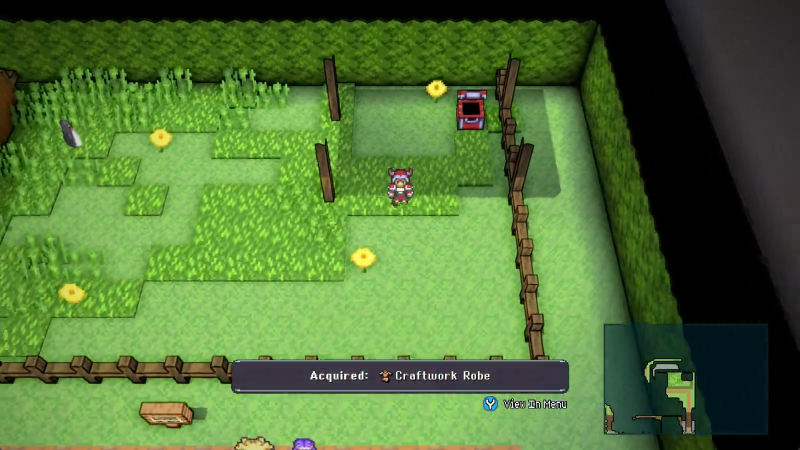
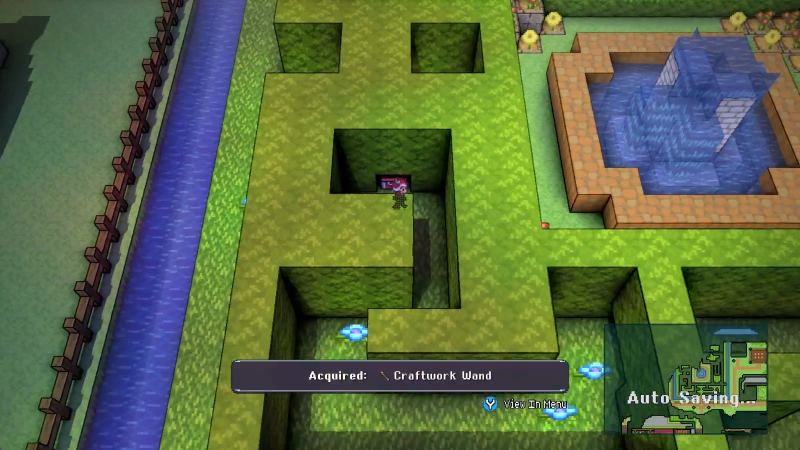
Also found in Capital Sequoia are the Craftwork bits of gear. There's one for every kind of weapon and armor, and it is strongly recommended to collect all of them for reasons that will rapidly become apparent. Statwise, the Craftwork Dagger isn't much stronger than Werdna's current Poisonkiss, but Poisonkiss also has, y'know, Poison on it, so we just have it for now and aren't using it.
Hard agree.
Let's see what else we can find!
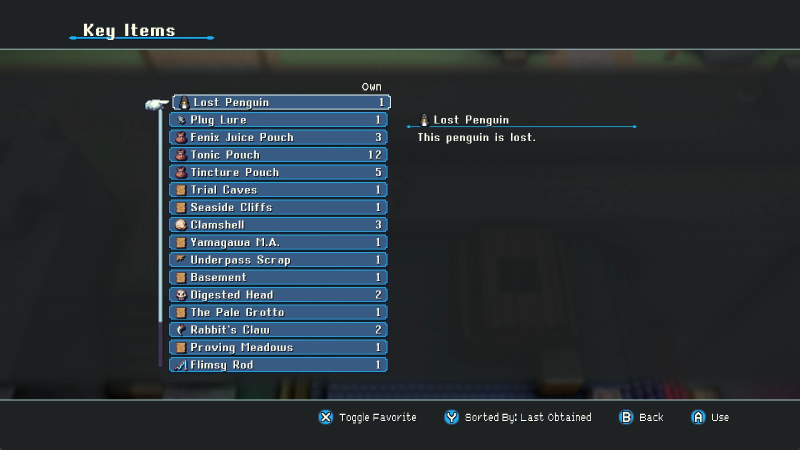
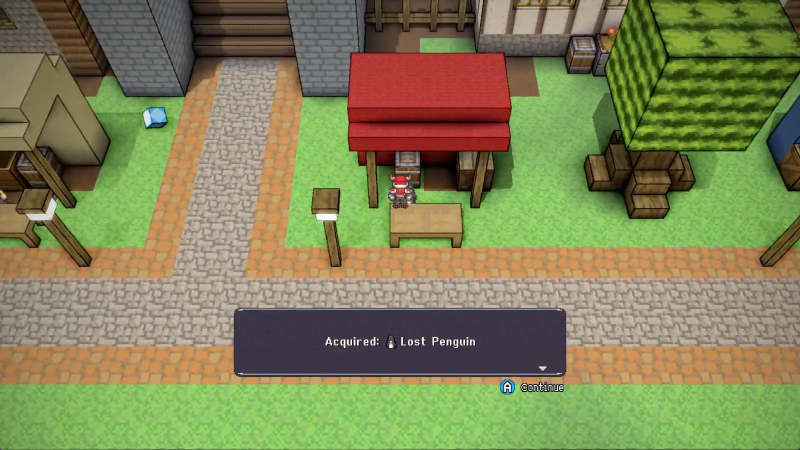
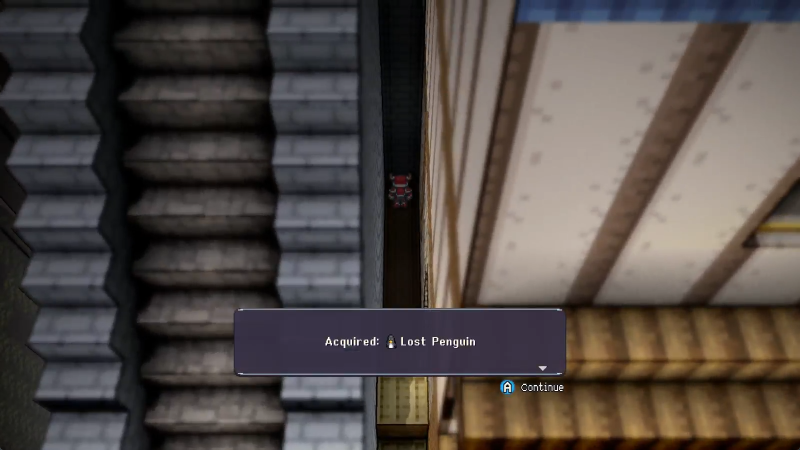
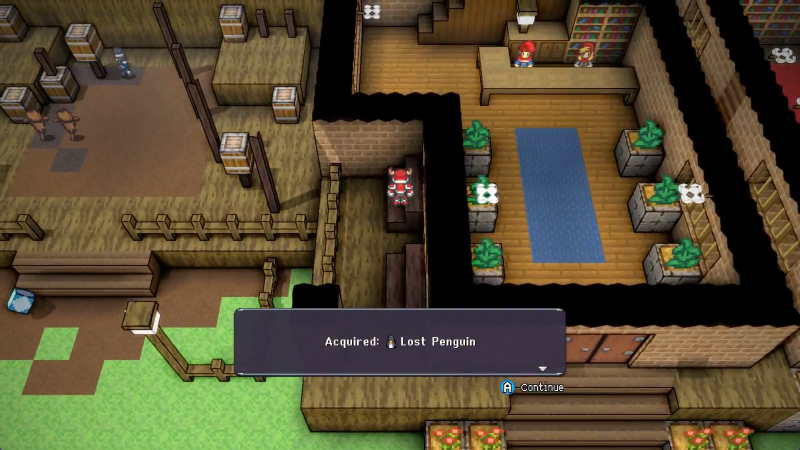
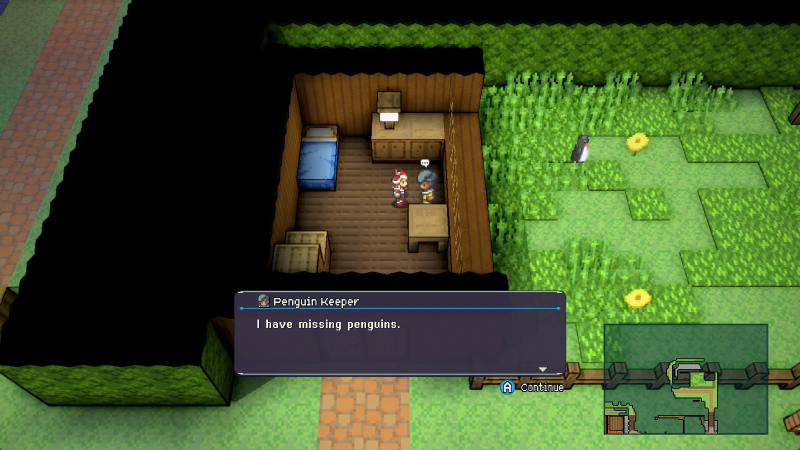
Yo penguins?
Oh no they're lost!
We'll have to find their owner. Should also be in the capital.
Wheeeeeeee
Oh, just a concussed child. But yeah, chimneys are a fun way to find other secrets.
Another penguin atop this completely ignorable market stall.
From there, we can climb up and get another penguin. We could drop down to the back alley, but I'm gonna save the alleys for a later update, there's still a lot to see and this update's getting chunky.
There's Astley. We'll talk to her later.
Falling down this chimney leads to another floor of the Know-It-All Ducks school.
These concepts aren't super advanced, and honestly most of them cover stuff I've already covered. About the only thing worth highlighting is that physical stats like Accuracy, Evasion, crit chance and damage all apply only to physical attacks, not spells. If a spell has any of those properties, it will A: list them on the spell description, and 2: not use the according physical properties in the slightest. So no matter how high your Dexterity is or how sharp your dagger is, they don't affect a spell's crit chance or damage.
Across from them is a... withered looking place.
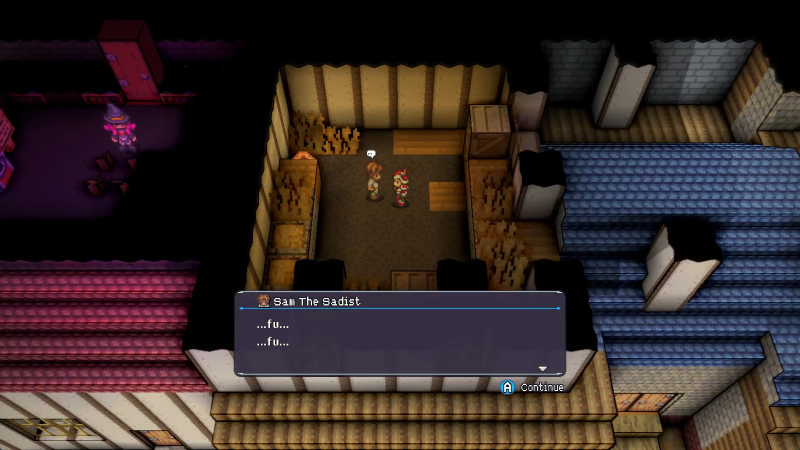
Sam the Sadist said:
Do you need my help? Do you NEED ME TO... hurt you a little?
Sam the Sadist here offers a very... specialized service. For the low price of free, he can drop your entire team to critical HP. If you're relying on the White Knight innate of the Aegis, this can be a great way to set up for certain boss fights.
Like so!
Sam the Sadist said:
Digested Heads... If you find three of them, bring me them.
I would, but we only got the two now. And as easy as they were to find, the third one is gonna be a WAYS off.
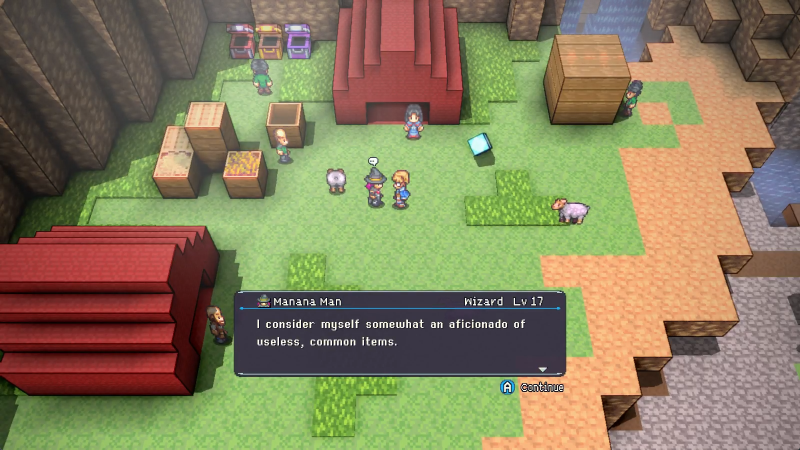
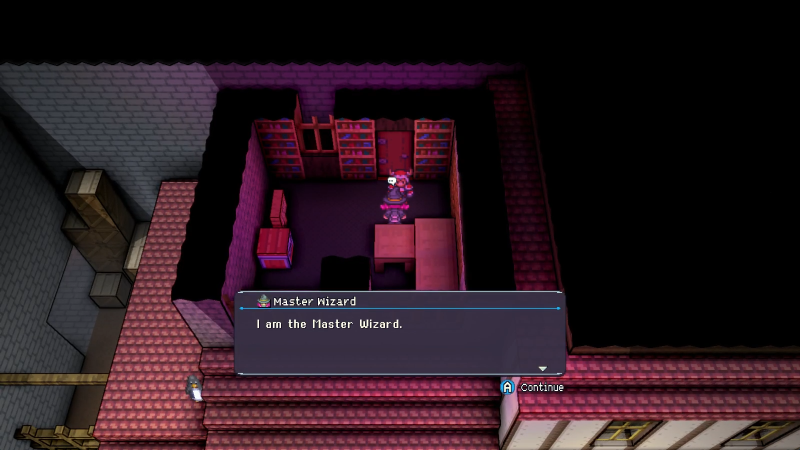
Anyway we all saw that Wizard up there let's go visit.
Two of six found here.
All the Master locations except Scholar for some reason have a special title. It's kinda cute.
My book now.
Again, avoiding the alleys for the moment. They're not super dangerous or anything, I'm just keeping myself from doing all of the Capital in one update.
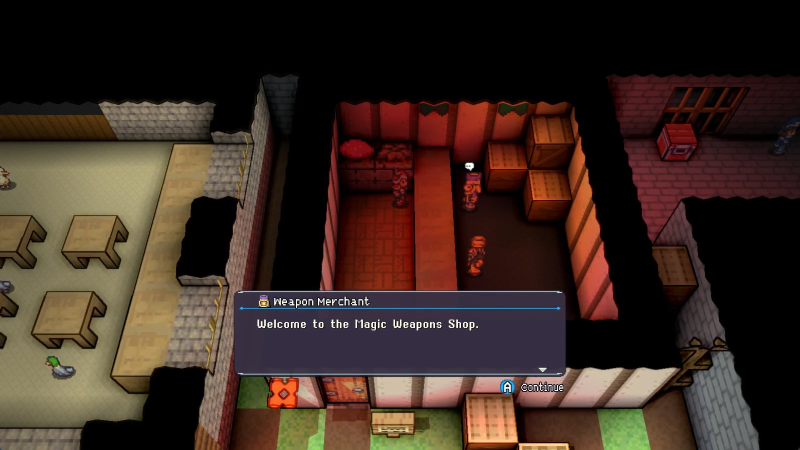
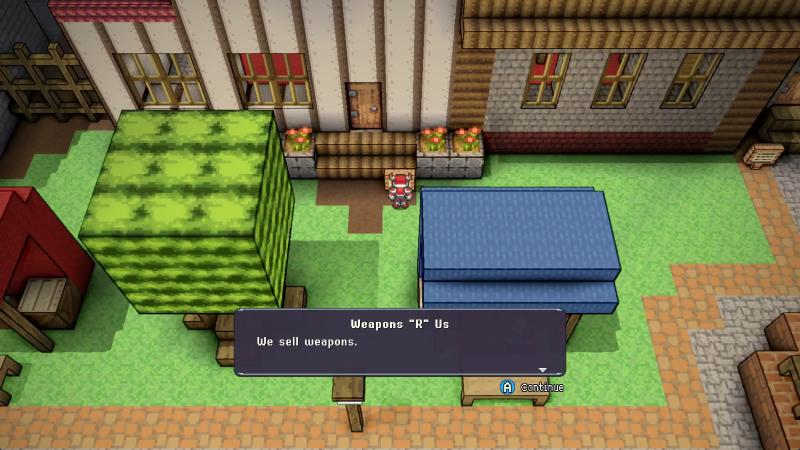
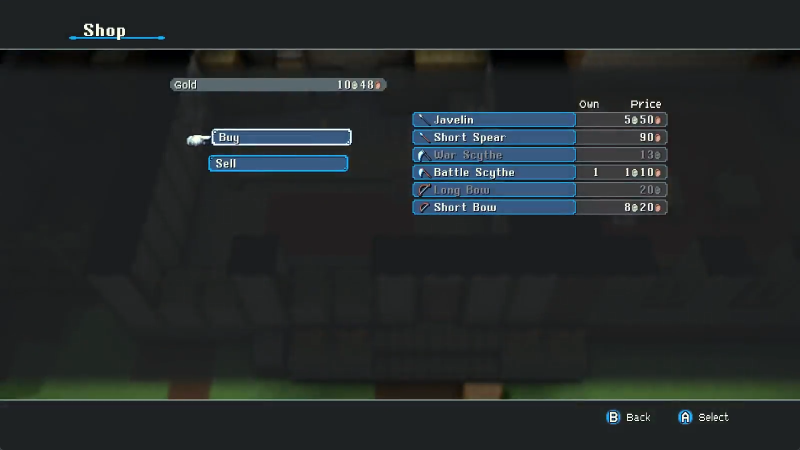
Boy do they. Common weapons and rare weapons alike are sold here, not that we have much need for either. Our current equipment selection is great.
One curious omission, though: the Exotic Weapons Shop doesn't sell katanas. Not that we have any way of wielding them this early, so it's not a huge deal, but a randomizer run that started with an early katana user might find that class a bit of a problem early on.
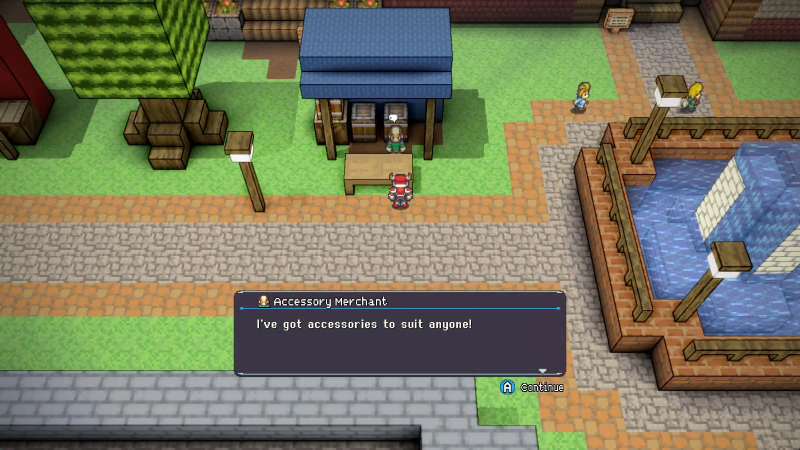
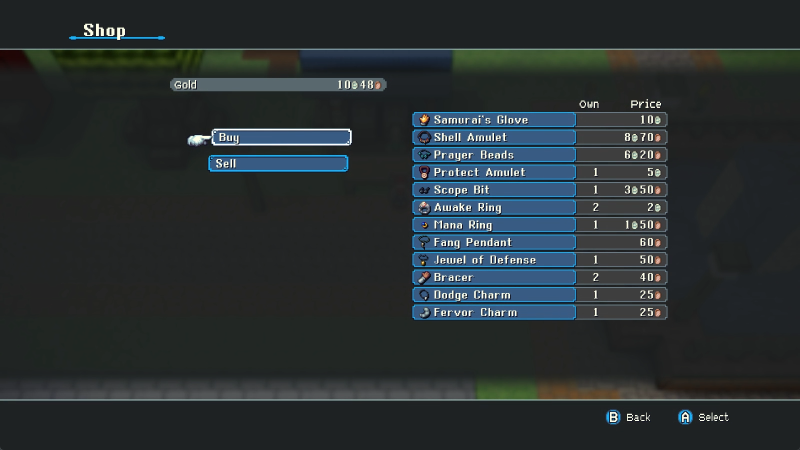
I'm skipping over most of the inventory not because it's stuff we've already seen (it isn't) but because most of it is too expensive and not interesting enough to dive into.
The two most interesting pieces of kit here are the Samurai's Glove and the Prayer Beads. Samurai's Glove imparts Katana proficiency on the wearer, which isn't useful to us right now for the above reason, and the Prayer Beads amplify healing by 15%. That's one of the few +healing bonuses we've seen, so that's neat enough to bookmark, if perhaps not buy since we're doing fine on healing right now.
Before I forget, I really do need to heal, so.
Another Craftwork for the pile. Could technically compete with the Bone Smasher if I wanted Spirit over Attack right now, which I don't.
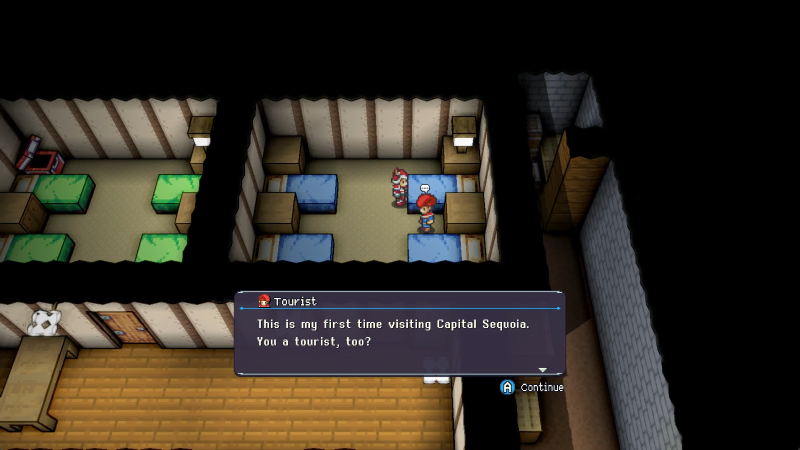
Tourist said:
I'm gonna go check out the Rolling Quintar Fields to the east. I've never seen a real, live Quintar before!
A sound idea for a first time visitor. The Rolling Quintar Fields are the next expected area in the progression (although by no means required) and where I'll likely go for the next update absent any other suggestions.
REFUEL MY BLOOD
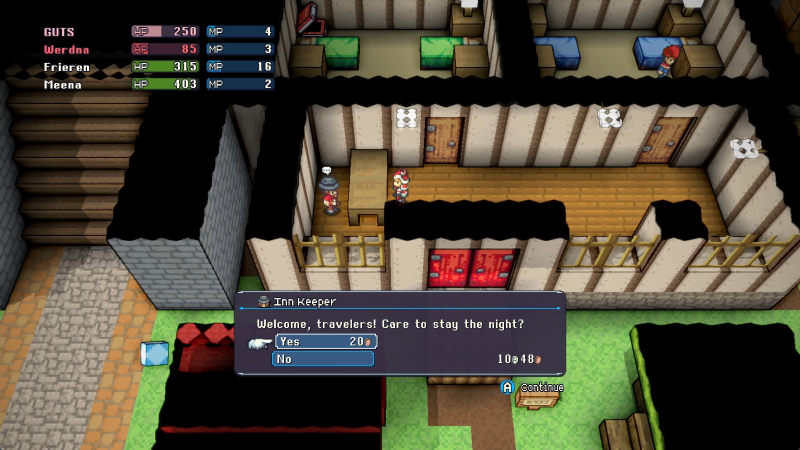
This price is a bit much, and if I really wanted to I could leap from the Capital Courtyard down to the Proving Meadows and sleep at the tent there for the same effects, then Home Point Stone myself back up here. This is the price I pay for expediency.
What are ya doin back there ya little scamp?
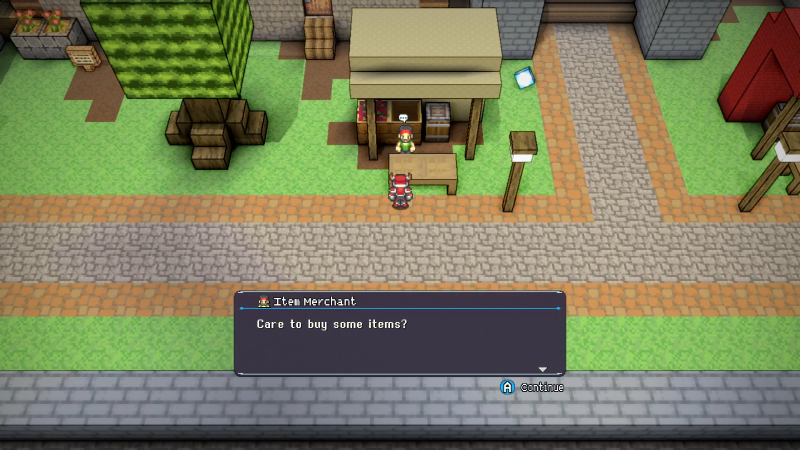
Consumables vendor, yay!
In addition to the fundamentals, he also sells Scrolls, which telegraphs another new class in the future, namely Ninjas. While we could stock up now, 2 silver a pop is a pretty expensive asking price for an unusable consumable.
Heavy and medium armors sold here, as well as shields.
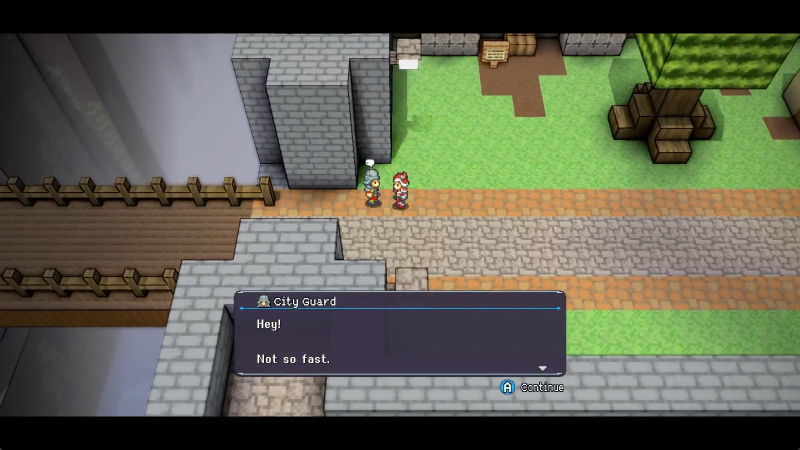
City Guard said:
It's dangerous outside this gate. You have to have collected at least 5 crystals before I'll let you exit the city from here.
We could sequence break past this guy pretty easily were we so inclined. I'm not gonna right now, but we COULD. Almost all "you must have this many crystals to ride" checkpoints can be bypassed if you're cool enough.
I'm sure you might be able to at least partially guess at how for now.
So that side of things was the Market District. Now we're going to the Bulletin District.
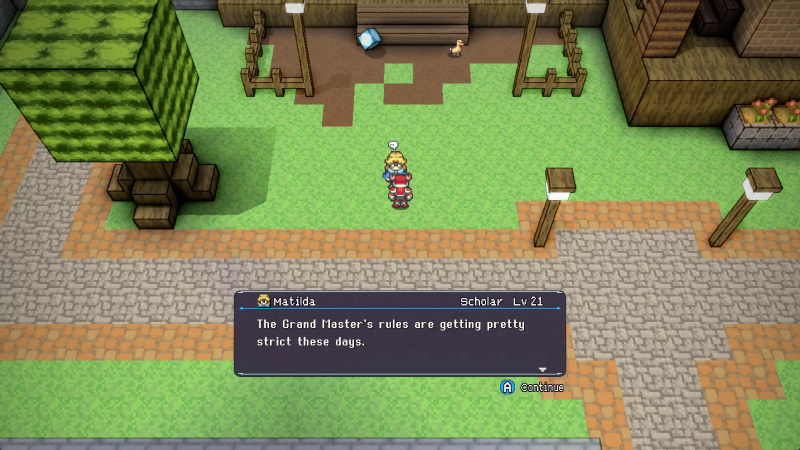
Matilda said:
I wonder how long it'll be before enough people get pissed off and try to take him out.
Don't ask me, I literally just got here. Too noob for politics.
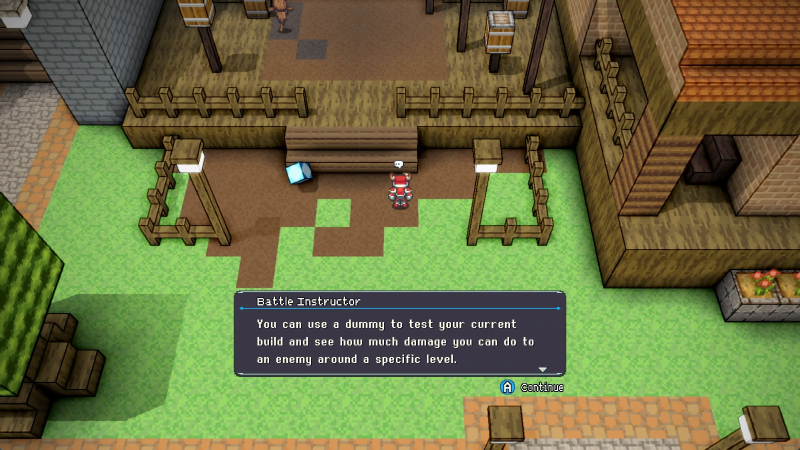
The Training Grounds here are basically a way to measure how well your burst damage builds are doing.
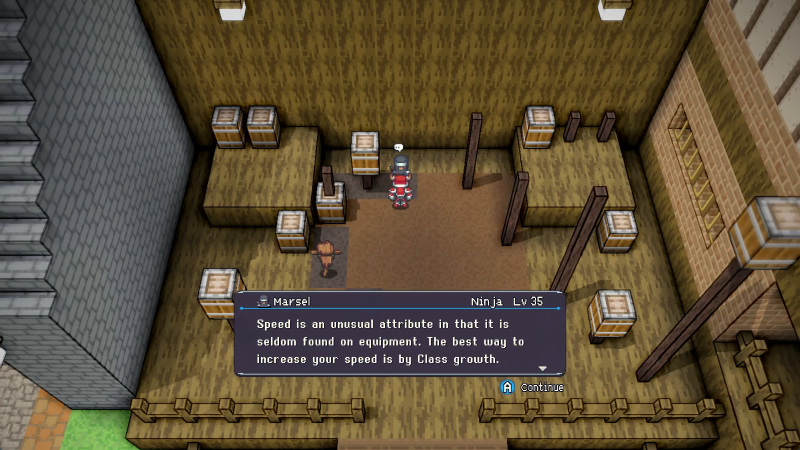
Marsel said:
That's why I only ever level up as fast Classes!
True enough. Any bit of kit that reduces TT or CT, or improves Speed, is rare and valuable, with one particularly notable piece of kit being extremely valuable long after where you acquire it for just that reason. Anyway spoilers Ninjas are fast. Wow.
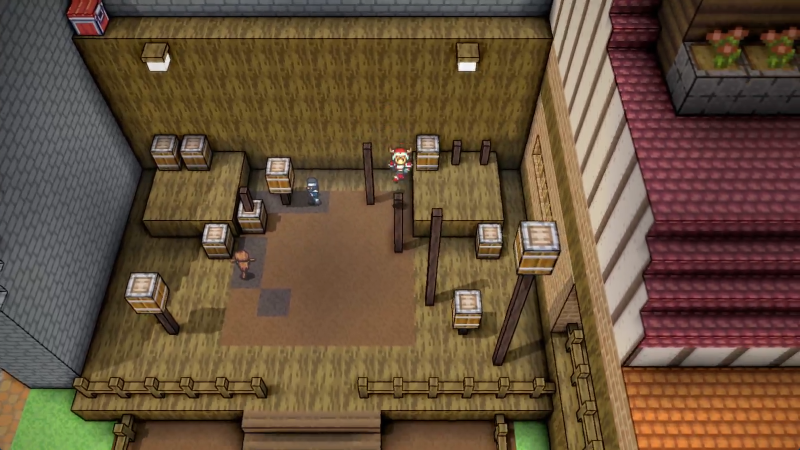
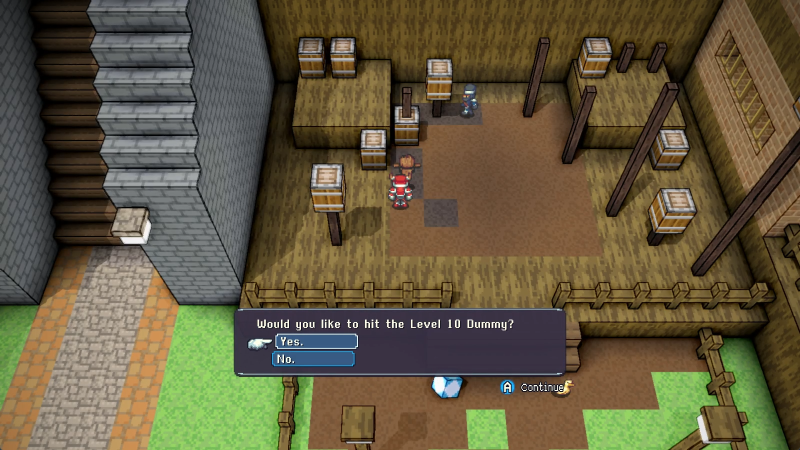
Before I fight the dummy, I'm gonna do some parkour.
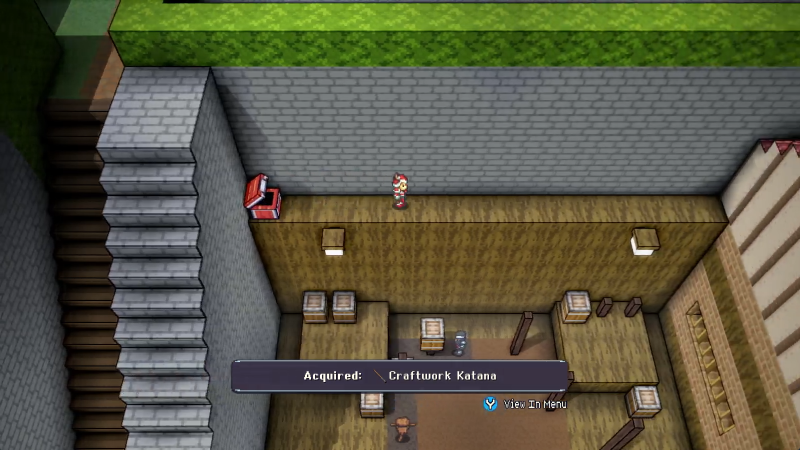
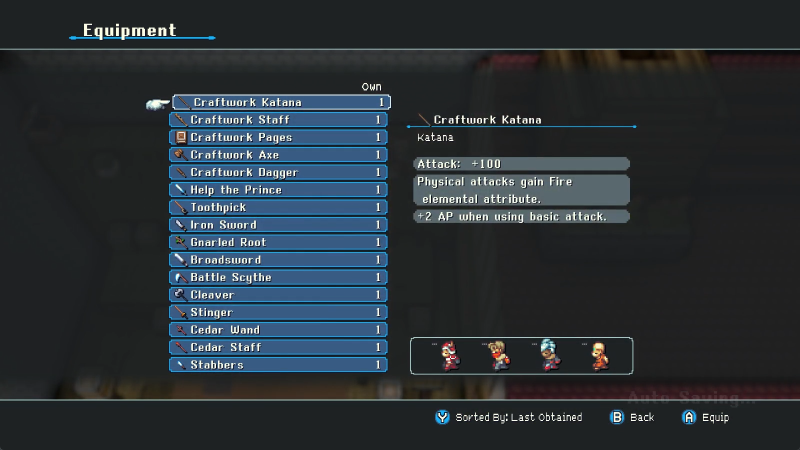
There's our first katana. Again, incredibly strong on a randomizer run that really needs one of them to function. Pretty useless to the team now; at most, GUTS could equip it with the Samurai's Glove for...
A pretty minor offense boost and some better AP generation. Plus hardcoding his physical attacks to Fire, which can... kinda be useful sometimes.
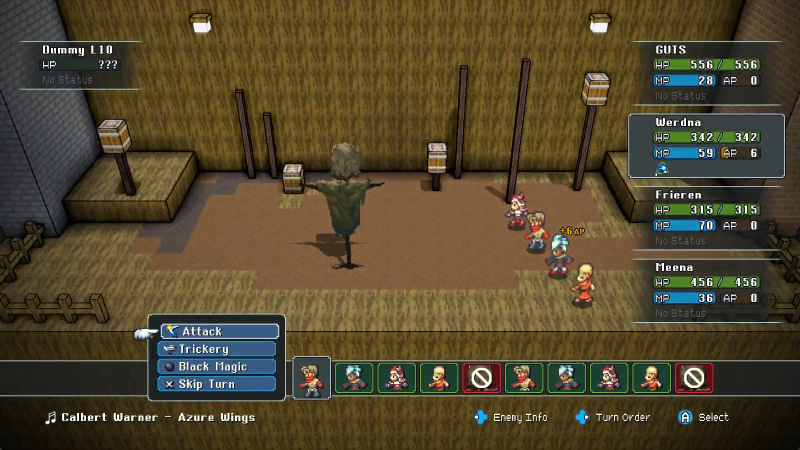
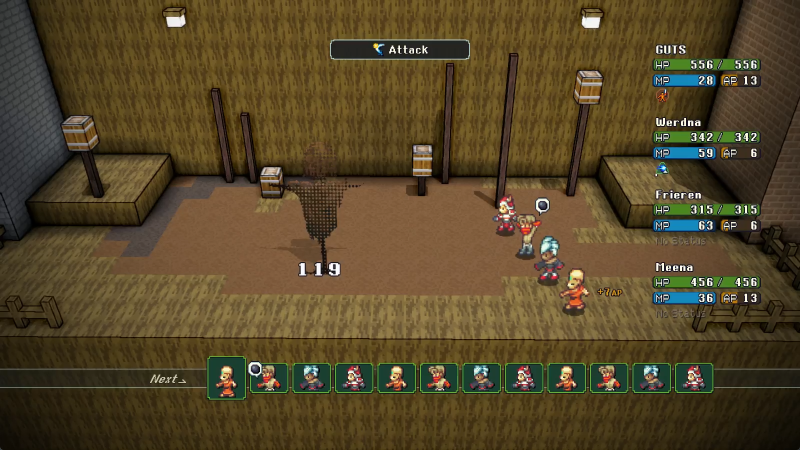
Anyway, the dummies can't attack, full heal every turn, and telegraph their expected level when you fight them.
Now that we're out of the Delende baby demo zone, expect new tunes for all fights.
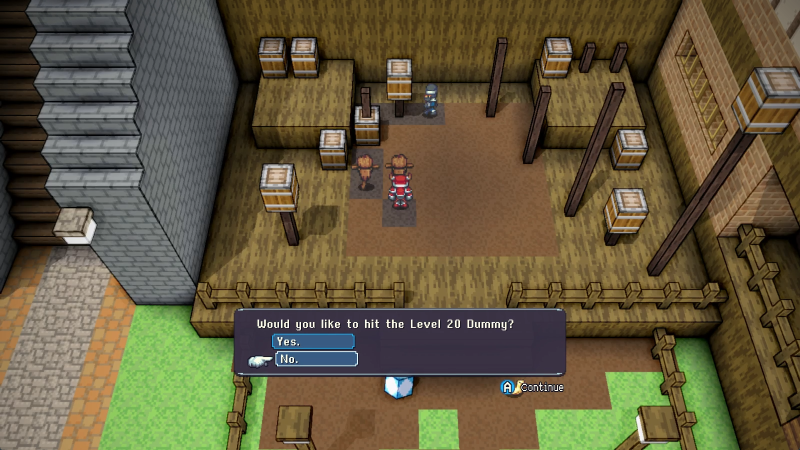
Well that was easy.
The first time you beat a dummy, the next one in the sequence spawns in, ten levels higher. The level cap is 60, so that's how many we can expect to have here. Maybe we get a secret prize if we beat them all.
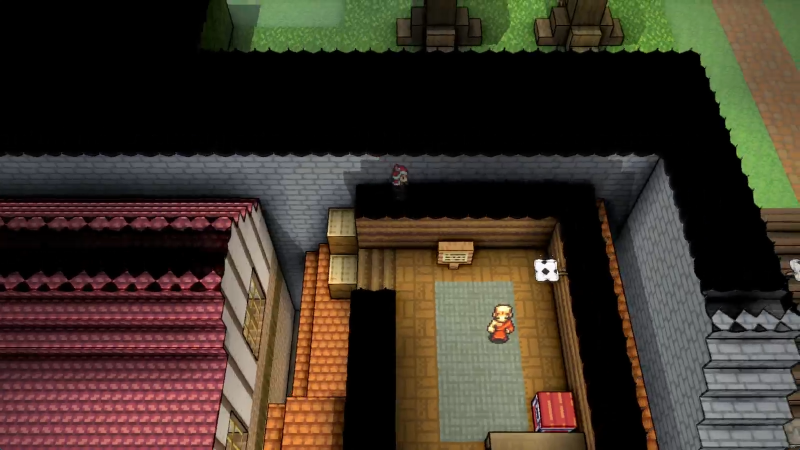
More rooftop clambering leads us to another master!
Cool cool awesome awesome cool thanks.
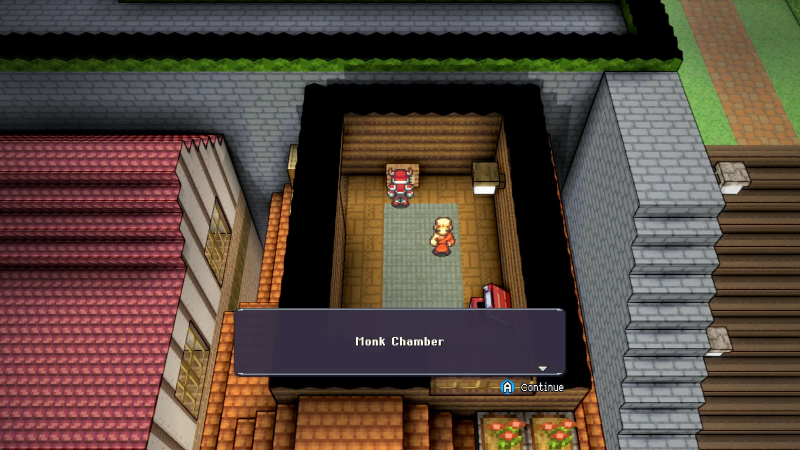
(monk chamber monk chamber monk chamber)
There is so much I could explore I'm kinda at a loss. Why is the hub city so explorable? Why is this game so awesome?
CHIMNY.
HELLO HI HOW ARE YOU
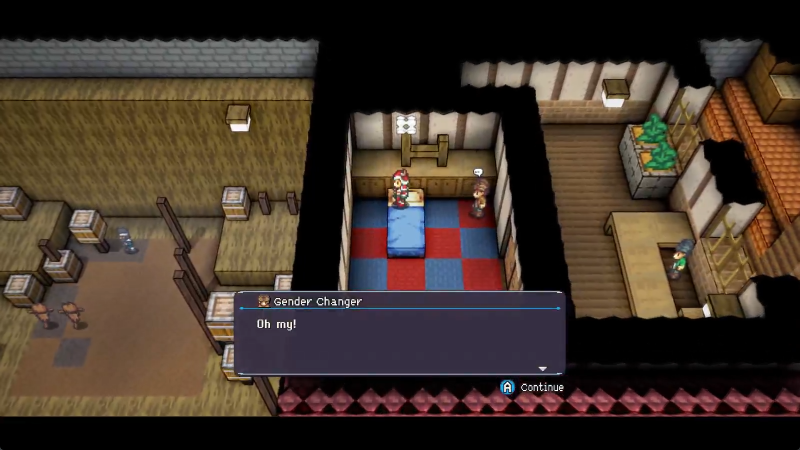
<Receptionist> Everything okay in there?
<Gender Changer> No worries, dear friend! False alarm! Please resume work!
<Receptionist> Right-o!
Guess they gotta be sure J. K. Rowling doesn't try to climb in and ramble at them. Fair enough.
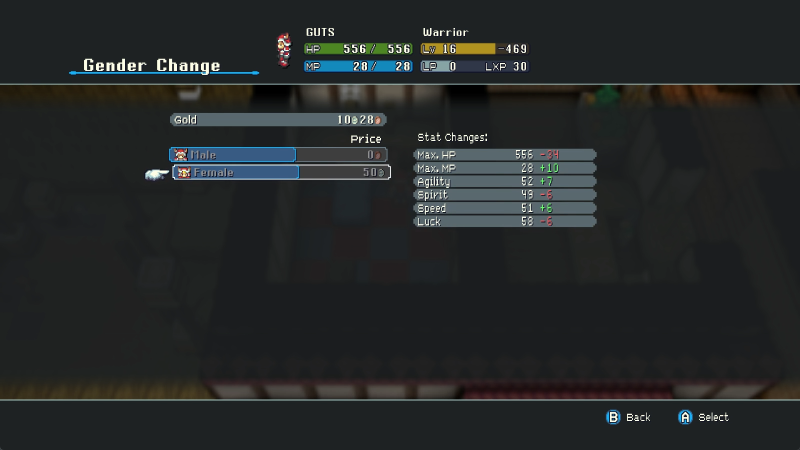
Anyway, this couple here can change your gender for a frankly terrifying cost of 50 silver. As you can see, it DOES have some slight bearing on your stats, albeit hardly enough of one to matter, and not nearly enough of one to pigeonhole any given gender of character to a specific role. If you're THAT concerned about minute stat efficiency, the option is there, but if you ask me 50 silver is way too much for that. Five silver would be plenty. At least once you've paid for a specific character to trans their gender, repeat changes for that character are free.
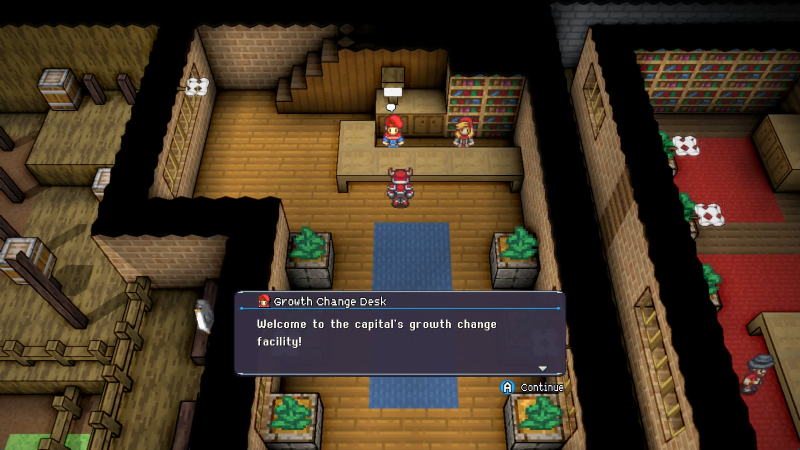
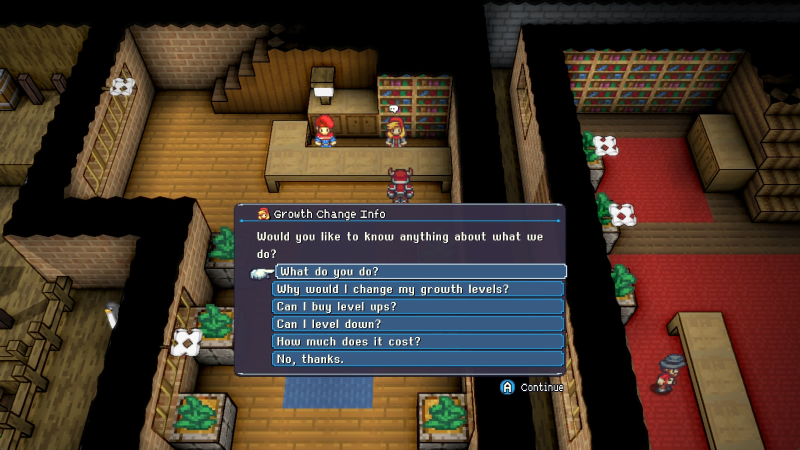
This building also handles growth changes!
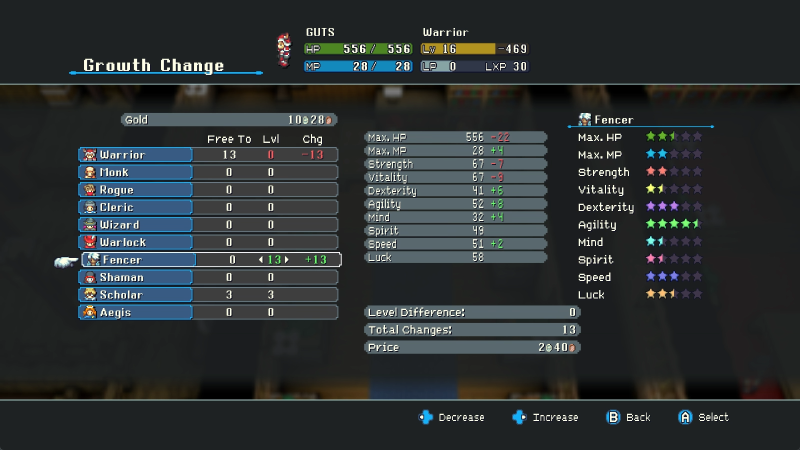
Remember how I said stats for each character determine both growths and modifiers? This is what I mean by the growths. Every level you get can be reduced here and then freely reallocated to any other class you have unlocked, at a pretty reasonable price. As with the gender change up above, going back to any level configs you've had on that character before are free, and none of this tampers with your learned abilities or LP in any way. This makes for an excellent way to finetune stat growth for your characters to fit the role they're here for. Here, for example, you can see a hypothetical GUTS that began the game with his three Scholar levels, then immediately changed over to Fencer and spent the rest of the game there, modified by his current, "newly chosen" Warrior class. Not too different from before, just a little faster and frailer, and slightly better at casting. I'm probably not gonna screw with this too much, but this is one of the best respec systems I've seen in many a title.
If you're short on cash and long on patience, you can even level down here for free, and then go out and earn levels the old fashioned way. Could be fun if you're up against a boss you're clearly overleveled for and want to experience on par.
Little buddy.
The level of quality and price between this and the other inn is equal. Use whichever is closer to your entry point.
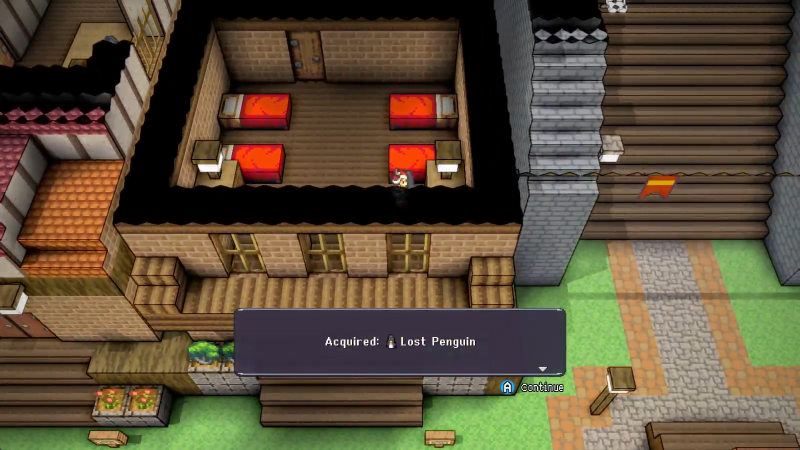
Instead of a Craftwork item, this inn has a penguin.
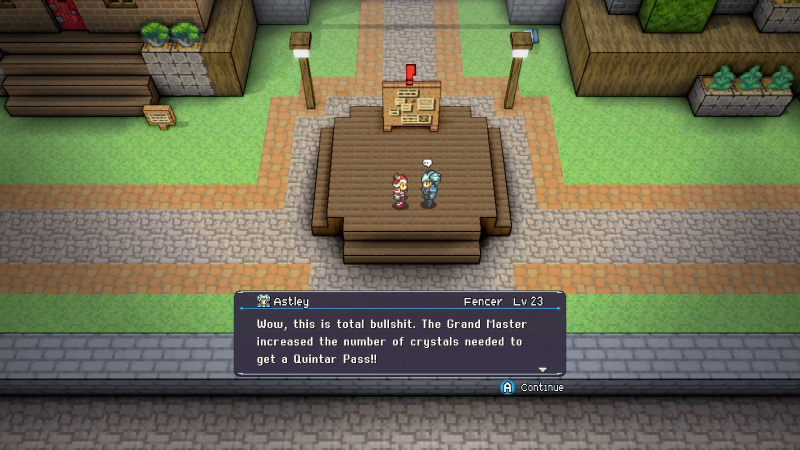
Astley said:
How can they expect people to have proper adventures without being able to afford a Quintar Pass? I'm outta here.
What's a Quintar Pass? I'm pretty sure I can just go into the Rolling Quintar Fields, don't need a pass for that.
Whatever they are, Astley doesn't tell us, just storms off.
Let's read the notices for ourselves.
Dang it's like whoever wrote this custom tailored it to hating the writer. That's commendable.
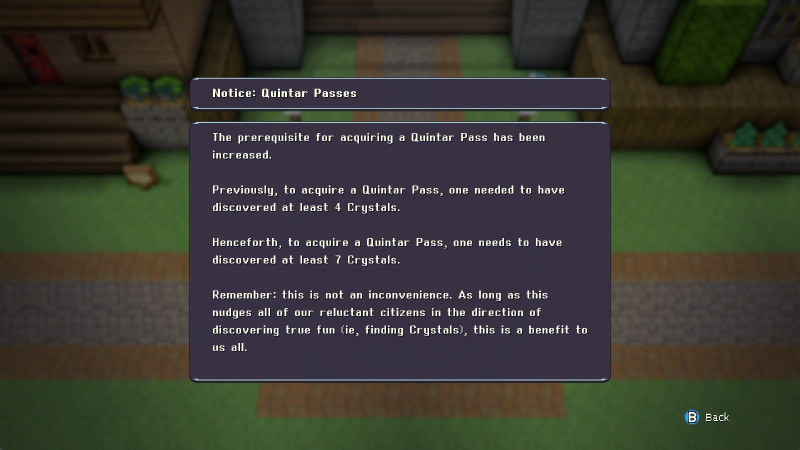
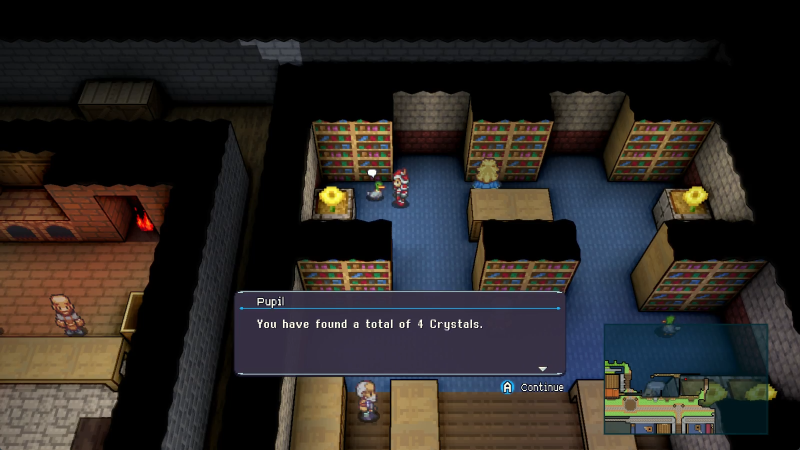
Okay, so with the old rule, we could get a Quintar Pass immediately after entering the Trial Caves. But now we have to go find three other crystals somewhere around here, huh? I will admit I can think of at least three directions we can go from here, but that's still a tall ask.
Speaking of steep crystal requirements...
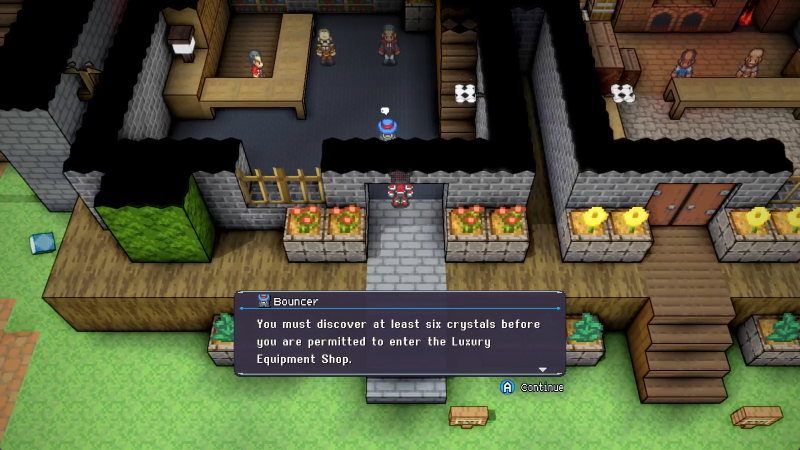
Bouncer said:
Do not return until you have discovered at least six Crystals.
This is one of the few crystal requirement checkpoints you can't sequence break somehow. The Quintar Pass, though, that's a different story.
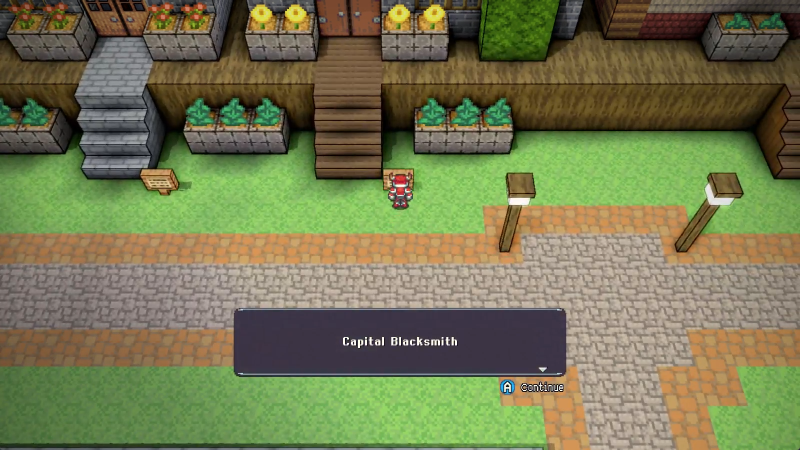
Next up is this place!
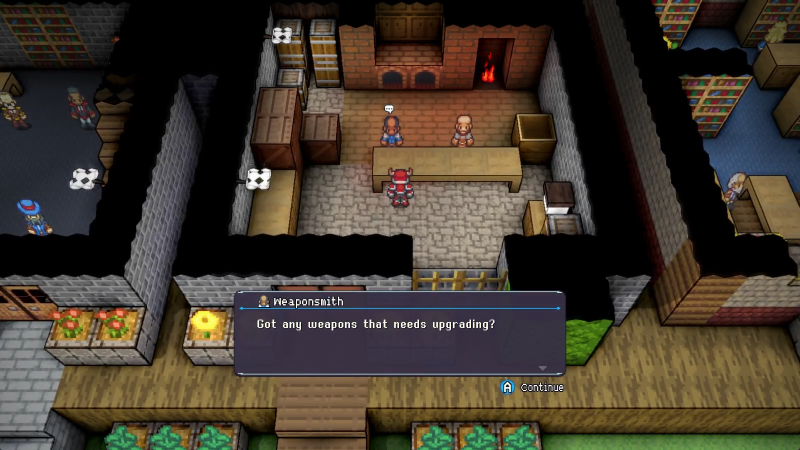
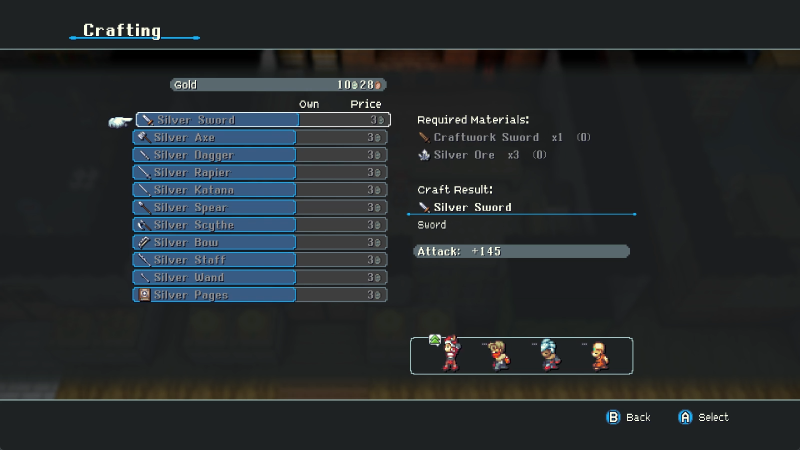
The Blacksmith is extremely important for any explorers for two reasons. The first, obviously, is that it's where you can upgrade some of your weapons and armor.
The second is that they only upgrade the Craftwork items. Each weapon or armor requires three bits of Silver, whether Ore, Ingots, or Dust. The Craftwork gear and their upgraded variants are one of the cheapest ways to get your gear to a "standard" level for the point where they can be accessed. This strongly incentivizes climbing all over Capital Sequoia, as well as grabbing as much silver as you can find afield. Later on, we'll unlock other upgrade levels, of course.
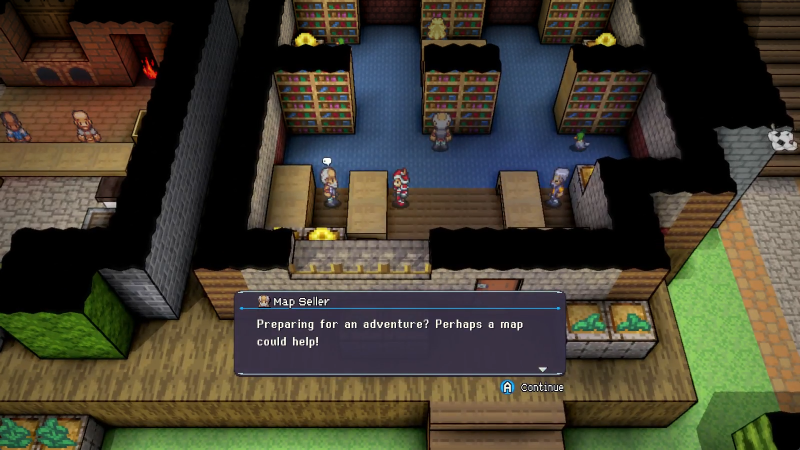
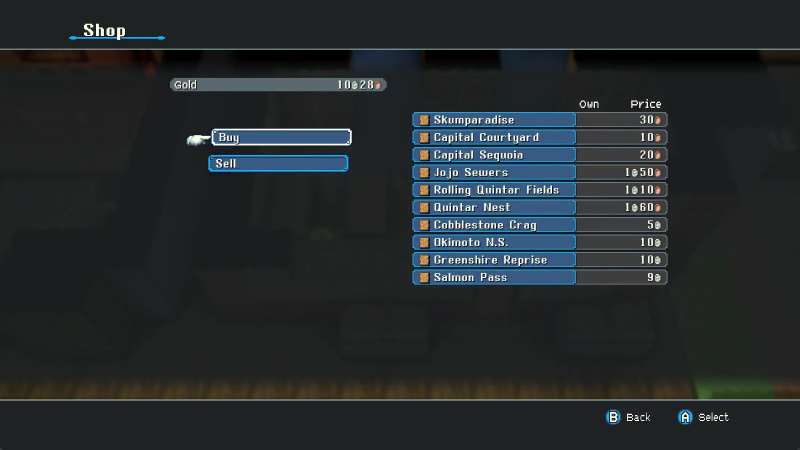
This is the most important store of all.
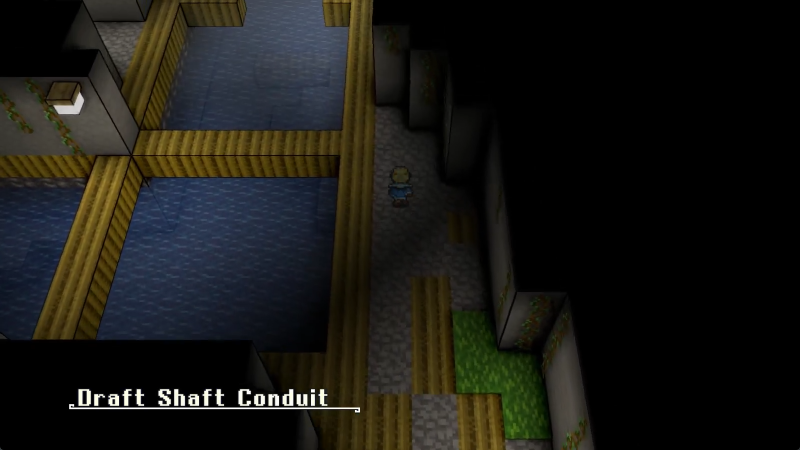
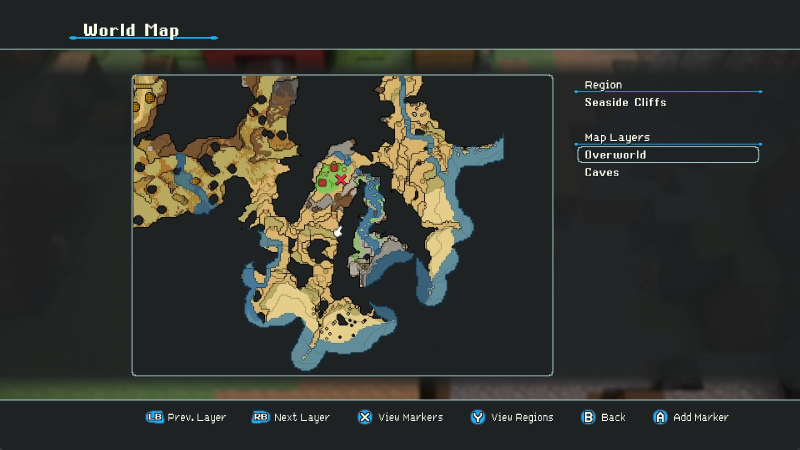
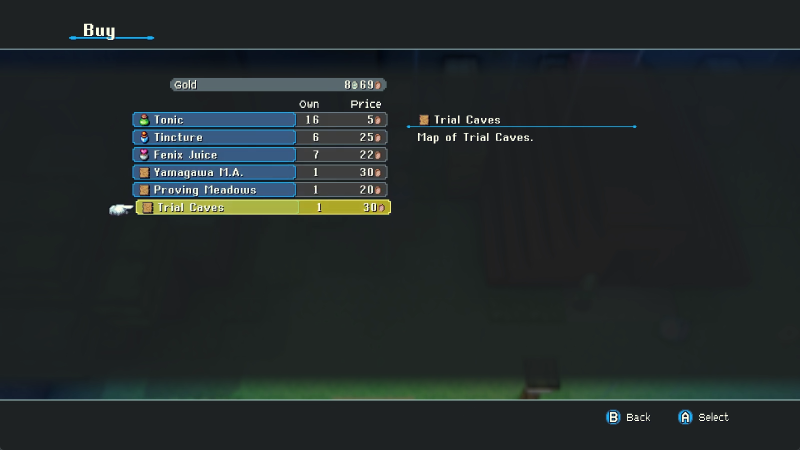
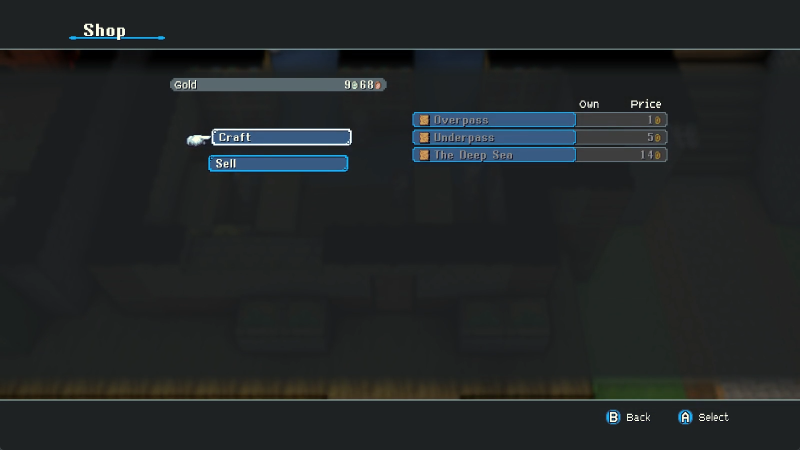
Damn, was hoping they had Draft Shaft Conduit. Maybe I missed that one somewhere in Seaside Cliffs. Whatever, that area's done and we can find it later. For now, I grab the maps for Skumparadise, Capital Courtyard, and Capital Sequoia. The other areas will be added to our list of spots to explore. Note the price differences: some of them are much more intended as your next destinations than others.
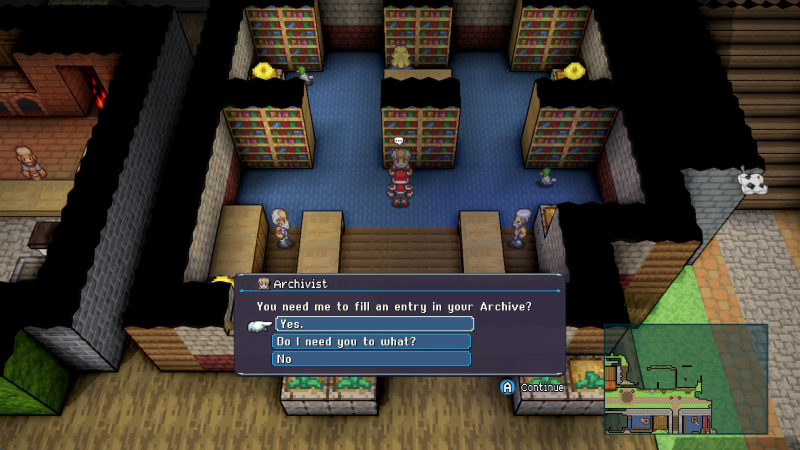
The Archivist can, for a price, fill out the bestiary entry for any enemy you've discovered (including steals and drops if you missed them) or highlight where you can find a specific entry you haven't seen yet. Are you a completionist? Great, he's helpful! I'm not a completionist.
That's nice.
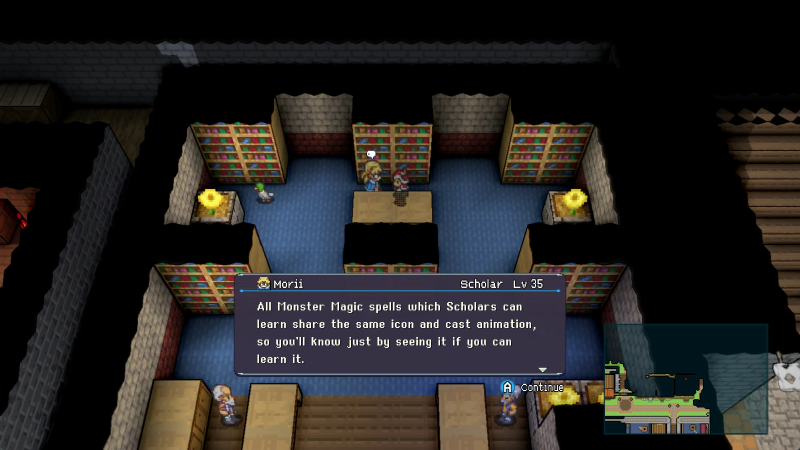
Morii said:
Also, sometimes you might wish you could be learning Monster Magic even while you're not a Scholar. Perhaps this could come in handy?
Is it an accessory that grants the Learning passive?
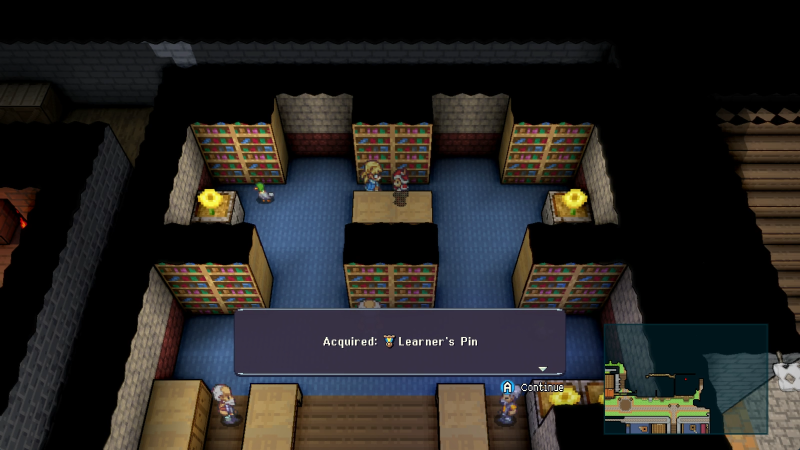
Sure is! GUTS will be wearing this until and if he gets Learning from Scholar the usual way.
Yes I have.
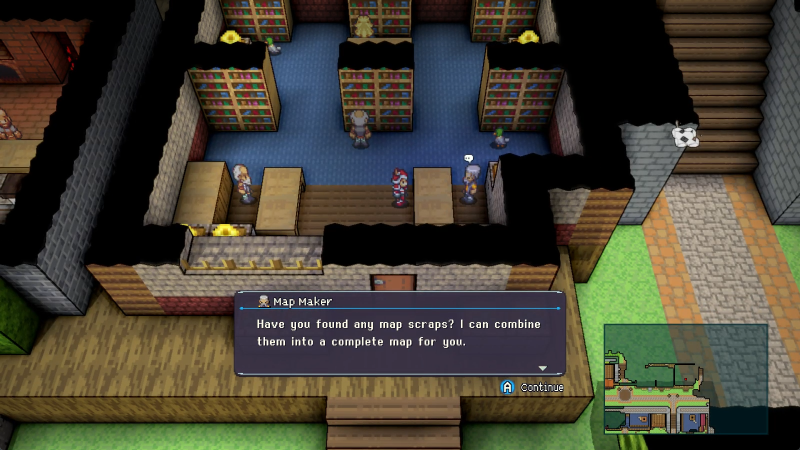
This guy can trade up any map scraps we find, given enough of them, to make maps for areas like the Underpass.
We won't be doing this for a while.
The Rolling Quintar Fields are right this way. Could buy the map for 'em, but I'll wait until next update to see if that's where we're going.
Yeah yeah penguin pen whatever THERE'S AN ITEMANCER CLASS HOOOOOAGH. Slamming this right onto the to do list.
Oh there's also Beastmaster that's cool I guess.
It's not a penguin so I consider this justified.
Penguin Keeper said:
...Oh wow! Look! Those are some of my penguins! You've found them for me!
Thanks for finding some of my penguins! Please accept this token of my appreciation.
You're so nice! I have a handful of my penguins back! Please accept this reward.
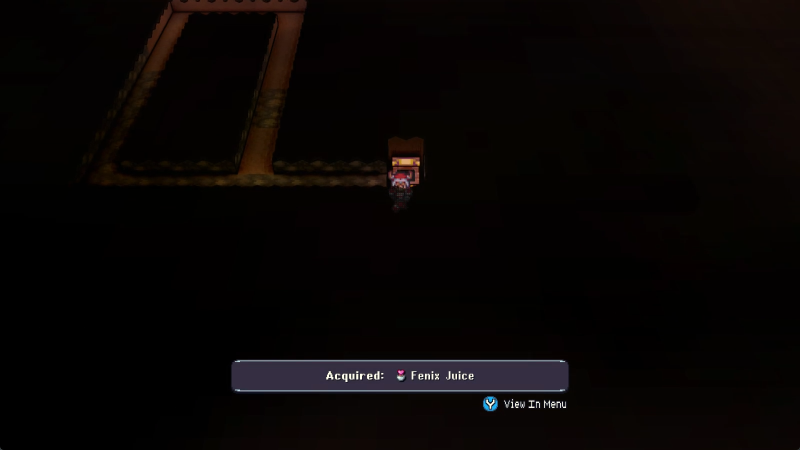
Because we'd found as many as seven penguins, we get two rewards. The first is a Decent Cod, which as established is a pretty good healing consumable.
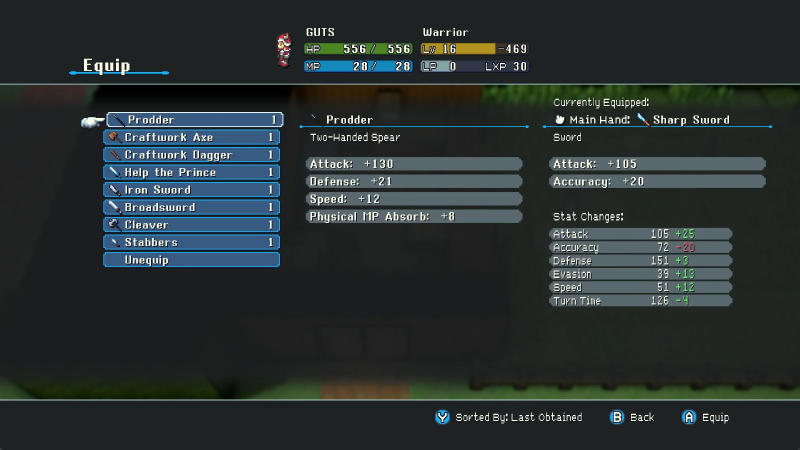
The second is this vicious piece of work. Prodder is an extremely strong spear this early on for anyone that can use it, and GUTS happily accepts it. Usually, spears don't pack the defense of using a shield with another weapon, but this one's stronk enough to make up for the shield loss here. Plus, Speed on gear and some MP drain! This is a good damn weapon!
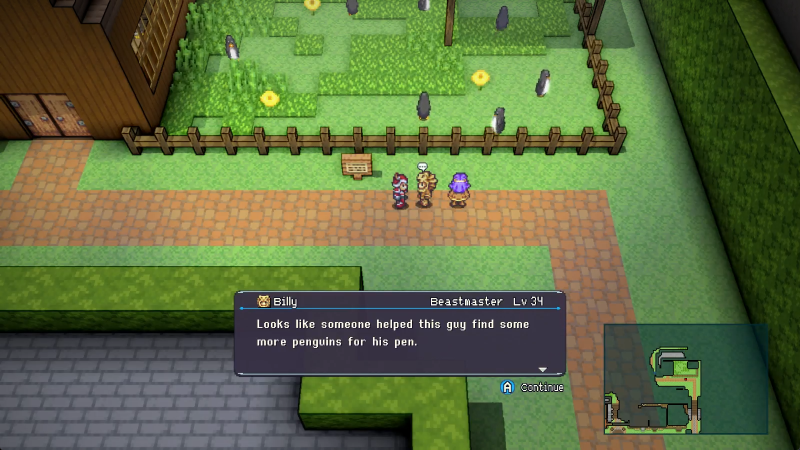
So we did! There are still a fair few more around the Capital to find, of course, but this is a good start.
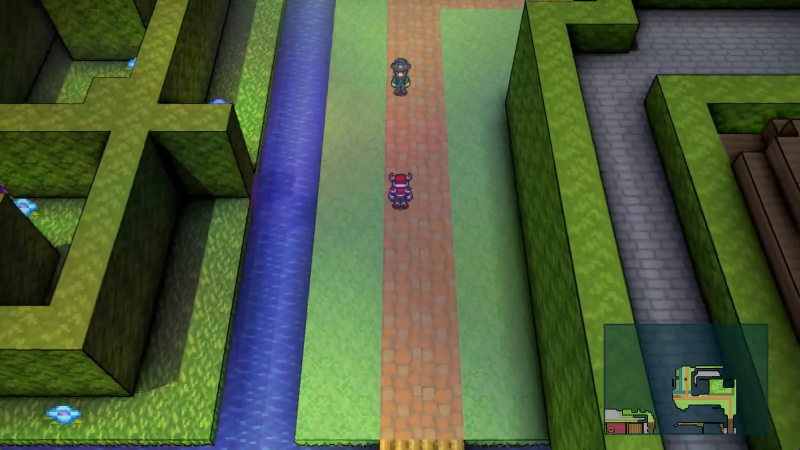
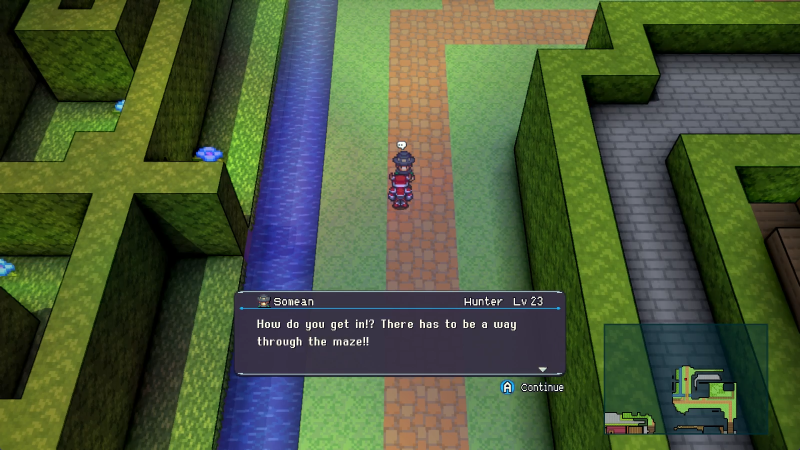
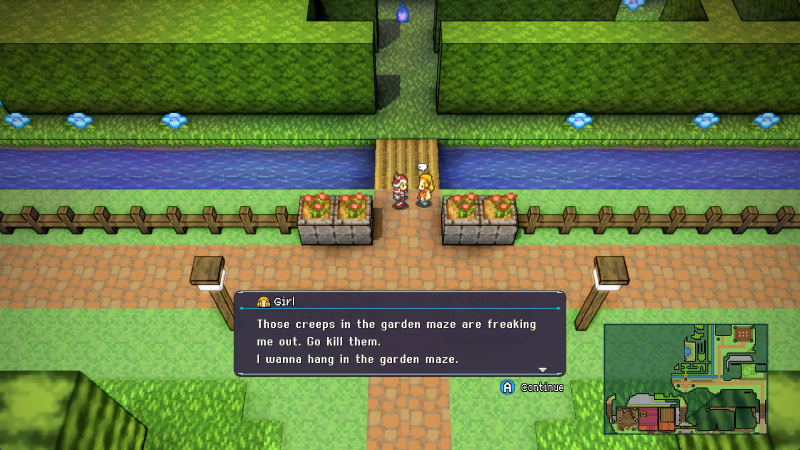
This Hunter is running around the edge of the hedge maze up here.
Leave it to me I got this.
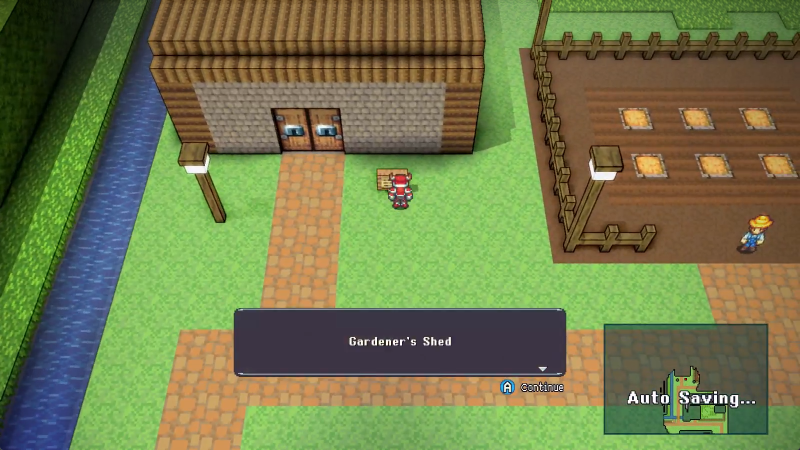
This looks like the site of a mechanic for growing things that I lack the resources and patience to engage with right now.
Well would you look at that.
Anyway, the hedge maze isn't actually solvable, and that's by design: at the "end" of it is Castle Sequoia, which we will not be dealing with for a long time. But we can still fight the enemies inside and loot the treasures.
I'm so glad I have the Learner's Pin now.
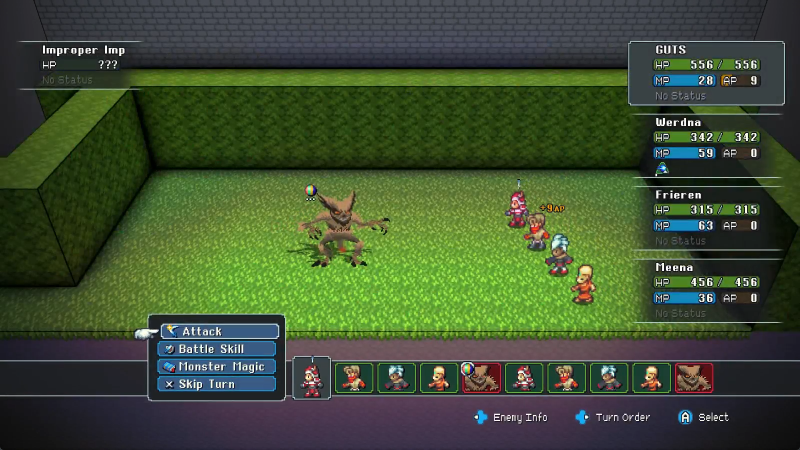
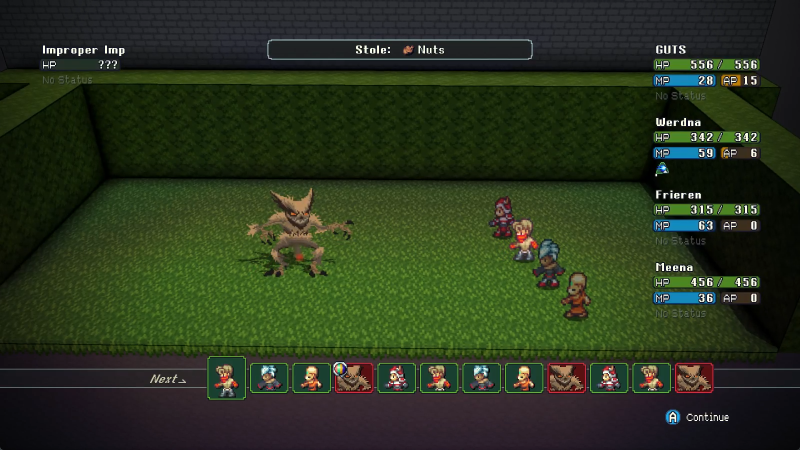
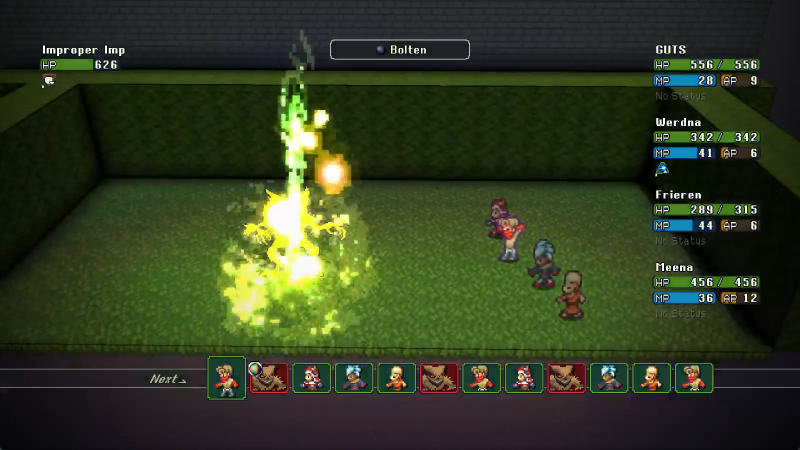
Like the Indecent Dweller before it, the Improper Imp is a dick joke that's also an avenue for getting one of the more niche Monster Magic spells.
In its case, it's the spell Insult, aka Magic Taunt. Absolutely no reason for GUTS to use it, but some builds might like it. For the record, Threat doesn't do anything for enemies: we retain our ability to freely target.
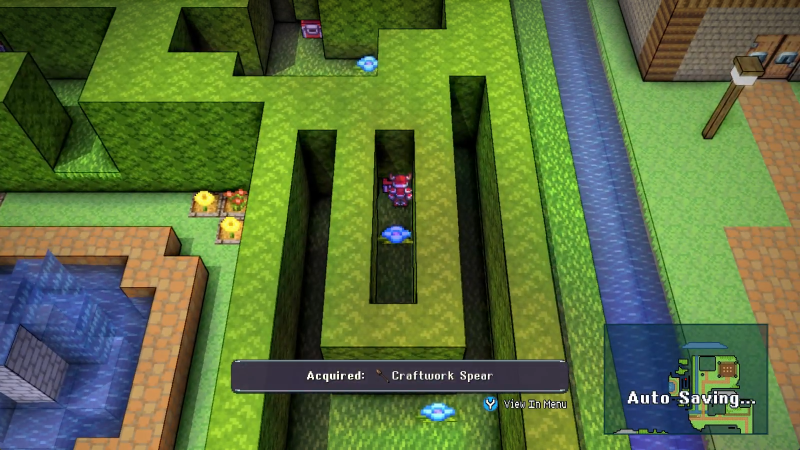
More Craftwork stuff! Nowhere near useful compared to Prodder, but hey, more spears good.
Yeah that's fair.
Got ourselves another immunity bit here, this one for Poison. It also grants some Agility, which is nice.
The Improper Imps notably have very high Evasion, so guaranteed accuracy moves like Feathercut, Thunder Chop or spells are the way to go here.
This ought to be the last of these things.
Filling out the collection real nice.
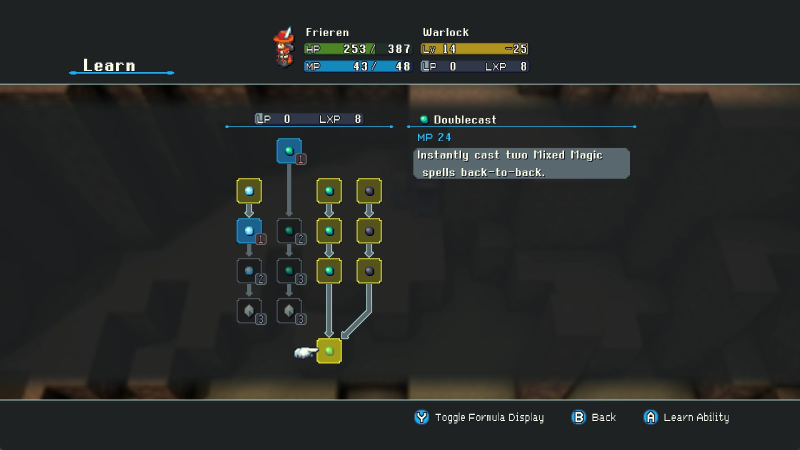
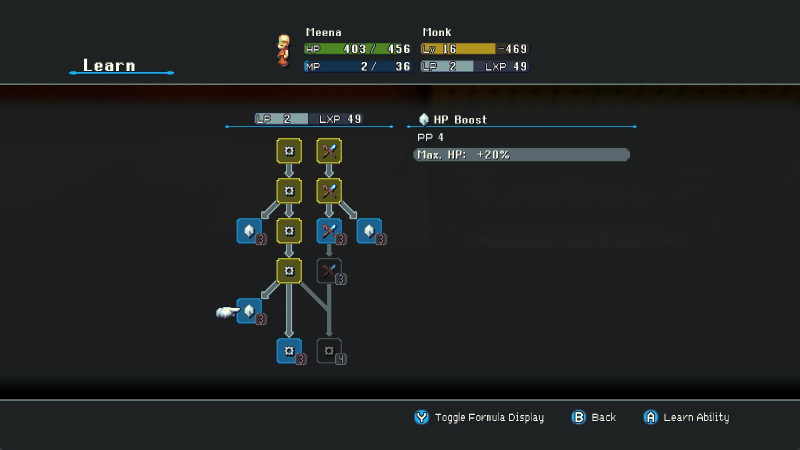
Frieren works on her Shaman moveset some more, grabbing Instability. I also got Pocket Sand as a new passive for Werdna, not that he's going to need it for some time.
Girl said:
You're pretty chill. You wanna join the secret boomer society? I'll give you the password. It's overalls.
Thanks? I have no idea what this "secret boomer society" is and frankly I think I want to dismantle it just by hearing it but thanks.
I swear we're nearly done.
This is arguably the most important place to visit in all of Capital Sequoia. (Very arguably, this place has a lot of value.)
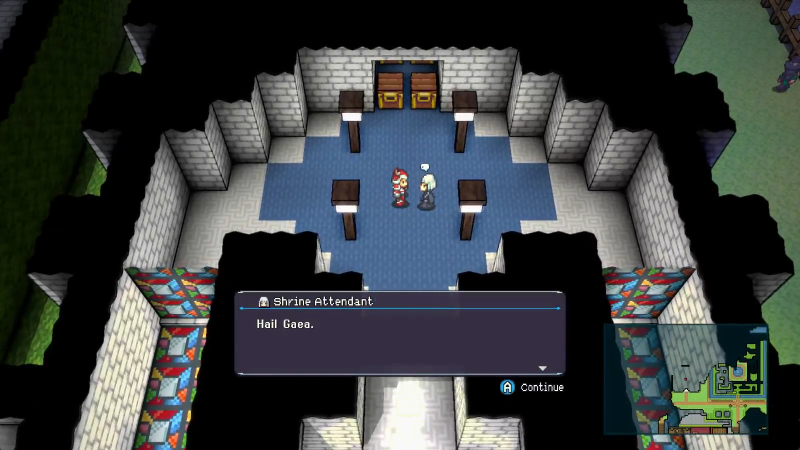
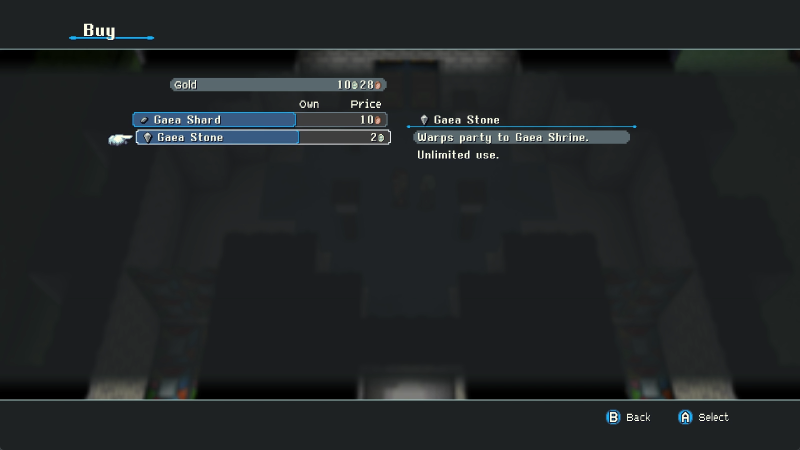
See, this is Gaea Shrine, and Shrines in Crystal Project serve one extremely important service in this game...
FAST TRAVEL!!!
Almost every Shrine in the game has an attendant who will sell you either Shards or Stones depending on your budget. Both warp you back to the Shrine in question, although Stones are the higher priority as they're reusable. They're another popular option for the favorites menu, and any serious explorer will make a point of getting these stones as soon as possible. This frees up our Home Point to go to all sorts of places now, with the Gaea Stone on deck letting us bounce back to civilization at will.
Gaea Shrine also offers four free samples if you're unwilling or unable to shell out for a Gaea Stone.
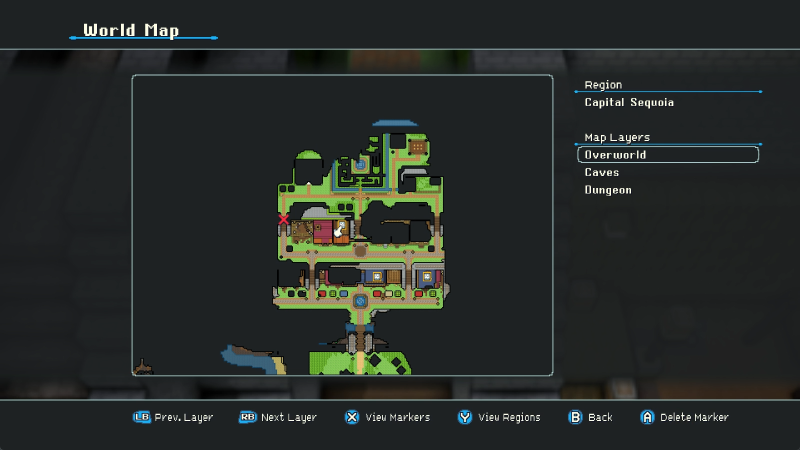
One last place to explore, but here's the map of Capital Sequoia for now. Two of the three stamps I've placed indicate where the class masters we've found are, I just got the Wizard completely wrong.
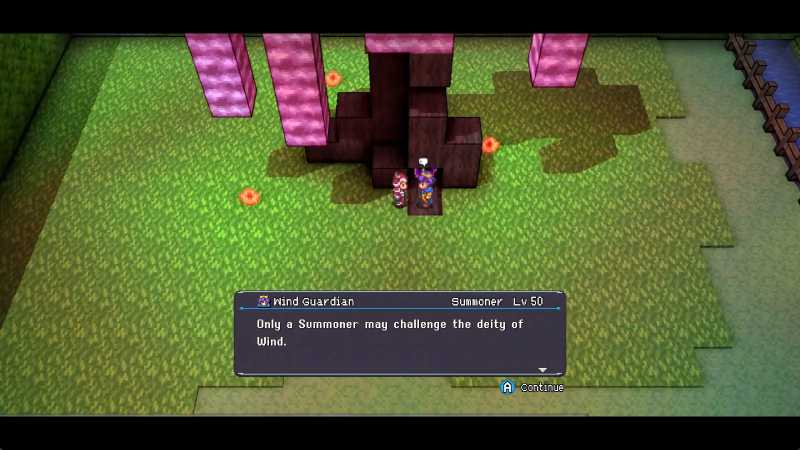
Finally, the Deity of Wind makes their home behind Gaea Shrine. Another point for our future Summoner to check out, once we find that class. The level is no less intimidating.
But wow that's a lot of stuff to check out! From here, as mentioned, I'll probably go explore Rolling Quintar Fields next, but one could also try to sneak past the west guard, or explore the back alleys for even more treasure. If I put all the stuff you could do in Capital Sequoia in one post we'd be here all day.
TO DO:
Build the perfect starting team.Explore Spawning Meadows.
Prove the existence of black squirrels.Try to find another route out of Spawning Meadows.
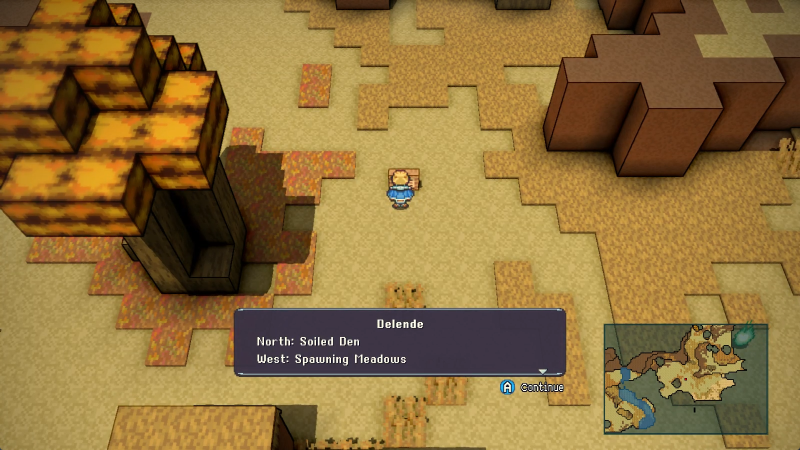
- Explore Delende.
Cross the bridge to the Proving Meadows.Explore the Fish Hatchery.Explore the Pale Grotto.
Defeat Guardian.Find the Slate Crystal.Find the Fencer class.
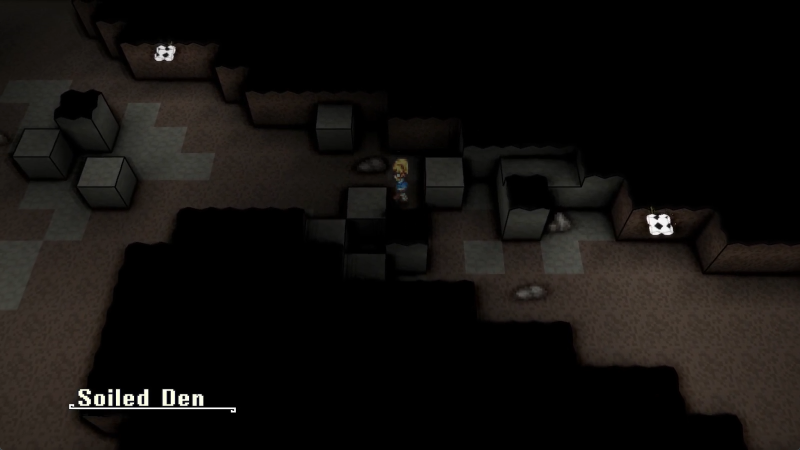
- Explore the Soiled Den.
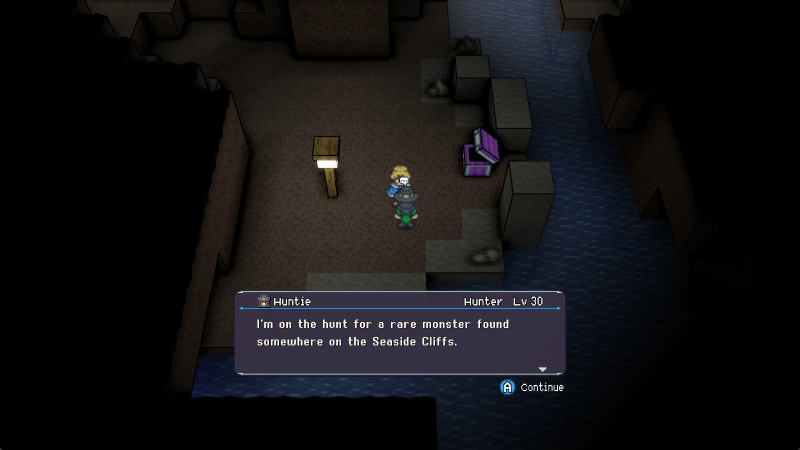
Defeat Bone Thief.- Trade an Earth Bangle to Huntie.
Explore the Basement of the Cabin on the Cliff.Find the dogs' bones.
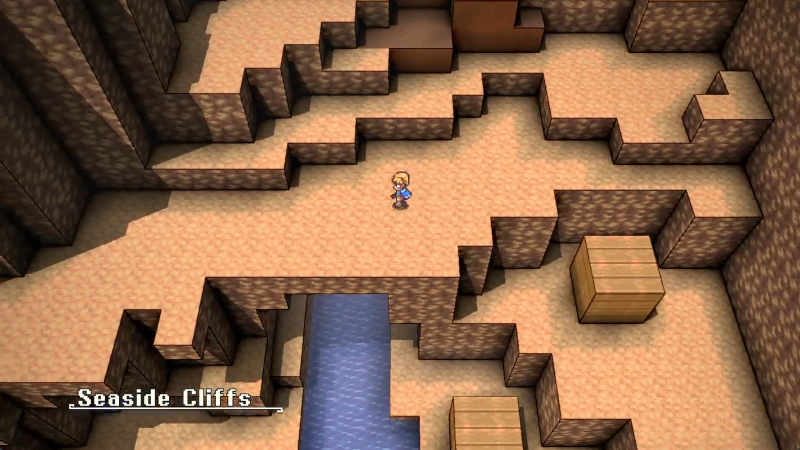
- Explore Seaside Cliffs.
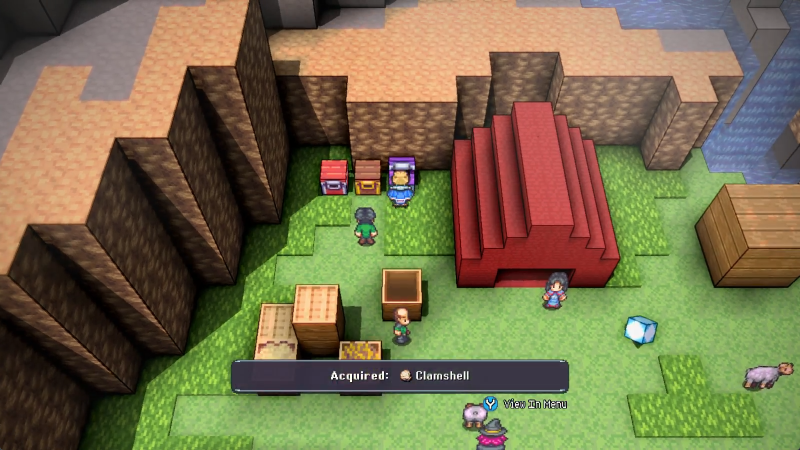
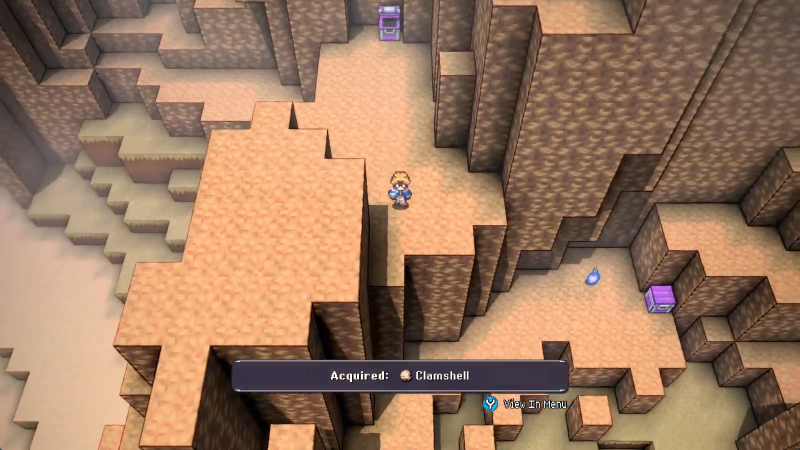
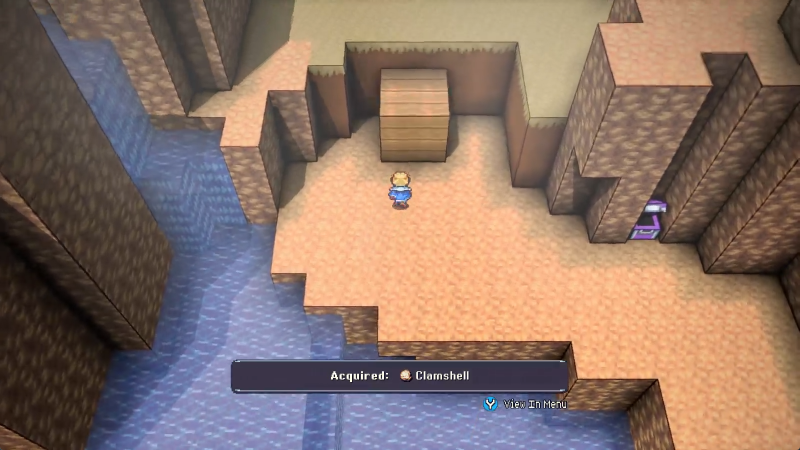
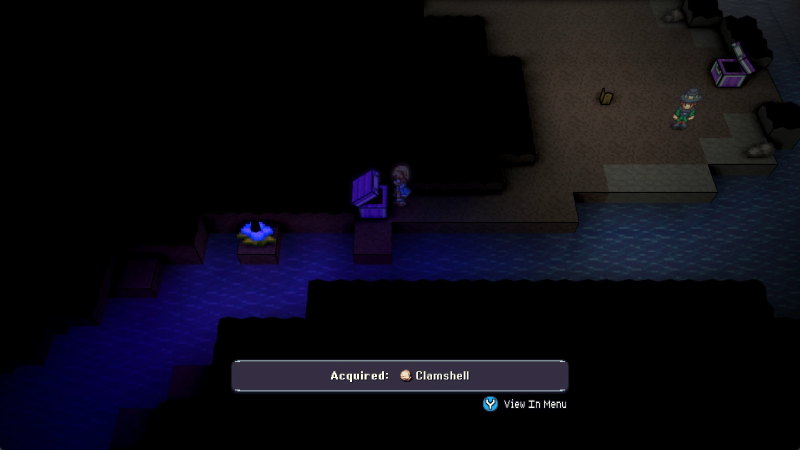
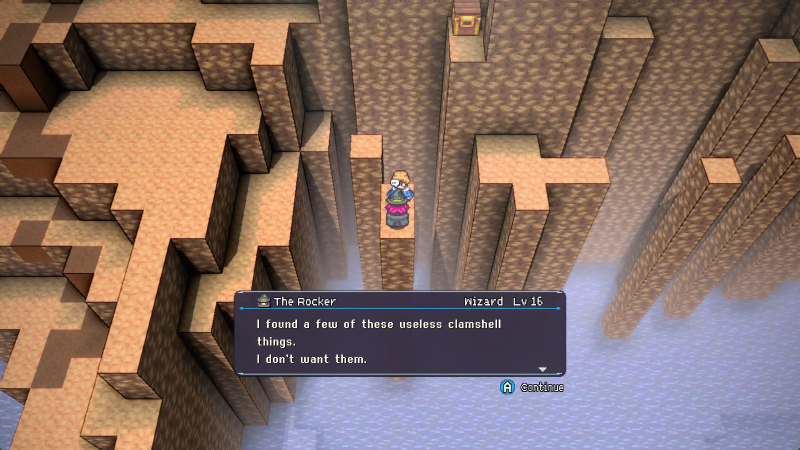
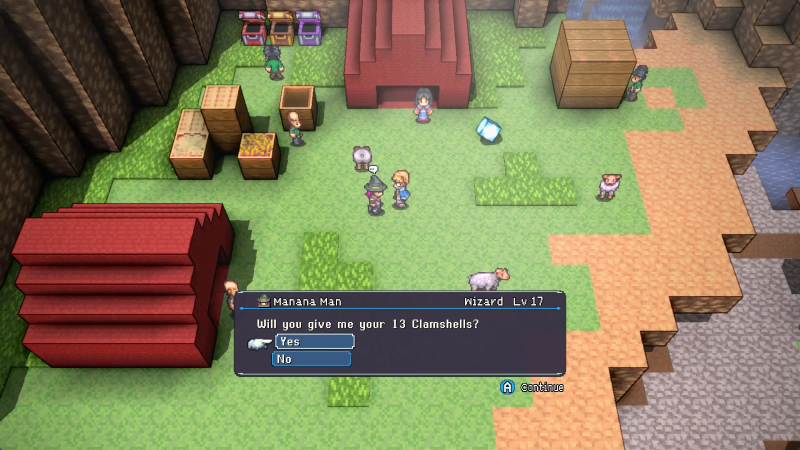
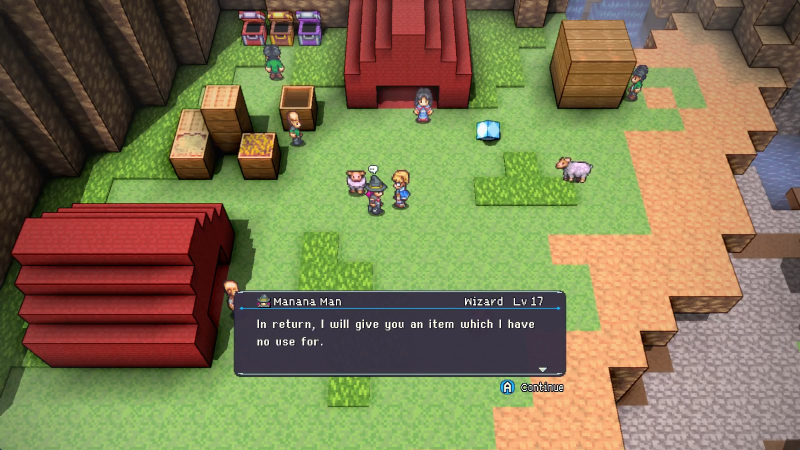
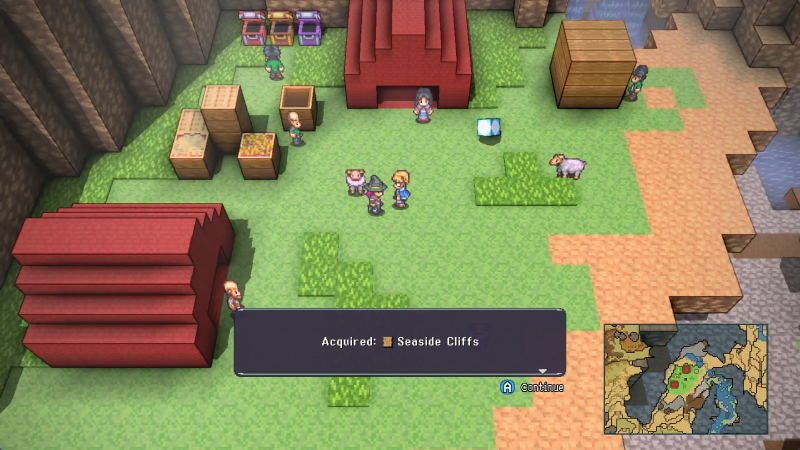
Trade 13 Clamshells to Manana Man.- Find a rare monster that drops an Earth Bangle.
Explore Draft Shaft Conduit.
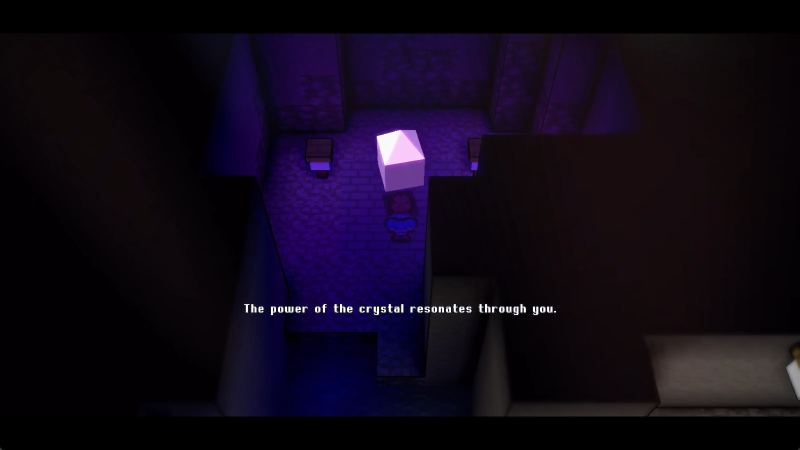
Defeat Canal Beast.Find the Violet Crystal.Find the Shaman class.
Explore Proving Meadows.
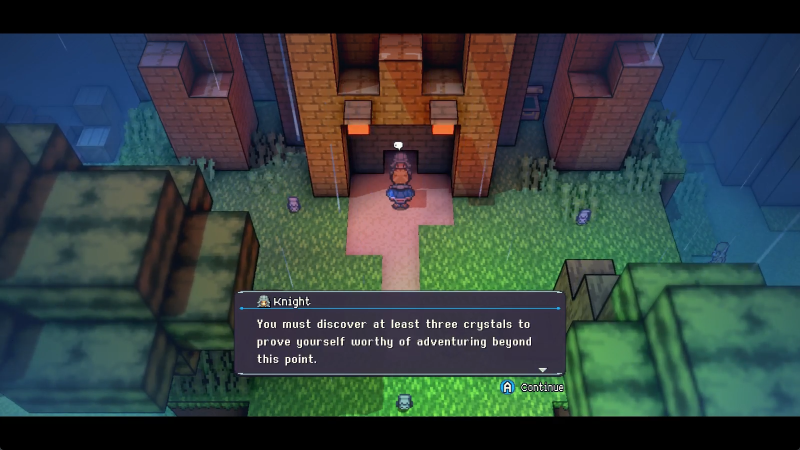
Find three crystals.Defeat Knight.Explore the Trial Caves.
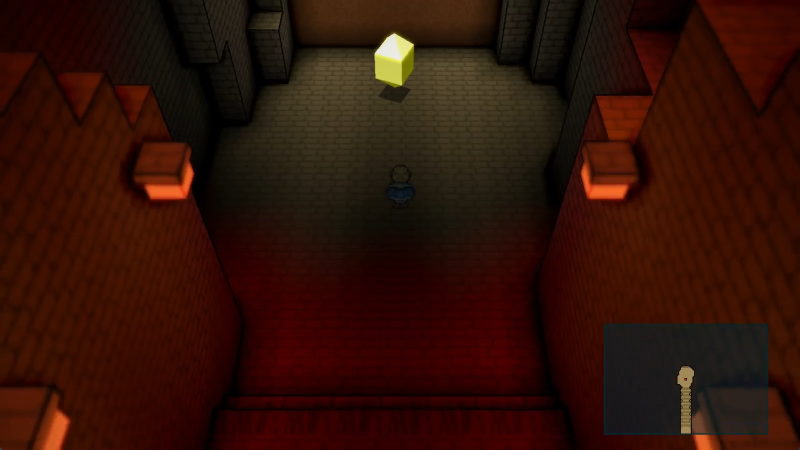
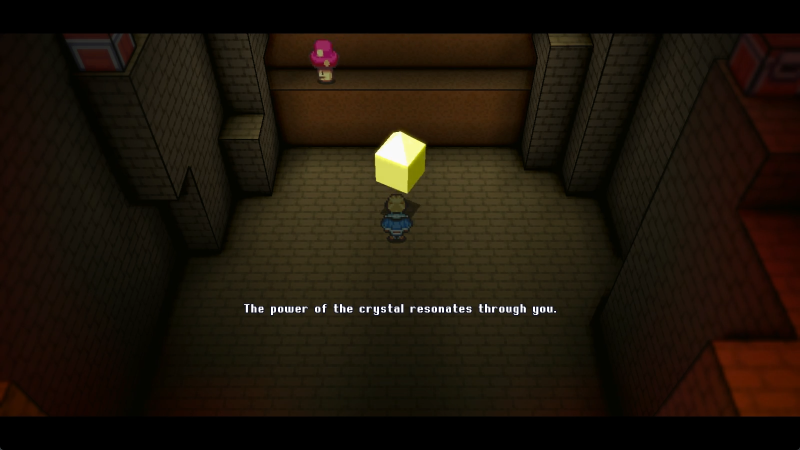
Find the Yellow Crystal.Find the Aegis class.Explore Skumparadise.
Explore Yamagawa M.A.
Defeat Sepulchra.Find the Aquamarine Crystal.Find the Scholar class.
- Find every Monster Magic spell.
- Prove our skill to the Master Scholar.
- Explore the Capital Courtyard.
- Explore Capital Sequoia.
- Find all the penguins.
- Find all the Craftwork gear.
Obtain the Gaea Stone.Clear the hedge maze of Improper Imps.- Find a way past the hedge maze.
- Enter the Luxury shop.
- Get past the guard on the west gate.
- Defeat all the training dummies.
- Find three Digested Heads for Sam the Sadist.
- Prove our skill to the Master Monk.
- Prove our skill to the Master Rogue.
- Prove our skill to the Master Wizard.
- Explore the Rolling Quintar Fields.
- Explore the Underpass.
- Find enough Underpass Scraps for a map.
- Find the Summoner class.
- Challenge the Deity of Fire.
- Challenge the Deity of Wind.
- Find the Mimic class.
- Find the Hunter class.
- Find the Dervish class.
- Find the Ninja class.
- Find the Chemist class.
- Find the Beastmaster class.